Windows Updates
-
-
 October 27, 2025
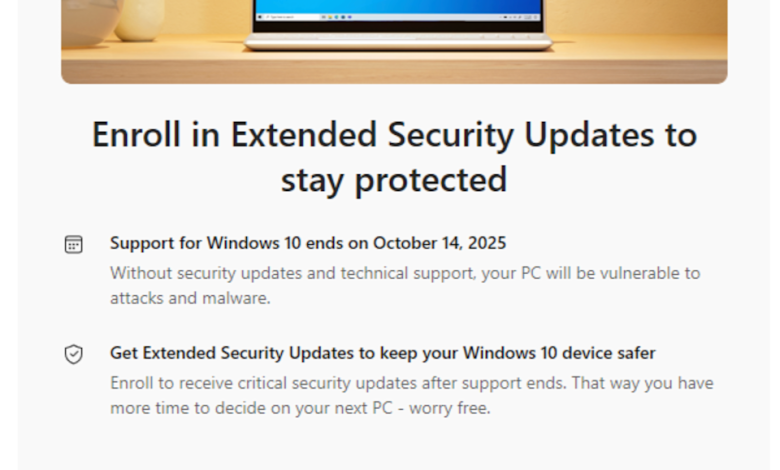
How to Fix Missing “Enroll Now” Option in Windows 10 (ESU)
-
 October 27, 2025
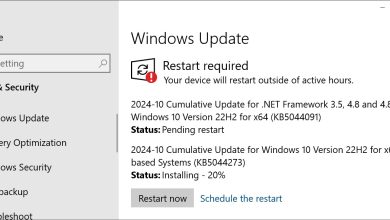
How to Stop “It’s Almost Time to Restart” Message in Windows?
-
 June 21, 2025
Fix: Error 0x800f0838 When Installing Windows Updates
-
 February 1, 2025
How to Clean Windows Update Cache?
-

-
 December 27, 2024
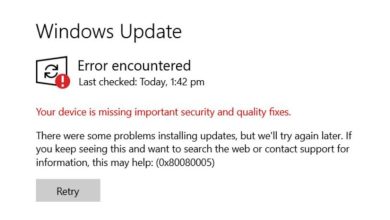
How to Fix Windows Update Error Code 0x80080005
-
 November 25, 2024
How to Fix Windows Update Error Code 0x800f0835
-
 November 13, 2024
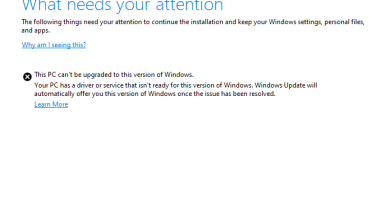
Fix: This PC Can’t Be Upgraded to This Version of Windows
-
 November 6, 2024
Fix: Something Didn’t Go As Planned in Windows 10/11
-
 October 1, 2024
Fix: 0x800f0991 Error Code When Installing KB5036893 Update
-
 September 5, 2024
How to Fix 0x800f0983 Error When Updating Windows?
-
 September 5, 2024
How to Fix Windows Update KB5041019 Won’t Install?
-
 August 24, 2024
How to Fix Windows Update Stuck at “Cleaning Up”
-
 July 30, 2024
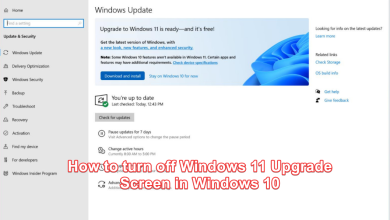
How to Turn Off Windows 11 Upgrade Screen in Windows 10?
-
 July 3, 2024
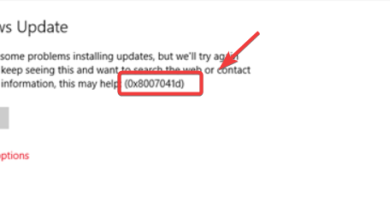
How to Fix Windows Update Error Code 0x8007041d
-
 June 27, 2024
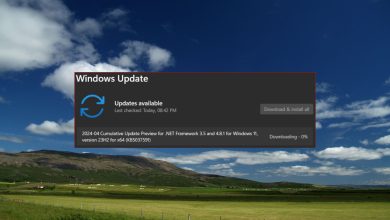
How to Resolve Issues with the Windows KB5037591 Update
-
 June 26, 2024
How to Fix KB5037768 Update Fails to Install in Windows?
-
 June 8, 2024
How to Fix Windows Update Settings Won’t Load Issue?
-
 May 16, 2024
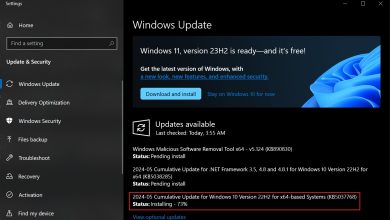
Is Windows 10 Support Ending on October 14, 2025?
-
-
 April 7, 2024
How to Fix Windows Update Error 0x8024d001
-
-
 March 18, 2024
How to Fix KB5011048 Fail to Install on Windows 11/10?
-
-
 February 27, 2024
How to Fix Windows Update Stuck at “Working on Updates 100%”
-
 February 19, 2024
How to Fix Error Code 0xd0000034 During Windows 10 to 11 Upgrade
-
 February 18, 2024
How to Fix ‘Updates are underway’ Stuck Error in Windows?
-
 February 18, 2024
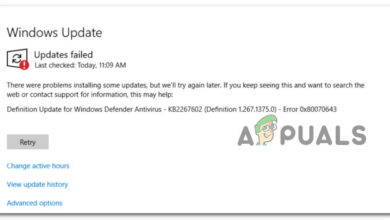
How to Fix the KB2267602 Update Failure for Microsoft Defender?
-
 February 17, 2024
How to Fix KB5025211 Failed to Install Error in Windows 10?
-
 February 17, 2024
How to Fix Errors When Installing Windows Update KB5029244
-
 February 16, 2024
How to Troubleshoot and Resolve Error 0x8024001e on Windows
-
 February 8, 2024
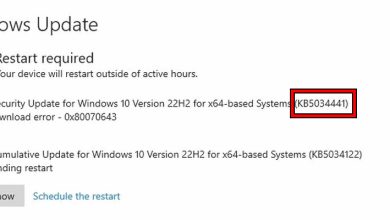
How to Fix the KB5034441 Update Fail to Install on Windows 10?
-
 December 11, 2023
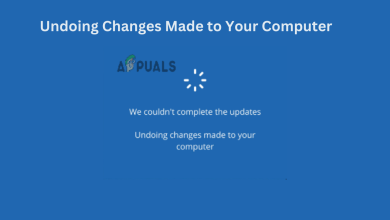
How to Fix ‘Undoing Changes Made to Your Computer’ Issue?
-
 November 30, 2023
How to Fix Update Error 0x8024D00C in Windows 10/11
-
 November 6, 2023
How to Fix “KB5021089” Security Update Failed to Install?
-
 September 14, 2023
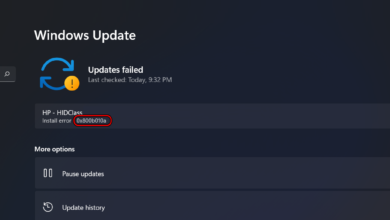
Fix: Windows Update “Install Error – 0x800B010A”
-
 August 28, 2023
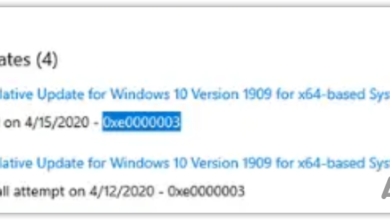
How to fix 0xe0000003 Windows update error? (Updated)
-
 August 26, 2023
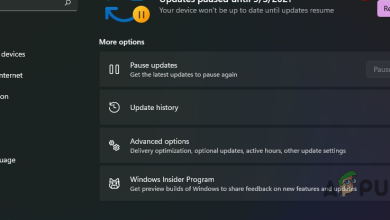
Fix: “Pause updates” option greyed out in Windows Update
-
 August 14, 2023
WSL Update Error Code 0x80070661: (SOLVED)
-
 August 9, 2023
Fix: Windows 11 KB5028254 Preview Update Not Installing
-
 July 27, 2023
How to Fix Windows Update Error Code 0x8024a21e
-
 April 24, 2023
How to Fix Windows keep Installing the Same Update?
-
 April 5, 2023
How to Fix Windows Update Error Code 0x80070008?
-
 February 27, 2023
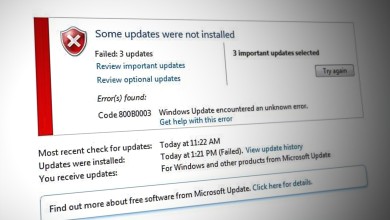
How to Fix Error Code: 0x800B0003 While Updating Windows
-
 February 26, 2023
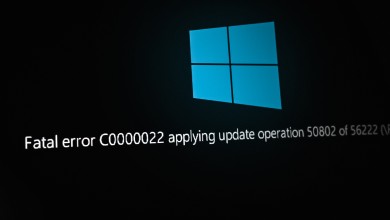
How to Fix “Error C0000022” Windows Update Error?
-
 February 26, 2023
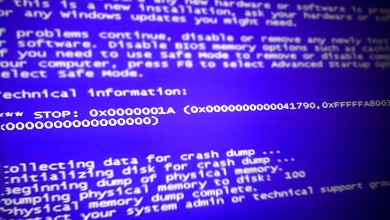
Fix: Windows Error 0x0000001a
-
 February 22, 2023
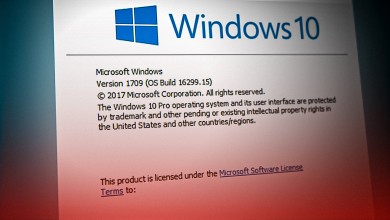
How to Fix Windows 10 (Version 1709) Fails to Update?
-
 February 17, 2023
How to Fix Windows 7 Update Error 8024200D?
-
 February 16, 2023
Fix: Windows Update Fix Error 0x800f080A (Windows 10/11)
-
 January 11, 2023
How to Fix Windows Update Error 0x80070020 on Windows 10/11
-
 January 9, 2023
How to fix Windows Update error 0x8007065e on Windows?
-
-
 December 11, 2022
How to Fix Update Error 0x80073701 on Windows 10/11
-
 December 11, 2022
Not Getting Windows 11 22H2 Update? Here is the Fix!
-
 December 5, 2022
How to Fix Update Error 0xc0000409 Windows 11 Version 22H2
-
 December 3, 2022
How to Fix KB5012170 Fails to Install in Windows 11?
-
 December 2, 2022
How to Fix Update Error 0x8007000D in Windows 10/11?
-
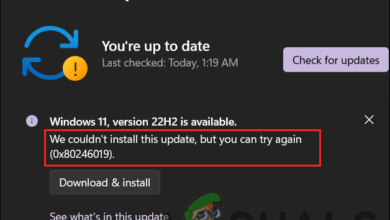 November 25, 2022
How to Fix Update Error 0x80246019 in Windows 10/11?
-
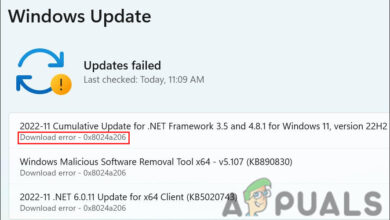 November 25, 2022
How to Fix Windows Update Error 0x8024A206
-
 November 25, 2022
How to Fix Update Error 0x800f0381 in Windows 10/11
-
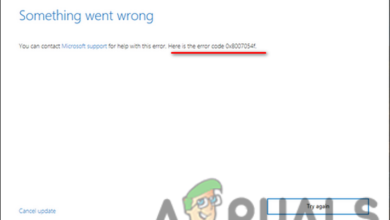 November 22, 2022
How to Fix the Windows Update Error 0x8007054F on Windows 11
-
 November 20, 2022
How to Fix Windows Update Download Error 0xc1900201
-
 November 11, 2022
Fix: Windows Upgrade Error Code: 8007042B – 0x4001E
-
 October 29, 2022
Fix: Windows Update Error 0x8024A004 on Windows 11
-
 October 29, 2022
Fix: Windows Update Assistant Error Code: 0x8007054F
-
 October 29, 2022
How to Fix Windows Update Error 0x8007001F in Windows 11
-
 October 29, 2022
Fix: Computer Slow & Lagging after Windows 11 22H2 Update
-
 October 29, 2022
How to Fix the Update Error 0x800F024B on Windows?
-
-
 October 23, 2022
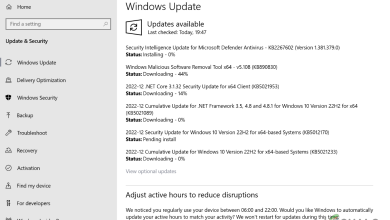
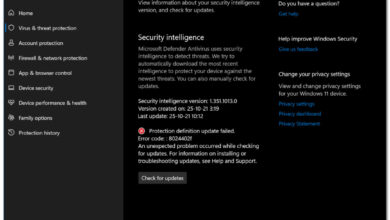
How to Fix Security Intelligence Update Not Downloading?
-
 October 21, 2022
Fix: Windows Update Error Code ‘0x80888002’ in Windows 11?
-
 October 7, 2022
Windows 11 Update Stuck at 0%? Here’s the Fix!
-
 October 2, 2022
How to Fix KB5016616 Failed to Install on Windows 10?
-
 September 26, 2022
Fix: Windows Update KB5017321 Error 0x800f0806 On Windows 11?
-
 September 26, 2022
How to Fix Update Error Code 0x800f0806 on Windows 11?
-
 September 21, 2022
How to Upgrade your Windows to Windows 11 22H2?
-
 September 5, 2022
Fix: Windows 11 Cumulative Update Won’t Install or Download
-
 August 31, 2022
How to Fix Windows Update Error 0x8024A003?
-
 August 31, 2022
How to Fix the Update Error 0x30078701 in Windows 10/11?
-
 July 27, 2022
How to Fix Update Error 0x80070026 in Windows?
-
 July 14, 2022
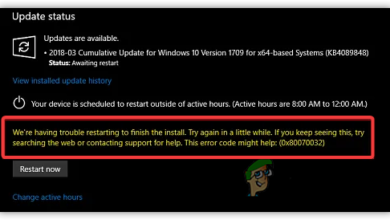
How to Fix “Error Code: 0x80070032” on Windows Update?
-
 June 23, 2022
How to Fix Windows Update Error Code 0x80070426?
-
 June 18, 2022
How to Fix “Error: 0x80244018” When Updating Windows?
-
 June 17, 2022
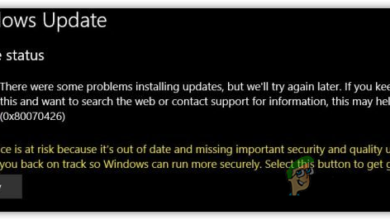
Fix: Windows Update Error 0x80070643 on Windows 10 / 11?
-
 June 14, 2022
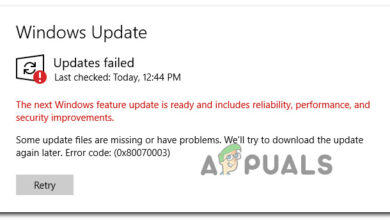
SOLVED: Windows Update Error Code: (0x80070003)
-
 May 22, 2022
[Fix] Windows Update Error Code 0x80070002
-
-
 April 14, 2022
How to Fix Windows Update “Error Code: Error 0x800706ba”?
-
 April 13, 2022
Fix: Windows Update Error Code: 0x8024401c on Windows 11
-
-
 February 11, 2022
How to Fix “Error Code: 0x800705AA” in Windows 11?
-
 February 9, 2022
(Solved) Windows Update Error 0x8000FFFF on Windows
-
 February 1, 2022
How To Fix Windows Update Error 0x8007010B?
-
 February 1, 2022
How to Fix Error 0x80071AB1 (ERROR_LOG_GROWTH_FAILED) on Windows 11?
-
 January 27, 2022
Fix: Windows Update Error Code 0x800703E6
-
 January 19, 2022
Fix: Can’t Install Cumulative Update KB5008212 on Windows 10
-
 January 12, 2022
How to Cancel Windows 11 Update and Stay on Windows 10?
-
 December 17, 2021
How to Fix Windows 11 Update Error 0x80040154?
-
 November 22, 2021
How to Install/Update to Windows 10 Version 21H2?
-
 November 16, 2021
How to Fix Windows 11 Error 0xCA00A009 When Installing Updates?
-
-
 November 8, 2021
How to Fix Security Definition Update Error 8024402F on Windows 11
-
-
 October 29, 2021
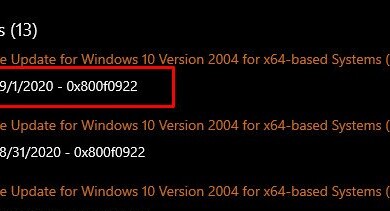
How to fix Windows Update Error 0x800f0922
-
 October 14, 2021
Windows 11 Upgrade Stuck? Try these fixes
-
-
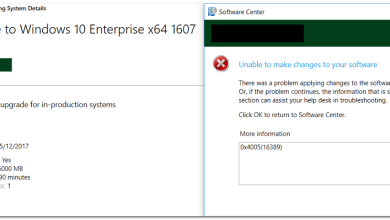 September 27, 2021
How to Fix 0x4005(16389) Error When Upgrading Windows?
-
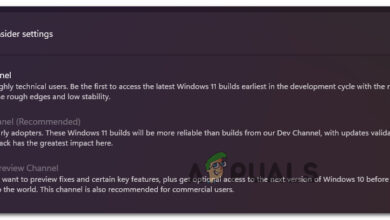 September 26, 2021
Fix: Can’t Switch from Insider Dev Channel to Beta or Preview on Windows 11
-
 September 26, 2021
How to Fix 0x80073701 Update Install Error on Windows 11
-
 September 25, 2021
Problems in Installing KB5005033 Update? Try these fixes
-
 September 15, 2021
How to Fix Error ‘0x80242016 – Failed to Install’ on Windows
-
 September 11, 2021
How to Fix Update ‘Error Code: 0x800707e7’ on Windows 10
-
 September 9, 2021
Can’t update Windows Defender on Windows 11? Here’s How to FIX It
-
-
 September 3, 2021
Fix: Windows Update Error 0x800f0984 (5 Solutions)
-
-
 September 1, 2021
How to Fix Windows 10 Running Slow after Upgrading to Version 21H1?
-
 September 1, 2021
Windows Update Error 0xc1900104 – How to Fix?
-
-
-
 August 6, 2021
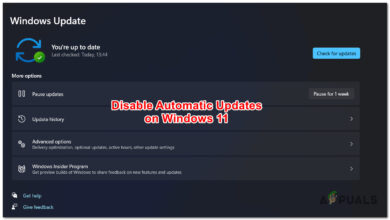
How To Disable Automatic Updates On Windows 11
-
-
 July 13, 2021
Fix ‘Error Code: 0x8030002F’ When Installing Windows
-
-
-
 June 28, 2021
Resolve Windows Update Error 80240025
-
 May 27, 2021
Problem Updating Windows 10 Error 0x80240016 (Fix)
-
-
-
 May 20, 2021
How to Fix Windows Update 0x80070012 on Windows 10
-
 May 20, 2021
How to Fix Windows 10 Error 0xA0000400
-
-
 April 19, 2021
Fix: Windows Updates failed Error 0X80242FFF
-
 April 9, 2021
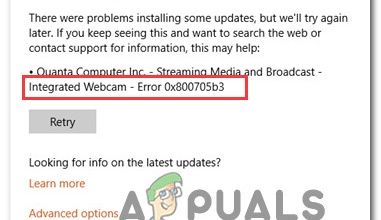
How to Fix Windows Update Error 0x800705B3
-
 April 9, 2021
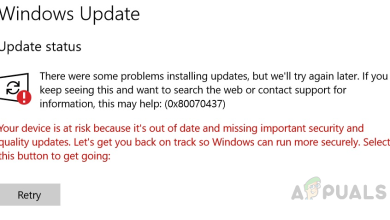
How to Fix Windows Update Error Code 0x80070437
-
 April 6, 2021
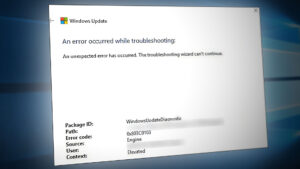
How to Fix Update Troubleshooter Error 0x803C0103
-
 March 31, 2021
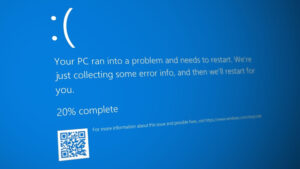
[FIX] Windows Update – KB5000802 Blue Screen of Death (BSOD)
-
-
 March 22, 2021
How to Fix Windows Update Error 0x8007371b
-
 March 9, 2021
How to Fix WSUS 0x80072EE6 Error Code
-
 February 15, 2021
How to Fix Update 20H2 won’t Install on Windows 10?
-
 February 15, 2021
How to Fix ‘It’s time to update your device’ on Windows 10?
-
 February 1, 2021
[FIX] Fatal Error C0000034 when Applying Windows Update
-
 January 18, 2021
How to Fix Windows Update Error 9C59
-
 December 22, 2020
[FIX] isPostback_RC_Pendingupdates Error Windows Update
-
 December 11, 2020
How to Fix Windows Update Service Missing
-
 November 17, 2020
How to Fix Error Code 800F0922 on Windows 7 / 8.1 / 10
-
 November 6, 2020
How to Fix Windows 10 Update Error 0x800703ee?
-
 August 13, 2020
How to Use Wu10Man to Stop Windows 10 Updates