Windows 11 Upgrade Stuck? Try these fixes
Users have been experiencing an issue while trying to upgrade to the Windows 11 operating system. The installation process of the operating system gets stuck at some point for them and it doesn’t go any further. The point at which this happens varies however the end result remains the same, the installation doesn’t complete. This can be really annoying especially if you are really excited to try the new operating system. The upgrade usually gets stuck due to compatibility issues. By that, we don’t mean your hardware, but rather the software that is installed on your computer. In this article, we will be showing you how to resolve this issue and get the latest Windows installed without any problems.
As it turns out, Windows 11 has been officially released for quite some days now and there are updates to the new operating system coming through. While there are some problems on Windows 11, that is to be expected and are slowly being cleaned out. If you are unable to upgrade to Windows 11 because the installation is stuck, it is probably due to the fact that you have some applications installed which aren’t compatible with the new operating system, at least Windows thinks so. To understand this further, let us first go through the possible list of causes before we jump into the methods that can help resolve the problem for you. So, without further ado, let us get into it.
- Conexant Audio Drivers — The first reason which you might encounter this problem is the audio drivers that are installed on your system. As it turns out, this is primarily when you have Conexant audio drivers on your computer, however, that may not always be the case as some users have also faced the issue with Sennheiser headphones. In such a scenario, you will have to simply disable the audio drivers to resolve the issue.
- Incompatible services or applications — The main reason that the issue in question occurs is when there are incompatible services or applications installed on your computer. As per user reports, there is a whole list of different applications that may cause the issue in which case you will have to uninstall them from your computer.
Now that we have gone through the possible list of causes, we can get started and take you through the different methods that you can use to resolve the problem on your end. So, with that said, let us jump right into it.
Disable Audio Drivers
As it turns out, the first thing that you should do when you encounter the problem in question is to go ahead and disable the audio drivers that are installed on your computer. Like we have mentioned, this has troubled users who were either using Sennheiser headphones or had the Conexant audio drivers installed on their systems. If this is not applicable to you, we would still recommend doing this as it might do the trick for you anyway.
To resolve the problem, you will have to simply disable the audio drivers through the Device Manager window on your computer. To do this, follow the instructions given down below:
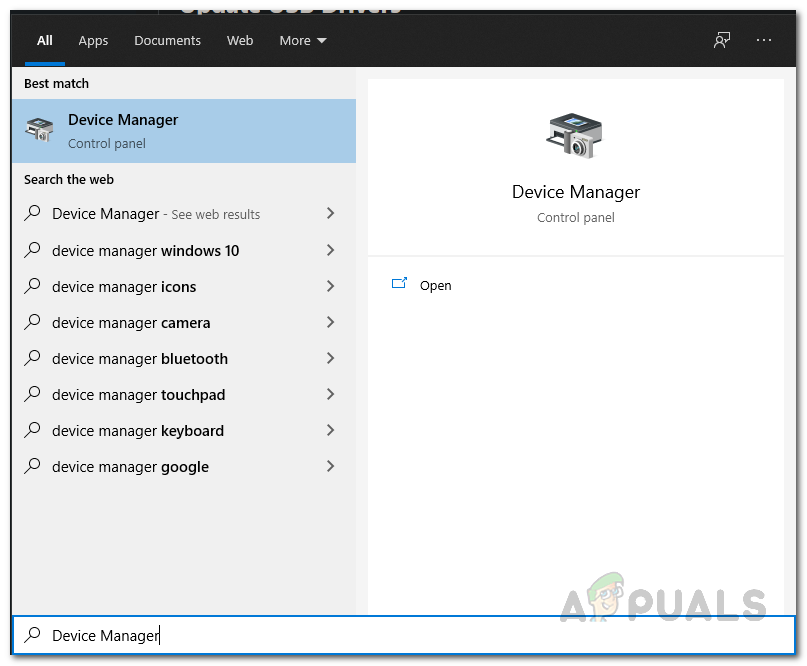
- First of all, open up the Device Manager by searching for it in the Start Menu.
- Once the Device Manager window is open, expand the Sound, video and game controllers list.
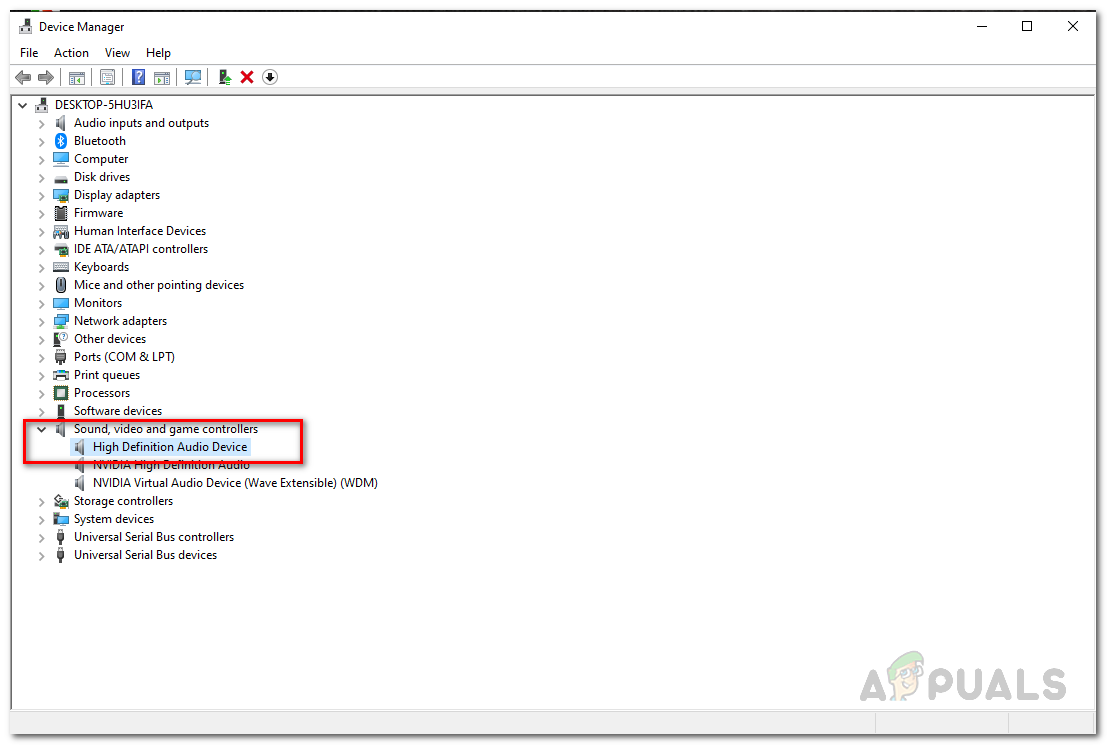
- From the list, right-click on every sound driver, and from the drop-down menu, click the Disable device option.
- Once you have done that, go ahead and try installing Windows 11 again to see if the problem still appears.
Use Windows Update
Another way that you can resolve the problem in question is to try to install Windows 11 through the Windows Update menu. For some users, the Windows 11 upgrade is provided through the Windows Update menu in the Settings app. As it turns out, the problem occurs when you are using a different tool to install Windows 11 on your computer. Therefore, a remedy, as reported by a user who was also facing a similar issue, is to install the upgrade through the Windows Update menu. Follow the instructions down below to do this:
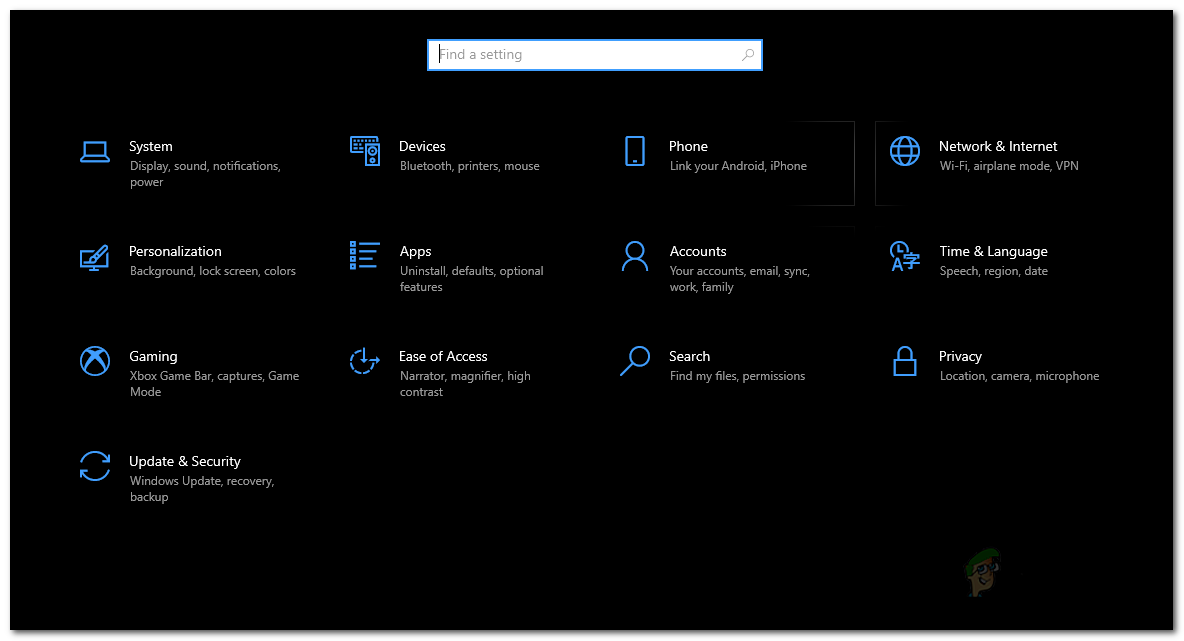
- First of all, open up the Windows Settings app by pressing Windows key + I on your keyboard.
- On the Windows Settings window, click on the Windows Update option.
- There, if you are provided the Windows 11 upgrade, you will be able to see a Download and Install button. Click on it to download and install Windows 11 on your computer.
- In case you aren’t offered the upgrade through the Windows Update menu, you can jump to the next method down below to resolve the problem.
Uninstall Problematic Applications
As we have mentioned above, the main reason the issue in question occurs is when you have some incompatible programs installed on your computer. It just isn’t a single application or two, but rather a whole list of applications that triggered the problem for users have been shared. This list goes as follows:
- TeamViewer
- Oracle VirtualBox
- VMware Player
- dnplayerext2 (A folder coming up with LDPlayer, but not deleted with it)
- LDPlayer
- BlueStacks
- NOX Player
- LinuxLive USB Creator
- UxStyle
Thus, if you have any of these applications installed on your computer, go ahead and uninstall them via the Control Panel. Once you have done that, go ahead and try to install Windows 11 again to see if the problem still persists.
Find Problematic Program Manually
As it turns out, in some cases the problem may be caused due to a different program that may not be mentioned in the list provided above. When this happens, you will have to find the program manually on your computer. Windows knows which driver is causing the problem and stopping the installation from completing. While it does not tell you outright which driver is causing the issue, you can find it manually via the log files. Before proceeding, make sure that you have hidden files enabled so that you are able to see the log files. Once you have done that, follow the instructions that are given down below:
- First of all, go ahead and open up the File Explorer.
- Then, in the File Explorer window, in the address bar, paste it in the following directory. This is where the logs are stored.
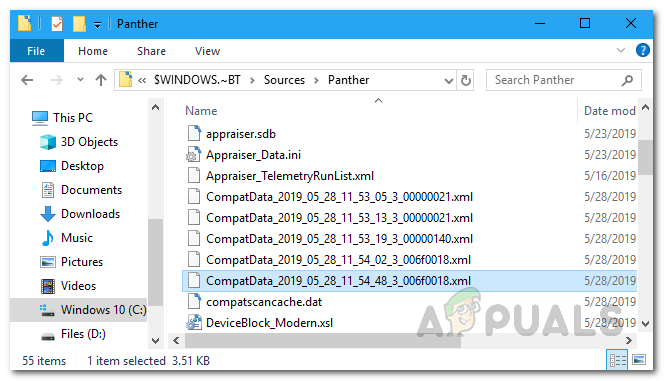
C:\$WINDOWS.~BT\Sources\Panther

Log Files Directory - Now, inside the directory, look for a file that begins with “CompatData_“. In case you have multiple files as such, choose the most recent one.
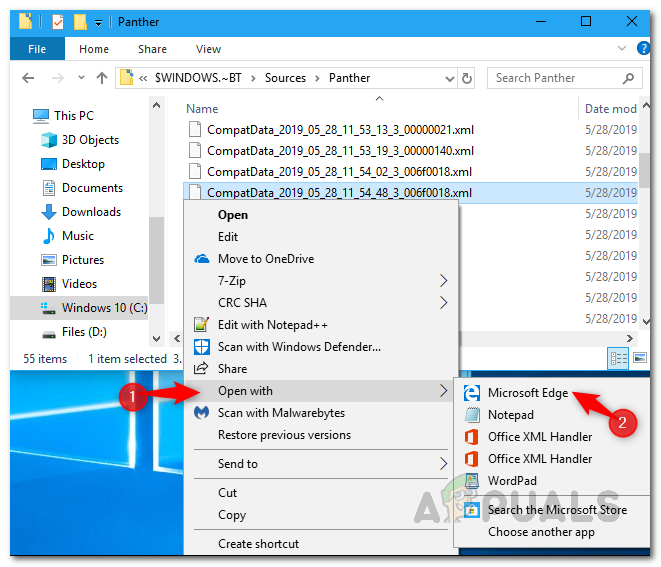
Locating Most Recent Log File - Once you have located the most recent one, we will have to open it up to read its contents. To do this, right-click on the file and go to Open With > Microsoft Edge. If you don’t see Edge, choose the Choose another app option and select Microsoft Edge from there.
- Now, on the Microsoft Edge window that appears, you will have to look for BlockMigration=”True” under the DriverPackages tag.
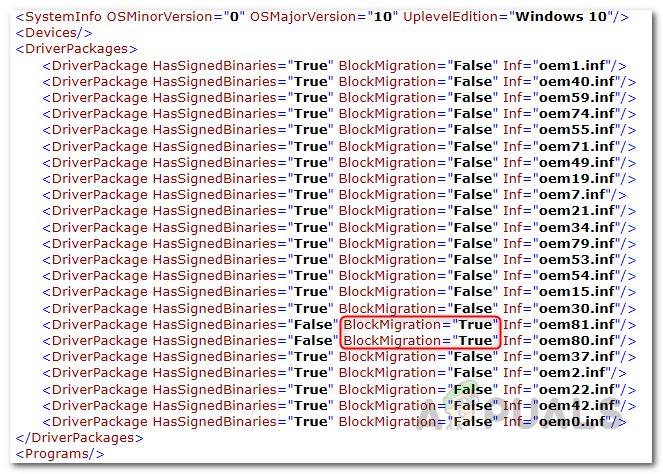
- Next to this, you will see an Inf attribute that contains a file name. Copy this filename somewhere save. In our case, it is oem81.inf and oem80.inf.
- Now that we have the inf file, we will have to find out which driver it belongs to. To do that, open up the File Explorer window again and navigate to the following directory:
C:\Windows\INF
- Inside the directory, look for the inf files that you found earlier.
- Open up these files by double-clicking on them. They should be opened in a Notepad window.
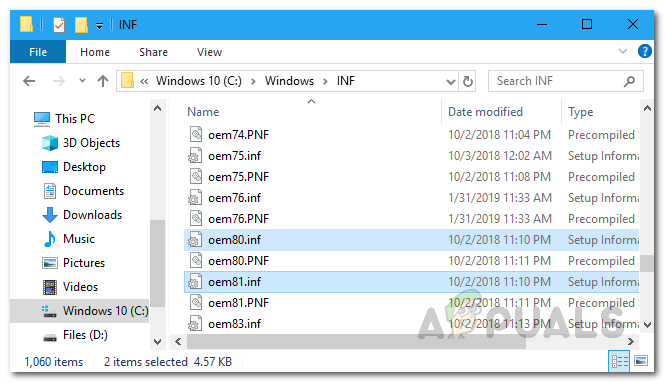
- At the start, you will be able to see the application name the file belongs to.
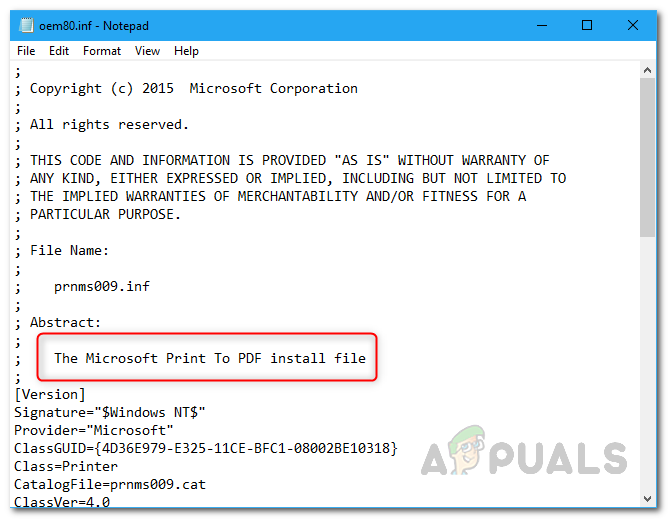
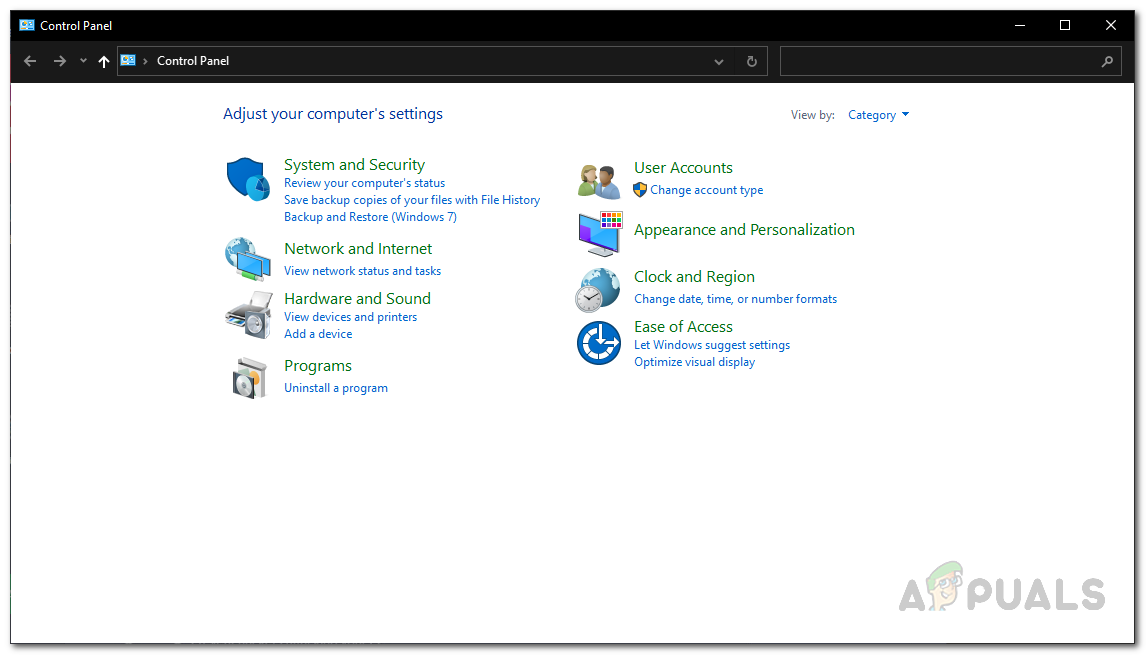
- Once you have found the application, open up the Control Panel.
- Click on the Uninstall a Program option under Programs and then uninstall the application from the list provided.
- Now, once we have done that, you will have to resume the upgrade process if you haven’t closed the update tool.
- To do that, head to the following folder again in the File Explorer:
C:\$WINDOWS.~BT\Sources\Panther
- Inside the folder, look for the compatscancache.dat file and delete it.
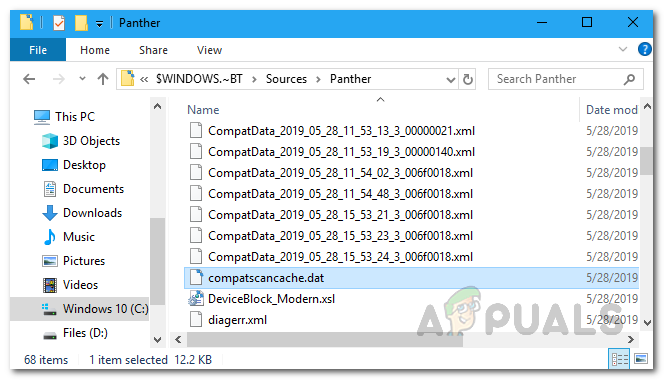
- Once you have done that, click the Refresh button on the update tool to resume the upgrade process.
- With that, the issue should now be gone and you will be able to install Windows 11 without any problems.


