How to fix ‘Failed Installation of the Security Update KB5005565’ in Windows 10?
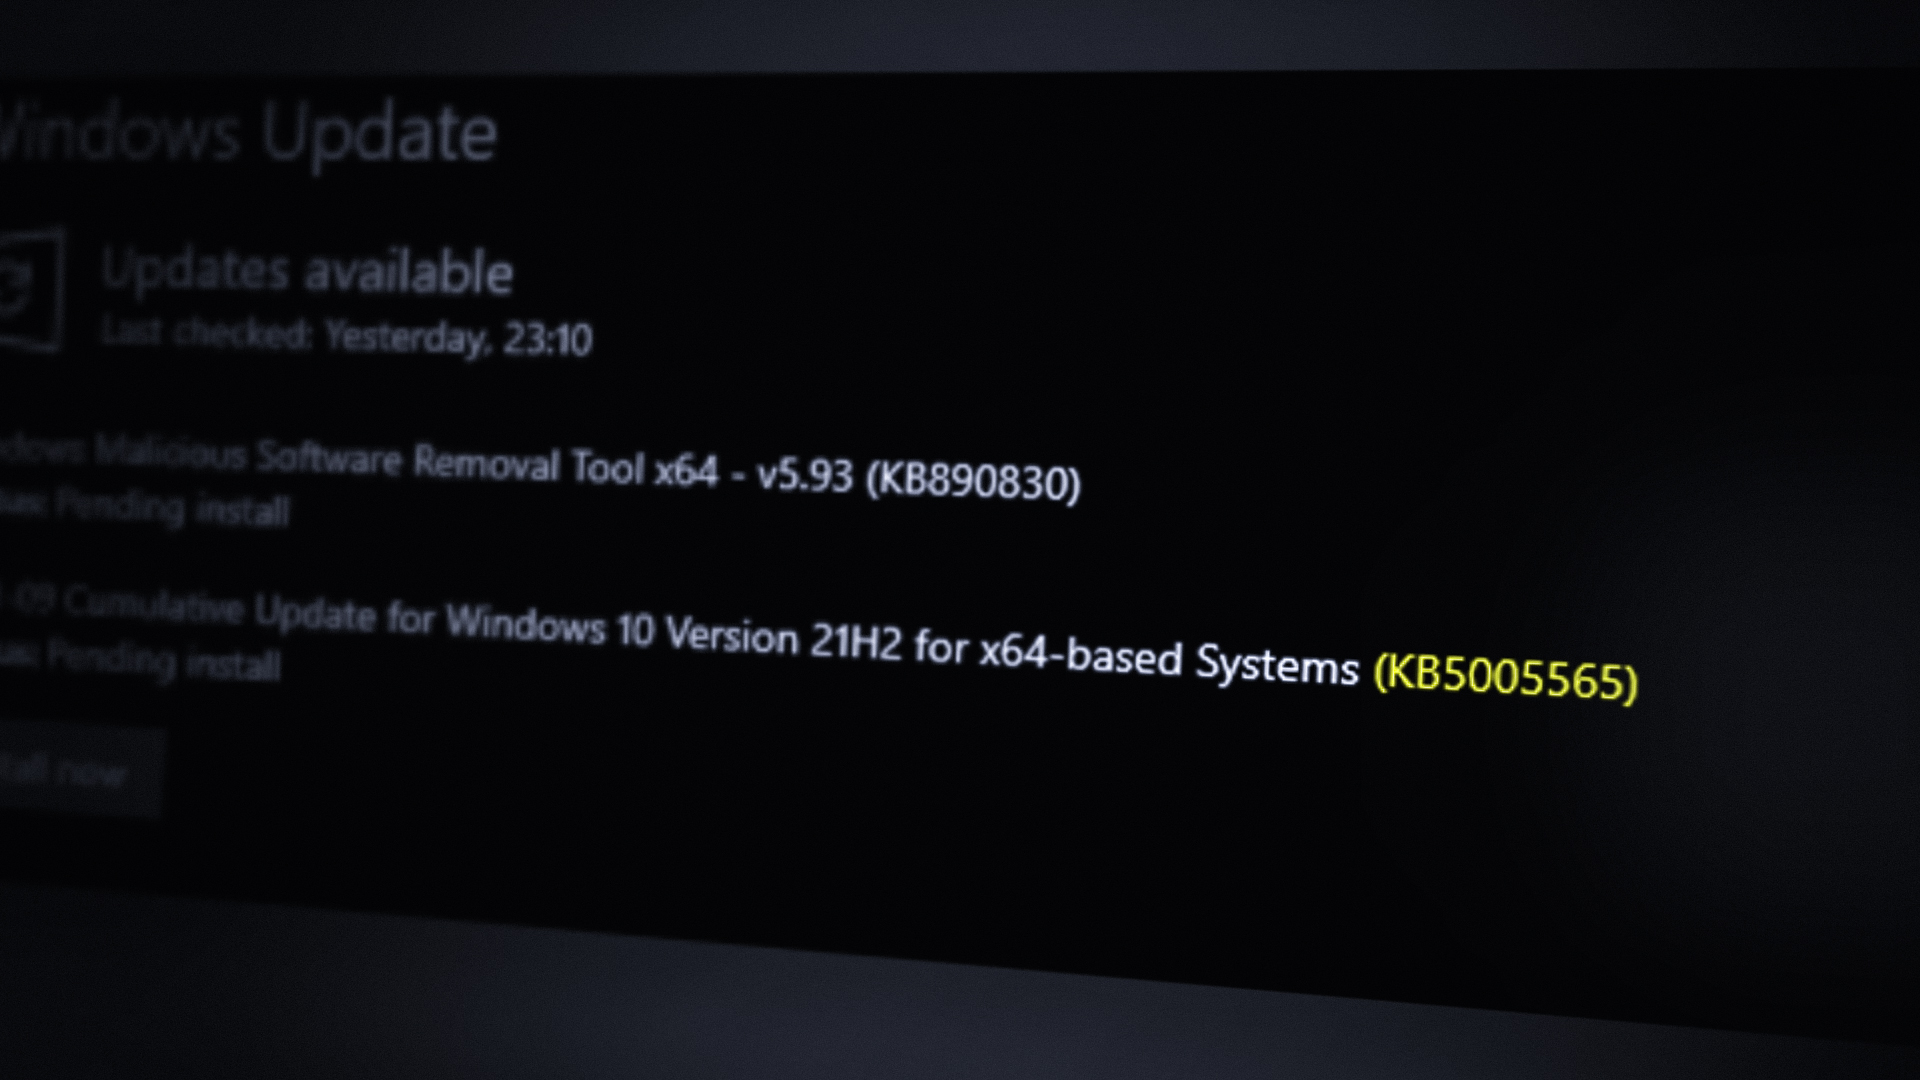
The KB5005565 update is the latest security update of the Windows OS to patch and enhance the security of the OS. It mainly targets the Servicing stack updates (SSU), the main component in managing and installing Windows Updates. For many users, the installation was a smooth sail but unlucky ones failed to install the update, usually, with the following message:
For some users, when the update fails to install, the system restarts just fine while others have to use the system restore or startup repair to log into the system. In some cases, the update crashed the PC during the installation. The update failure might occur in downloading, installing (at some percentage like 92%), or even after restarting the system after the installation.
The Security Update KB5005565 might fail to install mainly for the following reasons:
- Hindrance from the System’s Security Product: If the security product of your system (like an Anti-virus) is limiting access to a resource essential for the installation of the KB5005565 security update, then the update may fail to install.
- Non-Presence of the Microsoft Edge Browser: The KB5005565 update patches more than 300 Microsoft Edge-related files and if you have uninstalled the Edge browser from the system, then this update may not install on the system.
- Corruption of the Essential Windows Components: Windows Update uses different directories (like CatRoot2 and SoftwareDistribution) to temporarily store the updates’ files and if any of these directories have become corrupt, then you may fail to install the KB5005565 update.
- Corrupt System Files: If the essential system files are corrupt (e.g., by a sudden power failure), then the KB5005565 update might show a problem when installing.
If you are one of those unlucky users who cannot boot the system after the installation failure of the KB5005565 update, then you may try only the last option of performing an In-Place Upgrade of the PC by using a bootable device (like USB) but make sure to select Repair This PC and Keep Personal Files, Windows Settings, and Apps options (discussed later in the article).
Disable/Enable Windows Updates
The installation issue of KB5005565 could be the result of a temporary glitch of the modules of the Windows Update. In this case, disabling/enabling Windows updates may clear the glitch and thus solve the problem. But before that, if the Security Update KB5005565 is stuck at some percentage while downloading or installing, then leave the update in that state for an extended time (like 5 to 6 hours or overnight), which may let it download and install.
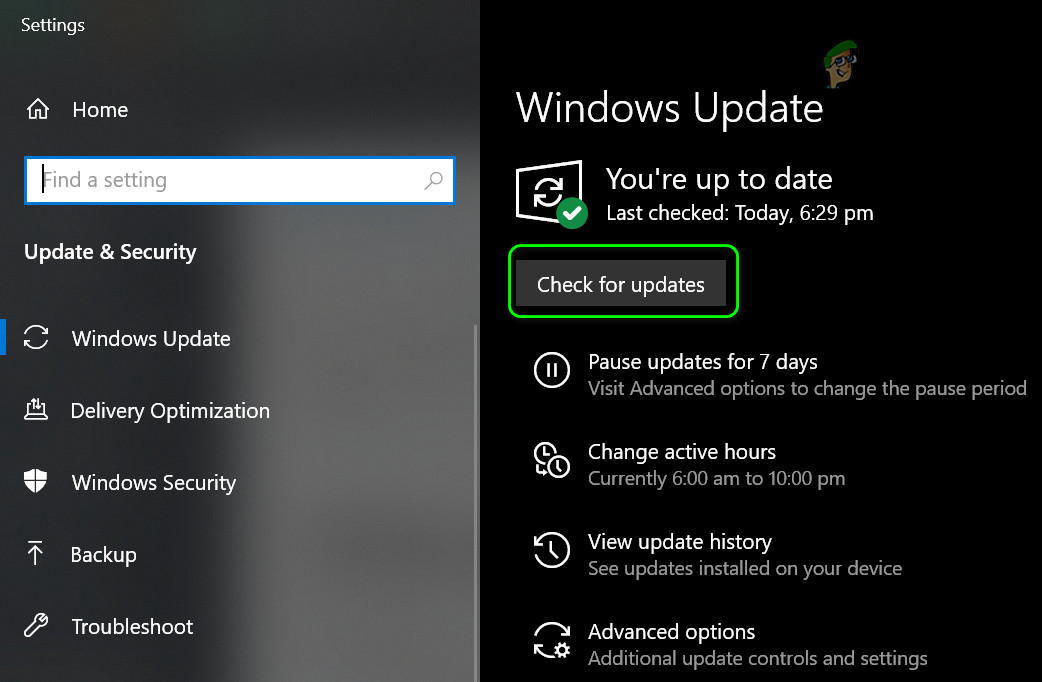
- Click Windows, search and open for Check for Updates (System Settings).
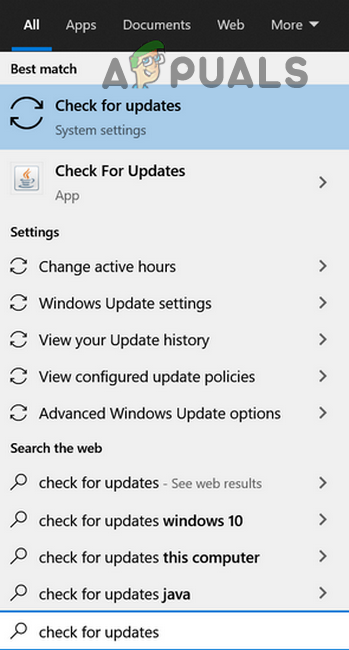
Open Check for Updates - Now click on Pause Updates for 7 days and restart your system.

Pause Updates for 7 Days - Upon restart, launch Windows Update and click on the Resume Updates button.
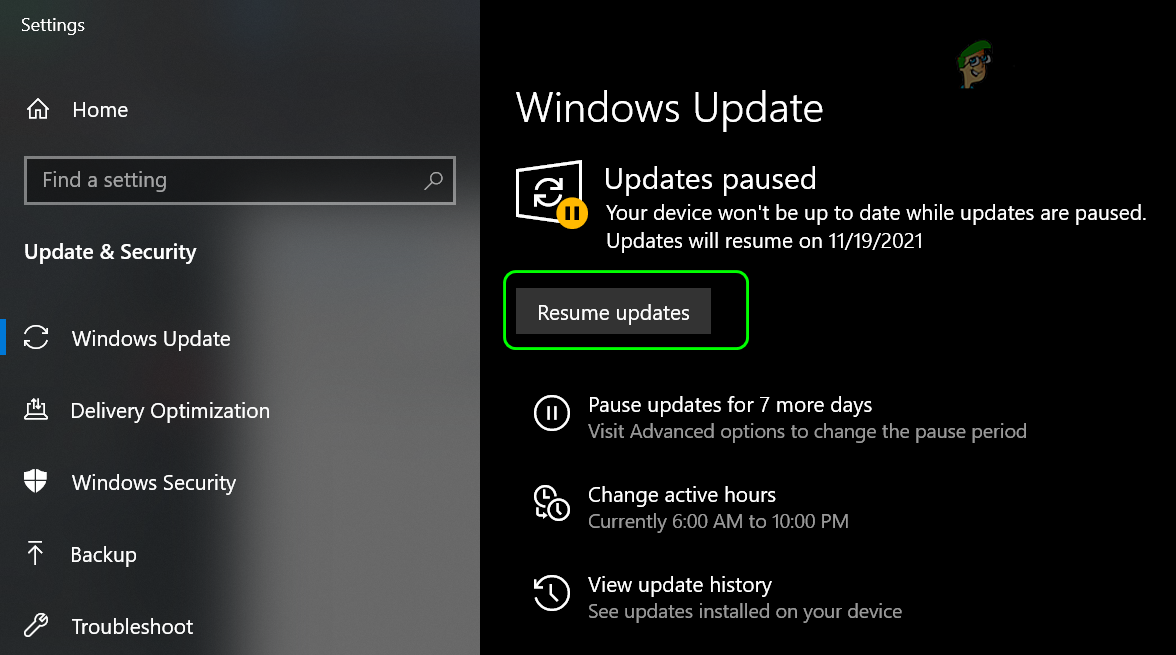
Resume Updates of Windows - Once the KB5005565 update is shown, check if it can be downloaded and installed.
Disable the Third-Party Anti-Virus of Your System
The Windows KB5005565 Update may fail to install if the antivirus of your system is interfering with the update or modules essential for the update. Here, disabling the antivirus of your system may solve the problem.
Warning: Advance at your risk as disabling the antivirus of your system may expose your data/ system to threats.
- Firstly, restart your system (must) and then turn off the antivirus e.g., expand the system tray, right-click ESET Internet Security, select Pause Protection, and then confirm to disable the antivirus.
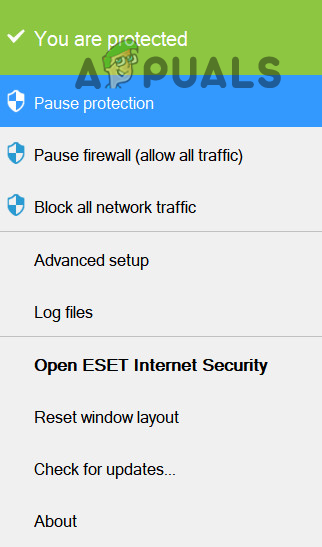
Pause Protection of ESET Internet Security - Now click Windows, search and open Check for Updates.
Check for Windows Updates - Then click on Check for Updates and if the KB5005565 update is shown, check if it can be downloaded and installed without issue.
Reinstall the Microsoft Edge Browser
Many Windows users tend to uninstall Microsoft Edge browser from their systems, either by the PowerShell or using a 3rd party tool/ utility. Although this uninstallation usually does not affect the general performance of the system, this particular KB5005565 update requires MS Edge to be installed on the system as it has to patch more than 300 Edge files. If you have uninstalled Microsoft Edge from your system, then the update might fail to install. In this context, reinstalling the Microsoft Edge browser may let you install the KB5005565 update.
- Firstly, boot your system into the Safe Mode.
- Now, right-click on Windows and select Run.
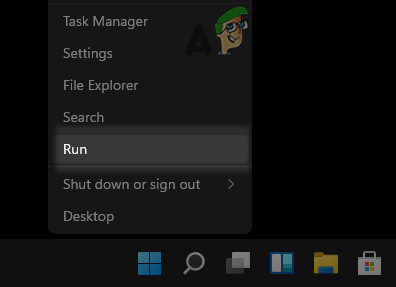
Open the Run Command Box from the Quick Access Menu - Then navigate to the following path:
%localappdata%\Packages

Navigate to the Packages folder in the Local App Data Directory - Now delete the Microsoft.MicrosoftEdge_8wekyb3d8bbwe folder. If you fail to delete the folder, then take its ownership.
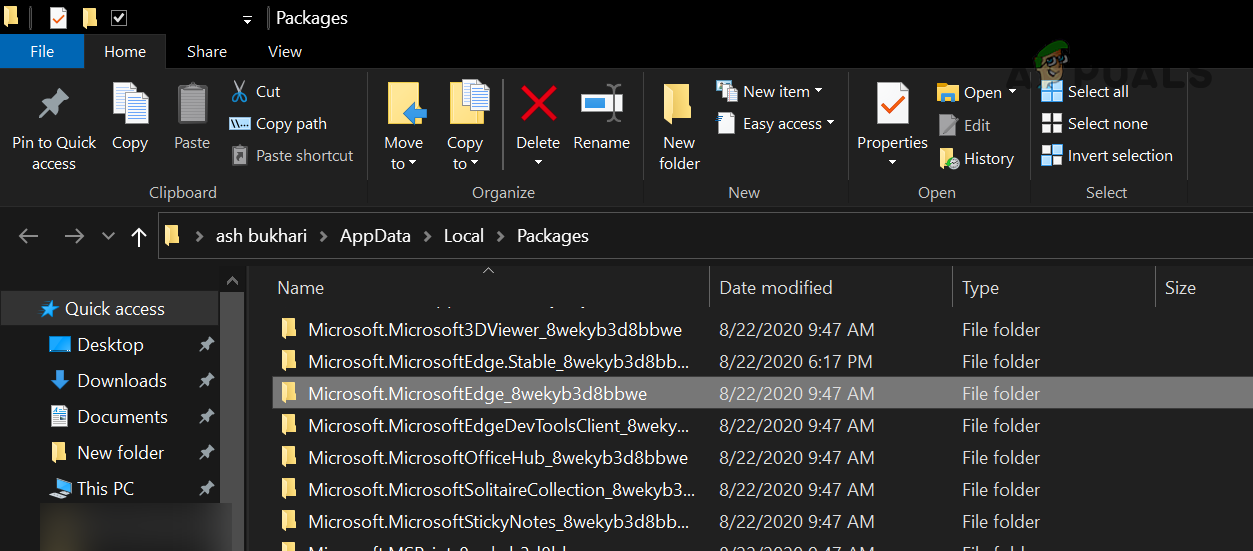
Delete the Microsoft.MicrosoftEdge_8wekyb3d8bbwe Folder in Packages - Then right-click on Windows and select PowerShell (Admin).
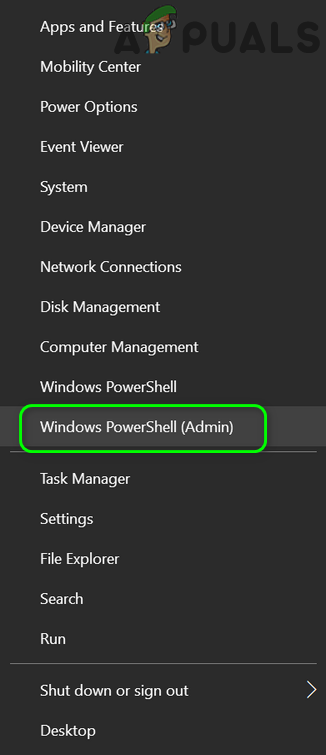
Open Windows PowerShell Admin - Now click Yes (if UAC prompt received) and execute the following command:
Get-AppXPackage -AllUsers -Name Microsoft.MicrosoftEdge | Foreach {Add-AppxPackage -DisableDevelopmentMode -Register “$($_.InstallLocation)\AppXManifest.xml” -Verbose}
Reinstall Microsoft Edge Through the PowerShell - Once the command is successfully executed, close the PowerShell window and restart your system into the normal mode.
- Then launch the Windows Update and check if the Security Update KB5005565 can be installed successfully.
Perform an SFC Scan and Use the SFCFix Tool
The security update KB5005565 may fail to install if the essential system files are corrupt. In such a case, performing an SFC scan and using the SFCFix tool may solve the problem.
Warning: Proceed at your own risk as this method uses some third-party tools that are generally safe but may harm your data/system.
- Perform an SFC scan of your system and check if the corrupt system files are fixed.
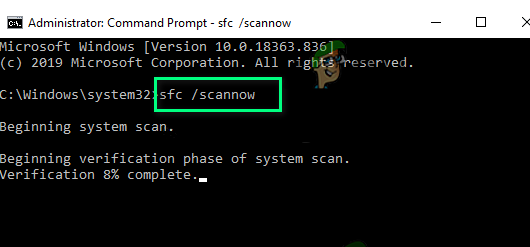
Perform an SFC Scan - If the SFC command cannot fix the corruption of the system files, then launch a web browser and download the following tools to the desktop of your system (do not rename any of the files):
SFCFix
https://www.sysnative.com/forums/downloads/sfcfix/

SFCFix.zip
https://wetransfer.com/downloads/291efc869dec48f71d5058a63397860020210923115130/e204c0
- Now close all running applications and any opened documents.
- Then drag and drop the SFCFix.zip folder on the SFCFix.exe file.
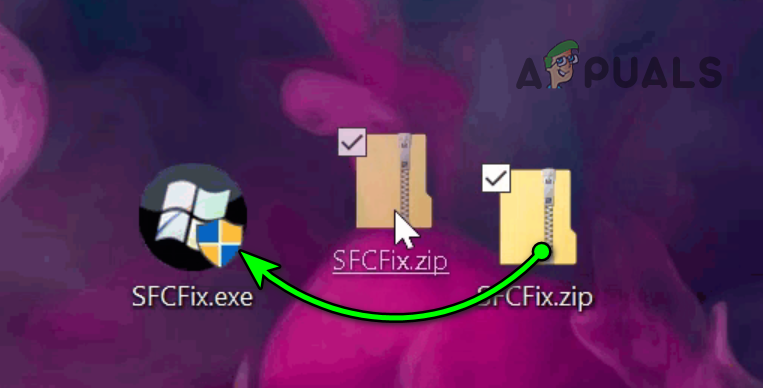
Drag and Drop SFCFix.zip on SFCFix.exe - Wait till the SFCFix executes its script and once completed, check if the KB5005565 can be installed.
Reset the Windows Update Components to the Defaults
If the Windows Update components (e.g., Software Distribution folder or Catroot2 directory) are corrupt, the security update KB5005565 may fail to install. In this context, resetting the Windows Update Components to the defaults may solve the problem.
- Click Windows, search and open Notepad.

Open Notepad - Now copy-paste the following into the Notepad:
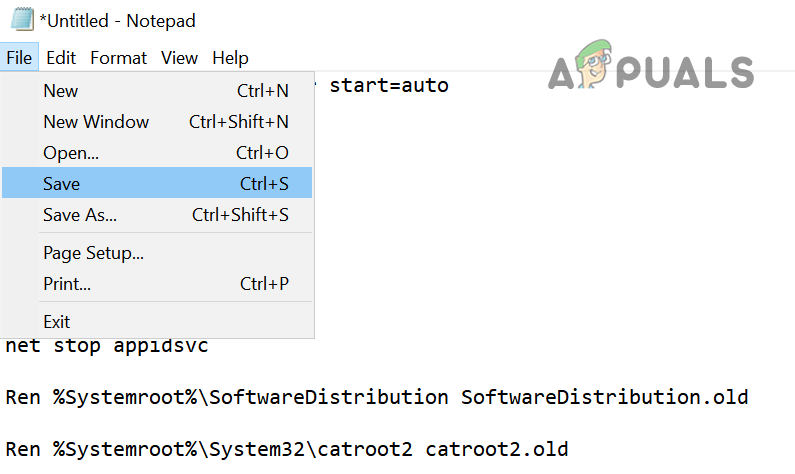
SC config trustedinstaller start=auto

net stop bits

net stop wuauserv

net stop msiserver

net stop cryptsvc

net stop appidsvc

Ren %Systemroot%\SoftwareDistribution SoftwareDistribution.old

Ren %Systemroot%\System32\catroot2 catroot2.old

regsvr32.exe /s atl.dll

regsvr32.exe /s urlmon.dll

regsvr32.exe /s mshtml.dll

netsh winsock reset

netsh winsock reset proxy

rundll32.exe pnpclean.dll,RunDLL_PnpClean /DRIVERS /MAXCLEAN

dism /Online /Cleanup-image /ScanHealth

dism /Online /Cleanup-image /CheckHealth

dism /Online /Cleanup-image /RestoreHealth

dism /Online /Cleanup-image /StartComponentCleanup

Sfc /ScanNow

net start bits

net start wuauserv

net start msiserver

net start cryptsvc

net start appidsvc
- Now expand the File menu and select Save.
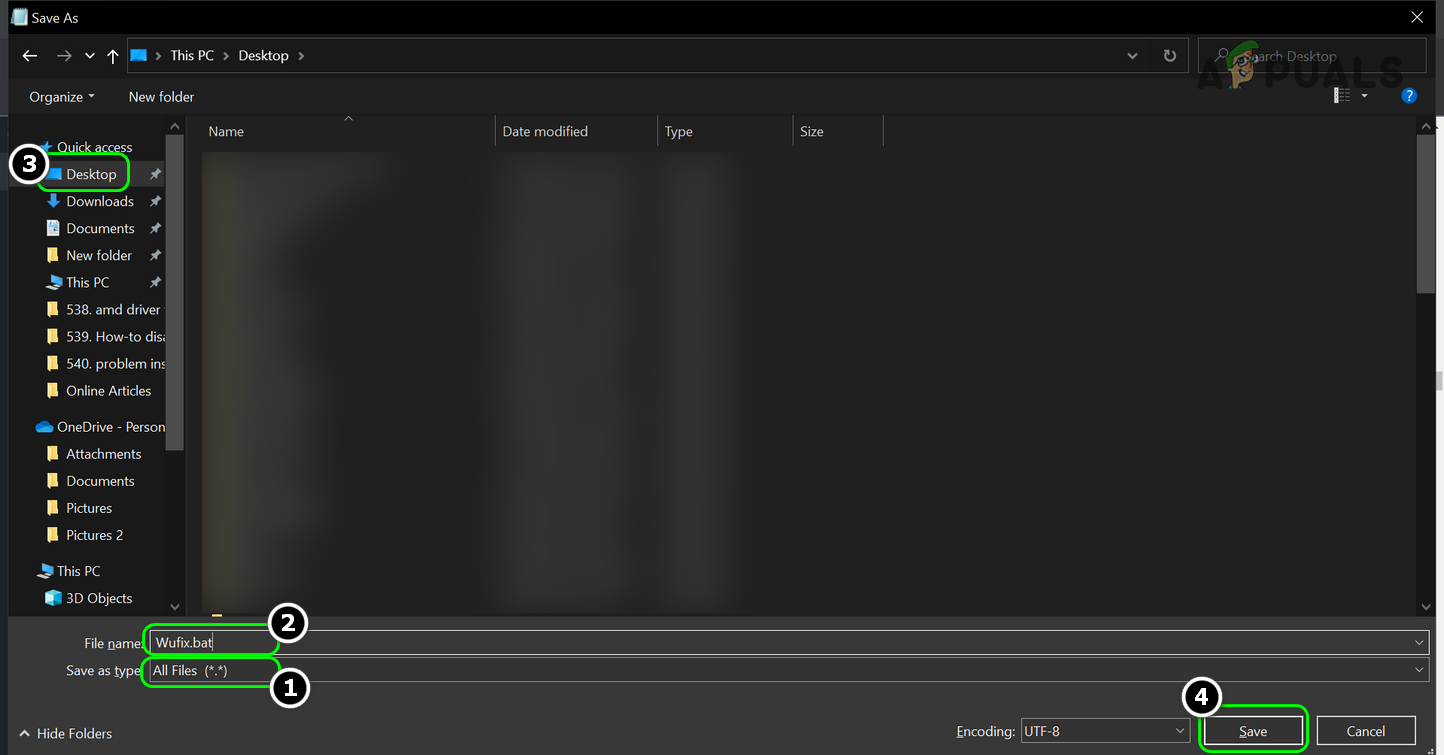
Open the Save Dialogue Box of Notepad - Then change the Save as Type dropdown to All Files and navigate to the system’s desktop.
- Now enter the file name with a batch (.bat) extension e.g., Wufix.bat, and click the Save button.
Save the Wufix.bat File on the System’s Desktop - Then close the Notepad window and other applications/documents.
- Now right-click on the batch file (e.g., Wufix.bat) and select Run as Administrator.
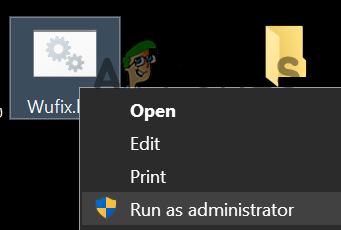
Open WuFix.bat as Administrator - Then wait till all the commands are executed. It may take some time to complete, so, try it in your free time (like overnight).
- Once completed, restart your system, and upon restart, check if the Windows Update KB5005565 can be installed.
Perform an In-Place Upgrade of the System’s Windows
If the essential system files are corrupt to a level where SFC/DISM scans are not able to fix them, then performing an In-Place Upgrade of the system’s Windows may solve the problem.
Before proceeding, make sure to back up the system’s data and create a system restore point. Also, ensure that all third-party antivirus, firewall, and encryption applications are disabled during the process. Moreover, disconnect all other peripherals except keyboard, mouse, LAN, and display. Additionally, make sure you are using an administrator account to initiate and complete the upgrade process.
- Launch a web browser and steer to the Windows 10 page.
- Now scroll down and click on Download Tool Now (under Create Windows 10 Installation Media).

Download the Media Creation Tool from the Microsoft Website - Then launch the file as administrator and click Accept.
- Afterward, select the Language, Time, version, etc. as per the currently installed OS.
- Now on the What You Want to Do window, select Create Installation Media for Another PC and click Next.
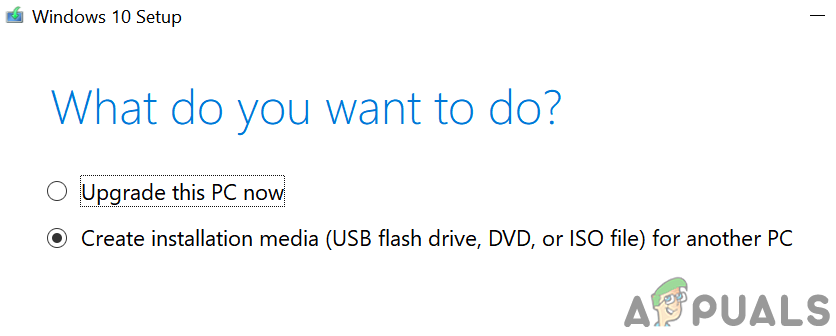
Select Create Installation Media - Then select the ISO file and click Next.
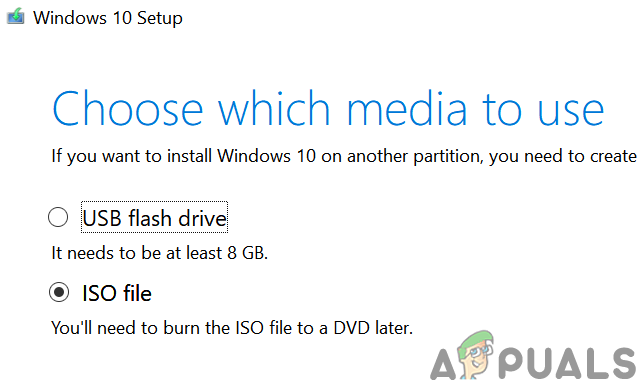
Select ISO File Type - Once the ISO file is downloaded, right-click on it and select Run as Administrator.
- Now follow the prompts to perform the In-Place Upgrade but during the process, make sure to select Repair This PC (if asked to) and Keep Personal Files, Windows Settings, and Applications options.
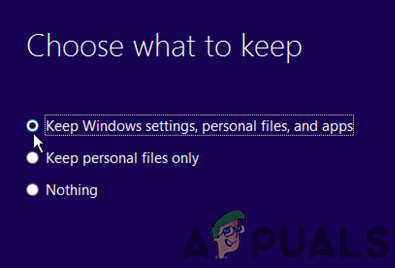
Keep Windows Settings, Personal Files, and Apps - Once the upgrade process is complete, hopefully, the update issue may have been resolved.
If the In-Place upgrade fails, then you may either reset your PC to the defaults or perform a clean installation of Windows to solve the update issue.


