Troubleshoot Windows Update Error 0X8007371C in Windows 10
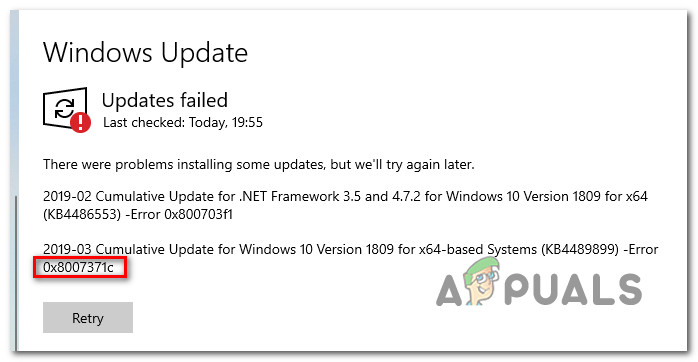
Some Windows 10 users are reporting that they end up seeing the Error 0x8007371C whenever they attempt to install a pending cumulative Windows update. Most affected users are reporting that only certain updates end up failing with this error while others install just fine.
As it turns out, there are several different underlying causes that might be responsible for this particular error code. Here’s a shortlist of potential culprits:
- Common WU Glitch – As it turns out, there are certain common scenarios that might produce a glitch that breaks the functionality of Windows Update. In most cases, it’s enough to run the Windows Update Troubleshooter and apply the recommended fix.
- Corrupted WU dependency temporary data – If the Windows Update troubleshooter is not able to resolve the issue automatically, you should attempt to resolve the issue manually by cleaning any temporary files stored inside the SoftwareDistribution and Catroot2 errors.
- Broken Windows Update component – Once you’ve ensured that both the Windows Update Troubleshooter and yourself were not able to fix the WU component, one way to fix the issue (besides reinstalling your OS) is to circumvent the local WU component by downloading and installing the failing update via the Microsoft Update Catalog.
- 3rd party software is interfering with WU – Keep in mind that a new driver update, new driver installation from a 3rd party application can also interfere with the Windows Update component. In this case, you can simply use the System Restore troubleshooter to revert the state of your OS back to a timestamp when the WU component was functioning properly.
- System file corruption – Under certain circumstances, you can expect to see this error code occurring due to a case of underlying system file corruption that cannot be fixed conventionally. In this case, the only viable fix at this point is to go for a repair install or clean install.
Now that you are familiar with every potential culprit that might be responsible for the apparition of the 0x8007371C Windows Update error, here’s a list of verified fixes that other affected users have successfully used to resolve the issue:
Run the Windows Update Troubleshooter
Since the issue is most likely related to a known WU inconsistency that Microsoft is already aware of, you should start this troubleshooting guide by checking if your operating system is not capable of identifying and fixing the 0x8007371C error automatically.
Note: Windows 10 includes a lot of built-in repair strategies capable of resolving the vast majority of update-related errors and inconsistencies.
Some users that we’re facing this exact issue have managed to fix the 0x8007371C by running the Windows Update troubleshooter and enforcing the recommended fix.
This built-in utility is present on every recent Windows version and contains dozens of repair strategies that will be applied automatically if a familiar scenario is found. In case the scan finds a viable repair strategy, the utility will automatically recommend a viable fix that you can easily apply.
Here’s a quick guide on deploying the Windows Update troubleshooter to resolve the 0x8007371C error code on Windows 10:
- Start by opening up a Run dialog box by pressing Windows key + R. Inside the text box, type “ms-settings-troubleshoot” and press Enter to open up the Troubleshooting tab of the Settings app.
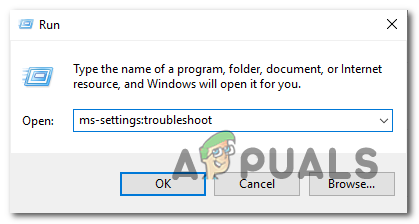
Opening up the troubleshooting tab - Inside the Troubleshooting tab, move over to the right section of the Settings screen, then move down to the Get up and running section.
- Next, click on Windows Update before clicking on Run the troubleshooter from the newly appeared context menu.
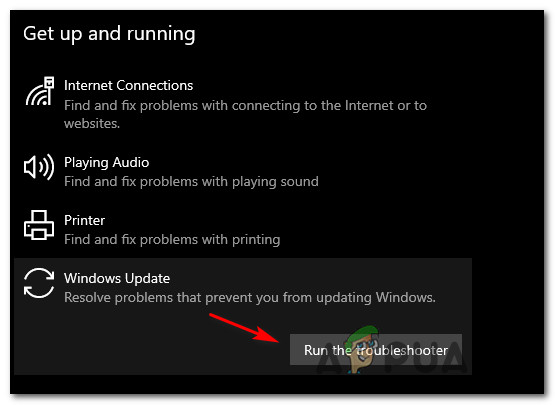
Running the Windows Update Troubleshooter - Inside the Windows Update Troubleshooter, it will automatically begin to scan your system of any inconsistencies. Wait patiently until the initial scan is complete.

Checking for WU issues Note: This scan will determine whether any of the repair strategies included with it are a match for the updating problem you’re currently dealing with.
- After a viable repair strategy is found, you will be presented with a new window in which you can click on Apply this fix to enforce the fix that is right for this particular scenario.
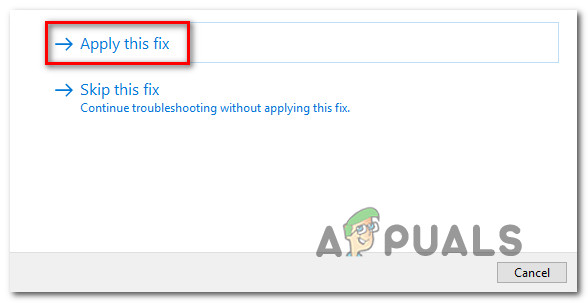
Repairing the Windows Update component Note: Depending on the type of fix that got recommended, you might need to follow the on-screen instructions to enforce the recommended fix.
- Once the fix is successfully applied, reboot your computer and see if the issue is resolved once the next startup is complete.
If the 0x8007371C is still occurring when you attempt to install the pending update (or the troubleshooter didn’t find a viable repair strategy), move down to the next potential fix below.
Reset every WU Dependency
If the Windows Update Troubleshooter was not able to identify and fix the issue automatically, you should advance this troubleshooting attempt by manually resetting the entire Windows Update component.
To work around this problem, you use an elevated Command Prompt to stop every relevant Windows Update settings before cleaning up any temporary files stored within SoftwareDistribution and Catroot2 folders – After doing this and restarting every relevant service, you should attempt to install the pending updates once again and see if the issue is now fixed.
If you haven’t tried this particular fix yet, follow the instructions below to reset every Windows Update Dependency in an attempt to fix the 0x8007371C:
- Start by pressing Windows key + R on your keyboard to open up a Run dialog box. After you do this, type “cmd” inside the text box and press Ctrl + Shift + Enter to open up an elevated Command Prompt.
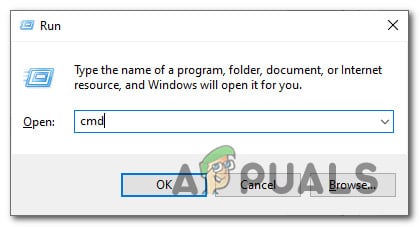
Opening a CMD prompt Note: Once you see the UAC (User Account Control) prompt, click Yes to grant administrative privileges.
- Inside the elevated Command Prompt, type the following commands in order and press Enter after each one to stop every WU-related service:
SC config wuauserv start= auto

SC config bits start= auto

SC config cryptsvc start= auto

SC config trustedinstaller start= auto
Note: Use these commands to set the Windows Update Services, MSI Installer, Cryptographic services, and BITS services to Automatic Startup.
- After every relevant service has been stopped, run the following commands to clear and rename SoftwareDistribution and Catroot2 folders:
ren C:\Windows\SoftwareDistribution SoftwareDistribution.old
ren C:\Windows\System32\catroot2 Catroot2.old
Note: These two folders are holding updated files use by the WU component. Renaming these folders will force your OS to create new healthy equivalents that will not be affected by corruption.
- Restart your computer once again and see if the problem is now fixed.
If your attempts at installing pending updates still end with the same 0x8007371C error, move down to the next potential fix below.
Install the failing Windows Update manually (via Microsoft Update Catalog)
In Windows Update troubleshooter didn’t allow your to identify any underlying issues with the Windows Update component, one quick fix that that should allow you to bypass the 0x8007371C error is to use the Windows Update Catalog to find the update that is failing to install and install them manually (most commonly when attempting to update to Windows 10 build 1903).
This operation was confirmed to work by a lot of affected users – This process might be a little tedious (especially if you’re dealing with multiple updates that are all failing with the same error), but it’s worth it if you want to completely bypass the reliance on the built-in Windows Update component.
Note: If you have a lot of pending updates (over 10), it might be better to bypass this method and move directly to Method 3.
If you decide to go through with this fix, follow the step by step instructions below:
- Open your favorite browser on the affected computer and access the root address of the Microsoft Update Catalog.
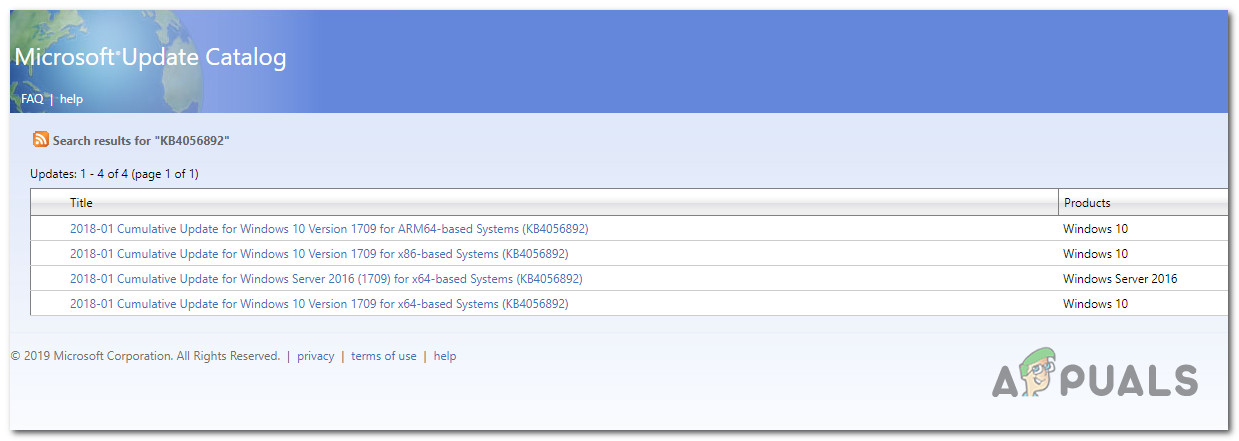
- Next, leverage the search function in the top-left corner of the screen to search for the update that is failing with the 0x8007371C error code.

Installing the failing update manually - After the results are showing, decide on the appropriate update while keeping in mind your current OS architecture and the Windows version that you’re using.
Deciding on the correct Windows update via MUC - After you decide on the update that’s compatible with your machine, go ahead and click on the Download button associated with the correct driver.
- Finally, File Explorer and navigate manually to the location where the driver was downloaded. When you get to the location where you downloaded the driver that was previously failing, right-click on the .inf file and choose Install from the context menu that just appeared.
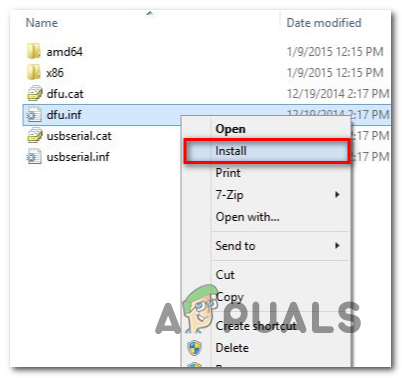
Installing the Inf driver Note: In case multiple updates are failing with the same error code, repeat steps 3 to 5 with every Windows Update that was previously failing (if more than one pending update is failing).
In case you’re still seeing the same error code when you try to install the updates via the Windows Update catalog, move down to the next potential fix below.
Use System Restore
If you only noticed that pending Windows Updates have started to fail after a certain change (driver update, new driver installation, new feature update, etc.), you might be dealing with a rogue element that conflicts with the Windows Update component.
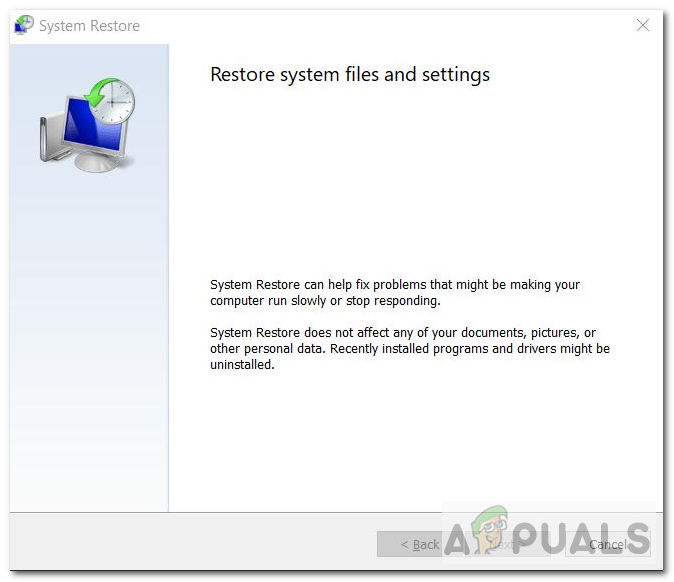
In this case, you might be able to fix the problem by using System Restore to restore your computer back to a healthy state.
Note: Keep in mind that by default System Restore is configured to create and save new restore snapshots at important system events. Unless you modified this default behavior, you should have plenty of restore snapshots to choose from in your attempt to fix the ‘SiHost.exe Unkown Hard Error‘.
Use a previously saved System Restore point to revert your computer back to a previous point in time when this issue was not occurring.
If you managed to use a restored snapshot to revert your PC back to a healthy point, attempt to install the Windows Update that was previously failing once again.
If the problem is still not fixed and you’re still seeing the same 0x8007371C after an update fails, move down to the next potential fix below.
Repair Installing or Clean Installing
If none of the potential fixes above have worked for you so far, there’s a very high possibility you’re dealing with some kind of system file corruption that is affecting the local Windows Update component.
If this scenario is applicable, the only thing you can do at this point is to reset every component and subcomponents of your Windows installation to ensure that you completely eliminate every corrupted instance that might be triggering the 0x8007371C error code.
If you have no choice but to do it at this point, you really only have 2 ways forward:
- Clean install – If you’re looking for a quick fix, go for a clean install since you can deploy it without having to use compatible installation media. This will effectively replace your existing lineup of Windows files from the OS drive and eliminate any corrupted instances. But keep in mind that unless you back up your personal data in advance, you need to be prepared to lose every bit of personal data from your OS drive (C:\).
- Repair install – This procedure will take a lot longer and it will require you to insert a compatible installation media and use it to trigger an in-place repair procedure. But repair installing will allow your to keep your personal files including applications, games, documents, photos, etc.


