How to Fix Update Error 0x80073701 on Windows 10/11
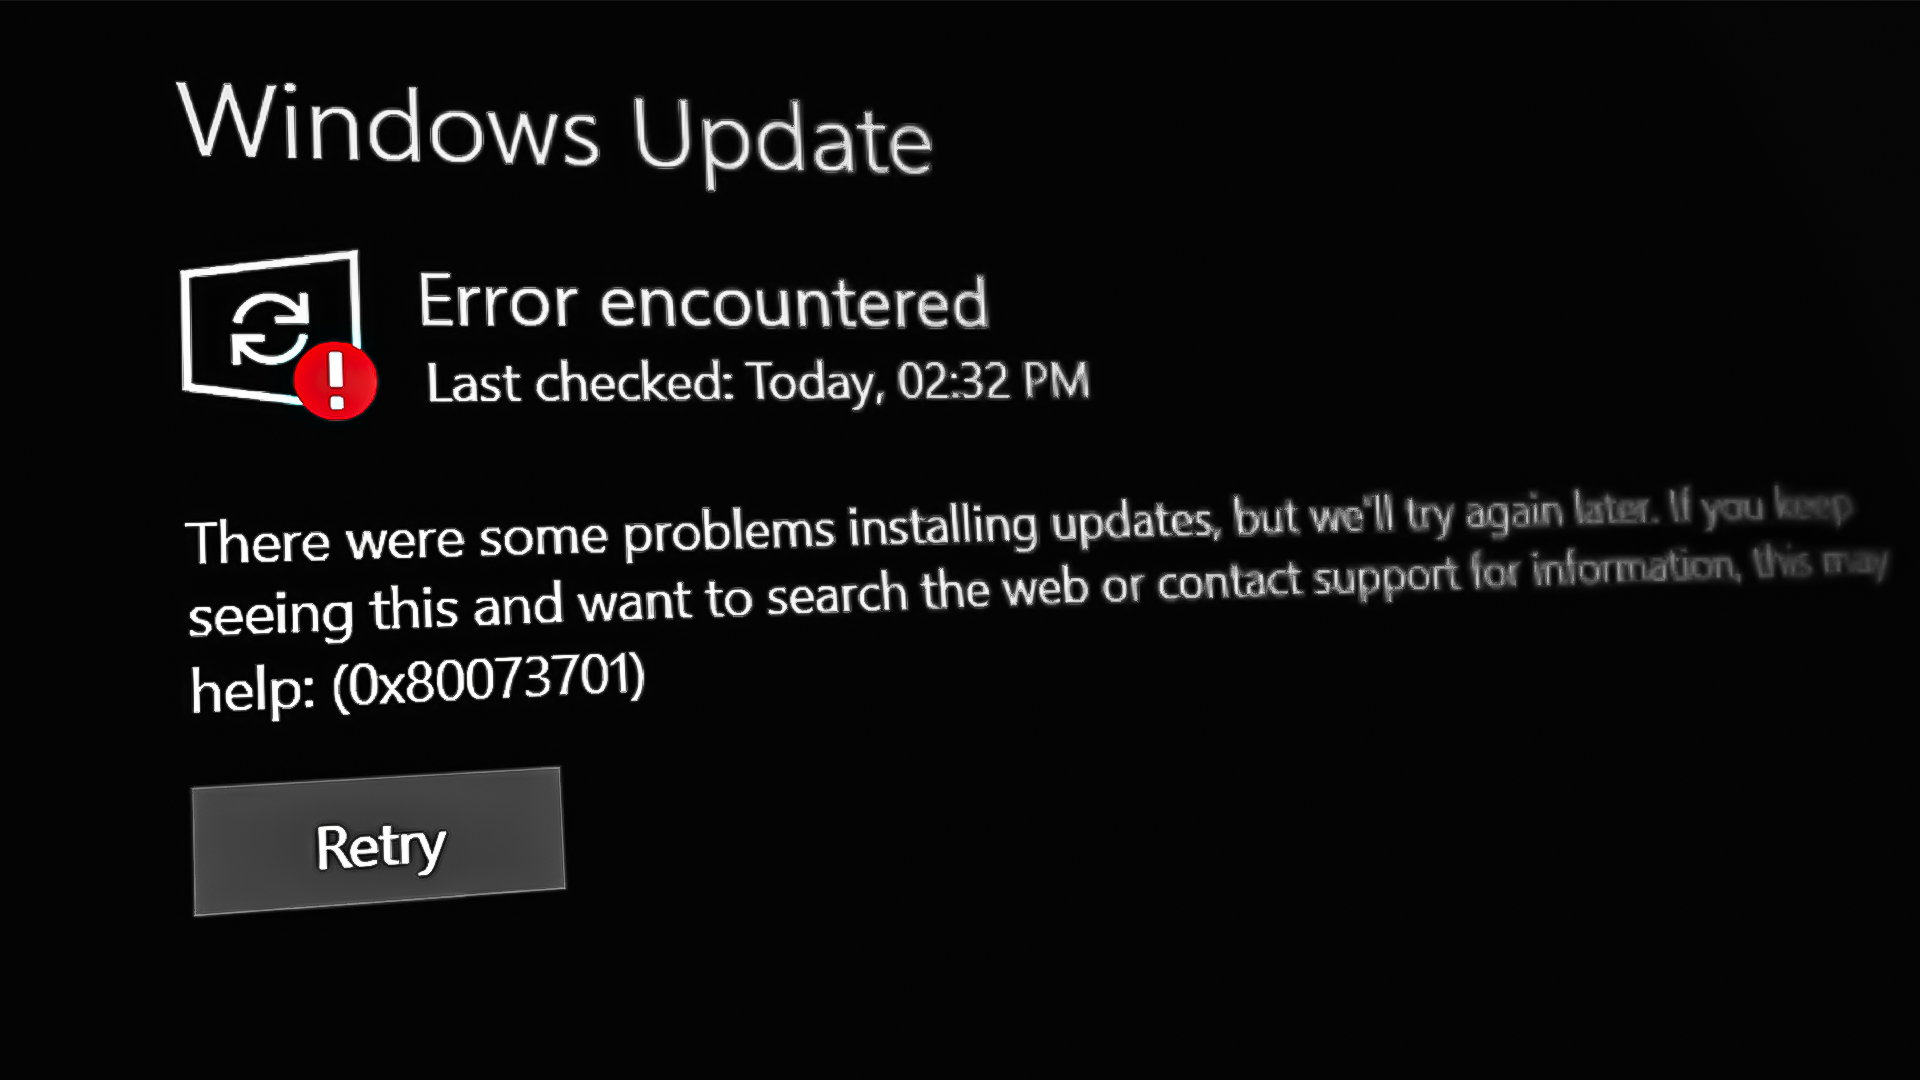
The Windows update error 0x80073701 occurs when the users attempt to install the latest updates on their computers. Mostly it occurs while installing the cumulative updates. According to users, the updates start without any issues but stop midway, resulting in the following error.
Let’s get straight into troubleshooting this error. Follow the methods down below:-
1. Run the Windows Update Troubleshooter
Windows Update troubleshooter is a tool that identifies and fixes any problems that prevent updates from being installed. It works by scanning the system for issues.
Follow these steps to proceed:
- Press the Win + I keys simultaneously to open Settings.
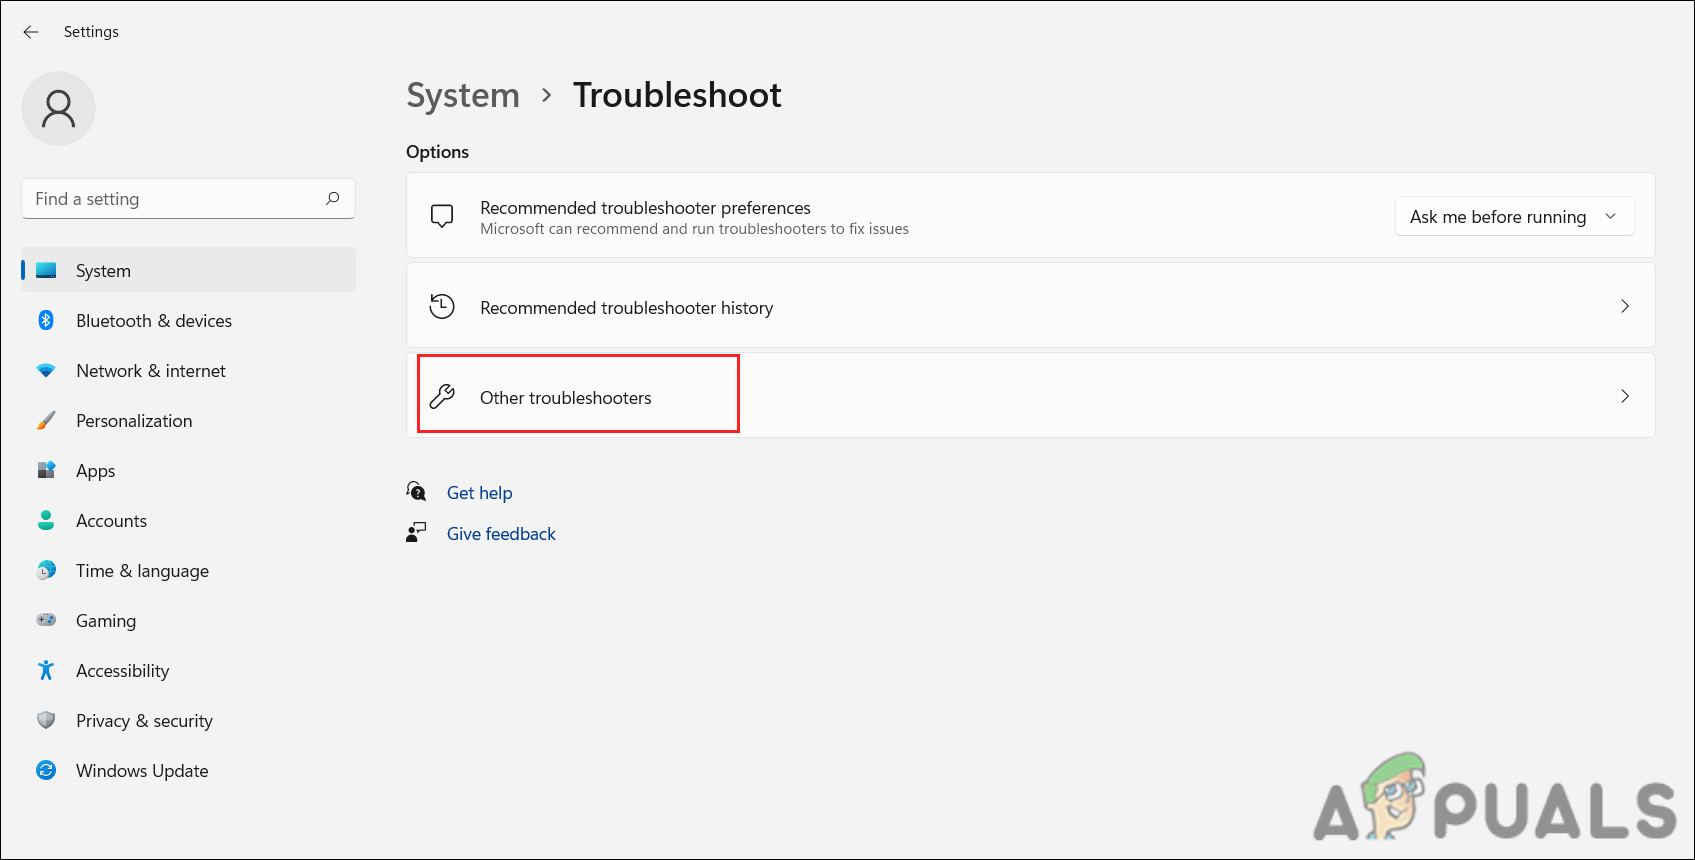
- Click System > Troubleshoot > Other troubleshooters in the following window.
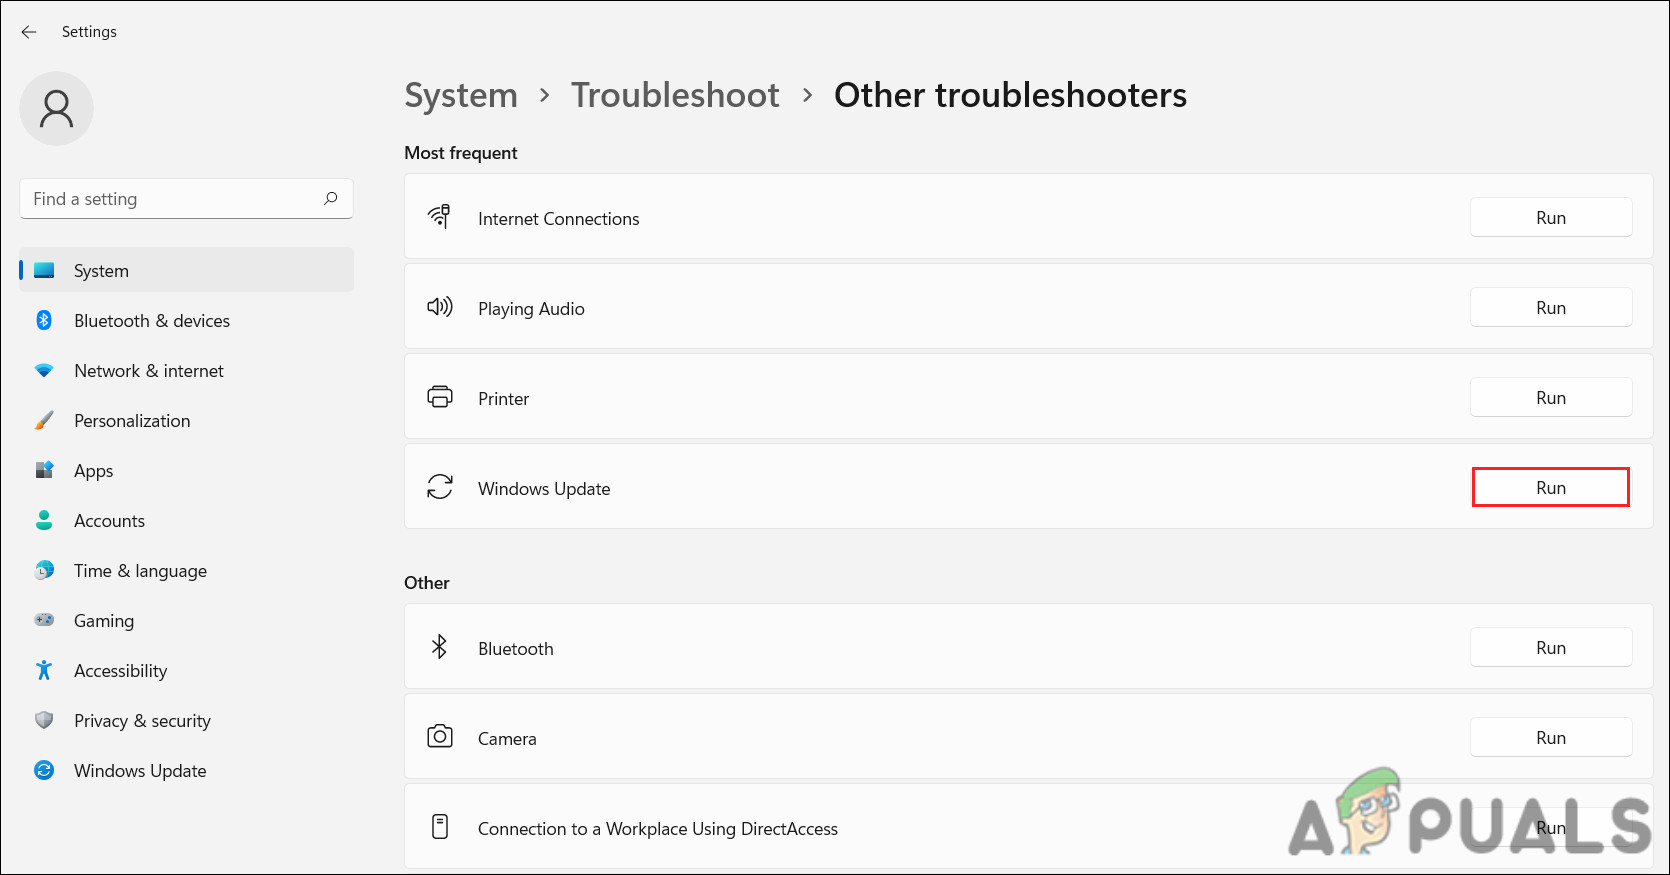
Click on Other troubleshooters - Now, locate the Windows Update troubleshooter and click on the Run button. The troubleshooter will now begin scanning the system for errors.
Run the Update troubleshooter - Wait for the process to complete, and then check the results. Click on Apply this fix if the troubleshooter suggests any fixes.
- Otherwise, click on Close the troubleshooter and move to the next method below.
2. Install the Update Manually
If the system is showing a download error when the system tries to get the latest update, then you can use the Microsoft Update catalog to install the update manually. This directory lists all the updates that are released by Microsoft for all Windows versions.
Here is how you can install the update manually using the Update catalog:
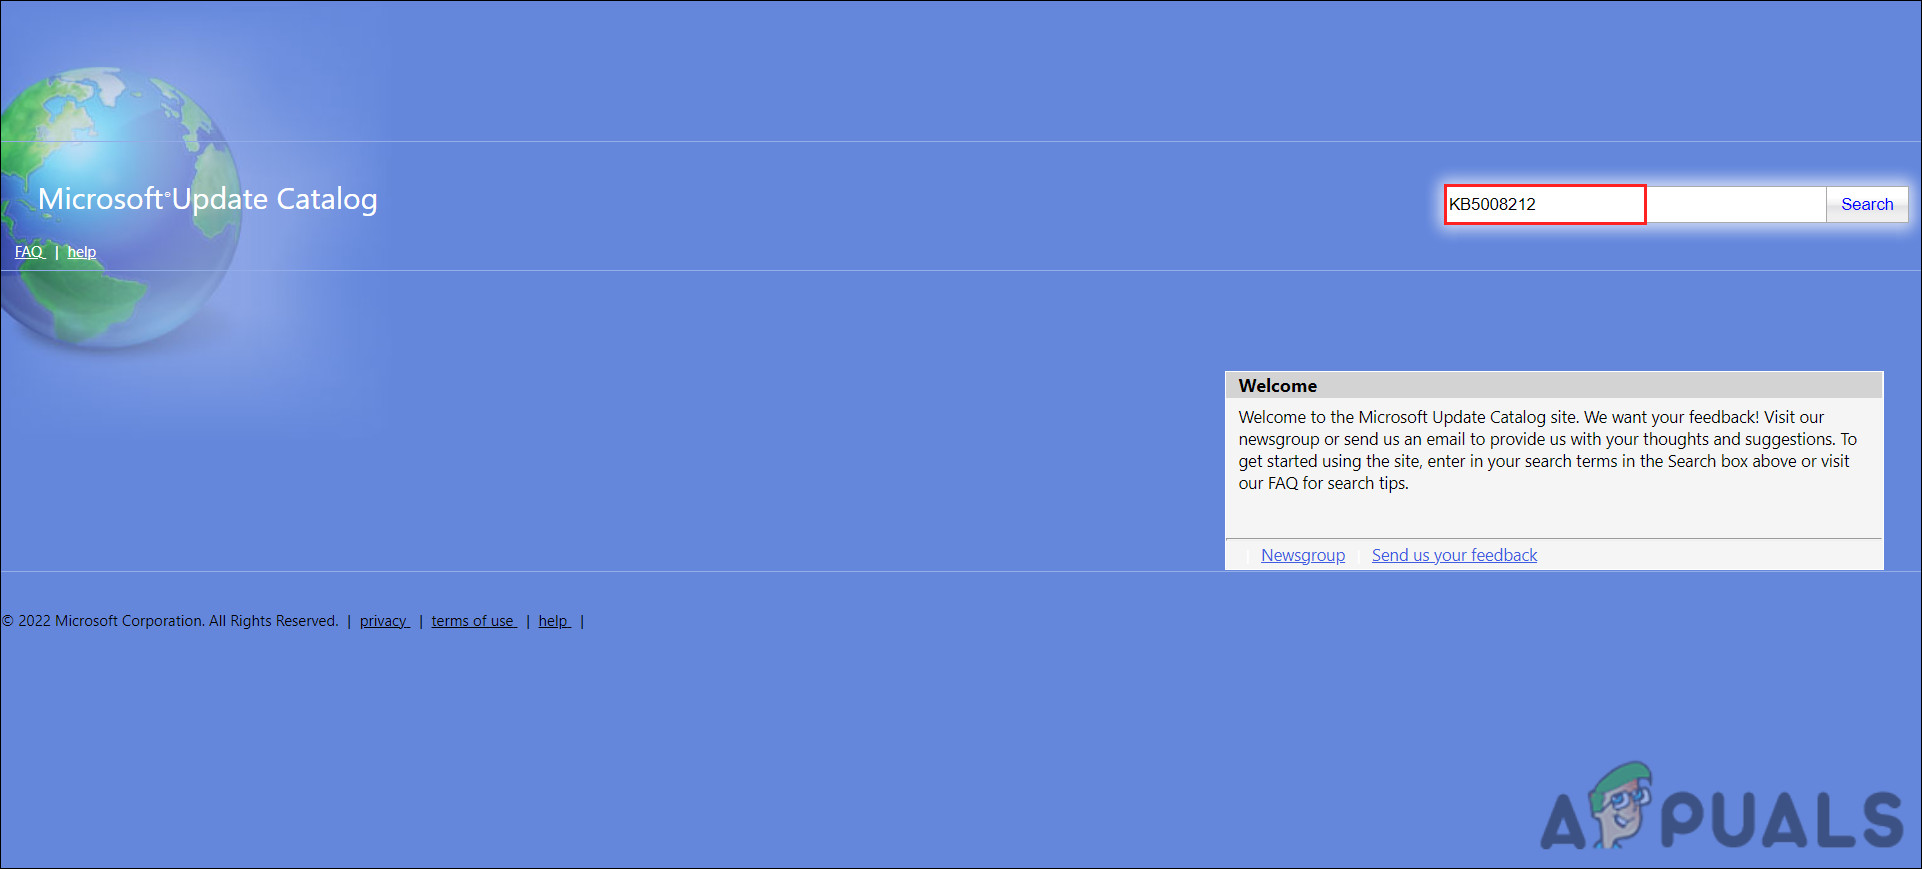
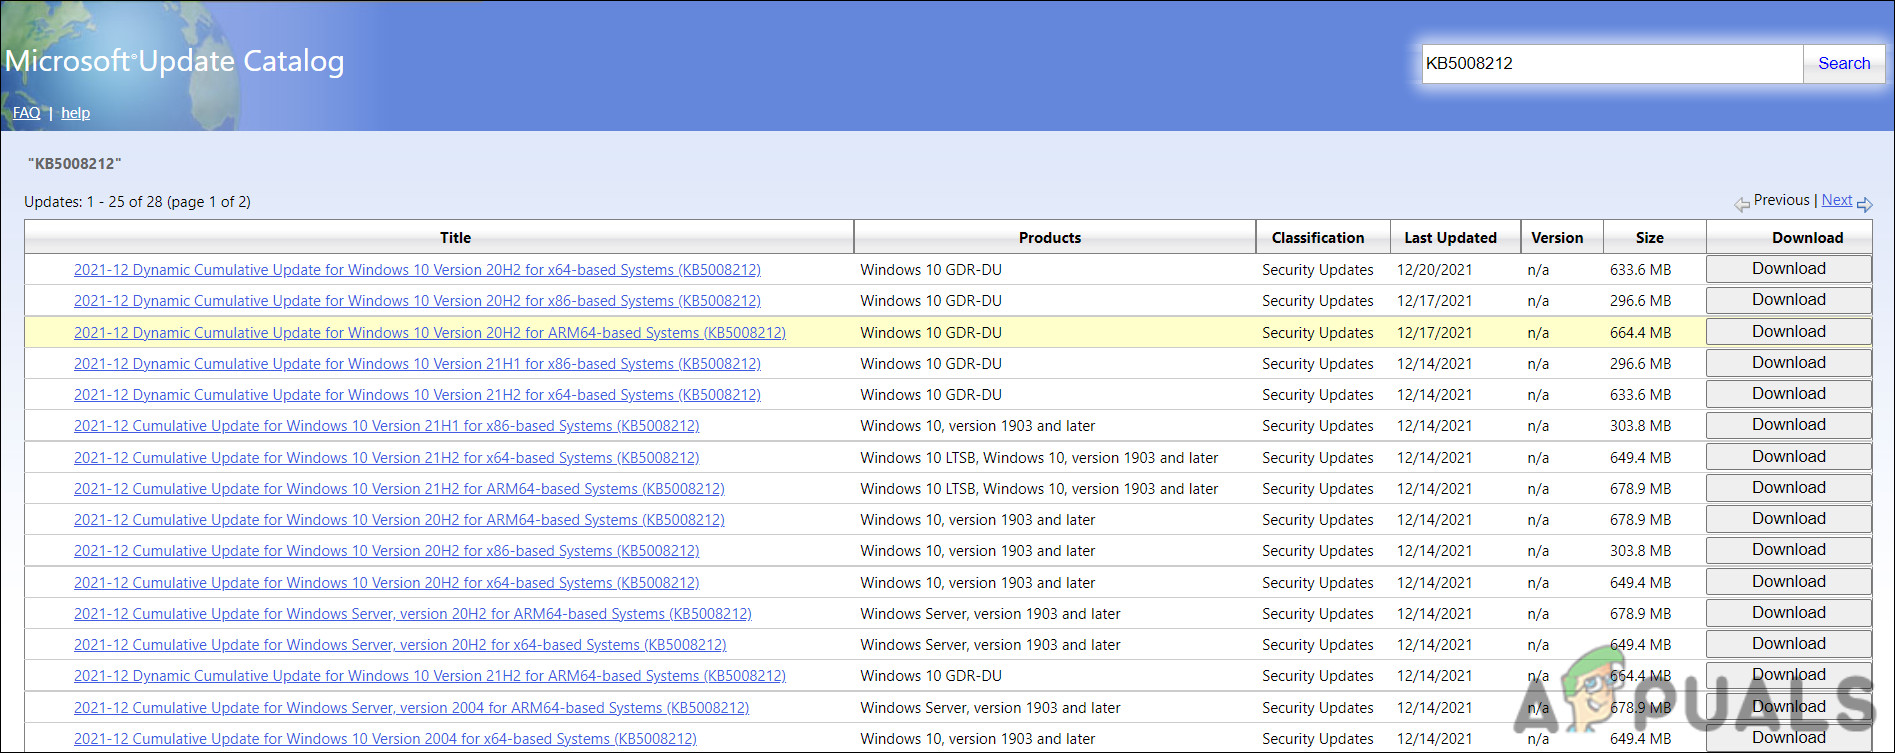
- Launch your browser and head over to Microsoft Update Catalog.
- Type in the KB number of the targeted update in the search bar and click Enter.
Search for the targeted update - In the results displayed, look for the most appropriate update according to your system and click on the Download button on it.
Click on the Download button - Click on the downloaded file and follow the on-screen instructions to proceed.
This should help you install the update the system cannot install automatically.
3. Reset Windows Update Services and Cache
In addition, corrupt Windows update services or cache files may prevent you from installing the updates.
In this case, it is best to restore the default values for all the required components and services. You can perform this action without having to manually reset each service individually by using our batch file. The batch file will stop all the Windows services and restart them. It may take a while, so hang in there.
Here is all that you need to do:
- Click here to download the file.
- Click on Download anyways to proceed.
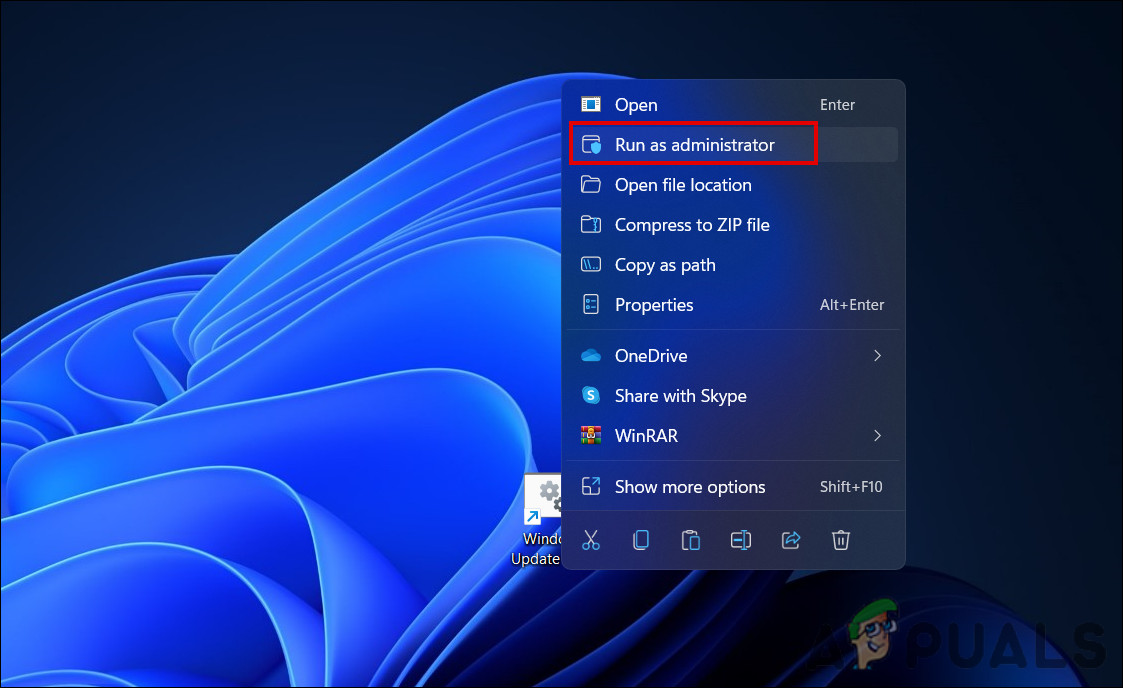
- Right-click on the downloaded file and choose Run as administrator from the context menu.
Run the bat file as administrator - In the following security dialog, head over to More info > Run anyways. This prompt typically appears when the users try to run a program from an unrecognized source.

Run the bat file - Click Yes in the User Account Control prompt to proceed.
- Restart your computer after the process has been completed. Check to see if the issue has been resolved after rebooting.
4. Run DISM via Command Prompt
DISM is a troubleshooting utility designed by Microsoft that can be run via the Command Prompt. In this method, we will be running the startupcleanup command, which will clean the OS components of the system.
Here is how you can run the DISM command:
- Press Win + R to open Run.
- Type cmd in Run and press Ctrl + Shift + Enter in Run to open Command Prompt.
- Click Yes in the User Account Control prompt.
- Type or paste the following command in the Command Prompt window.
dism /online /cleanup-image /startcomponentcleanup
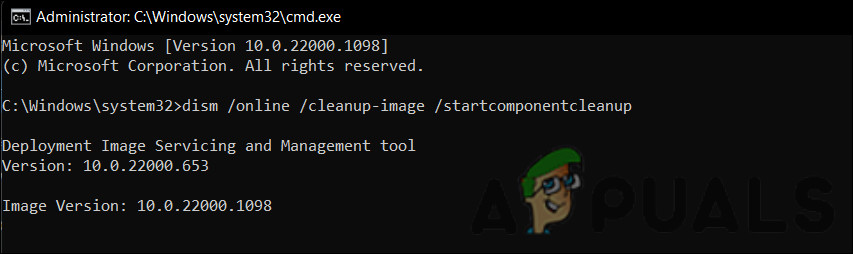
Run the Cleanup command - Click Enter to execute it.
- Wait for the command to complete.
- Restart your device and check for updates again.
5. Perform a Reset
In case none of the troubleshooting methods above work for you, you can try performing an in-place upgrade using an ISO file. Doing this will fix all the underlying errors while upgrading your system to the latest build available.
Here is how you can proceed:
- Launch the official Microsoft support website.
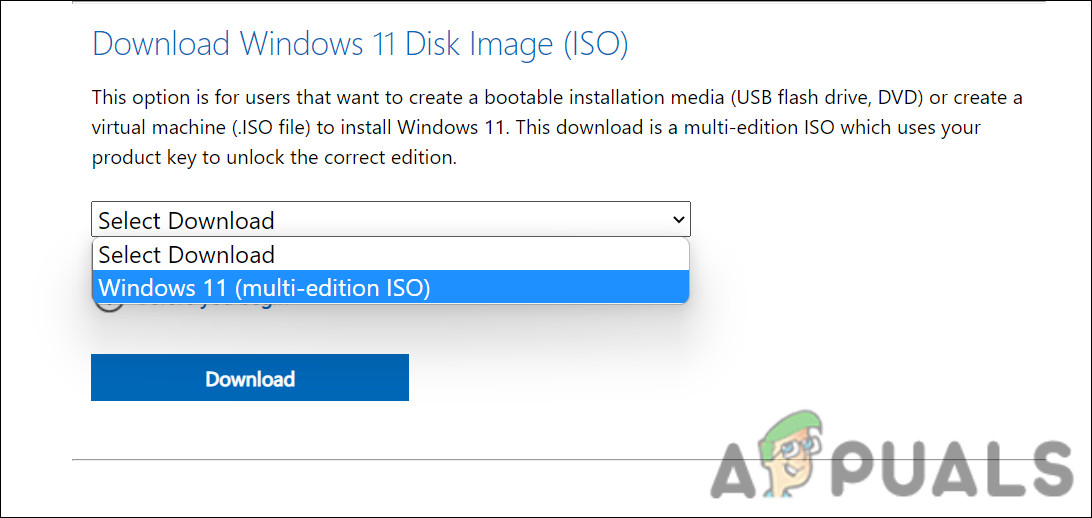
- Expand the dropdown for Download Windows 11 Disk Image (ISO).
- Choose Windows 11 and click on the Download button to proceed.
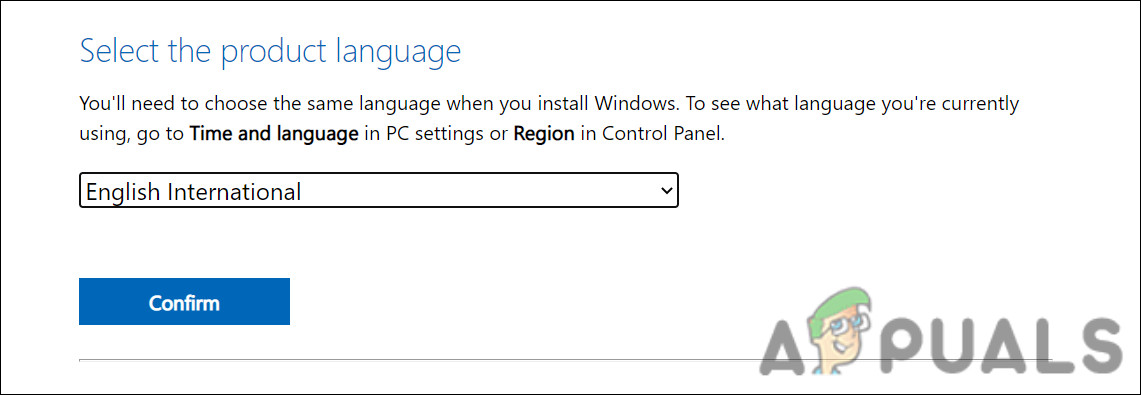
Download the ISO file - Next, pick a language for installation and click Confirm > Download.
Choose a product language - Right-click the downloaded file and choose Mount from the context menu.
- Now, choose the mounted drive and double-click the Setup file.
- Click Not now > Next > Accept.
- Make sure all the items you want to keep are selected during the process.
- Finally, click on the Install button. Once the process is finished, you will be upgraded to the Windows 11 22H2 version automatically.
Hopefully, this will fix the problem once and for all.


