How to Fix 0x80073701 Update Install Error on Windows 11
The update process may reach 100% and then suddenly fail with error code 0x80073701, blocking the installation from completing successfully. Error 0x80073701 stands for ERROR_SXS_ASSEMBLY_MISSING, which means that a specific system assembly required for the update is missing.
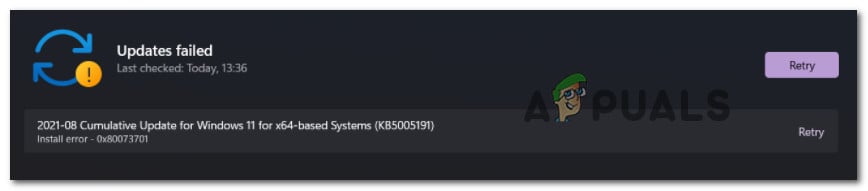
The most frequent cause is leftover traces from a corrupted or incomplete update, along with damaged system files or a broken servicing stack.
Now that you know what could be causing the error, let’s go through a series of confirmed solutions that have helped others resolve this issue.
1. Run the Windows Update Troubleshooter
This tool automatically identifies and resolves common issues related to update services and component configuration. It resets essential services, fixes permission-related problems, and can often resolve interruptions caused by misconfigured update settings.
Note: As Windows 11 approaches its official release, Microsoft continually updates the troubleshooter with new repair strategies. So, even if you’ve tried troubleshooting before, it’s worth running again.
- Press Windows key + R to open a Run dialog box. Then type ‘ms-settings:troubleshoot’ in the box and press Enter to open the Troubleshooting section in Settings.

Accessing the Troubleshoot menu on Windows 11 Note: If you see a User Account Control prompt, click Yes to allow administrative access.
- Once you’re in the Troubleshoot menu, look to the right and click Other Troubleshooters at the bottom of the window.
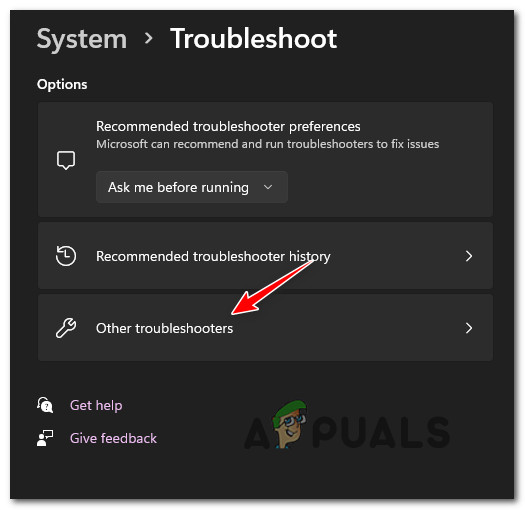
Open up the Other Troubleshooters tab - In the Other Troubleshooters section, click the Run button next to Windows Update.

Accessing the Windows Update troubleshooter on Windows 11 - Wait while the Windows Update Troubleshooter checks for issues with the Windows Update components.
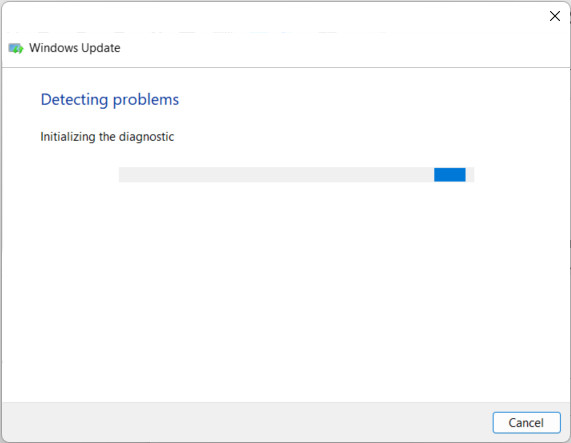
Checking for Windows Update issues - After the troubleshooting is done, you’ll see a summary of issues found. If any repair is listed as Completed, that means the tool found and fixed a problem.
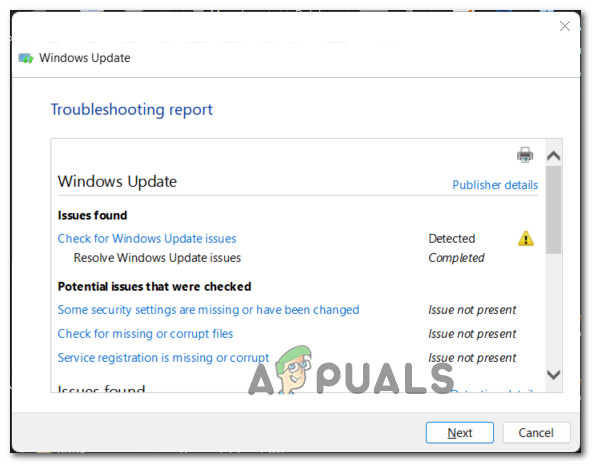
Overview of Windows Update issues Note: Depending on the issue, you might need to click Apply this fix or follow a few extra on-screen steps.
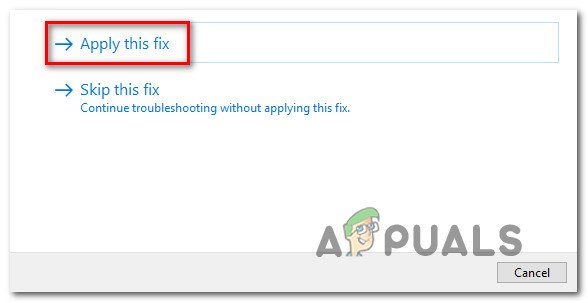
Applying the recommended fix for Windows Update on Windows 11 - After the fix is applied, restart your PC (even if you aren’t prompted to do so) before trying to install the update again.
2. Run SFC and DISM
Corrupted system or Windows update files can cause update failures. Running the System File Checker (SFC) and Deployment Image Servicing and Management (DISM) utilities can help repair and restore corrupted files. SFC scans for and replaces corrupted system files, while DISM can fix system issues and add updates or drivers.
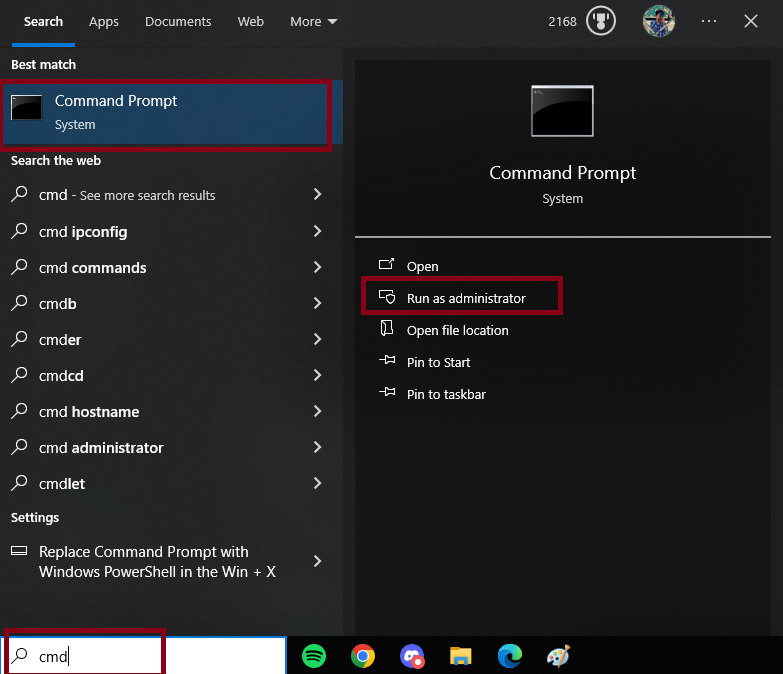
- Open the Search menu, type Command Prompt, right-click it, and select Run as Administrator.
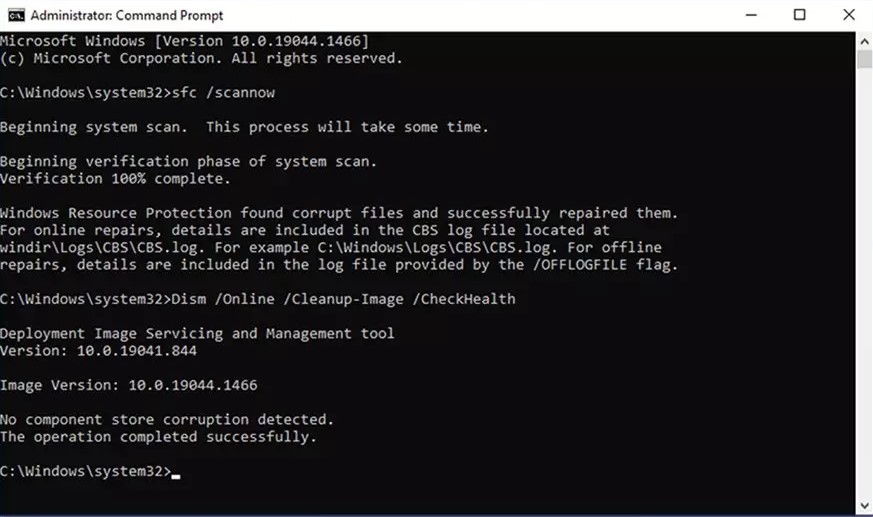
- Enter the following command in Command Prompt:
sfc /scannow
- Restart your PC after the scan completes.
If the issue persists, - Run the following commands in Command Prompt as administrator:
Dism /Online /Cleanup-Image /RestoreHealth
- Close Command Prompt and restart your PC.
3. Install the Problematic Update via ISO File
Manually applying the latest version using installation media allows you to bypass potential corruption in the standard update process. This method uses verified system files from the ISO image, offering a cleaner and more direct way to complete the upgrade without relying on potentially broken components.
Important: You must be part of the Windows Insider Program to access the relevant ISO files.
- Go to the Windows Insider ISO page in your browser.
- There, download the latest ISO for the Windows 11 edition you have installed.
- When you reach the page, sign in with the Microsoft account linked to your Insider Program membership.
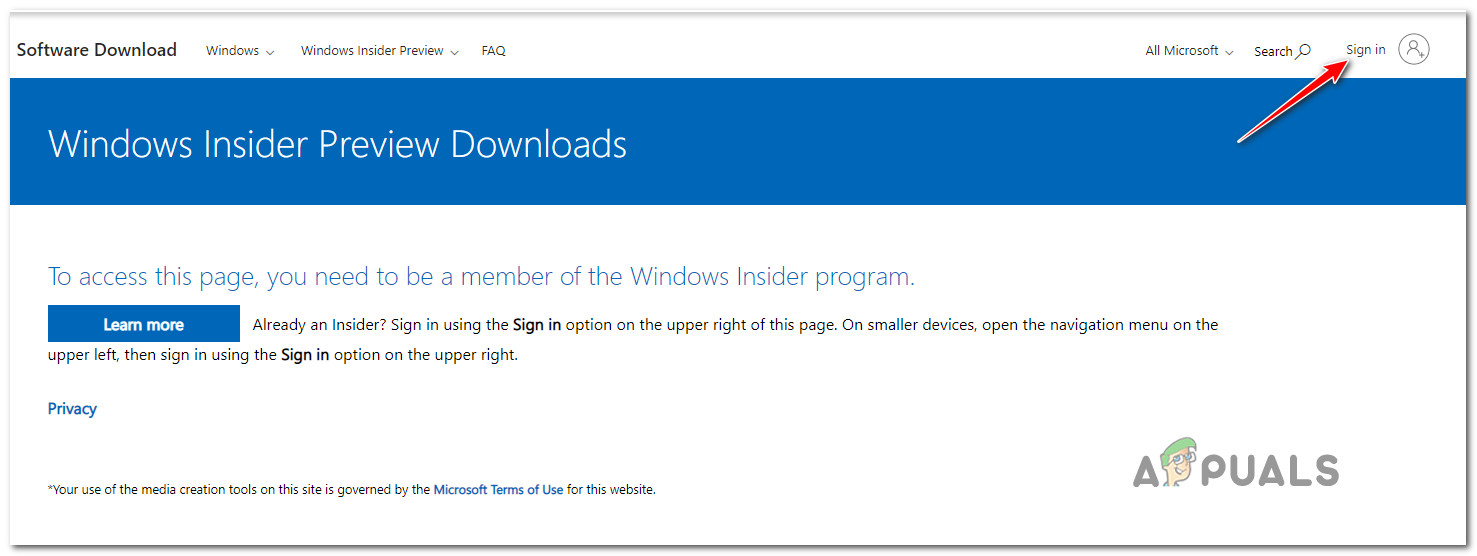
Sign in with your Microsoft Account - Scroll down to the Select edition section.
- Use the Select Edition dropdown to pick the same Windows channel you’re currently on.
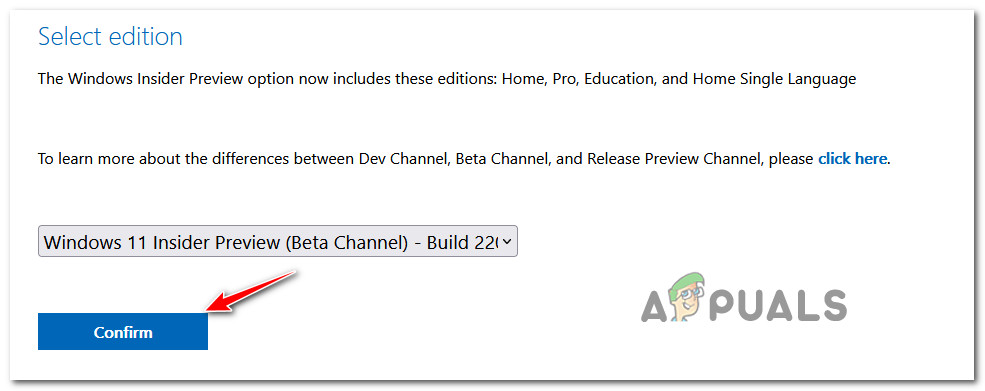
Confirming the Windows 11 dev build you want to install Note: Make sure you select the correct edition for your installation.
- Wait for your request to be validated, then select your language in the new prompt and click Confirm.
- Once another validation is complete, you’ll get a download link for the latest ISO build for your Windows 11 installation. Click 64-bit Download and wait for it to finish.
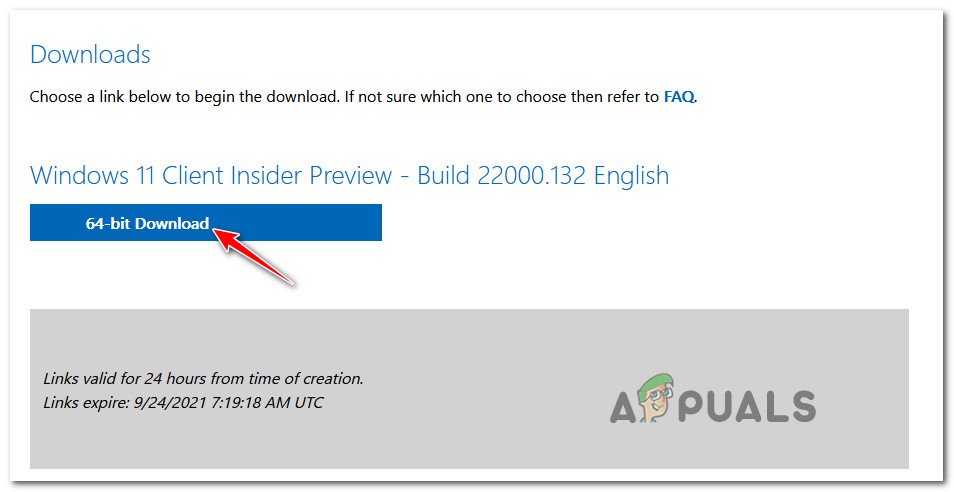
Downloading the correct ISO version - After downloading, double-click the ISO file and let Windows mount it.
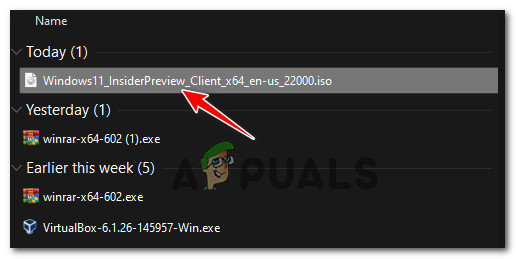
Mounting the ISO - If prompted by User Account Control, click Yes to grant admin permission.
- Once the ISO is mounted, click Next and wait for validation to finish.
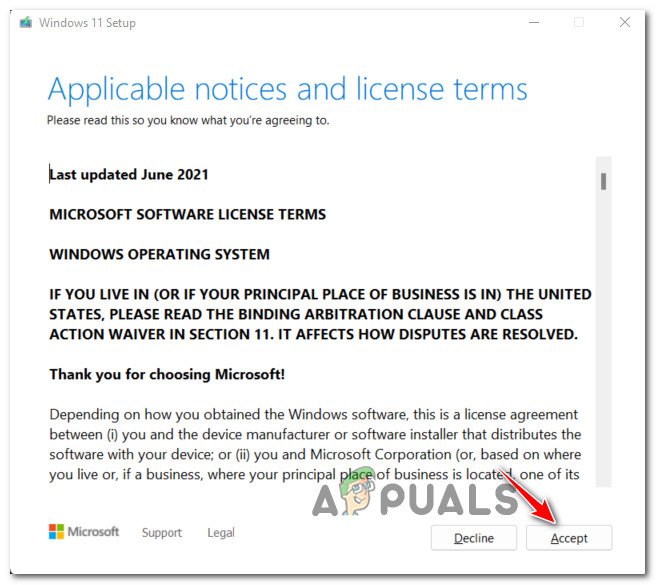
Accepting the EULA Note: When you see the EULA (End User License Agreement), agree to it by clicking Accept.
- Then, follow the instructions to install any missing updates and restart your computer at the end of the process.
4. Perform an In-Place Upgrade or Clean install
When regular troubleshooting doesn’t resolve deeper issues, reinstalling the operating system can help. A repair install keeps your files and settings while replacing core components. A clean install offers a fresh setup by wiping everything and starting from scratch. Both methods are effective for restoring full functionality.
In this case, the best approach is to use a Repair Install Procedure.
Note: A repair install will replace all system files (even those that may be corrupted) without affecting your personal files, media, documents, settings, apps, or games.
If you want a completely fresh start, you can choose to do a Clean Install instead.


Thanks for this. SFC and DISM steps as described solved my problem with the Win 11 08/2022 cumulative update. Windows Update Troubleshooter did not.