How to Use DISM to Repair Windows 10
If you’ve been using Windows for a long time, you might remember how often Windows Vista images became unserviceable in the past and needed to be repaired. Although the issue is not nearly as common on Windows 10, there are still occurrences, particularly when trying to use the System File Checker(SFC) to fix a modified system file.
Luckily, Windows 10 ships with an extremely helpful command-line utility known as Deployment Image Servicing and Management (DISM). Typically, DISM is used when a sfc/scannow command is unable to repair corrupted or modified system files. By performing a DISM repair, System file Checker commands should be working just fine.
DISM can be used to repair Windows images, Windows Setup and Windows PE. The tool has been around since Windows Vista SP1, but now it comes installed by default on Windows 10 and Windows 8.1.
There are two ways we can go around repairing an image with DISM on Windows 10; we can either use Windows PowerShell or use an elevated Command prompt. Since both PowerShell and Command Prompt need roughly the same commands, it doesn’t really matter which solution you choose. But for the sake of diversity, we provided guides on using both.
Method One: Running DISM/Cleanup-Image Tool in Command Prompt
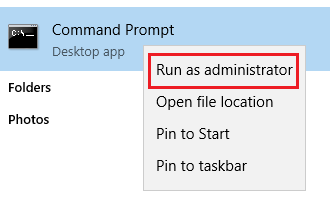
- Search for “cmd” inside Windows search bar. Right click on command prompt and click on Run as administrator.
- Insert the command below to check if the Windows image has been flagged by your OS as corrupted. If it was, you’ll also get confirmation if the corruption can be repaired.
Dism /Online /Cleanup-Image /CheckHealth
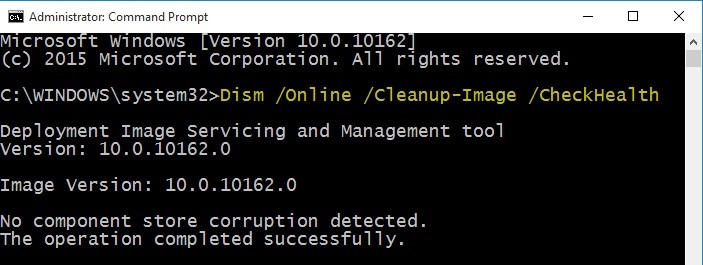
Note: This step is meant to save you some time in seeing weather corruption exists. It does not fix anything but you’ll get an idea whether it’s worth to go through the whole process.
- If the CheckHealth has showed signs of corruption, it’s recommended to do a wider scan on the image file. The command below checks for component store corruption and records any of it in a log file. If you want to take a look over the log files, you can find them in C:\Windows\Logs\CBS\CBS.log or C:\Windows\Logs\DISM\dism.log.
Dism /Online /Cleanup-Image /ScanHealth
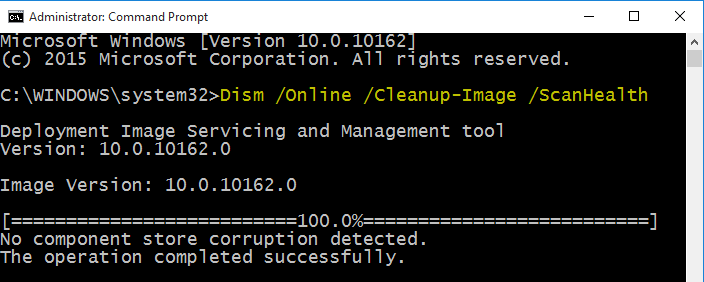
Note: As opposed to /CheckHealth, /ScanHealth is not instant and will take anywhere from 5 to 20 minutes to finish. Don’t close the command line if the loading screen freezes for a while. It usually stays at 20% for 5 minutes before continuing.
- Insert the command below to scan the image for corruption, perform repair operations automatically and record any signs of corruption to the log file. Depending on your system specs and image size, this operation can take anywhere from 20 minutes to 4 hours or more.
Dism /Online /Cleanup-Image /RestoreHealth
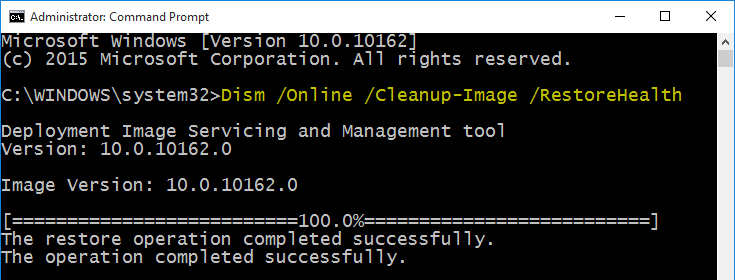
Note: Similar to /Scanhealth, the setup will freeze at 20% for a while, so don’t close it prematurely.
That’s it. Your Windows 10 image should be working now.
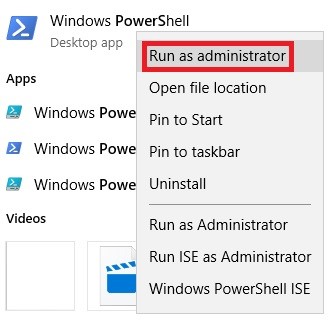
Method Two: Running DISM/Cleanup-Image” Tool in PowerShell
- Search for “powershell” inside Windows search bar. Right click on Windows PowerShell and click on Run as administrator.
- Insert the following command inside the elevated Powershell window:
Repair-WindowsImage -Online –CheckHealth
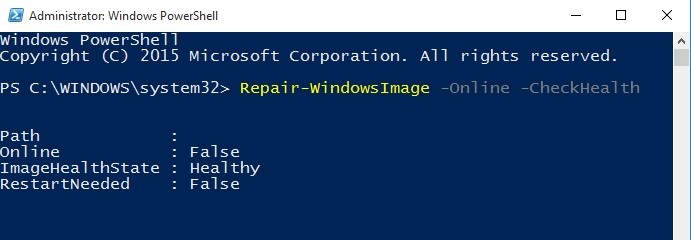
Note: This command’s sole purpose is to check whether the image has been flagged as corrupted by your system. It does not fix anything, but serves as a quick way to check if corruption exists. If you want to take a look over the log files, you can find them in C:\Windows\Logs\CBS\CBS.log or C:\Windows\Logs\DISM\dism.log.
- Copy and paste the following command inside the elevated PowerShell window to perform an image scan for corruption:
Repair-WindowsImage -Online –ScanHealth
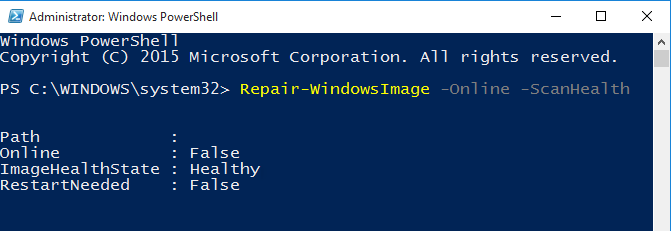
Note: This command won’t fix anything but instead it will check for corruption and record any of it inside a log file.
- In the elevated command prompt, copy and paste the following command and press Enter:
Repair-WindowsImage -Online –RestoreHealth
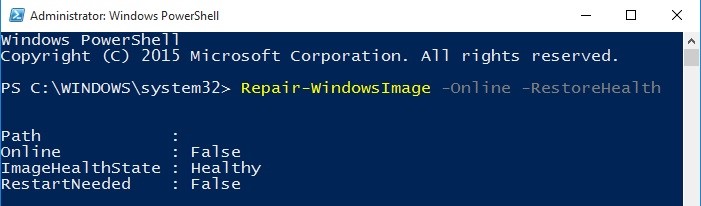
Note: This command will scan the image for corruption. If it encounters any bad sectors, the setup will automatically perform repair operations and record any signs of corruption inside the log file. The operation can take anywhere from 15 minutes to a few hours, depending on your system specifications.
That’s it, your Windows image should be fixed!
ok cool but why no copy paste to save us the extra 60 seconds opennig a new side window and typing ourselves? then when we have a spelling error re-typing like 5 times until you get it correct and it runs the scan. why do these types of articles not have a copy a nd paste section of each tool to make it that much easuer for people? i mean… its 2020….