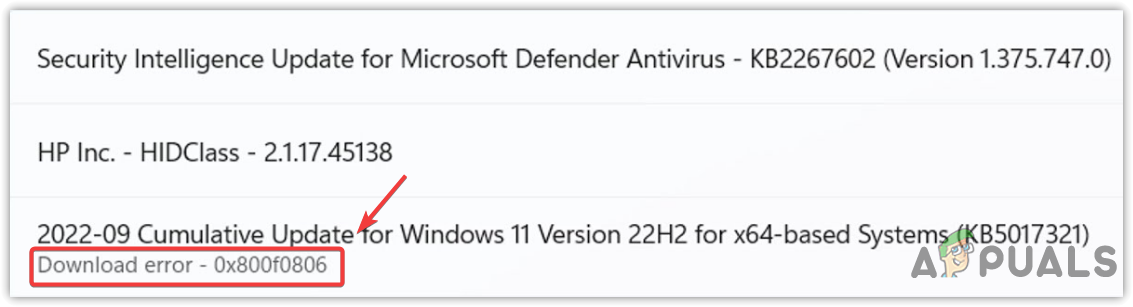
Fix: Windows Update KB5017321 Error 0x800f0806 On Windows 11?
The Error Code 0x800f0806 appears on the screen while installing Windows update KB5017321 of version 22H2. The error can be caused by many factors, as version 22H2 launched recently for Windows 11 2022. However, according to several affected users, corrupted system files can be the main contributor to this error.
The Corrupt System Files might not be the main cause of this issue, as other factors such as corrupted software distribution folder, disabled Windows update service, and the bad network connection can also cause this issue. If the error is occurring due to some other reasons, you can use some alternative ways to install the Windows update KB5017321. These steps are specific for KB5017321 Update; If you are facing this error on different update versions, you can try this article of Windows Update Error 0x800f0806.
Read the following causes to understand why this error could occur as one of them might be a root cause in your case:-
- Disabled Windows Update Service- Windows update service is used to enable the download, installation, and detection of Windows updates. If Windows Update Service is not enabled, you will be unable to update your Windows to the latest version. Therefore, it is recommended to check the service status as it might be disabled.
- Corrupted Software Distribution Folder- The software distribution folder contains the data needed for Windows to update. If the files under software distribution are corrupted, you will encounter several Windows update errors such as this one.
- Corrupt System Files- The corrupt system files can be caused by third-party programs. Hence to avoid this, you will need to execute the commands to restore the corrupted files.
- Interference of Windows Defender- The unnecessary interference from the Windows defender can lead you to this error. Therefore, we recommend disabling the Windows defender temporarily.
Before applying the methods below, ensure you are not suffering from a bad network connection, as it can lead to errors while downloading and installing Windows updates.
1. Repair System Files
It turns out that corrupted system files often cause this Windows update error. The affected users fixed their issues by running SFC and DISM commands. DISM and SFC are command-line utilities that allow users to fix corrupted Windows images and system files.
DISM contains three commands, while the SFC is only a single command. Both commands can execute through a command prompt. For more information, follow the guides on DISM and SFC, as they will help you troubleshoot errors in the future. Below are the steps to repair the corrupted files:
- Click Start Menu and type Command Prompt.
- Right-click the terminal and click Run As Administrator
Opening Command Prompt As Administrator - Copy and paste the following commands and wait for the verification to be finished
DISM /Online /Cleanup-Image /RestoreHealth
Dism /Online /Cleanup-Image /StartComponentCleanup
sfc / scannow
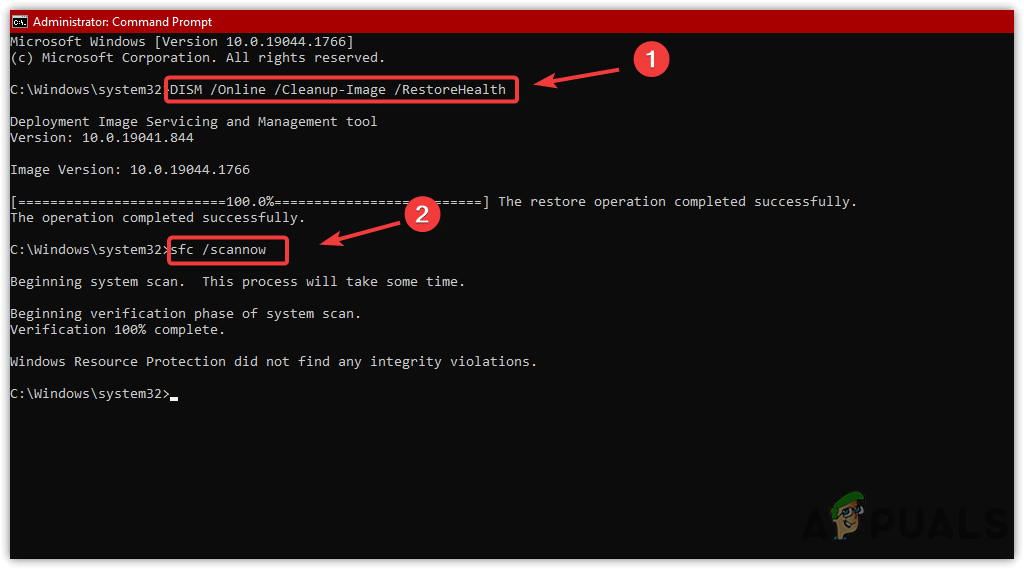
Repairing System Files - Once done, try updating Windows and check if the error appears.
2. Download Update From Microsoft Update Catalog Website
It might be challenging to determine the source of a problem as many factors can trigger this error. Hence, we recommend using Microsoft Catalog before applying complex solutions. Microsoft Catalog is a website that receives Windows updates earlier than Windows settings.
Therefore, it is recommended to manually download the 22H2 update from there to avoid unnecessary interference. Below are the steps:
- First, visit the Microsoft Catalog website.
- Type KB5017321 in the search bar
- Click on the Download button on the right side of the update version 22H2

Downloading update From Microsoft Catalog - A short Windows will appear. Click the download link and wait for the downloading to be completed
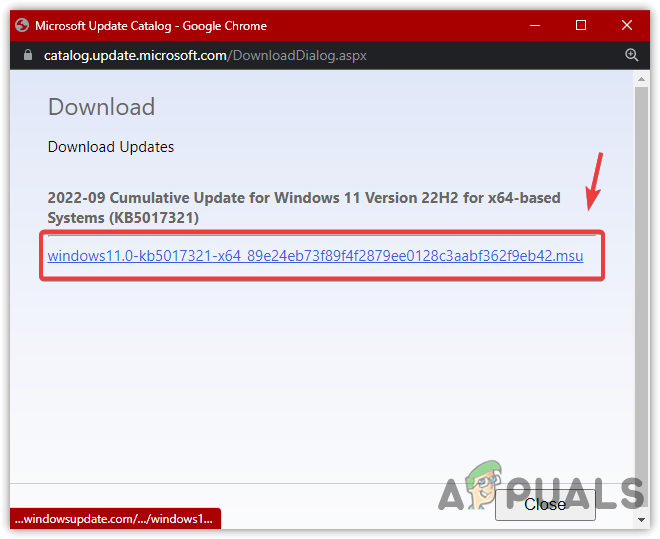
Click to Download Windows Version - Once done, double-click the Windows update version 22H2 to install it on your computer.
- Once done, now you don’t need to install the Windows update as it is already installed from the Microsoft catalog.
3. Restart Windows Update Service
Windows Update service is responsible for delivering updates as it enables the detection, installation, and download of upcoming updates. If the Windows update service is not working properly due to other factors, restarting the service might be helpful as it can fix this error. Here are the steps:
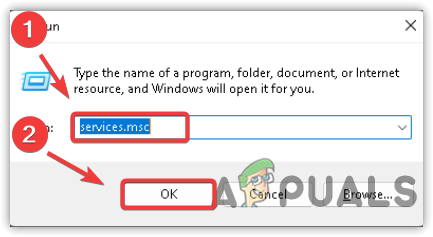
- Press the Win + R to launch the Run Window
- Type services.msc on the keyboard and click OK
Opening Services Window - Once the services app is opened, find the Windows Update service and right-click on it

Opening Service Properties - Click Properties, then change the startup type from Manual to Automatic
- After that, click Apply, and if the service is stopped, click the Start button and click OK
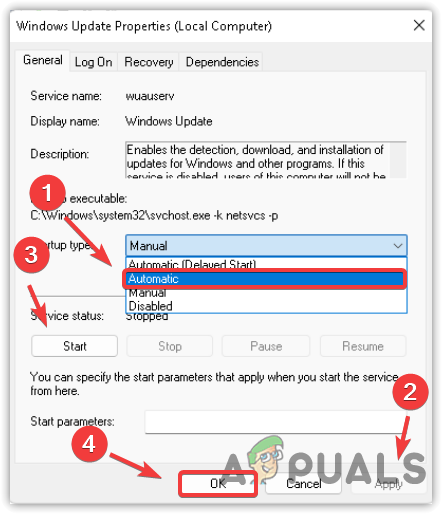
Restarting Windows Update - Once finished, go to Settings and try updating Windows 11 to the latest version.
3. Clear Software Distribution Folder
You can find the software distribution folder in the Windows directory. It is a folder that contains the files required to install Windows updates.
In some cases, the content of the software distribution folder gets corrupted and causes many issues. Therefore it is better to clear the folder to reset Windows update errors. Below are the instructions:
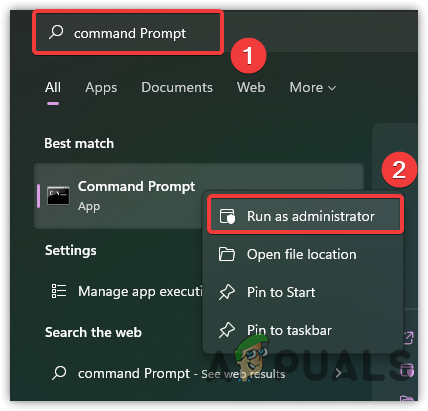
- Press the Windows key and type Command Prompt
- Right-click the Command Prompt and click Run As Administrator
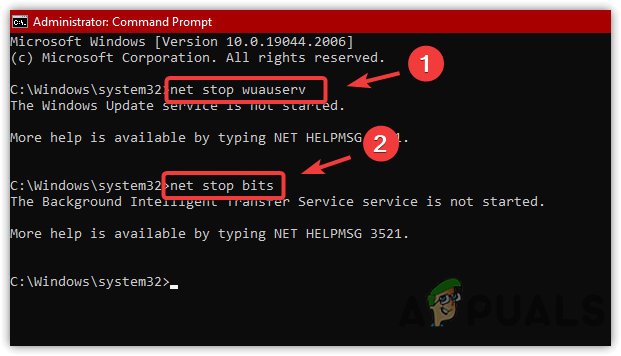
Launching Command Prompt As Administrator - Now stop the Windows Update service to clear the software distribution folder by pasting the following commands in the terminal.
net stop wuauserv
net stop bits
Stopping Windows Update Service - After that, launch the Run Window by pressing the Win + R on the keyboard
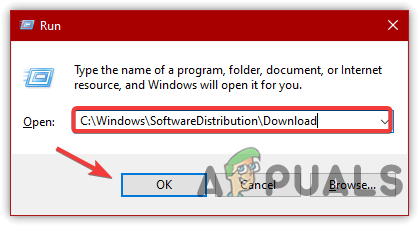
- Copy and paste the following directory and click OK
C:\Windows\SoftwareDistribution
Opening Software Distribution Folder - Select all the files by pressing the Ctrl + A on the keyboard
- Then, press the Delete button to clear the software distribution folder
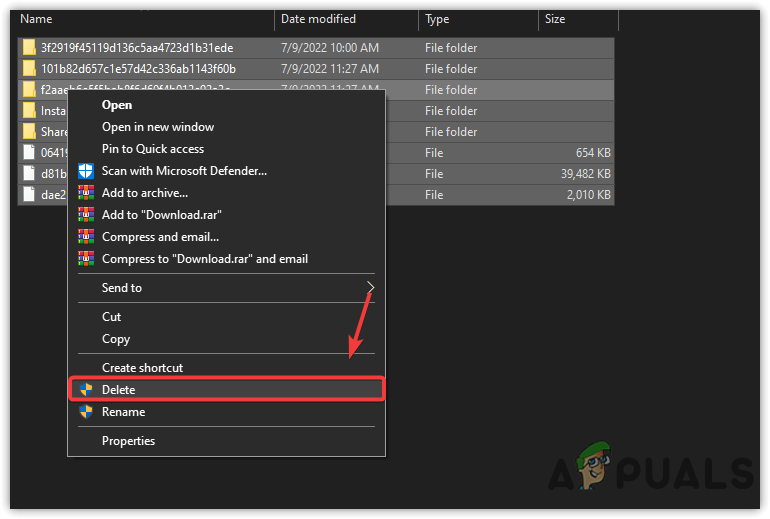
Removing Software Distribution Files - Once done, restart the Windows update service by executing the below commands.
net start wuauserv
net start bits
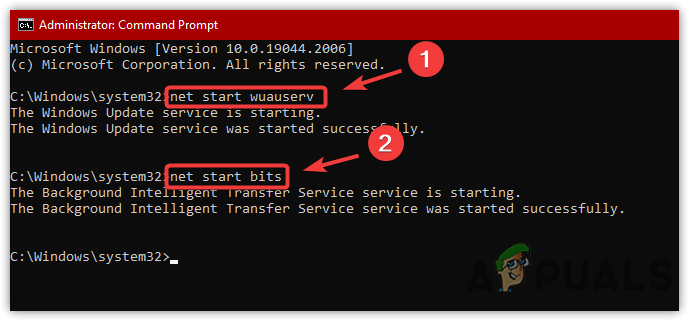
Starting Windows Update Service - Once done, check if the error is resolved.
4. Run Windows Update Troubleshooter
In many scenarios, several errors can be fixed by Windows Update Troubleshooter as it resolves issues such as corrupted files and unexpectedly disabled Windows update service. Hence, running the Windows update troubleshooter might help to fix this error. Follow the below instructions:
- Right-click the Start Menu and click Settings
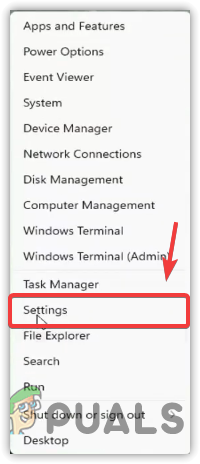
Opening Settings App - Under System, scroll down to the bottom and navigate to Troubleshoot
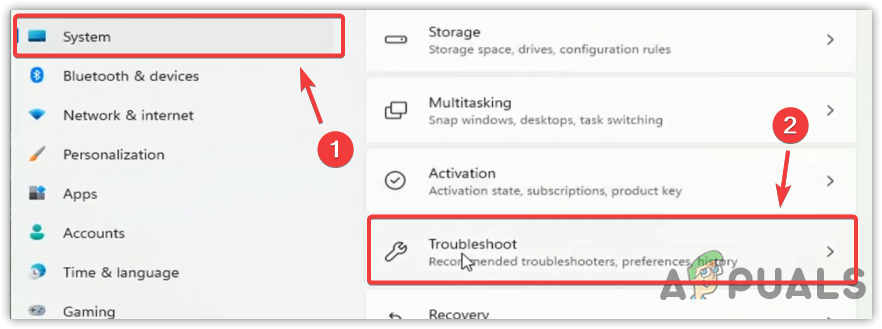
Proceeding To Troubleshooters - Click Other Troubleshooters
- Inside the other troubleshooters, click the Run button on Windows Update
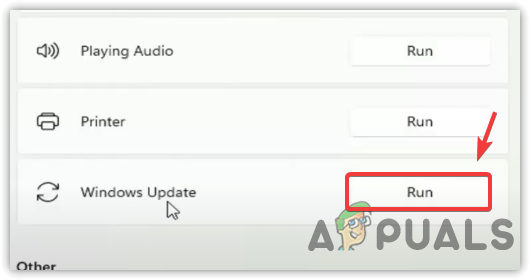
Running Windows Update Troubleshooter - Once done, try upgrading the Windows to version 22H2
5. Update Windows Through Windows 11 Installation Assistant
There are several ways to update Windows 11 to the latest version, and one of the common ways is to use Windows 11 installation assistant. It is a program that Microsoft offers to download the latest version of Windows 11.
Below are the steps to upgrade Windows 11 to version 22H2 via Windows 11 installation assistant. Follow the steps to upgrade to Windows version 22H2:
- Download the Windows 11 Installation Assistant
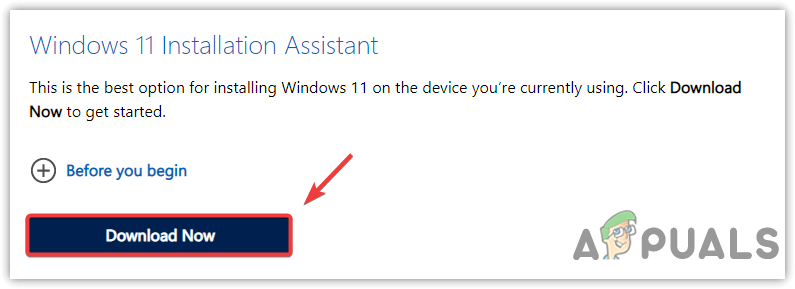
Downloading Windows 11 Installation Assistant - Open the installer and accept the terms & conditions by clicking on the Accept And Install
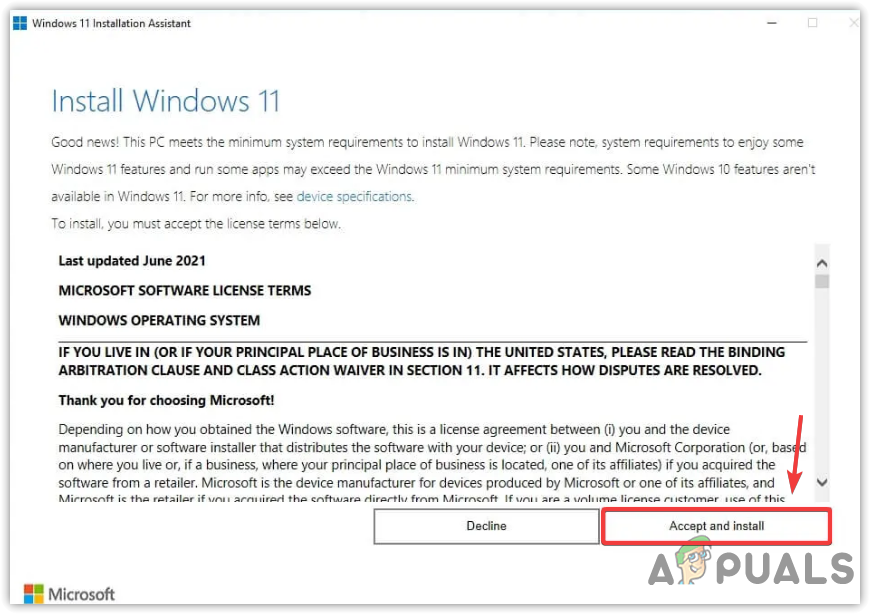
Accepting Conditions - Wait for the installation to complete
- Now go to Settings > About to check your Windows version.
6. Update Windows through Media Creation Tool
You can also use Media Creation Tool to upgrade Windows 11 to version 22H2. Just follow the steps:
- Download the Media Creation Tool
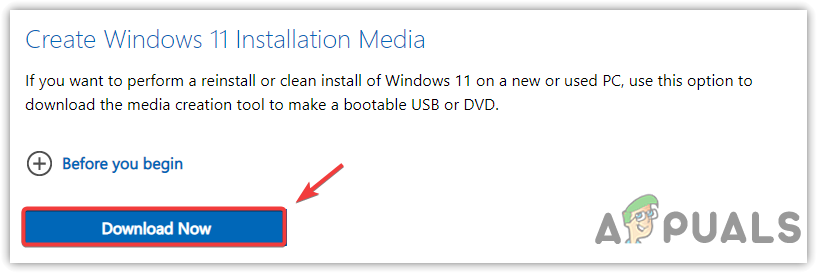
Downloading Windows 11 Installation Media - Run the tool and wait for the application to collect a few things
- After that, accept the Applicable Notices And License Terms

Accepting Notices And License Terms - Choose the Upgrade This PC Now and click Next

Choose Upgrade This PC Now - Wait for the updates to download and install
- Once done, check the Windows version by navigating to the System > About
After using alternative methods to install Windows 11 version 22H2, you don’t need to use the Windows update feature. If none of the methods have worked, visit the article on How to Upgrade your Windows to Windows 11 22H2.


