Fix: Windows 11 Cumulative Update Won’t Install or Download
Several affected users are reporting that they’re suddenly unable to download & install pending cumulative updates on their Windows 11 system. Most affected users report that every other update (security & feature updates) installs without issues. This seems to be a specific issue only present on Windows 11.
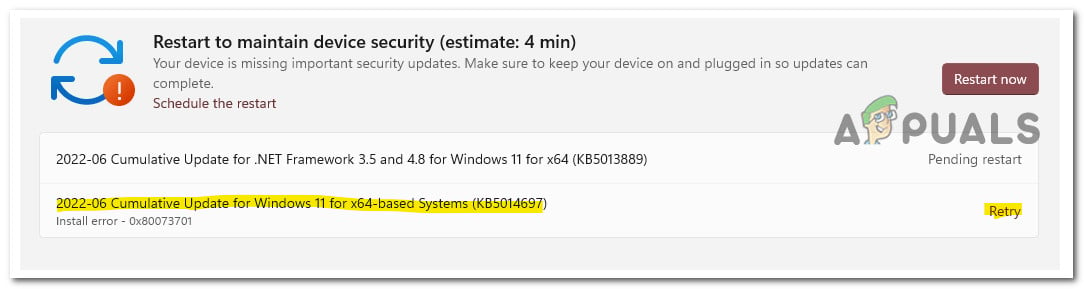
After investigating this issue thoroughly, we realized that there are actually several different underlying scenarios that might directly or indirectly cause this problem. Here’s a list of potential issues:
- Common WU inconsistency – More often than not, you will be able to fix this problem simply by running the Windows Update Troubleshooter and applying the recommended fix. This method will be effective in situations where the cumulative update fails due to the fact that a service dependency is stuck in a limbo state. If you want to bypass the issue without fixing the root problem, you can also go for installing the failing cumulative update manually.
- Service dependencies are disabled – Another potential cause of why you might experience this problem is a scenario where certain Windows Update service dependencies are disabled. This typically occurs as a result of a system resource optimization tool. In this case, you can correct this behavior by manually modifying the behavior of the involved service dependencies.
- Corruption inside WU download folders – As it turns out, this particular issue can also occur due to an unexpected system interruption that occurred right when your OS was busy downloading Windows Update files. In this case, you can fix the issue by removing any remnant data currently present in the SofwareDistribution and Catroot folders.
- WU dependency is stuck in a limbo state – There are a lot of dependencies that are closely tied to Windows Update. Since there are a lot of moving parts, the best course of action to make sure that you reset everything is to use an elevated Powershell prompt to reset and restart every involved dependency.
- System File Corruption – Another potential reason why you might experience this problem is some kind of corruption that affects the Windows Update component (either directly or indirectly). To fix this issue, try running SFC & DISM scans in quick succession and move to a repair install or clean install procedure if the issue persists.
- AV interference – According to many affected users, this problem can also be related to some kind of antivirus interference. BitDefender and a few other 3rd party AV suites are often singled out for causing this type of interference. To test out this theory, temporarily disable the antivirus suite & attempt to install the failing cumulative update once again.
Now that we went over every potential reason why you might experience this problem on Windows 11, here’s a list of verified fixes that other affected users have successfully used to get to the bottom of this issue:
1. Run the Windows Update Troubleshooter
The majority of the time, you should be able to resolve this issue by simply launching the Windows Update Troubleshooter and implementing the solution that it recommends. This approach will be useful in circumstances in which the cumulative update fails because a service dependence is stalled in an indeterminate state.
If the error’s underlying cause is already addressed by a Microsoft repair plan made available by the Windows Update Troubleshooter, the resolution of the issue is as simple as running the program and implementing the hotfix that is proposed.
Even if you’ve never used it before, the Windows Update Troubleshooter should be able to automatically identify and fix common issues for you.
Note: You are in luck since you are already using Windows 11, as the tool is far more comprehensive in later versions than in prior ones. Microsoft has introduced a variety of new automated repair procedures that may be initiated in a matter of seconds if an identifiable cause is located. These new repair methods have been included in the software.
If you haven’t already, please ensure that you follow the steps outlined below in order to successfully launch the Windows Update Troubleshooter and have the suggested solution applied automatically:
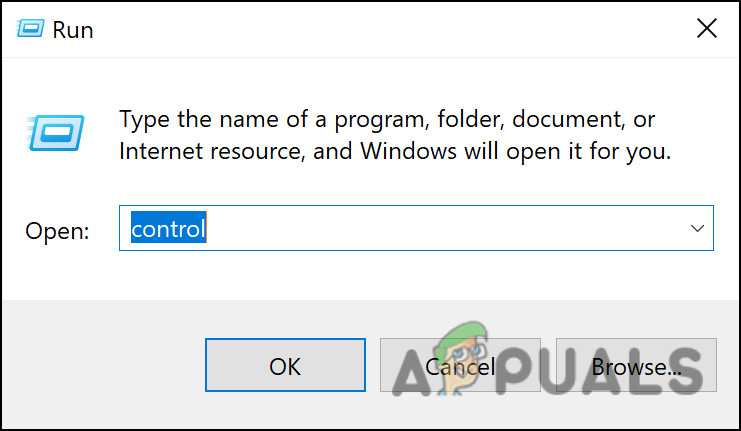
- To open the Run dialog box, press the Windows key + R key simultaneously. Next, make an effort to fix the Windows Update component.
- To access the user interface for the Control Panel, type “control” into the text box that has just opened, and then press the Enter key on your keyboard.
Access the classic Control Panel interface Note: When the User Account Control (UAC) prompts you to grant administrative access, be sure to answer “Yes” by selecting the appropriate option.
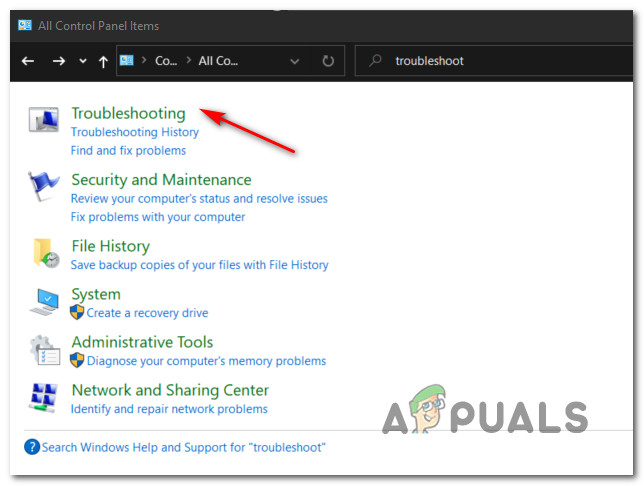
- Use the search bar located in the Control Panel window to locate the option labeled “troubleshoot.”
- From the list of results, choose all of the subcategories that fall under the Troubleshooting heading.
Accessing the Troubleshooting tab - When you get to the Troubleshooting page, select Fix issues with Windows Updates from the list of options under the System and Security heading.
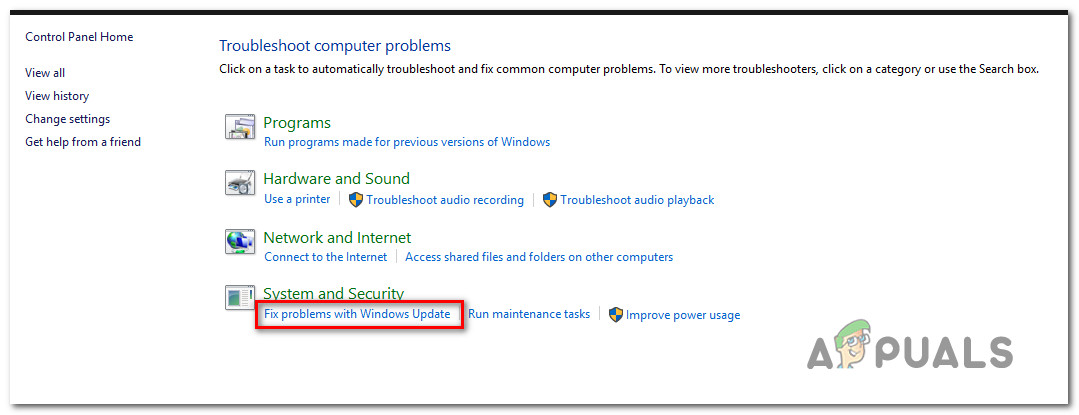
Fixing Problems with Windows update - When prompted by the Windows Update Troubleshooter to do so, choose Next from the menu, and then wait for the preliminary scan to complete before continuing.
- Once you’ve identified a solution that works, choose it by clicking the Apply this Fix button, and then apply it to the situation at hand.
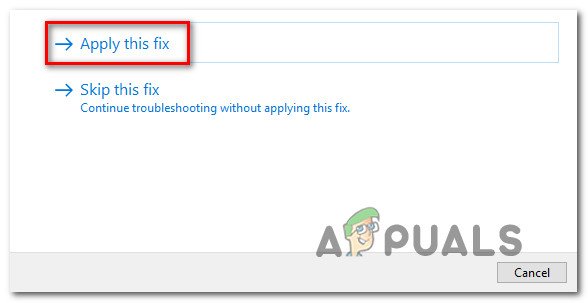
Apply this fix - In order to implement some of the suggested solutions, a number of manual tasks will need to be completed.
- After applying the patch, restart your computer, and then make another attempt to install the update that previously failed.
If you are still unable to successfully install cumulative updates on your computer, move the next probable fox below.
2. Start all Windows Update Service Dependencies
One of the other reasons why you could be seeing this issue is because your computer might be set up in a configuration in which some Windows Update service requirements are disabled.
In most cases, this is the consequence of a tool designed to optimize the use of system resources. In this scenario, the problematic behavior may be fixed by manually altering the behavior of the service dependencies that are implicated.
Some of these service needs may have been changed to remain disabled in order to optimize the efficiency of your system. This may be the case if you are currently utilizing resource management tools that are actively starting and stopping system services.
It is imperative that you set the following services to AUTO mode in order to guarantee that Windows Update has everything it requires to successfully complete the upgrading process:
- BITS (Background Intelligent Transfer Service)
- The CryptSvc (Cryptographic Services)
- TrustedInstaller
Note: You can effectively guarantee that every WU service requirement is met by using an elevated Command Prompt to check that the beginning type of each of these services is set to Auto. In doing so, you can ensure that every WU service requirement is met.
Follow the instructions below to modify the behavior of these services to AUTO so that the Windows Update has no issues utilizing the service dependencies when needed:
- To launch the Run dialog box, press the Windows key + R key at the same time.
- Next, launch an elevated Command Prompt window, by typing “cmd” into the run prompt that has just been displayed and then hit the Ctrl + Shift + Enter keys simultaneously.
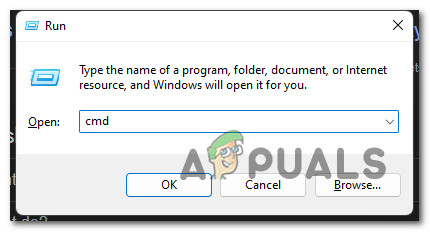
Open a CMD prompt - To provide administrative access, click Yes when asked by the User Account Control.
- At the elevated CMD prompt, write or paste the following commands, then press Enter after each one to change the starting type of each essential dependent:
SC config wuauserv start=auto
SC config bits start=auto
SC config cryptsvc start=auto
SC config trustedinstaller start=auto
- Restarting your computer in a regular manner should be done once all of the commands have been executed without error. After the following startup has completed, you should attempt to install the update that was previously failed.
In the event that the issue is not fixed, go to the technique listed further down the page.
3. Clear Catroot2 & SofrwareDistribution folder
As it turns out, this specific problem can also arise as a result of an unexpected interruption to the system that took place just as your operating system was in the process of downloading Windows Update files. In this scenario, the issue may be resolved by eliminating any leftover data that is now present in the SoftwareDistribution folder as well as the Catroot2 folder.
When it comes to doing this, you can either go for the automated approach or you can do it yourself manually (from an elevated Command Prompt).
Here are two different methods that will allow you to clear the two indispensable SoftwareDistribution and Catroot2 folder:
3.1. Clear WU Download folders via WU Agent
This is the easier approach of clearing the two download folders that the WU component uses. But depending on your permissions, you might not be able to run this automated fix.
Here’s how to download & use and use the Microsoft-certified automated fix to clear the SoftwareDistribution & Catroot2 folders:
- To get started, navigate to this Microsoft Technet download page and save the “Reset Windows Update Agent” script to your computer.
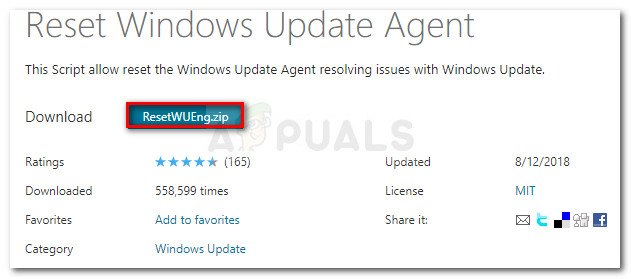
Download the automated fix - When the download is finally finished, use a program such as WinRar, WinZip, or 7Zip to extract the zip archive, and then copy the contents of that archive to a location that is simple to access.
- To execute the script on your computer, double-click the ResetWUENG.exe file, then select Yes when prompted by the User Account Control. After that, follow the on-screen instructions to complete the process. Following that action on your part, it will cause all of your WU components to be reset.
- After the procedure has been finished, restart your computer and check to see whether you are able to install the problematic update after the subsequent sequence of startup tasks has been finished.
If you aren’t able to use the automated fix, try the manual method below.
3.2. Clear WU Download Folders via Elevated CMD
If you aren’t able to use the manual fix or you are comfortable with using a terminal to get things done, follow the instructions below to clear the two download folders that are being used by Windows Update:
Note: This sequence of commands will disable all the involved serviced dependencies and rename the two download folders in order to force your operating system to disregard them.
- To begin, open a Run dialog box by hitting the Windows key + the R key.
- After that, within the text box, write“cmd,” and then hit the Ctrl + Shift + Enter keys on your keyboard to launch an elevated Command Prompt.

Opening an elevated CMD prompt Note: When you see the UAC (User Account Control) prompt, click Yes to grant administrative privileges.
- Once you are inside the elevated Command Prompt, run the following instructions in the sequence given and press Enter after each one to put a halt to all WU-related services:
net stop wuauserv
net stop cryptSvc
net stop bits
net stop msiserver
Note: Just so you know what you’re actually telling the terminal to do, these commands will halt the Windows Update Services, MSI Installer, Cryptographic services, and BITS services. This is just so you know what you’re actually ordering the terminal to do.
- Once all of the required services have been disabled, use the following commands to delete all of the contents of the SoftwareDistribution folder and to rename the Catroot2 folder:
ren C:\Windows\SoftwareDistribution SoftwareDistribution.old
ren C:\Windows\System32\catroot2 Catroot2.old
Important: Note that it is the job of these folders to store updated versions of the files that are used by the WU component. Simply renaming these directories will cause your operating system to generate brand new, healthy copies that are immune to corruption and will be created automatically.
- Now that the files have been cleaned up, re-enable the services that we had previously deactivated by executing the following commands:
net start wuauserv
net start cryptSvc
net start bits
net start msiserver
- Perform a second restart of your computer and check to see whether the problem still exists on the subsequent startup of your computer.
If you’re still unable to download & install cumulative updates on your Windows 11 computer, move down to the next method below.
Source: https://answers.microsoft.com/en-us/windows/forum/all/cant-install-2022-06-cumulative-update-for-windows/85dc97d9-b9a3-4eb9-8943-c12c01b91c40
4. Reset all Windows Update Dependencies
Numerous dependencies have a strong relationship with Windows Update and are directly dependent on it. Because there are many moving pieces, the most effective course of action to ensure that everything is reset is to utilize an elevated Powershell prompt to reset and restart every associated dependent.
Note: This is the best course of action because it ensures that everything is reset.
If you haven’t tried this fix already, follow the instructions below for specific steps on resetting all the remaining Windows Update dependenciesd from an elevated Powershell window:
- Press Windows key + R to open up a Run dialog box.
- Next, type ‘powershell’ and press Ctrl + Shift + Enter to open Powershell with admin access.

Access the Powershell menu - At the User Account Control (UAC) that pops up, click Yes to grant admin access and open Powershell with administrative privileges.
- Once you’re inside the elevated Powershell terminal, run the following commands in the same order and press Enter after each one to effectively refresh every involved dependency:
net stop bits
net stop wuauserv
net stop appidsvc
net stop cryptsvc
Del "%ALLUSERSPROFILE%\Application Data\Microsoft\Network\Downloader\*.*"
rmdir %systemroot%\SoftwareDistribution /S /Q
rmdir %systemroot%\system32\catroot2 /S /Q
regsvr32.exe /s atl.dll
regsvr32.exe /s urlmon.dll
regsvr32.exe /s mshtml.dll
netsh winsock reset
netsh winsock reset proxy
net start bits
net start wuauserv
net start appidsvc
net start cryptsvc
- Once every command has been processed successfully, attempt to download & install the cumulative Windows 11 update/s that are currently pending and see if the problem is now fixed.
If the same kind of issue is still occurring, move down to the next method below.
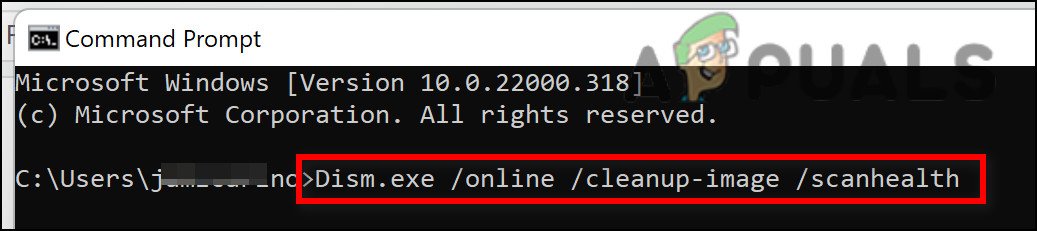
5. Run SFC & DISM scans
One further reason why you could be having this issue is because of some type of corruption that’s affecting the Windows Update component (either directly or indirectly).
SFC (System File Checker) and DISM (Deployment Image Servicing and Management) scans should be performed in rapid succession as the next step in fixing this issue.
Note: Even though SFC and DISM have some similarities, our advice is to conduct both scans in fast succession in order to enhance your chances of repairing the damaged system files. This should be done even if both scans share some similarities.
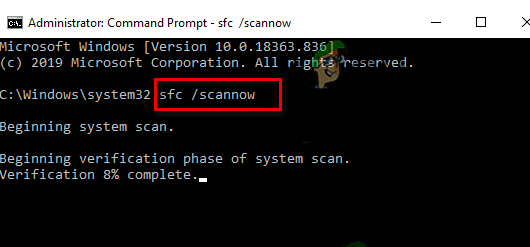
In the event that this situation is relevant, you should begin with a straightforward SFC scan.
IMPORTANT: You do not need to be actively connected to the internet in order to use this tool because it operates totally locally and does not need you to do so. After you have begun this process, it is essential that you do not close the CMD window, even if the utility appears to have become unresponsive and frozen.
Be patient and wait until the procedure is finished before interrupting it, since doing so might result in logical mistakes being made on either your HDD or SSD.
After the scan with SFC has been finished successfully, restart your computer and check to see if the problem is resolved after the subsequent starting of your computer has been finished.
If you are still unable to install the pending cumulative update(s), proceed by running a DISM scan and following the on-screen instructions to finish the procedure. This will be your last option if you are unable to install the update(s).
Note that a significant distinction between SFC and DISM is that the latter makes use of a sub-component of Windows Update in order to obtain healthy versions of broken system files in order to replace such files. Because of this, before beginning this process, you need to ensure that you have access to an internet connection that is dependable.
After the DISM scan has been performed without incident, you will need to restart your computer once again and check to see if the issue has been resolved.
If the issue has not been resolved, proceed to the next procedure below to determine whether or not a third-party antivirus program is in fact the root of the issue.
6. Disable 3rd party antivirus (if applicable)
Many people who have been impacted by this issue believe that it may also be connected to some form of interference from antivirus software. BitDefender and a few other third-party antivirus suites are frequently singled out as the culprits in cases when meddling of this kind occurs.
To put this hypothesis to the test, you will need to temporarily deactivate the security suite and then make another attempt to install the problematic cumulative update.
Whether you are using a third-party antivirus program, it won’t harm to temporarily stop the real-time protection of your AV and check to see if the Windows 11 update is successful while the security suite is turned off. This is recommended for users of third-party antivirus programs.

Note that the majority of antivirus software packages will let you turn off the real-time protection straight through the taskbar icon. In the event that this is not feasible, you should be able to locate an option inside the Settings menu that allows you to deactivate any active antivirus.
Additionally, you have the option of completely removing the third-party suite, which is an option worth considering especially if you are employing an antivirus program that also functions as a firewall.
If this strategy does not work, continue on to the next possible solution that can be found further down.
Source: https://answers.microsoft.com/en-us/windows/forum/all/cant-install-2022-06-cumulative-update-for-windows/85dc97d9-b9a3-4eb9-8943-c12c01b91c40
7. Install the failing cumulative update manually
If none of the ways described above have enabled you to install the pending updates, there is a good probability that you will be able to avoid the error code entirely by manually applying the update or updates that have failed to install. So is possible to do so in a few different methods, but the method that is both the most convenient and the safest is to do it through the website for the Microsoft Update Catalog.
WARNING: Using this approach will not truly treat the underlying issue that is causing the problem. Even if you are successful in applying this strategy, the underlying problem that prevents you from downloading and installing cumulative Windows updates will still exist.
We found a number of distinct reports from impacted users stating that the cumulative update was installed without any problems when the users carried out the update through the official Microsoft Update Catalog.
This is a brief instruction set on how to carry out the process:
- Using your web browser, go to the official Microsoft Update Catalog page.
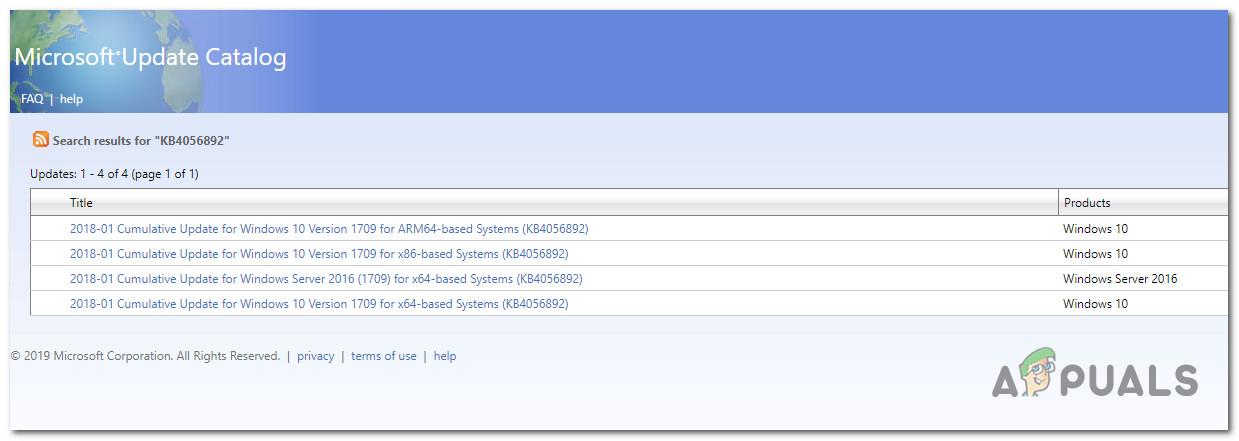
- When you are on the page for the Microsoft Update Catalog, look for the cumulative update causing the error code by using the search function, which is located in the upper-right corner of the page.

Searching for the failing cumulative update - When you view the results, seek a suitable update by considering the CPU architecture as well as the version of Windows.
Choosing the right Windows update - When you have located the appropriate update for your system settings, click the Download option, and then wait for the process to finish before proceeding further.
- After that, go to your downloads folder and double-click on the executable that you just downloaded. Then, within the installer, follow the on-screen directions to finish the installation.
- If the installation finishes without any problems, you have just completely avoided the problem by completing the process successfully.
In the event that the issue is not resolved, go to the final technique below.
8. Perform a repair install & Clean install
If none of the solutions presented above were successful in resolving the problem where you are unable to download and install cumulative updates on Windows 11, you can draw the conclusion that the problem is caused by an underlying system corruption issue that cannot be fixed using traditional methods (with DISM and SFC scans).
After doing a full system refresh on every component of Windows, a number of users who were experiencing the same issue have reported that it has been resolved. This can be accomplished by either an in-place repair (also known as a repair install) or through a clean installation.
A clean installation is a more straightforward alternative; however, the primary problem is that it will not permit you to save any of your personal data (applications, games, personal media, etc.) unless you first make a backup of them. This can be a time-consuming process.
On the other hand, if you choose the repair install procedure, the process will be somewhat more laborious; nevertheless, the primary benefit is that you will be able to maintain all of your personal data, such as programs, games, personal media, and even certain user settings.


