How to Fix Windows 7 Update Error 8024200D?
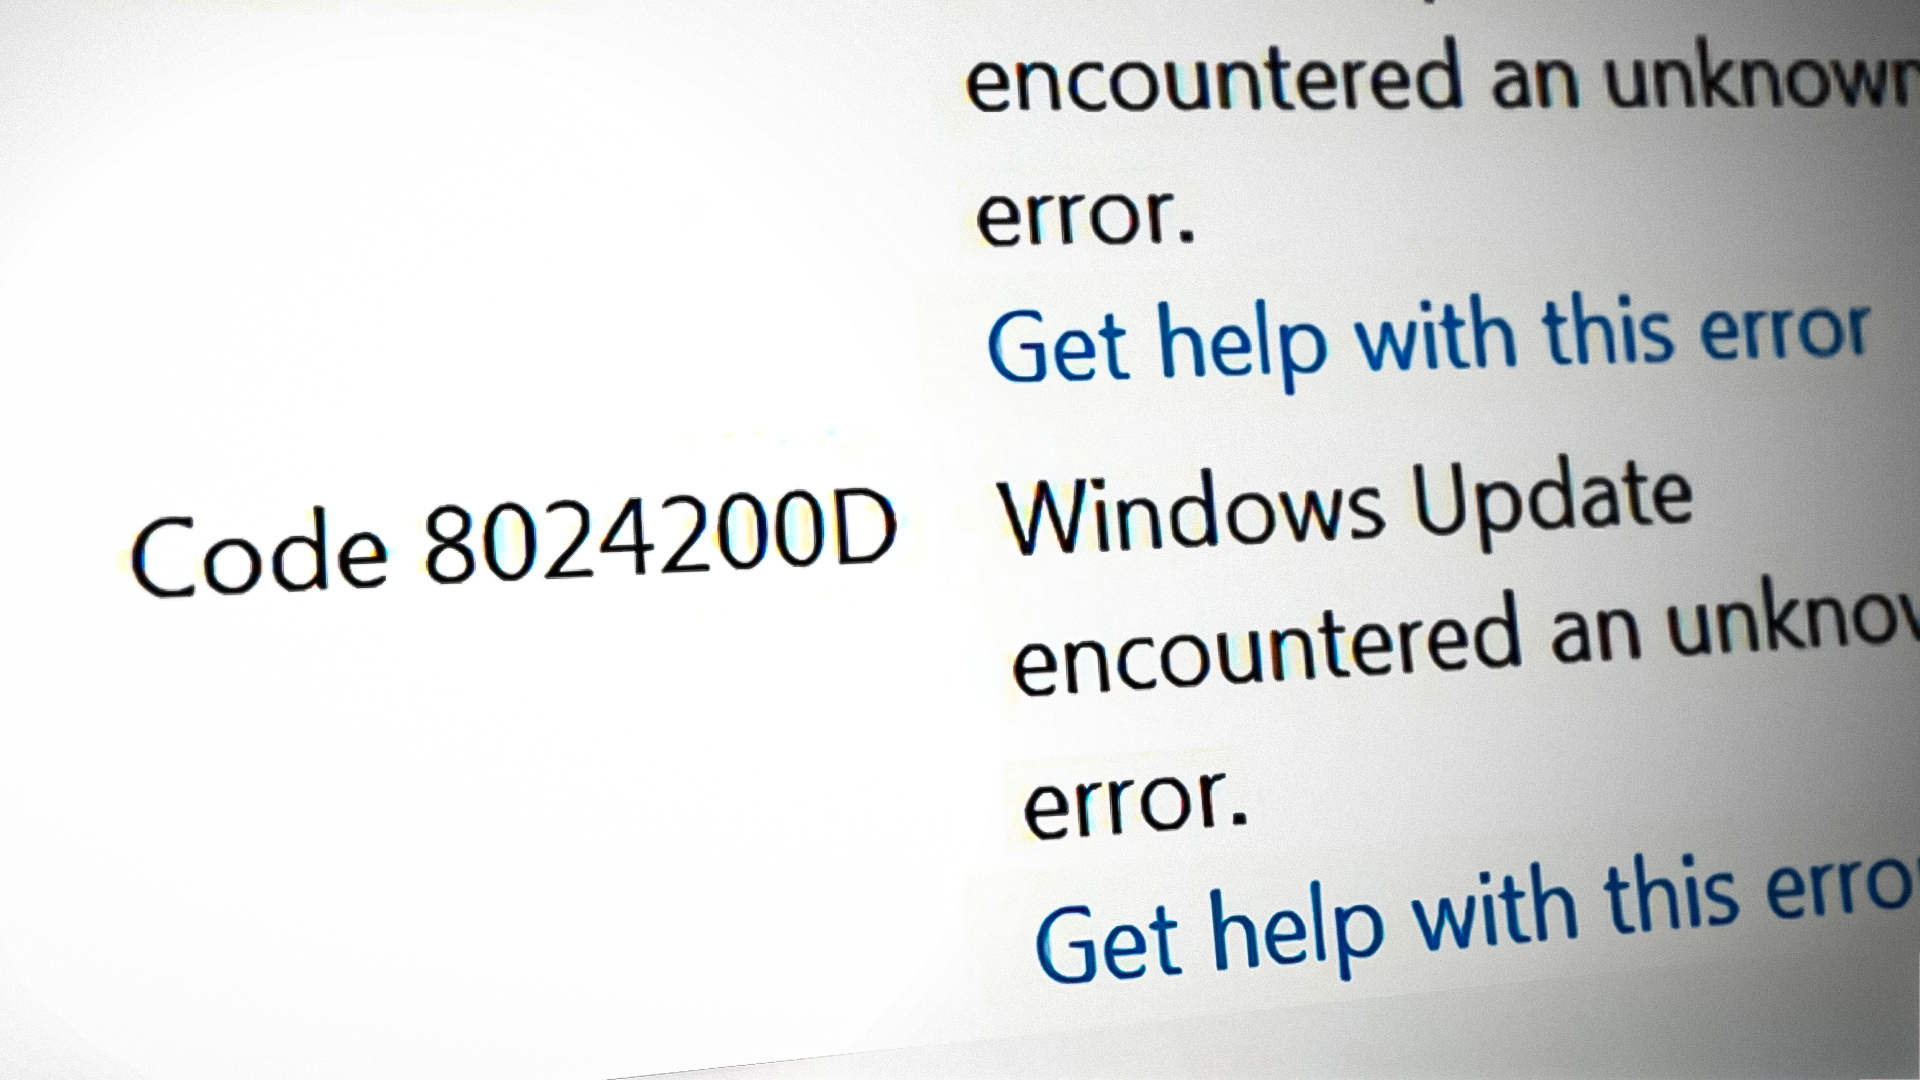
The Windows Update Error 8024200D (WU_E_UH_NEEDANOTHERDOWNLOAD) means that the Windows Update handled can’t install the update because the update downloaded is invalid and corrupted. This error is most commonly encountered on Windows 7.
If you are affected by this error code, you are likely to experience this behavior every time Windows Update attempt to install an update that has failed on the first try. This problem has been patched with newer Windows builds but remains prevalent with older builds.
The main reason why you’ll see this error is a WU inconsistency that can be fixed either by resetting the entire Windows component or by bypassing it entirely by downloading and installing the update manually using the Windows Update Catalog.
Update: This problem can also occur due to a corrupted Windows Update database.
Here’s a list of confirmed methods that you can use to troubleshoot this error:
1. Install the failing update manually
If you’re looking for a quick fix that will bypass a local issue that triggers the 8024200d error, use the Windows Update Catalog to install the failing update manually.
This method is only recommended if you only have one update that is throwing the 8024200d WU error when you attempt to install it.
Important: Keep in mind that going this route will not effectively address the root source of the issue. Even if this allows you to bypass the error and install the problematic update, it will not address the root cause of the issue. If you want to fix root the issue, continue troubleshooting with the remaining methods below even if this method allows you to install the failing update.
Here’s how to use the Windows Update Catalog to bypass the 8024200d error:
- Launch the homepage for the Microsoft Update Catalog in your web browser.
- Use the search box in the upper-right corner of the Microsoft Update Catalog page to discover the update that failed to install.
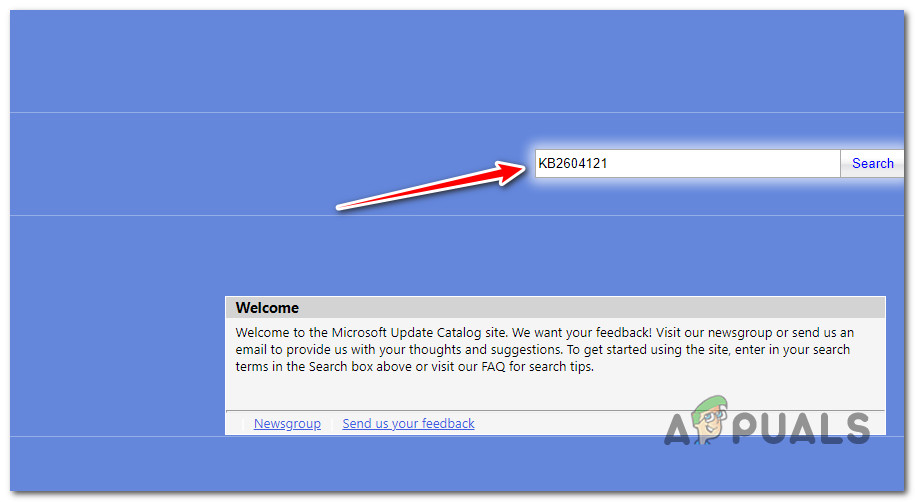
Searching for the failing update inside Windows Update Note: You can grab the update code from the WU error message inside the Windows Update page.
- From the list of results, identify the update applicable to your Windows version.
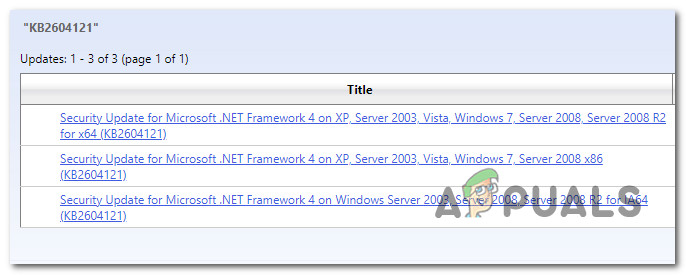
Identify the correct update Note: Consider the CPU architecture and Windows version while looking for an appropriate update, after analyzing the findings.
- After identifying the required update, click the Download option and wait until the download is complete.
- Once the download is complete, double-click the executable file you just downloaded from the Downloads folder.
- Follow the on-screen instructions to complete the sideloading of the next Windows update.
- Now that the update is installed, reboot your PC and see if the 8024200d has disappeared from the Windows update screen.
2. Run the Windows Update Troubleshooter
Running the Windows Update troubleshooter is a great way to try and fix this issue using the built-in tools provided by Microsoft.
If you are experiencing the 8024200D error due to a common WU inconsistency, running the Windows Update Troubleshooter and applying the recommended fix should help you resolve this issue.
Note: The Windows Update Troubleshooter provides a collection of automated repair strategies that may be used to treat the most common causes of a failing Windows update.
If Windows Update Troubleshooter manages to identify the cause of the error, follow the instructions to apply the recommended solution.
Here’s how to run the Windows Update Troubleshooter and apply the recommended fix:
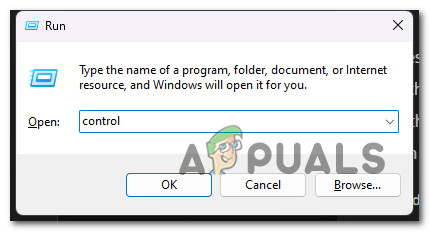
- Press the Windows key + R to open the Run dialog box.
- Type “control” and hit the Enter key to enter the Control Panel interface.
Open up the classic Control Panel interface - Click “Yes” when prompted by User Account Control to grant administrator permissions.
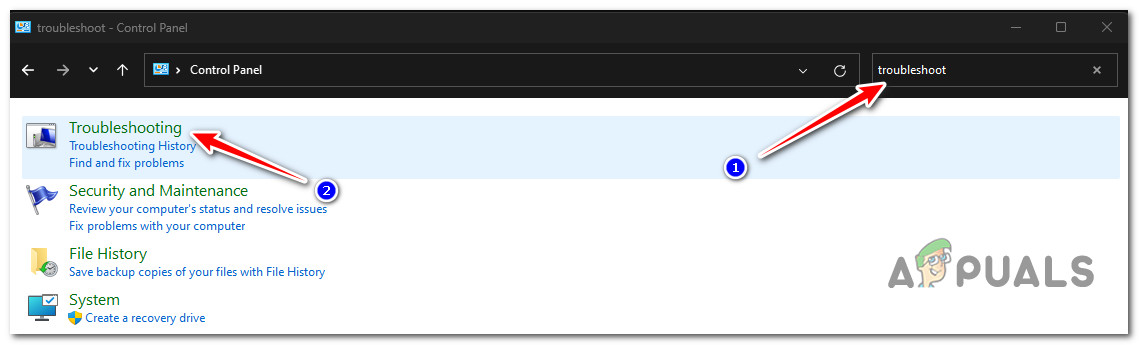
- Utilize the Control Panel’s search function to look for “troubleshoot” (top-right corner of the screen).
- From the list of search results, click on Troubleshooting.
Open up the Troubleshooting tab - Under System and Security, click on Fix problems with Windows Update.
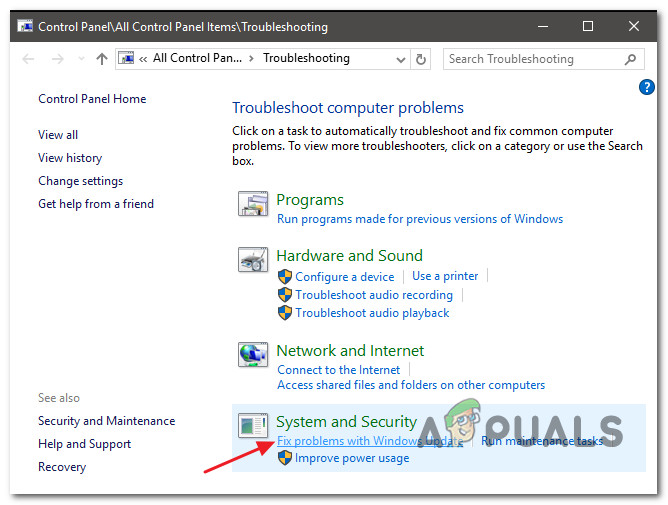
Find and Fix Problems with Windows Update Note: If you are running Windows 11, you may see different displays moving forward.
When asked by the Windows Update Troubleshooter, click Next and wait for the initial scan to complete. - Click Apply this Fix if you find a possible solution to implement it in the current situation.
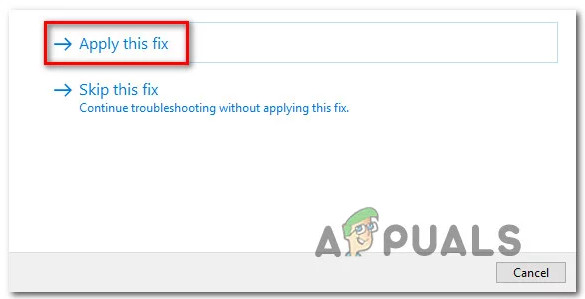
Apply this fix - Once the solution is effective, restart your computer and attempt to reapply the unsuccessful update.
3. Reset the BITS & Cryptographic Services
Another scenario where you might see the 8024200d error when installing a pending Windows update is if two very important service dependencies (Background Intelligent Transfer Service and Cryptographic Service) do not receive content link headers.
Note: This is an old issue that is patched on Windows 11 and Windows 11 but still occring on Windows 7.
To fix this issue, you’ll need to reset both services & rename the two folders where Windows Update stores temporary Windows Files (Catroot 2 & Software Distribution). However, in order to complete this methods, you’ll also need to disable a series of additional WU dependencies to make sure there’s no interference.
Here’s a quick guide on how to do this:
- To open the Run dialog box, press the Windows key + R.
- Then, to start a Command Prompt with elevated privileges, type “cmd” into the text box and press Ctrl + Shift + Enter.
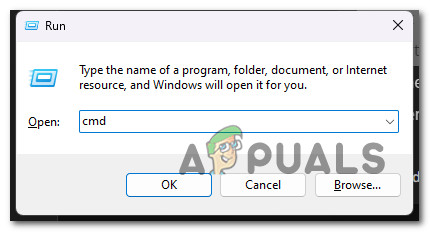
Open up an elevated CMD prompt Note: Grant administrator access by choosing Yes when asked by the UAC (User Account Control) window.
- To stop all WU-related services, type the following commands in the following order at the elevated Command Prompt and press Enter after each command:
net stop wuauserv
net stop cryptSvc
net stop bits
net stop msiserver
Note: By following these steps, the Windows Update Service, MSI Installer, Cryptographic Service, and BITS Service will all be killed manually.
- Use the following commands to remove and rename the SoftwareDistribution and Catroot2 folders once all relevant services have been stopped:
ren C:\Windows\SoftwareDistribution SoftwareDistribution.old
ren C:\Windows\System32\catroot2 Catroot2.old
Important: These folders are responsible for storing updated files required by the WU component. If you rename these folders, your operating system will be compelled to build new, healthy copies.
- After the folders have been cleaned up, execute the following commands to enable the previously deactivated services:
net start wuauserv
net start cryptSvc
net start bits
net start msiserver
- Restart your computer when it has restarted to verify if the issue has been resolved.
4. Run SFC & DISM Scans
File corruption that interferes with the auto-updating capability of Windows installation is one of the most common reasons of the 8024200d error while attempting to install a pending system update.
In this case, it’s recommended to perform a few system file scans utilizing built-in tools System File Checker (SFC) and Deployment Image Servicing and Management (DISM).
Note: Although SFC and DISM are fairly similar, we recommend running both checks in short succession to enhance the likelihood of recovering corrupt system files.
Our recommendation is to start with a simple SFC scan. You can deploy this tool without an active connection to the internet.
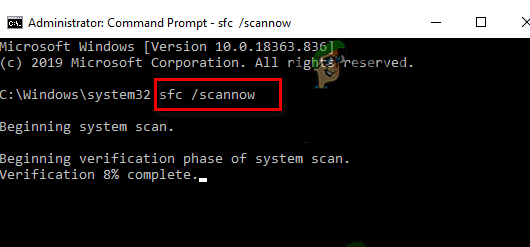
Important: It is imperative to maintain the CMD window active after initiating this process, even if the application seems frozen. This is a common occurrence, especially on Windows 7. Stopping the operation before it’s finished, this might result in logical problems on your HDD or SSD.
Once the SFC scan is finished, follow it up with a DISM scan with admin access without restarting your PC. DISM uses a component of Windows Update to obtain healthy replacements to replace corrupt system files. Because of this, you’ll need to ensure that you have a stable internet connection before beginning this operation.
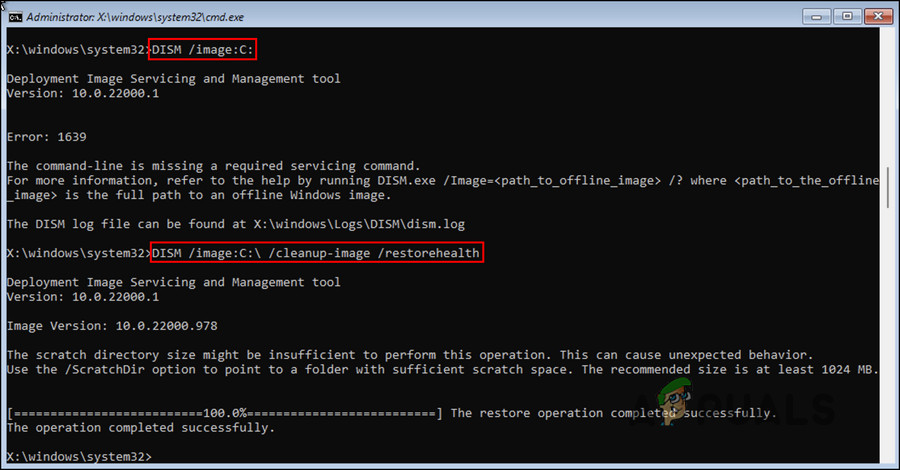
Before commencing this operation, you must thus ensure that you have access to a reliable Internet connection.
After the DISM scan is complete, restart your computer to verify if the 8024200d error has been addressed.
5. Install Update in Clean Boot Mode
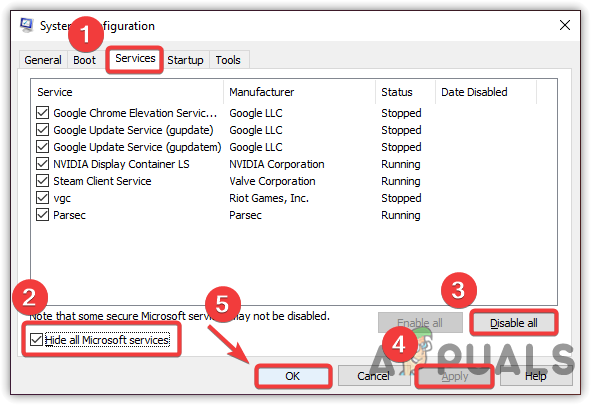
It’s also possible that you’re dealing with this issue due to a scenario where a 3rd party application, startup item or service that is interfering with the Windows Update procedure.
If this scenario is applicable, one way to get around the 8024200d error is to is to achieve a clean boot state before attempting to install the update again.
Note: A clean boot forces your system to load just the required Windows apps and services. Once the clean boot state has been reached, no third-party services, processes, or starting items will be permitted to run.
Here’s a quick guide on achieving a clean boot state before reinstalling the problematic update that’s triggering the 8024200d error:
- Follow the steps outlined in this article to achieve a clean boot state.
Achieve a clean boot state - Once you restart your PC in clean boot mode, press Windows key + R to open up a Run dialog box.
- Next, type ‘wuapp’ inside the text box of Run, then press Ctrl + Shift + Enter to open up an elevated Windows Update instance.
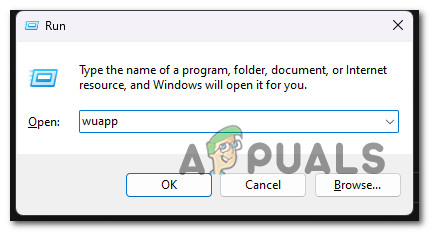
Open up the Windows update menu via Run box Note: This command will only work for Windows 7. If you’re on Windows 10 or Windows 11, use ‘ms-settings:windowsupdate’ instead.
- Inside the Windows Update screen, click on Check for Updates.
- If the problematic update is available to install again, click on Install updates and see if it installs without the same 8024200d error.
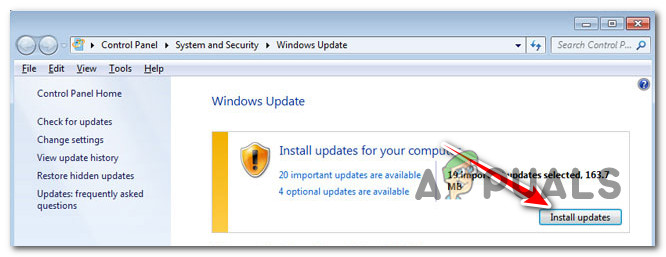
Install pending updates
6. Delete Update logs & reinstall the update
Inconsistent WU log files can also cause this error. This is even more likely you have multiple updates that are all failing with the 8024200d and you started to experience this issue after an unexpected system shutdown while the update was installing.
In this case, you’re probably dealing with an issue affecting the integrity of servicing packages, manifests or WU underlying components.
To address this issue, you’ll need to access a series of hidden directories and delete the update logs before retrying the update.
Here’s how to do this:
- Press Windows key + R to open up a Run dialog box.
- Next, type ‘%SYSTEMROOT%\Logs\CBS\’ and press Ctrl + Shift + Enter to the first hidden folder with admin access.
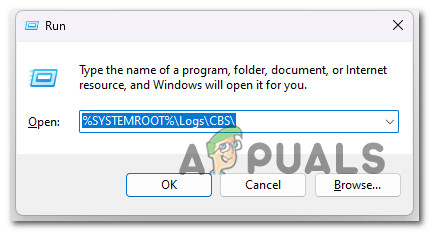
Open up the CBS folder - At the User Account Control (UAC), click Yes to grant admin access.
- Inside the location, delete the cbs.log by right-clicking on it and clicking Delete from the context menu.
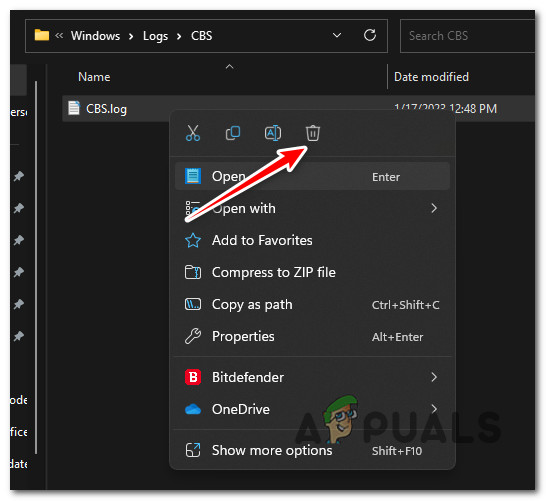
Deleting the CBS log Note: If the CBS folder contains a secondary log file named CheckSUR.log delete that as well.
- Once both files have been deleted, restart your PC and see if the problem is now fixed.
7. Perform a repair install
If you’ve come this far and you still can get past the 8024200d and install the pending update, you are likely dealing with file corruption that you will not be able to fix without replacing the entire suite of Windows files.
In this case, doing an in-place repair (repair install) or a clean installation are your only options on getting back to a state where Windows is able to install pending updates automatically.
A clean installation is a simpler option, but the main disadvantage is that you cannot preserve your data – including applications, games, and personal files (unless you back them out first).
If you’re looking for a method to save you from losing data, go for a repair install procedure. The main advantage is that you get to keep your data, including applications, games, files present on the OS drive and even certain user preferences.


