Fix: High Usage by wuauserv ‘windows update service’
The wuauserv or Windows Update Service is a service present in your PC which enables the detection, installation, and download of updates in Windows. If the service is disabled, users on the computer will not be able to update their PC using Windows Update.
There are a lot of many instances where this process eats up a lot of your resources such as CPU, Memory or Network. There may be many causes for this behavior. Your update client might have a conflict or Windows might just be checking for any possible update. We have listed down various solutions to help with this process. Take a look.
Solution 1: Waiting for Windows Update to Check
Before resorting to any technical solutions, you can wait a little while. It is possible that the computer is checking for possible updates with Windows servers. After a while, the process should itself slow down and keep running in the background. However, if the behavior continues for several hours, you can start executing the solutions below.
Solution 2: Restarting Update Service after deleting downloaded content
We will disable the Windows update service momentarily so we can delete the content already downloaded by the Update Manager. Then we will delete the contents of Software Redistribution folder. After we restart the service, Windows will check which files are already downloaded. If it finds none, it will start the download from scratch. Most of the time, this solves the problem and the service doesn’t consume that many resources.
Disabling Update Service
There are two methods to disable the Windows Update Service. You can follow any one of them for your ease of access.
Method 1: Using services
- Press Windows + R to bring up the Run application. In the dialogue box, type “services.msc”. This will bring up all the services running on your computer.
- Browse through the list until you find a service named “Windows Update Service”. Right-click on the service and select Properties.
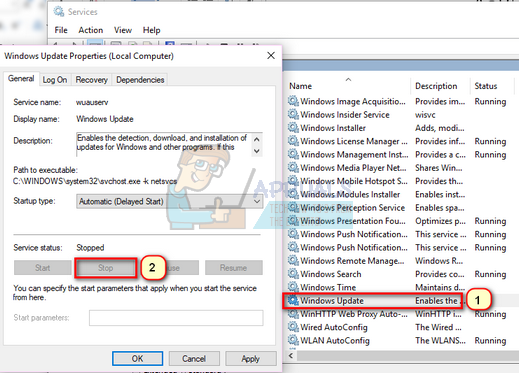
- Click on Stop present under the sub-heading of Service Status. Now your Windows Update service is stopped and we can proceed.
Method 2: Using command prompt
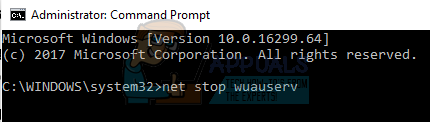
- Press Windows + S, type “command prompt” in the dialogue box, right-click on the application and select “Run as administrator”.
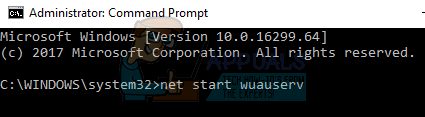
- At the command prompt, type “net stop wuauserv”. Don’t close the command prompt yet, we may need it later on.
Deleting downloaded files
Now we will navigate to Windows Update directory and delete all the updated files already present. Open your file explorer or My Computer and follow the steps.
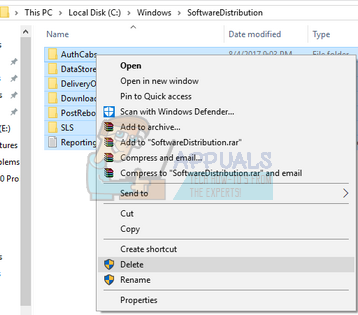
- Navigate to the address written below. You can also launch the Run application and copy paste the address to reach directly.
C:\Windows\SoftwareDistribution
- Delete everything inside the Software Distribution folder (you can also cut paste them to another location in case you want to place them back again).
Note: You can also instead rename the software distribution folder. Name it something like “SoftwareDistributionold”.
Turning Update Service back on
Now we have to turn the Windows Update service back on and launch it again. Initially, the Update Manager might take a few minutes to compute details and prepare a manifest for the download.
Now if you used method one to turn off Windows Update, also follow method one here. If you followed method two, follow method two.
Method 1: Using Services
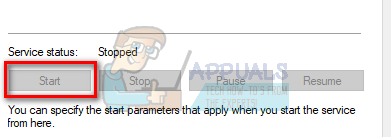
- Open the Services tab like we did earlier in the guide. Navigate to Windows Update and open its Properties.
- Now Start the service again and launch your update manager.
Method 2: Using command prompt
- Launch your command prompt (or if it is already running just type).
- Type “net start wuauserv”. This will start the Windows Update service again. Now you launch your Update manager again and start the Windows 10 process.
Note: Always run the command prompt and the services tab as an administrator. You might experience an error if you forget to use full authority.
Solution 3: Installing the Updates Manually
Before we resort to uninstalling the required updates, we can check if solving the updates manually fixes the problem at hand.
- Press Windows + S to launch the search bar. Type “windows update” and open the result which comes forth.
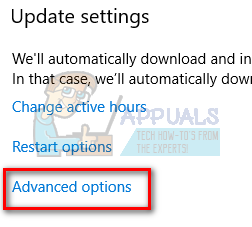
- Under the heading of “Update settings”, select Advanced Options.
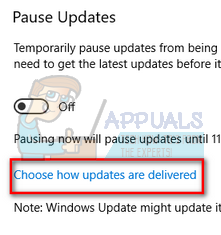
- Scroll to the bottom of the page. Here you will find an option “Choose how updates are delivered”. Click it.
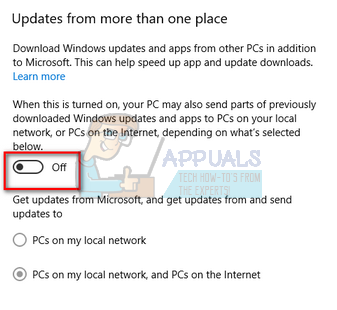
- Now a new window will pop up consisting of options about where to download updates. Disable it, and navigate back to the previous window.
- Enable “Pause Updates”. Now restart your computer.

- Navigate to the Official Microsoft website, select the recent update which is giving you the problem and download it.
- After installing the update, restart your computer and check for updates manually. It may take a little while so be patient. After the computer has checked for updates successfully, restart your computer again and check if the problem is solved.
Solution 4: Uninstalling the Installed Updates
If you are experiencing this problem after installing a recent update, we can try uninstalling this before we resort to disabling the process completely. Make sure to make a restore image of your windows before resorting to this solution. That way you can always roll back if anything goes wrong.
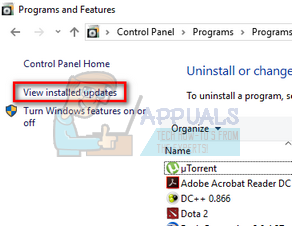
- Press Windows + R to launch the Run application. Type “appwiz.cpl” in the dialogue box and press Enter.
- A new window will come forth consisting of all the programs which are installed on your computer. Ignore these and press “View installed updated” present at the top left side of the window.
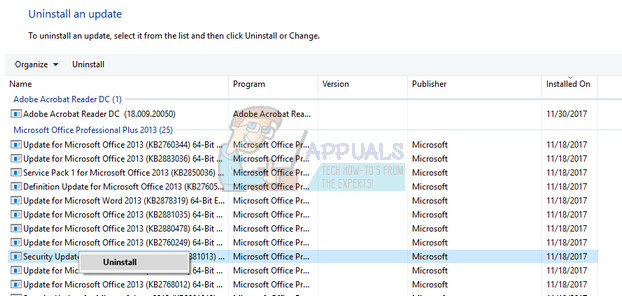
- A list of all installed updates will come forth. Select the one after which you started having problems, right-click it and select “Uninstall”. After the uninstallation process, restart your computer and check if the problem is solved.
Solution 5: Disabling Windows Update Service
If all the above solutions don’t work, we can try disabling the Windows Update Service. Do note that after this method, your update client will not run automatically nor will your Windows update itself.
- Press Windows + R to bring up the Run application. In the dialogue box, type “services.msc”. This will bring up all the services running on your computer.
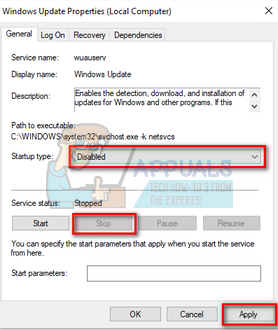
- Browse through the list until you find a service named “Windows Update Service”. Right-click on the service and select Properties.
- Stop the service by clicking the “Stop” button present underneath Service Status. Then click on Startup Type and select “Disabled” from the drop-down menu. Press Apply to save changes and exit.
- Now restart your computer and check if the problem got solved.