How to Fix ‘It’s time to update your device’ on Windows 10?
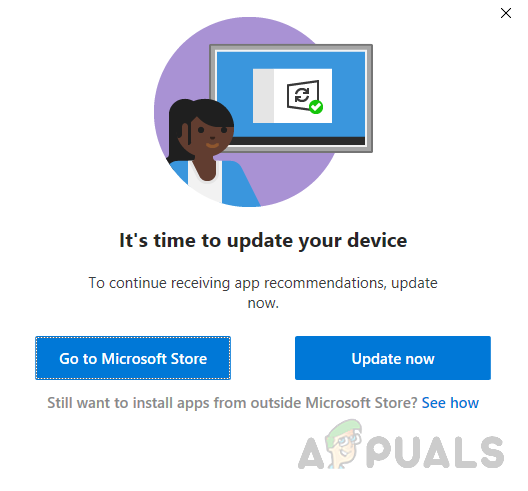
Microsoft provides you with Windows Update from time to time to keep your system free from bugs and to provide additional security from malware and infections. So, it’s highly recommended to update your windows timely. Recently people have been reporting this error, “It’s time to update your device” that continuously prompts while the user is working on PC. Sometimes, it occurs while installing or running some application. However, sometimes it occurs when the user is just working normally on PC or even while trying to update Windows. The user is notified with an error as follows:
Ever wondered why it’s important to install the Windows Updates? Most of them include security updates. Security issues are the worst possible errors – as they may be exploited by malware or hackers. These types of situations are regularly identified in various parts of Windows – ActiveX, Internet Explorer and .Net Framework are examples. Other updates address other bugs and issues in Windows. Even though they are not responsible for security vulnerabilities, they might impact the stability of your Operating System. Last, but not least, Windows Updates sometimes come with new interactive features that help to make the operating system to be more productive. Let us jump to fixing this error now.
Pre-Requisites:
Before heading toward the solutions, we will recommend you follow the short steps and cross-checks to either solve the problem or minimize the causes of the error under consideration. All the possible steps are given below in detail:
- Update Windows: BSOD error due to outdated operating systems is something that can be solved by updating Windows with the latest security patches and feature updates. These updates fix many bugs and compatibility issues with certain hardware and software. Update your Windows following these steps:
Open “Settings”> “Update & Security” > “Windows Update” > “Check for updates”. - Switch Out from Windows S Mode: Windows 10 in S mode is a version of Windows 10 that’s streamlined for security and performance while providing a familiar Windows experience. This enhanced security version of Windows does not allow any installation of the program to take place, resulting in the error under consideration. Switch out from Windows S mode by going through the following steps:
Open “Windows Settings” > Update & Security > Activation > Go to Store > Select “Get”. - Disable Antivirus: To protect your device during the Windows upgrade or update installation it is recommended to use Windows Defender. Non-Microsoft antivirus software sometimes cause errors while Windows upgrade. You can uninstall them by following these steps:
Open “Control Panel” > Programs >Programs and Features> Select “Installed Antivirus Program” > Uninstall >Yes. - Repair Corrupt Files: To avoid the update installation error due to damaged system files, try to repair or restore them by the given steps:
Open “Command Prompt” > type “DISM.exe /Online /Cleanup-image /Restorehealth” > press “Enter” on your keyboard.
Again, type “sfc /scannow” > press “Enter” on your keyboard. - Repair Hard-drive Errors: It is better to run a hard drive repair mechanism to eliminate this possible cause of the error. To repair the hard drive errors, follow these steps: Open “Command Prompt” > type “chkdsk/f C:” > Press “Enter”. After the repair is complete, you will be asked to restart your device.
- Unplug Extra Hardware: Remove all external storage devices such as drives, docks, or any hardware you might have plugged into your device that you are not using currently.
Solution 1: Update Windows (Media Creation Tool)
In many cases, users were not able to update their Windows operating systems due to errors and failures. Therefore, it prompted the need to use the Windows 10 Media Creation Tool. This way, Windows will be updated without any errors coming in its way, ultimately fixing the problem under discussion. This is a high priority solution as it helped a lot of users online, concluded from the feedback from our technical research team.
Windows 10 Media Creation Tool is a very useful tool for users to upgrade Windows 10 or reinstall Windows 10, a popular utility developed by Microsoft. With this extraordinary Windows 10 creation tool, you can upgrade Windows 10 to its latest version without a hassle and create a Windows 10 installation USB drive/DVD disc to perform a clean install or to repair a problematic PC (which we will be doing in this solution). Follow the steps below to update your Windows through the Windows 10 Media Creation Tool:
- Download Windows 10 Media Creation Tool from Microsoft’s Official Software Download Webpage.
- After the software is downloaded, run the Media Creation Tool Setup with admin privileges. A confirmation window will pop-up, select Yes which will initialize the Windows 10 Media Creation Tool setup window.
- On the “Application notices and license terms” page, select Accept.
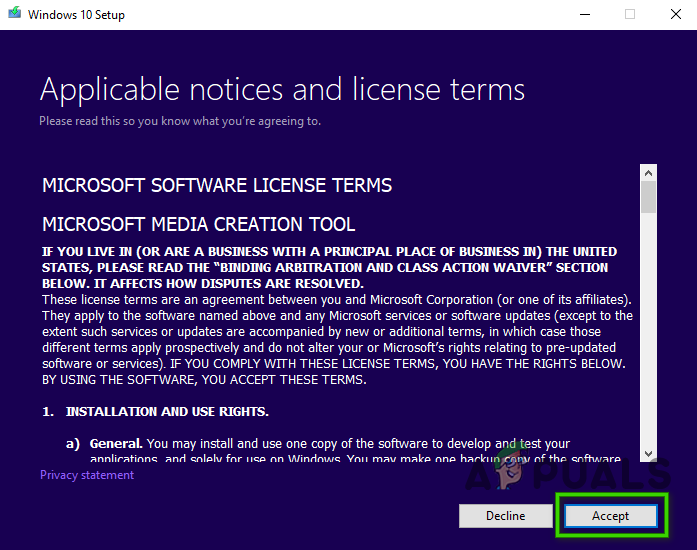
Accepting Terms and Conditions - Wait patiently for Media Creation Tool to get a few things ready. Once done, it will take you to the “On the What do you want to do” page, select Upgrade this PC now, and then click Next.
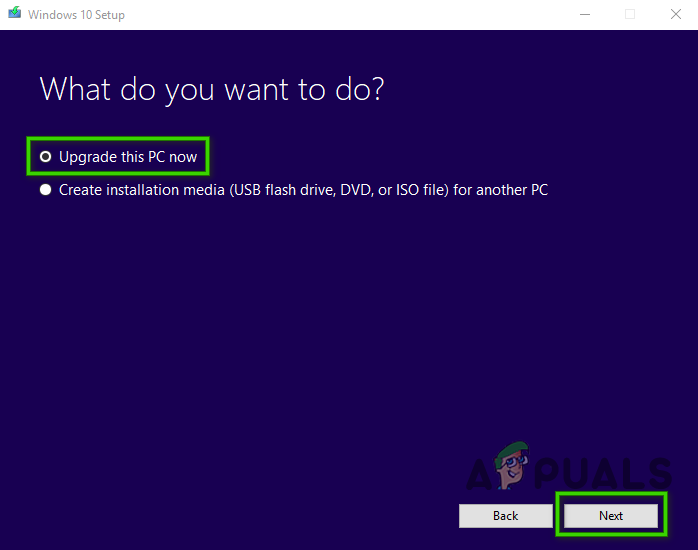
Selecting Upgrade this PC now - At this time, the Media Creation Tool will perform a scan of your PC and its Operating System and download some files for the latest updates, suited for your PC. This process may take some time. This time will be dependent upon your PC hardware components and your Network Connection bandwidth. Once the downloading is complete, read the license terms and click Accept to proceed further.
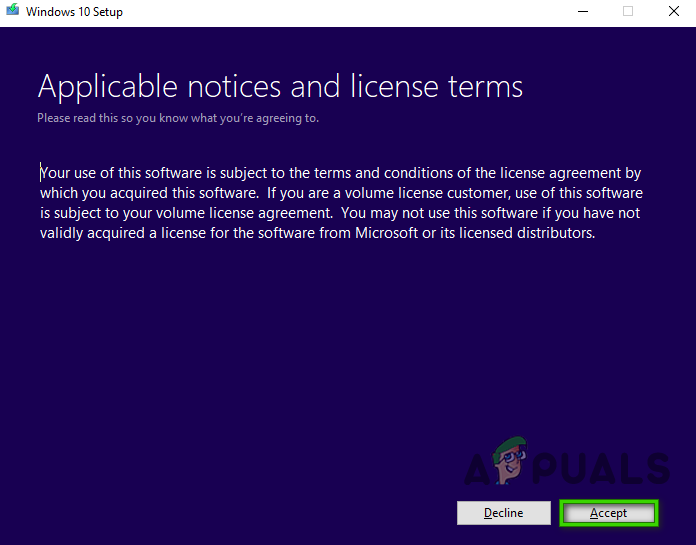
Accepting Notice and License Terms - Wait for Media Creation Tool to check for any further updates. Windows 10 Media Creation Tool will again perform a scan on your PC and make sure that it’s ready for the installation process. When you get this page on your screen as shown, you’ll see a recap of what you’ve chosen, and what will be kept through the upgrade. Select Change what to keep.
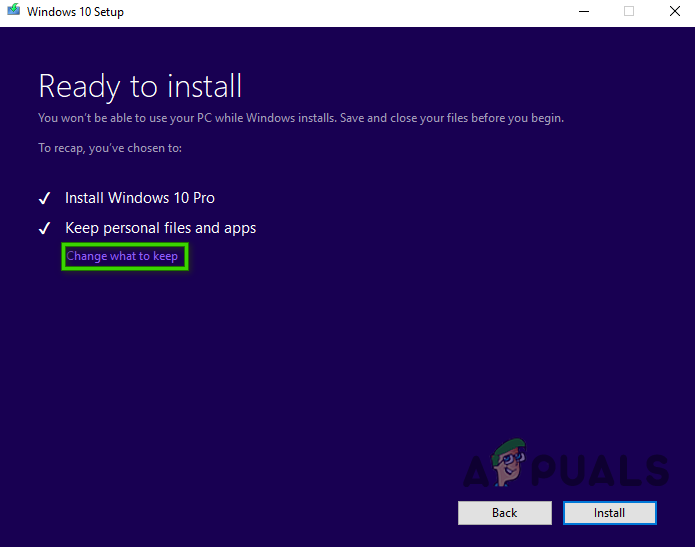
Changing what to keep - This page gives you three options to choose from: Keep personal files and apps, Keep personal files only, or keep Nothing during the upgrade. Make a selection of your choice and click Next to continue.
Note: It is recommended to check to keep personal files and applications to not lose any data.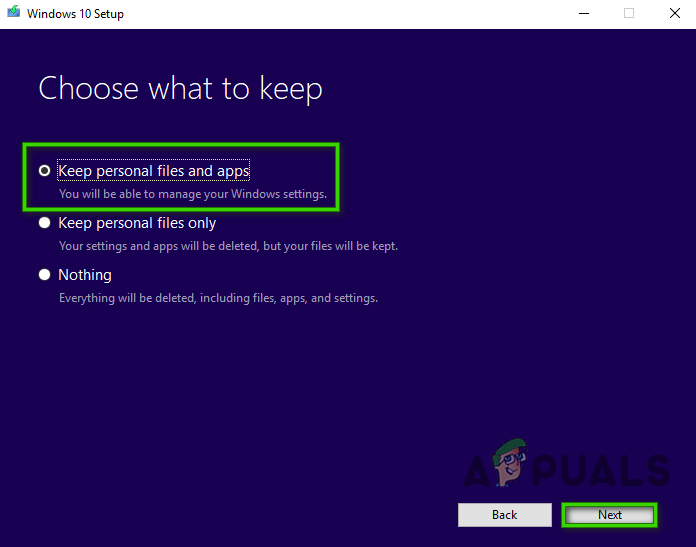
Selecting Keep Personal Files and Apps Option - Close any running applications and when you’re ready, select Install. This will initiate the installation process. This procedure will take some time, wait patiently and do not turn off your PC to avoid any miscellaneous errors.
Note: During the process, your PC will restart several times. Therefore, do not worry.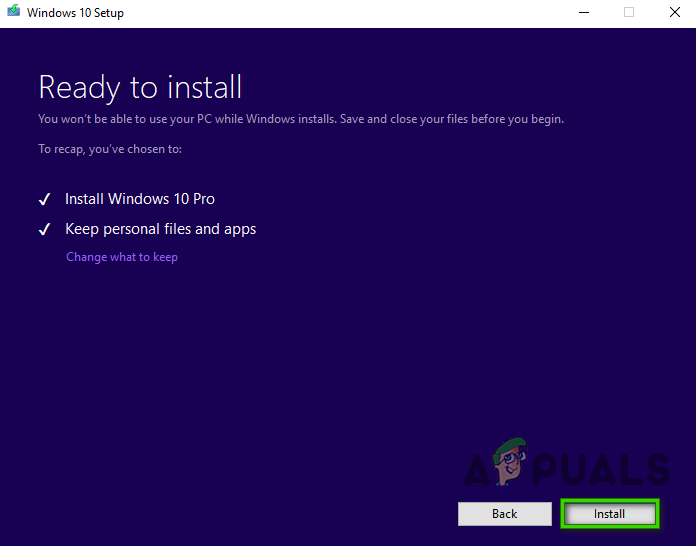
Installing Update through Media Creation Tool - Once the process is completed and Windows is normally loaded, try installing the software/upgrading your Windows (whatever you were doing when you got this error). You will no longer receive the error.
Solution 2: Allow Windows to Install Applications from Third-party Sources
Softwares require the latest windows update for their working compatibility and performance. As explained earlier, sometimes the user fails to install any software because of the error under discussion. This may occur if Windows does not allow any software installation to occur from third-party sources. This will block any installations you may try to do but in the recent updates, Windows allow the user to change this setting.
Apps & features is an option available on Windows 10 Settings application. Once opened, It provides a list of all applications that are installed on the system and allows the user to Move, Modify, or Uninstall them. Moreover, it also provides another option that allows you to choose whether third-party sources are acceptable while installing any software on your PC or not. Properly configuring this option will help you resolve this problem. It is also rated to be the last working solution for the “It’s time to update your device” error. Follow the steps below to allow Windows to install applications from third-party sources:
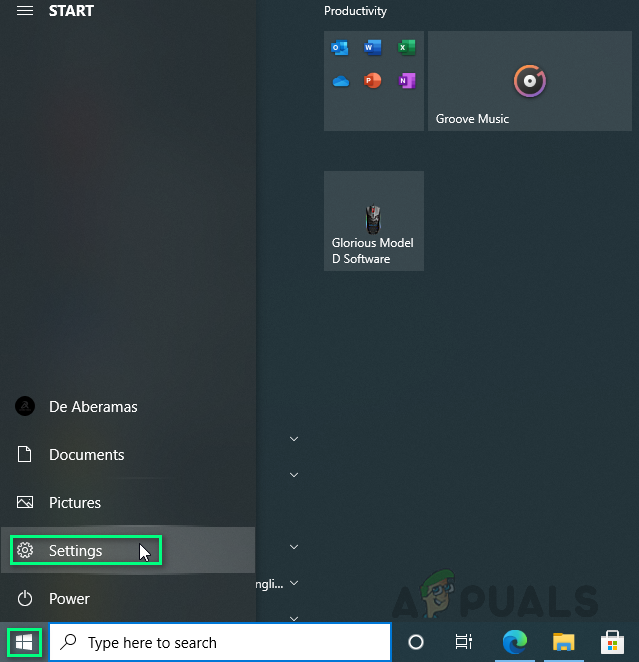
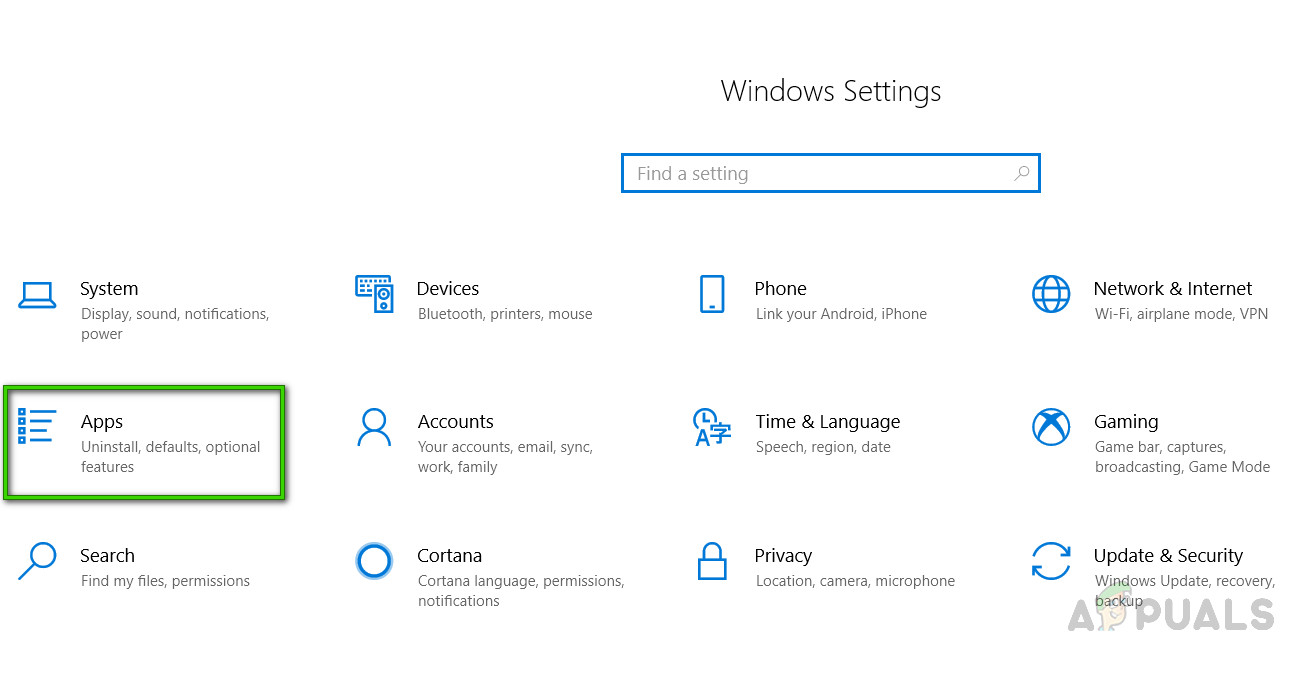
- Click Start and then click Settings to open it. This will open a window that contains all the major settings for Windows 10 i.e., Accounts, Update & Security, Programs, etc.
Opening Windows Settings - Select Apps. This will take you to a window where you can change application settings such as default apps, startup apps, etc.
Opening Application Settings - In the left pane, select Apps & features. This will take you to its settings window on the right side of the window i.e., Choose where to get apps, app execution aliases, etc. Under Choose where to get apps section, select Anywhere from the drop-down menu that contains four options in total. This will allow Windows to accept installations from third-party sources.
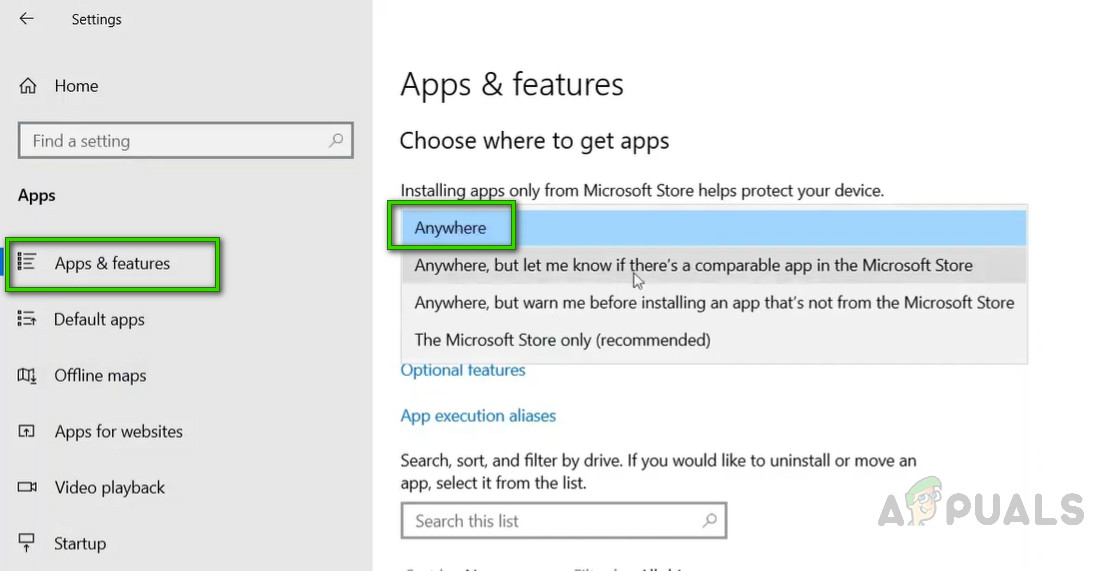
Allowing Windows to Accept Installations from Third-party Sources - Now try installing the software/upgrading your Windows (whatever you were doing when you got this error). You will no longer receive the error.


