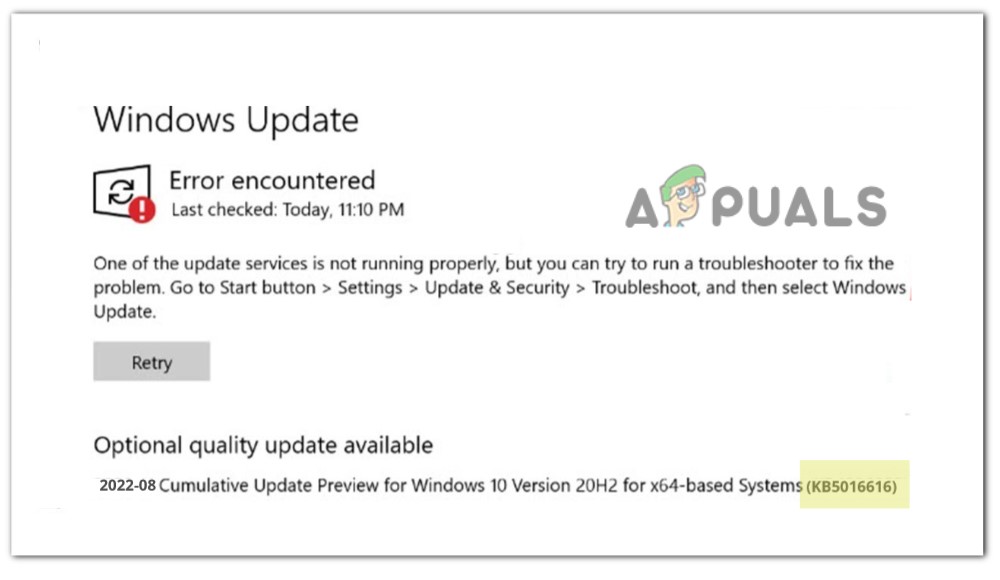
How to Fix KB5016616 Failed to Install on Windows 10?
The windows update KB5016616 fails to install on windows 10 when the update service dependencies are disabled or the windows update cache has bugs that corrupt the system update files. This error also triggers when your WU components are damaged, and they no more protect your updating files from malicious attacks and stop continuing WU installation.
Here are some reasons why KB5016616 fails to install on Windows 10;
- Bugged Update Cache: Update cache stores the windows update files. When the cache is corrupted, it directly affects the update files, and an error appears during WU installation. In this case, you can clear the update cache to fix this issue.
- Corrupt System Files: You might experience this error when the system files that support the Windows updates are corrupt. They stop your system from installing the new updates. In this case, run SFC and DISM Scanning to detect the faulty files and repair them to proceed with the installation process.
- Disabled Update Services: Sometimes, the system optimization software disables the Windows update services, and as a result, your system doesn’t allow you to install any updates. In this situation, you can check the service’s dependencies and manually set them to automatic or restart them for a clean installation.
- Windows Update Components Corruptions: WU components prevent the update files from bugs and other malicious attacks, but once they corrupt, the bugs invade the update files and stop your system from installing the updates. To fix this issue, you should reset these components and check whether the problem resolves.
1. Run Windows Update Troubleshooter
Before applying any other method, run the Windows Update troubleshooter. It is a built-in feature that identifies the problem and fixes it. So, run it on your system and then try to install updates by following these steps;
- Press the Windows key + I from the keyboard to open the Windows settings.
- Select Windows Update & Security. Then go to the left panel and select Troubleshoot option.
- Now click on Additional Troubleshooters. So, press the Windows Update option.
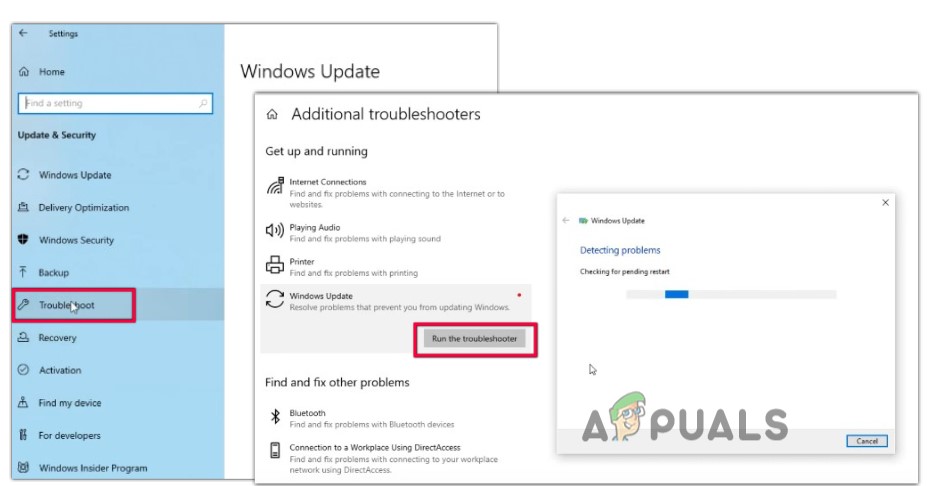
Run Windows Update Troubleshooter - Then click on Run the troubleshooter. It will take some time to detect the issue and repair it. So, once the troubleshooting is complete, restart your system and see whether the problem issue resolves or not.
2. Run SFC and DISM Scan on your PC
If the error still appears, run DISM and SFC scan. This method will help identify the possible issue in your system and repair it automatically. SFC scan takes time, so try to run DISM first and then run the SFC scan. So, follow these steps;
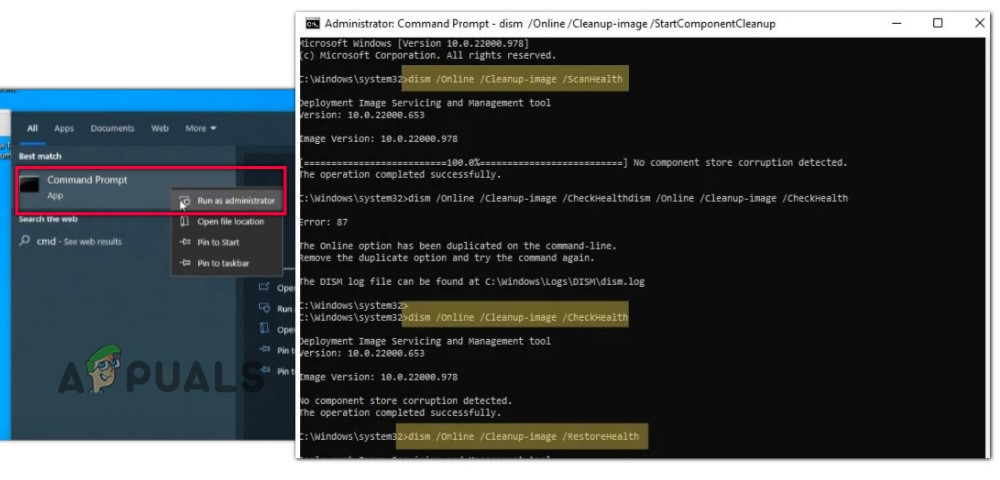
- Go to the Start menu and type CMD.
- Click on the Run as administrator and click on yes.
- Now type the following command and press the enter key;
dism /Online /Cleanup-image /ScanHealth
dism /Online /Cleanup-image /CheckHealth
dism /Online /Cleanup-image /RestoreHealth
dism /Online /Cleanup-image /StartComponentCleanup
Sfc /Scannow
- Once the Scanning is complete, exit from the command prompt, restart your Computer and then try to install the windows updates.
Run SFC & DISM Scanning
3. Reset the Windows Update Components
These WU components are essential for windows health. They prevent it from malicious attacks, unexpected errors, and glitches that can potentially crash system files. So if you are facing the issue, reset these windows update components by following the below steps and try to install the windows update again;
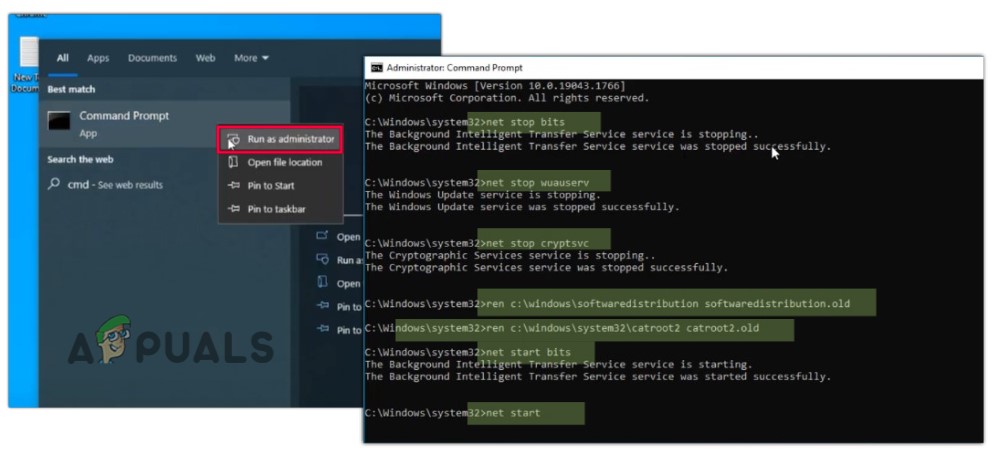
- Go to Start Menu and type Command Prompt.
- Press the Run as Administrator option and then click yes.
- Now enter the following commands in the command line and hit the enter key;
net stop wuauserv
net stop cryptSvc
net stop bits
net stop msiserver
ren C:\Windows\SoftwareDistribution SoftwareDistribution.old
ren C:\Windows\System32\catroot2 catroot2.old
net start wuauserv
net start cryptSvc
net start bits
net start msiserver
- Now close Command Prompt, try installing the windows update, and check if the error appears.
Reset the WU Components
4. Download Windows Installation Media Creation Tool
When the above methods do not work, you can download Media Creation Tool in your system. It will upgrade the device and fast up the windows update installation process. So, follow these steps to download and run the Media creation tool on your PC;
- Open your web browser and search for Windows 10 Downloads.
- Open its official website. Now scroll down and go to Windows 10 Installation Media.
- So, click on Download Now. Once it is downloaded, run its Exe. File in your system.
- Next, click yes to allow the application to run on your PC. Click Accept the License and then press the Next button.
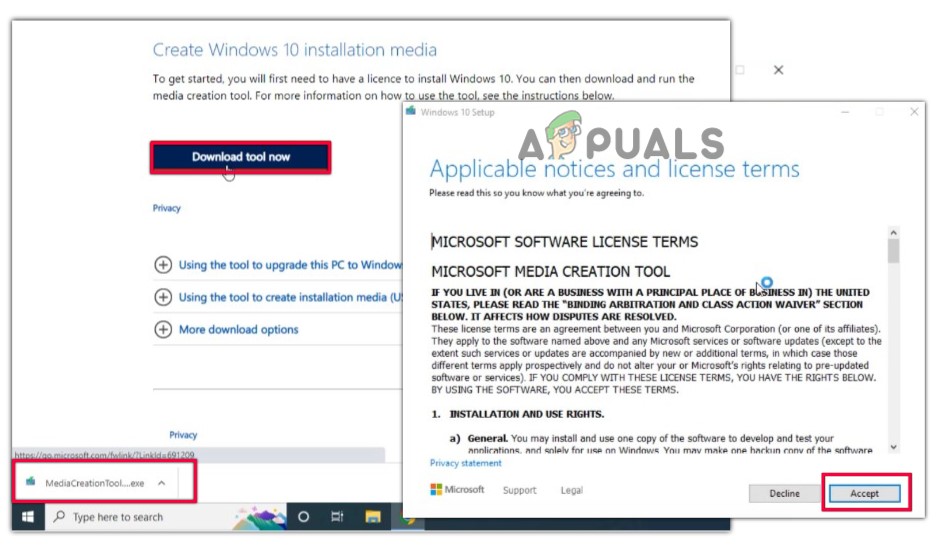
Download Window Media Creation Tool - After this, select the Upgrade Your PC option, and click Next. Now again, Press Accept and then click on the Install option. Now go to windows updates, try installing them, and check if the error resolves.
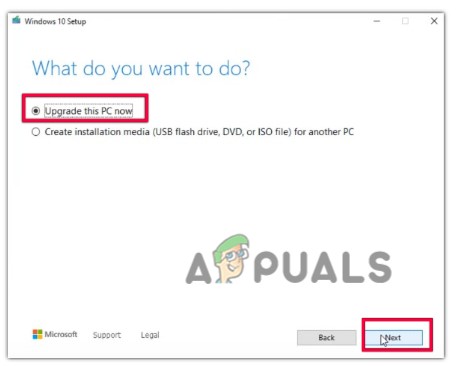
Upgrade Your PC
5. Download Windows Update from Microsoft Catalog
If you still have issues installing updates, try downloading the update manually. All window updates are available on Microsoft Updates Catalog. You can search for your required update and download it to your system. But this method only installs the update. It won’t fix the issue due to which the error appears. So follow the below steps.
- Go to your default Browser and search for Windows Update Catalog.
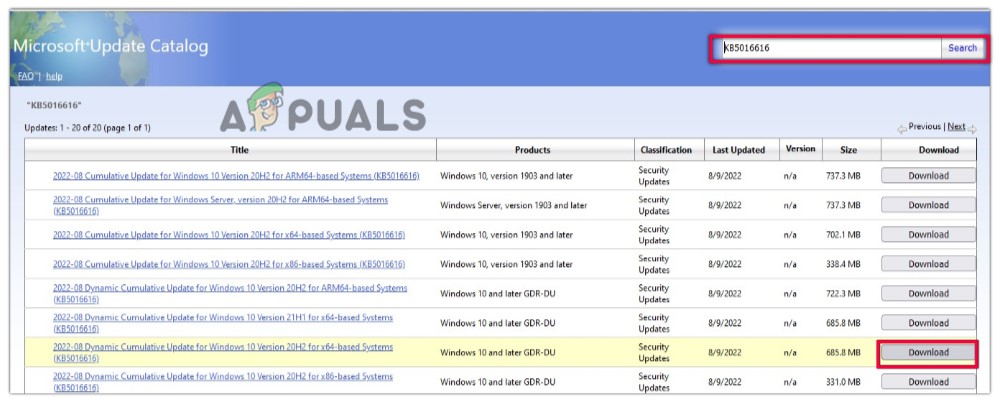
- Click on its official website. Go to search at the top right corner and type KBKB5016616.
- Next select windows update according to your windows version and OS architecture.
- So, press the download option of the required windows update version. Then click on the link.
Download Updates Manually - Now open File explorer on your PC and navigate to the downloaded folder. Then right-click on this folder and click on the install option. The update will successfully install manually in your system.


