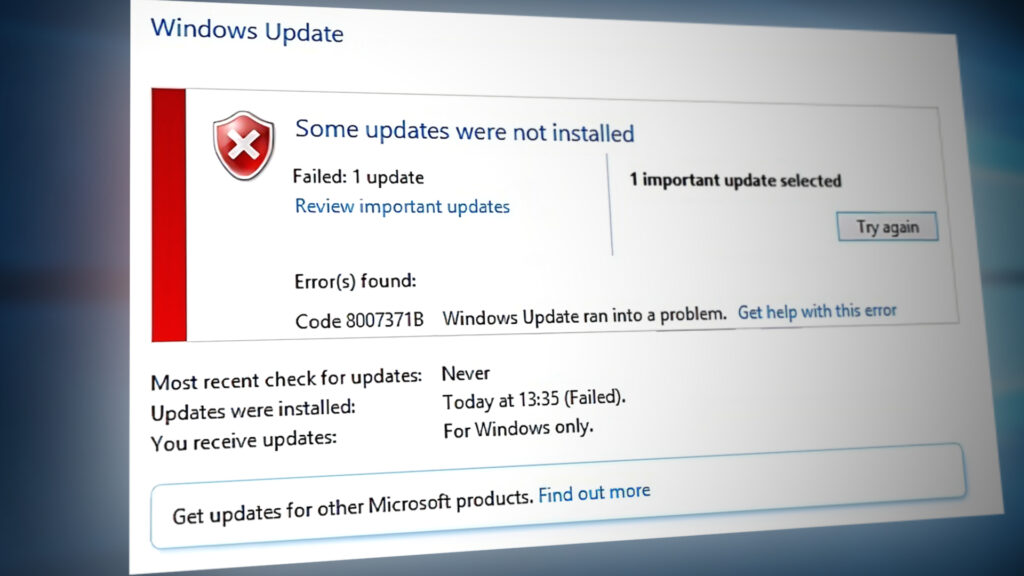
Fix: “Some Updates Were Not Installed” Error Code 8007371B
The error code 8007371B is typically seen when attempting to install certain pending Windows updates. This issue only occurs with certain security updates (KB2871389, KB2952664, and KB2868623) and it’s reported to occur on Windows 7, Windows 8.1, and Windows 10.
As it turns out, there are several different common scenarios that might end up triggering this particular error code. Here’s a list of potential culprits that are known to cause this issue:
- Common WU glitch – There are a series of common glitches that the Windows Update component can suffer from. Fortunately, most of these are already covered by the Windows Update Troubleshooter, so before moving to more advanced fixes, running this utility is an ideal place to start.
- System File Inconsistency – A corruption issue that interferes with WU is a likely culprit for this particular error. You can resolve the majority of corruption issues by running DISM and SFC scans. In some cases, you might be required to clean install, or perform an in-place upgrade.
- WU state is glitched– You can also expect to face this error screen if Windows Update becomes unresponsive. To treat this issue, you’ll need to reset WU manually or via Command Prompt.
Now that you are familiar with every potential reason that might cause your pending Windows Update to fail with the 8007371B error, here’s a shortlist of fixes that other affected users have successfully used:
Run the Windows Update Troubleshooter
If you want to save yourself the hassle of troubleshooting manually 8007371B error, start this troubleshooting attempt by deploying the Windows Update Troubleshooter and applying the recommended fix.
The WU troubleshooter on Windows 10 (and especially the one on Windows 11) is way superior to the equivalent on Windows 7 and Windows 8.1 because it has a lot more built-in repair strategies capable of resolving the majority of failures to install a pending Windows 10 update.
Follow the steps below to use the Windows Update Troubleshooter to fix the issue at hand:
- Press Windows key + R key. Next, type or paste “ms-settings-troubleshoot” inside the text box and hit Enter to open up the Troubleshooting settings menu.
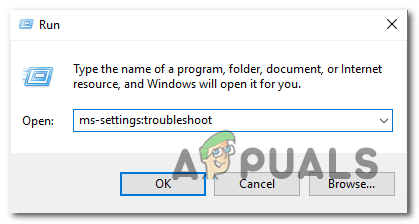
Running the Troubleshoot utility Note: On Windows 7 or Windows 8.1, use the following command instead: control.exe /name Microsoft.Troubleshooting
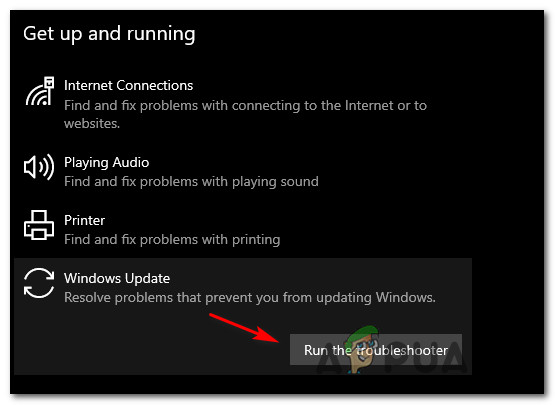
- Next, from the Settings screen, click on Get up and running section and then access the Windows Update menu.
- Once the dedicated menu appears, use the Run the troubleshooter context menu to deploy the utility.
Running the Windows Update Troubleshooter - Next, you’ll see how the tool begins scanning your system.
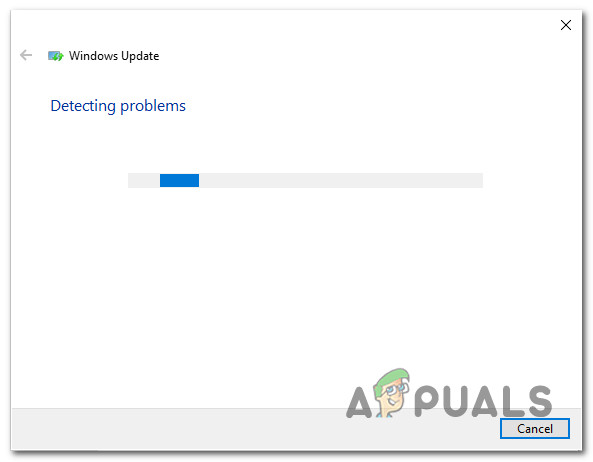
Detecting WU problem Note: Don’t stop the process until it competes to avoid provoking unnecessary logical errors.
- If a repair strategy that’s covered is identified, you’ll have the option to apply it by clicking on the Apply this fix hyperlink.
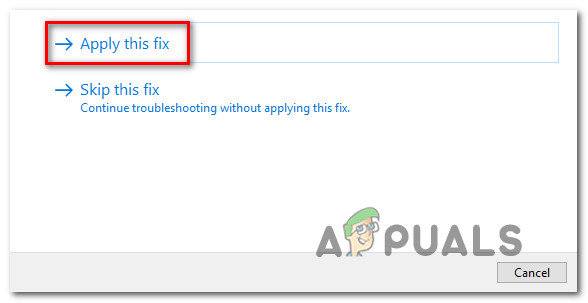
Applying the recommended fix - Reboot your computer and see if the problem is now fixed.
If the 8007371B error is still ongoing, start following the next method directly below.
Reset the entire Windows Update Component
If the Windows Update troubleshooter was not capable to fix the issue automatically, chances are you are dealing with an underlying issue with the Windows Update component.
Most likely, one or more WU (Windows Update) components are currently stuck in a limbo state and unable to communicate with the WU download server.
If you suspect this scenario might be responsible for triggering the error code 8007371B, follow the instructions below to reset every relevant Windows Update component:
- Hit Windows key + R to open up a Run dialog box. Next, type “cmd” and press Ctrl + Shift + Enter in order to open up an elevated Command Prompt. When you see the UAC (User Account Control) prompt, click Yes to grant administrative privileges.
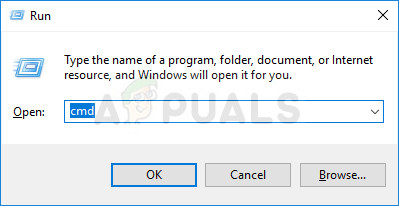
Opening up a CMD prompt - Next, run the following commands:
net stop wuauserv
net stop cryptSvc
net stop bits
net stop msiserver
Note: What you’ll actually do with these commands is stop the Windows Update Services, MSI Installer, Cryptographic services, and BITS services.
- Once all relevant services have been successfully stopped, use these commands to clear and rename SoftwareDistribution and Catroot2 folders:
ren C:\Windows\SoftwareDistribution SoftwareDistribution.old
ren C:\Windows\System32\catroot2 Catroot2.old
Note: These two folders are responsible for storing temporary update files use by the WU component.
- Finally, type these CMD commands and press Enter to re-open the services that you previously disabled by force:
net start wuauserv
net start cryptSvc
net start bits
net start msiserver
- Once every relevant WU service has been restarted, attempt to install the pending Windows Update that was previously failing and see if the problem is now fixed.
If the same code 8007371b is still occurring when you attempt to install certain Windows Updates, move down to the next potential fix below.
Run DISM and SFC scans
If the error code instance is still not resolved, you should proceed by troubleshooting against a Windows subsystem that’s affecting by file corruption.
Our go-to tools in this sort of scenario are SFC and DISM. In most cases, these will resolve mild cases of corruption that is interfering with your Windows ability to deal with WU dependencies.
SFC and DISM are similar but operate differently enough to justify running them in quick succession.
The ideal way to start is by deploying System File Checker scan as it doesn’t require a stable internet connection.
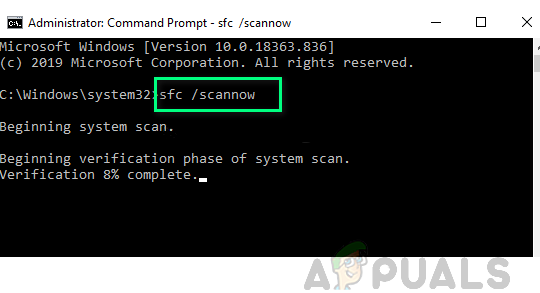
Important: During this scan, SFC might experience freezes and periods of time where it will look totally unresponsive. In this case, whatever you do, don’t close the CMD window and wait as it will eventually recover.
As soon as the operation is finished, restart and see if the problem is fixed.
If the same code 8007371b still appears when you attempt to install certain pending updates, proceed by deploying deep DISM scan.
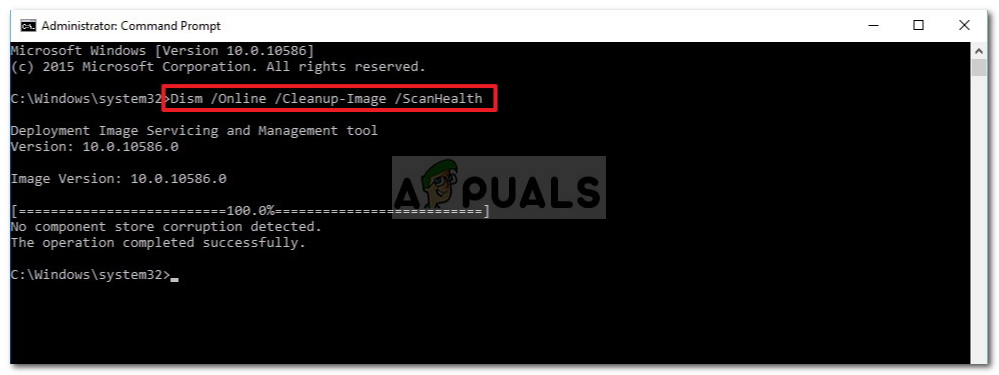
Once the DISM scan is complete, do a final system restart and see if the issue is now fixed.
If the same 8007371b is still occurring, move down to the next potential fix below.
Repair install / Clean install
If none of the methods above have been effective in your case, the last resort should be to resolve the underlying system corruption issue by replacing every OS file.
In this case, the best course of action is to perform a repair install. A few affected users have reported that this method ended up helping them install every pending update that was previously failing with the code 8007371b.
If you have the time, doing a repair install is better than a clean install because it will only refresh Windows components and booting-related processes. This allows you to keep all personal data including photos, applications, games, videos, and any other type of personal files.
Follow these step-by-step instructions on deploying a repair install procedure on your Windows installation.


