Fix: Windows Update Error 0x8024A004 on Windows 11
The error 0x8024A004 pops up when the users try to upgrade from the 21H1 Windows 11 build to the latest 22H2 one. This issue prevents the users from installing the updates successfully, and since the error message does not state what has caused the issue, users are unable to find a solution.
In this guide, we will discuss the troubleshooting methods you can try to fix the problem and upgrade to the 22H2 Windows version successfully. Move forward with the method that suits your situation the best.
1. Try Basic Troubleshooting
Before we jump into the complicated troubleshooting methods, we suggest that you try to perform some basic fixes and check if they fix the problem for you. The first thing that we recommend is disabling any third-party antivirus solution that you might be using.
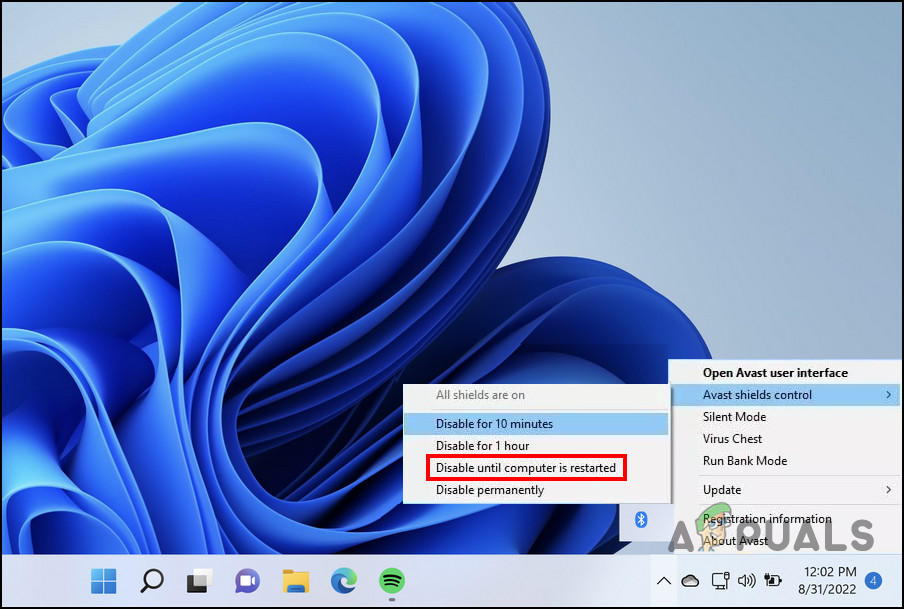
While there are a number of benefits of security programs, there are times when they can prevent the system from executing certain tasks. This happens mostly because of false alarms and can cause issues like the one at hand. To disable an antivirus program, you can right-click on its icon in the taskbar and choose Disable > Disable until the computer is restarted. This method works well for Avast antivirus but may differ slightly for you, depending upon the antivirus program you are using.
The next thing that you should do is unplug all the external devices except your mouse and the keyboard. There have been instances when an external device interrupted the system’s process of installing the update, resulting in the error at hand.
Once you perform these troubleshooting methods, try to reinstall the update and check if it works this time. If it does not, then it implies that the issue lies within the system. In that case, the solutions below should help you resolve the problem.
2. Run the Windows Update Troubleshooter
If the aforementioned steps don’t work, run the Windows update troubleshooter first to fix the update error. The troubleshooter is specifically designed to check for issues that may prevent updates from installing on the system.
The troubleshooter notifies you of any problems it finds as well as suggests appropriate fixes, which can also be applied using the troubleshooter.
Here is what you need to do:
- Press Win + I together to open Windows Settings.
- Choose System from the left pane and click on Troubleshoot in the right pane.
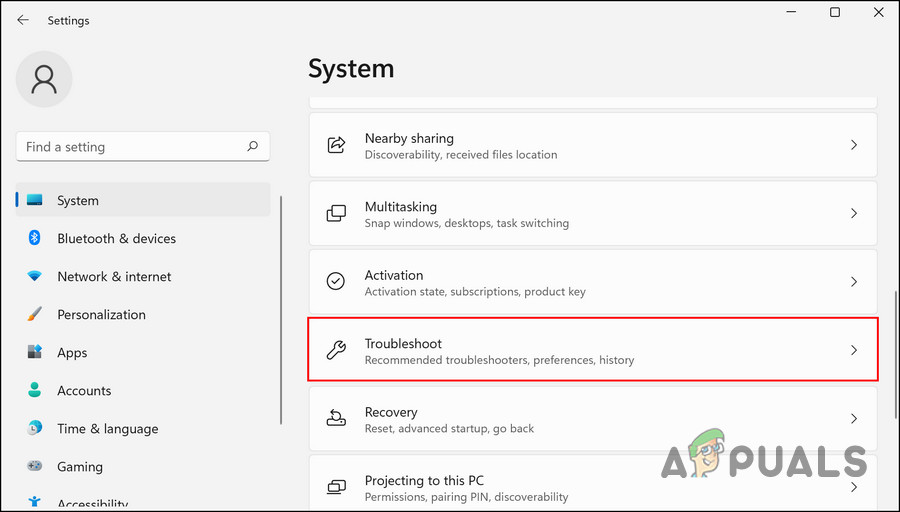
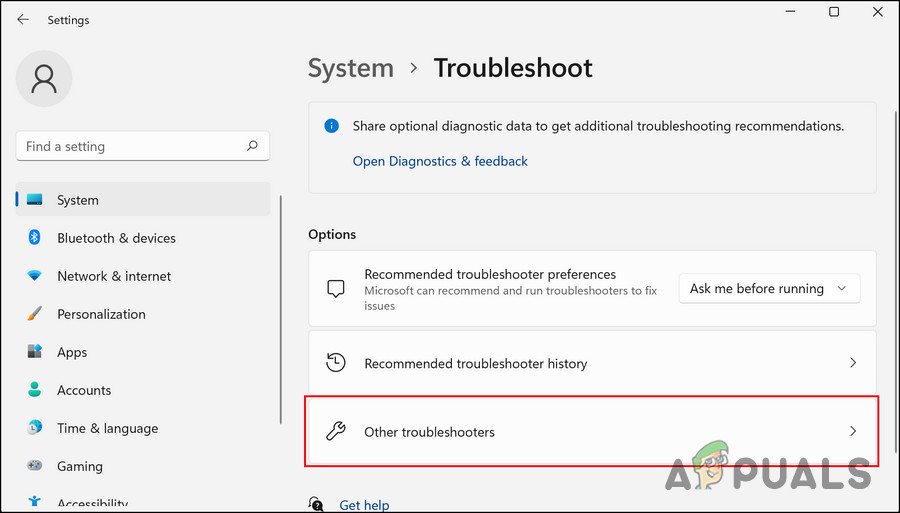
Choose Troubleshoot in the right pane - In the following window, click on Other troubleshooters.
Access the additional troubleshooters - Choose the Windows Update troubleshooter from the list of programs and click Run.
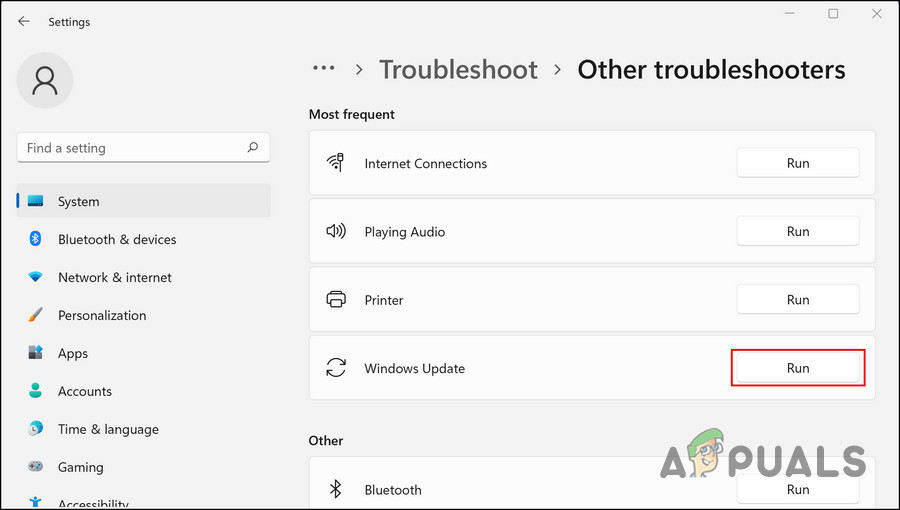
Run the Windows Update troubleshooter - Wait for the troubleshooter to finish scanning. Your troubleshooter will notify you once the results are available.
- In the event that the troubleshooter suggests a fix, click Apply this fix to implement the fix.
- Alternatively, you can close the troubleshooter and continue to the next method below if the utility fails to find the problem.
3. Reset Windows Update Services and Cache
To install updates on the Windows operating system, the related services and Windows update components should be working properly. If any of these services or components are disabled or just not working properly, you will run into the error code at hand.
If the issue is caused by an issue within the Windows update service, you can restart them to fix the problem. For this purpose, we will be using a batch file that you can run as an administrator. It will restart all the relevant services as well as reset the update cache, fixing the problem at hand. To be on the safer side, we recommend that you create a restore point on your system before proceeding. This will help you revert to the current state of the system if anything goes wrong during the process.
Here is all that you need to do:
- Click on this link to download the batch file.
- Once the file is downloaded, right-click on it and choose Run as administrator from the context menu.
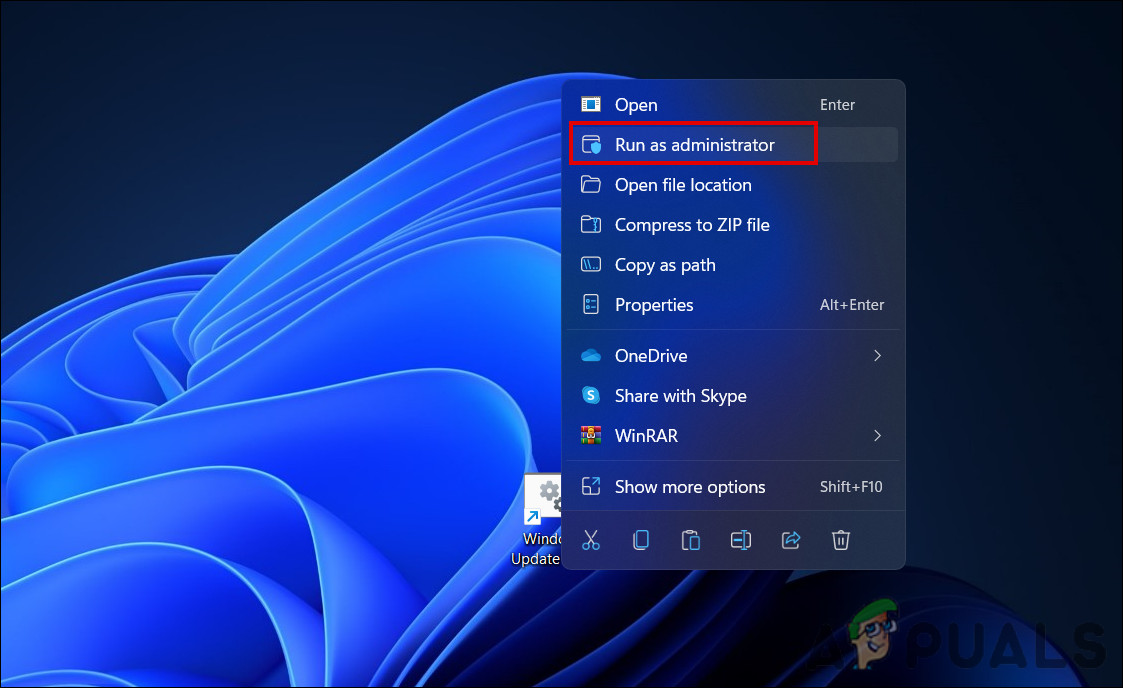
Run the bat file as administrator - Wait for the repair process to complete. It may take a while, depending on the state of your system.
- Once the process is completed, restart your computer.
Hopefully, you will be able to install the update successfully on reboot.
4. Upgrade to Windows 11 22H2 From ISO File
If the system cannot install the 22H2 update automatically, you can attempt to install it manually via the ISO file. This method is recommended for users who do not want to go through the troubleshooting methods to install the update.
Here is all that you need to do:
- Launch the official Microsoft support website.
- Head over to the Download Windows 11 Disk Image (ISO) section and click on Windows 11 from the list of options available.
- Click on the Download button to proceed.

Click on the Download button - Now, choose an installation language and click on the Confirm button.
- Hit the Download button again.
- Once the file is downloaded, right-click on it and choose Mount from the context menu.
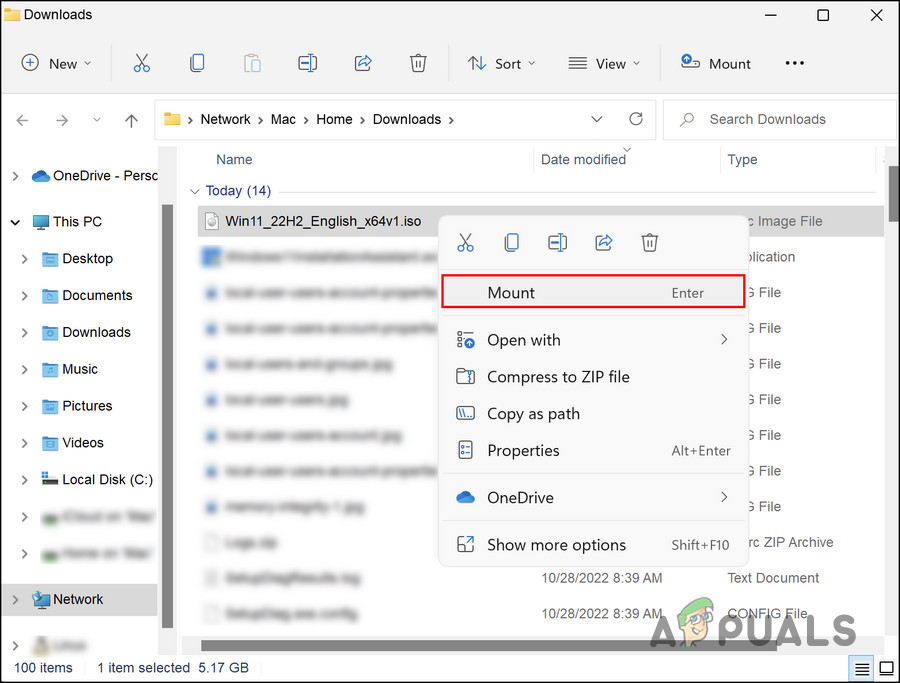
Choose Mount from the context menu - Choose the mounted drive.
- Next, double-click on the Setup file to begin the installation.
- In the following window, click on Not right now.
- Navigate to Next > Accept.
- Choose everything you want to keep during the installation of the update in the system.
- Finally, click on the Install button and wait for the process to complete.
Hopefully, the update will be successfully installed without any issues with this method.
If you do not want to use the ISO file method, you can also use the installation assistant to install the 22H2 update.
If you want to use that method, follow these steps:
- Launch the official Microsoft support website.
- Navigate to the Windows 11 Installation Assistant section and click on the Download Now button.
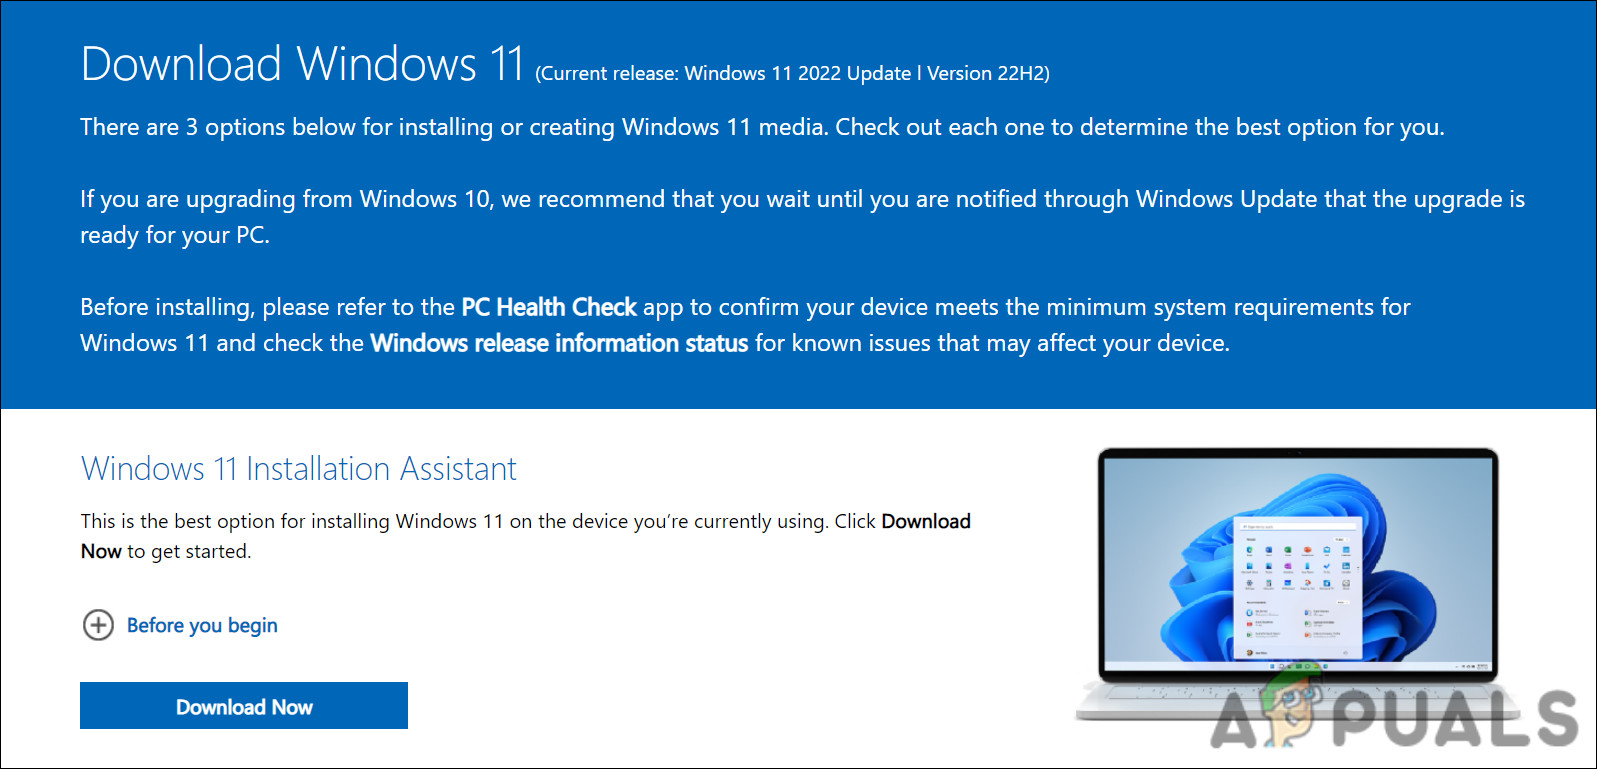
Click on the Download now button - Once the Windows11InstallationAssistant.exe file is downloaded, click on it to launch it.
- Hit the Accept and install button to begin the installation process of the update.
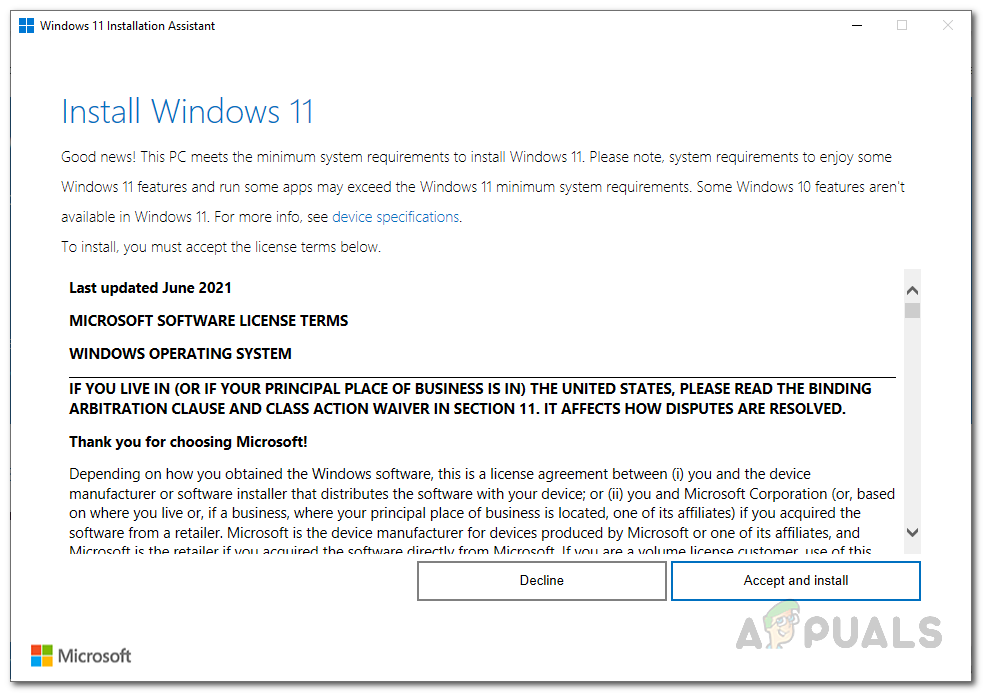
Starting Windows 11 Download
Hopefully, you will be able to download and install the update successfully with this method.


