How to Create a System Restore Point on a Windows 7/8 and 10
Available on all versions of the Windows Operating System currently supported by Microsoft, System Restore is an incredibly powerful and handy feature. Most users see System Restore as nothing less than a godsend – the feature basically works like magic as it is capable of restoring a Windows computer to the exact way it was in (this includes its settings and preferences and the updates and programs installed on it) at a previous point in time. For the System Restore feature to work, there need to be System Restore points – a System Restore point is a record of what a Windows computer, its settings, its programs and applications and its updates were like at a certain point in time.
If something goes wrong with your computer or you start experiencing some kind of problem that you can’t seem to resolve, this is where System Restore comes in handy – you can simply use the feature to revert your computer to the exact way it was at an earlier point in time. Windows creates System Restore points by itself at regular intervals (provided that you haven’t tampered with this feature of the Operating System). However, you can also create a System Restore point manually, of your own accord, whenever you want. This is not only possible but also pretty simple and straightforward on all versions of the Windows Operating System. If you would like to manually create a System Restore point in a Windows computer, you need to get into the System Properties window. The steps you need to go through in order to get to the System Properties window vary depending on what version of the Windows Operating System you’re using:
On Windows 7
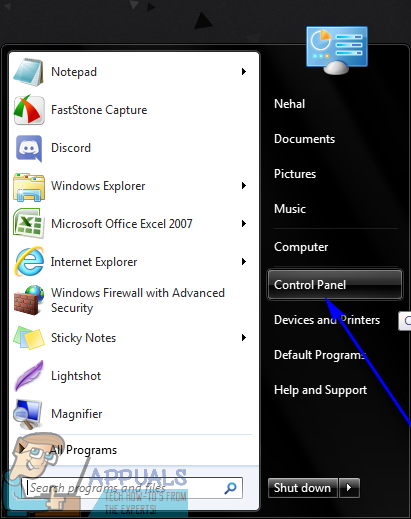
- Open the Start Menu.
- Click on Control Panel to launch it.
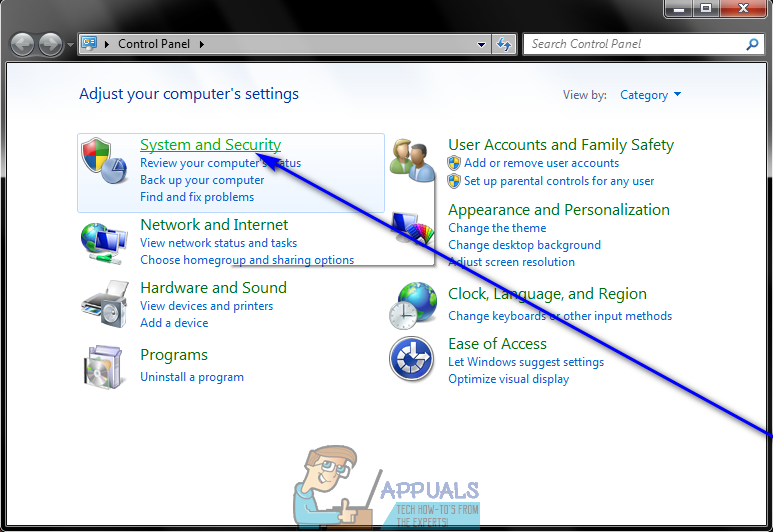
- With the Control Panel in Category view, click on System and Security.
- Click on System.
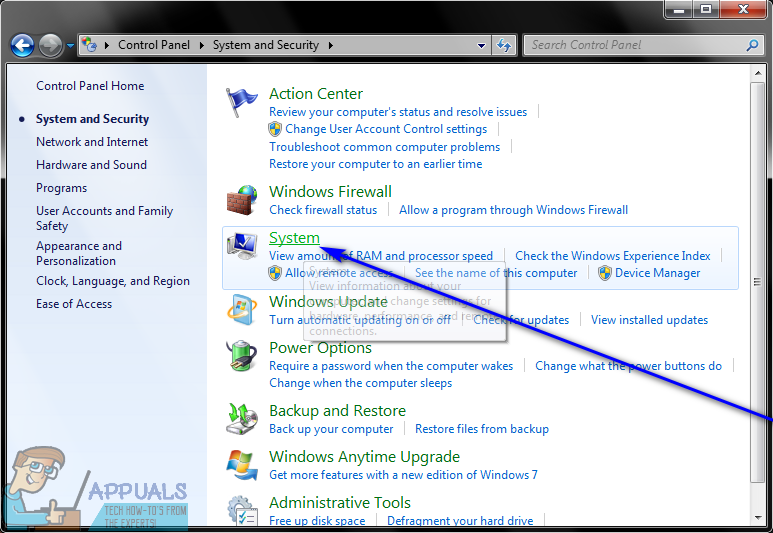
- Click on System protection in the left pane of the window, and the System Properties window will appear once you do so.

Windows 8 and 8.1
- Right-click on the Start Menu button or press the Windows Logo key + X to open the WinX Menu.
- Click on Control Panel in the WinX Menu to launch it.

- With the Control Panel in Category view, click on System and Maintenance.
- Click on System.
- Click on System protection in the left pane of the window, and the System Properties window will appear once you do so.
On Windows 10
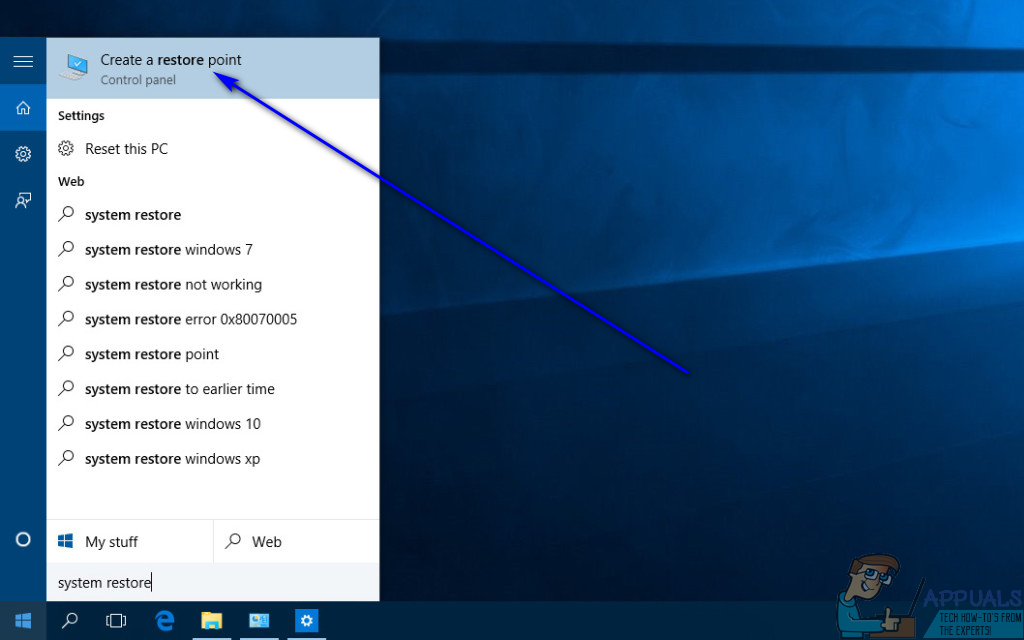
- Type “create a restore point” in the Search field in your computer’s taskbar.
- Click on the search result titled Create a restore point. As soon as you click on Create a restore point, Windows will have the System Properties window appear before your eyes, and you can move on to actually creating a System Restore point.
Once you are in the System Properties window, you can go ahead and actually create a System Restore point. To create a System Restore point once you are at the System Properties window, you need to:
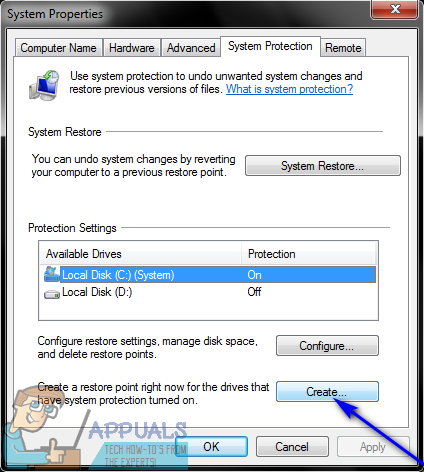
- In the System Properties window that opens up, navigate to the System Protection tab.
- Under the Protection Settings section, make sure that Protection for the partition of your computer’s hard drive Windows is installed on is turned On. If protection for the partition of your hard drive that houses Windows is not already turned On, click on the partition to select it, click on Configure…, enable the Restore system settings and previous versions of files option under Restore Settings, click on Apply and then on OK.
- Next, click on Create….
- Type a fitting name (and, if you want, a description) for the System Restore point you are creating, and click on Create.
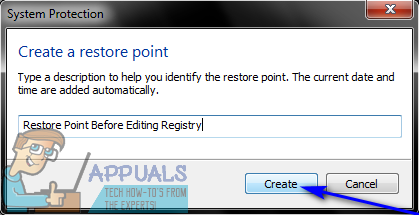
- Wait for Windows to create the System Restore point. When the System Restore point has been created, Windows will display a message stating so, which you can dismiss by clicking on Close.

Once the System Restore point has been successfully created, you can do away with all of the dialog boxes and windows that are open.