Fix: Computer Slow & Lagging after Windows 11 22H2 Update
The recent Windows 11 22H2 update slows the overall speed of their computers in some cases, and it causes the computer to restart when the users try to shut down the system using the shutdown menu. This issue is typically caused by outdated drivers and the Windows Search Indexer service that interrupts the system’s process.
We have listed different troubleshooting methods below, and we recommend going through them first. Then, proceed with the one that suits your situation the best.
1. Use System Restore
In Windows, a system restore utility creates restore points on Windows periodically. These restore points are snapshots of the system state at any given time, and users can use them to revert to a previous os state if something goes wrong.
In this method, we will use the System Restore utility to revert the system to a state where the issue was not present.
Follow the steps below to proceed:
- Press Win + R together to open Run.
- Type control in Run and click Enter.
- In the following window, use the search bar at the top-right to search for System Restore.
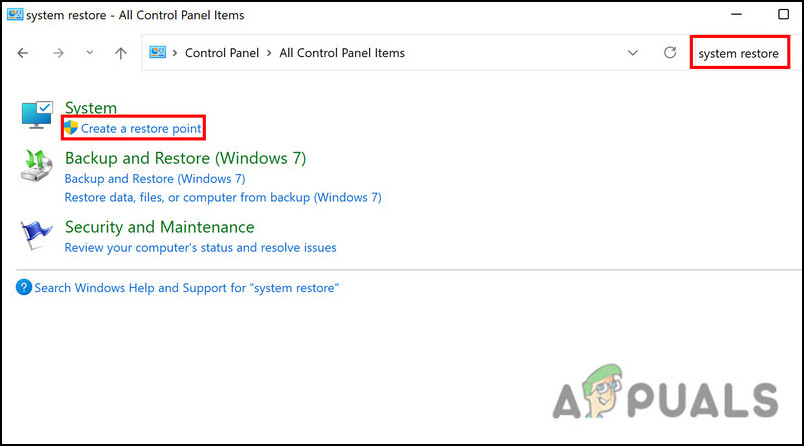
- Click on Create a restore point from the results.
Click on the Create a restore point button - In the next dialog, click on the System Restore button.

Click on the System Restore button - You should now be presented with a list of the restore points on the system. Choose the most recent one and click Next.
- Follow the on-screen instructions to proceed.
Once this is done, you must stop the system from installing the updates automatically. For this purpose, we will make changes within the Group Policy Editor, which is an administrative-level utility.
- Press the Win + R keys together to open Run.
- Type gpedit.msc in Run and hit Enter.

Type gpedit.msc - Click Yes in the User Account Control prompt. This will launch Group Policy Editor on your PC.
- Once you are inside the Group Policy Editor, navigate to the location mentioned below
Computer Configuration > Administrative Templates > Windows Components > Windows Update > Manage end user experience
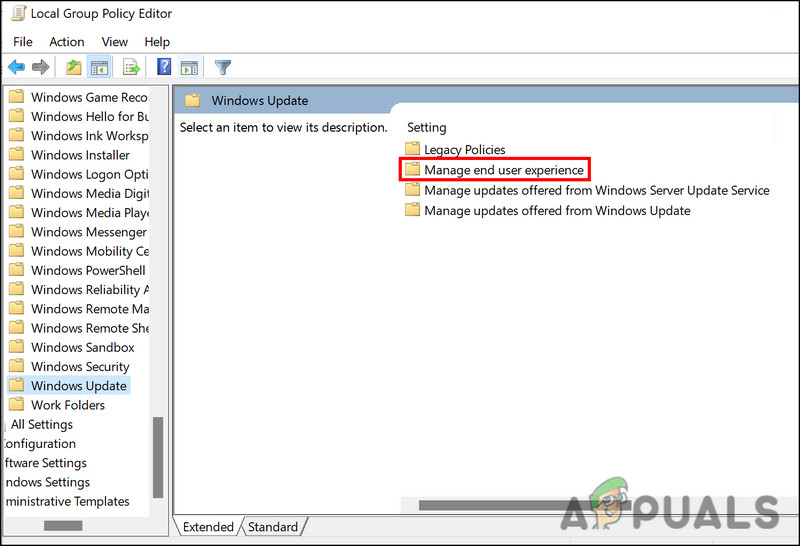
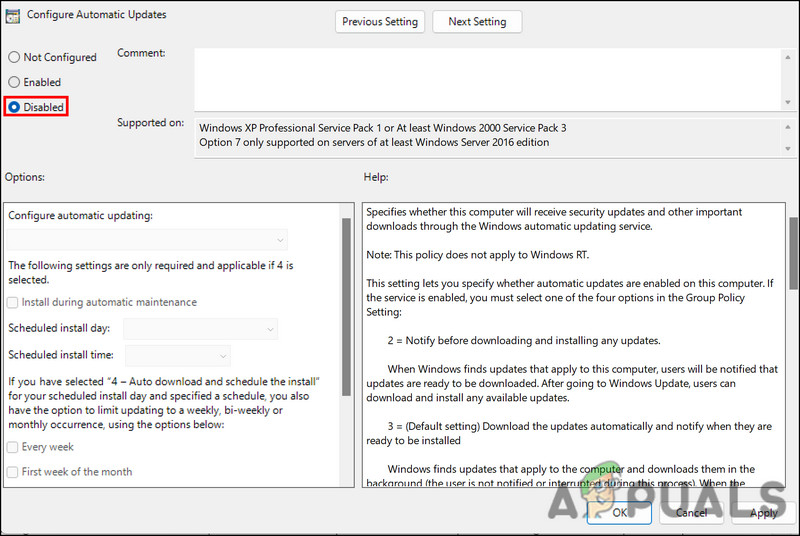
Choose the Manage end user experience - Now move to the right pane and locate and double-click on Configure Automatic Updates.
- Select Disabled and hit Apply to save the changes. Once the system is restored to its previous state, the speed issue should be resolved. You can now choose to ignore the update installation prompts until a new update is released.
After disabling, click Apply
2. Uninstall the Update
You can also uninstall the update directly if you do not want to use the system restore utility just yet. We will use the Control Panel to perform this action in this method.
Follow these steps to proceed:
- Press Win + R together to open Run.
- Type control in Run and click Enter.
- In the following window, choose Programs from the list of options available.
- Choose View installed updates from the left pane.
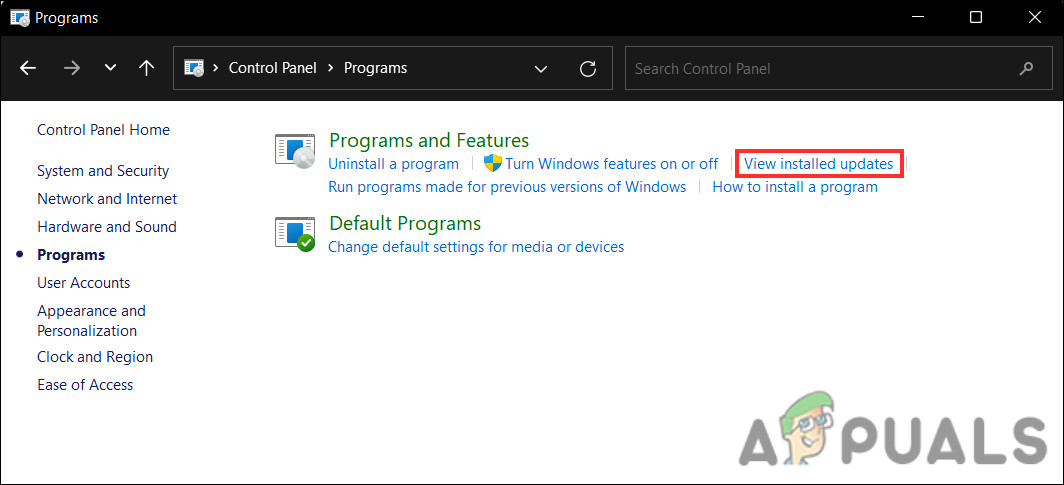
View the installed updates on the system - You should now be able to see a list of the installed updates on your computer. Right-click on the problematic one and choose Uninstall.

Uninstall the update - Follow the on-screen instructions to proceed.
- Once the update is uninstalled, restart your computer and check if the issue is resolved.
3. Update GPU Drivers
Another fix that worked for users was updating their graphics card drivers. This issue is common with Nvidia graphic card drivers, but other GPU drivers can also be affected by it.
Several users reported that they managed to fix this problem by updating the graphics card driver, which is why we recommend you try it too.
Here is how you can proceed:
- Type Device Manager in Windows search and click Open.
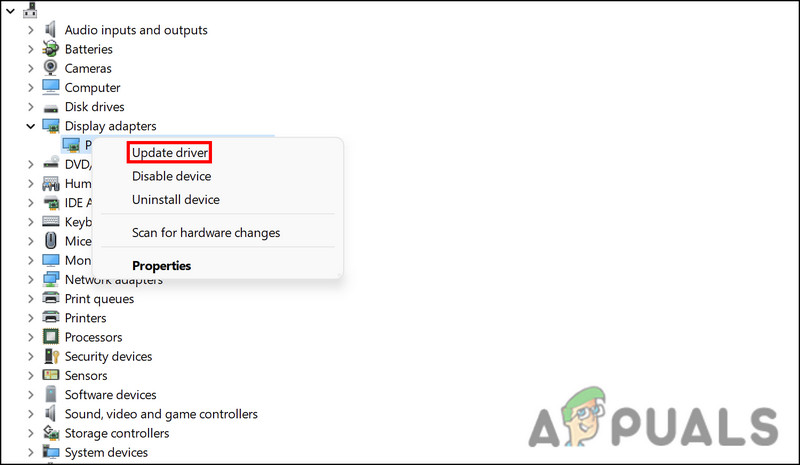
- In the following window, locate the Display drivers section and expand it.
- Right-click on your graphics driver and choose Update driver from the context menu.
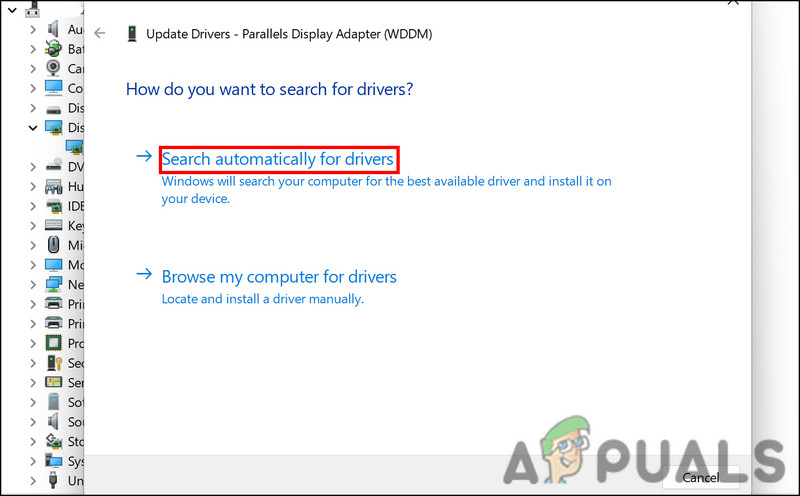
Update driver - Now, click on Search automatically for drivers and wait for the Device manager utility to scan the system for drivers.
Allow the utility to search the system for drivers - Follow the on-screen instructions to complete the installation process.
- Once done, restart your computer and check if the issue is resolved.
4. Run the System Scans
Your system files can also be dealing with a corruption error, which is affecting the speed of the syste.
It is best to use the built-in troubleshooting utilities provided by Microsoft in this scenario. The most appropriate tools, in this case, will be the System File Checker (SFC) and Deployment Image Servicing and Management (DISM). These tools will identify the issues within the system and fix them without requiring any significant input from your side.
Here is how you can proceed:
- Open Run by pressing the Win + R keys together.
- Type cmd in Run and press Ctrl + Shift + Enter to launch Command Prompt as an administrator.
- In the following window, type the command mentioned below and hit Enter to execute it.
sfc /scannow

Run the SFC scan in Command Prompt - Wait for the process to complete and once it’s done, restart your computer.
- Upon rebooting, launch Command Prompt with administrative privileges once again and run the following command:
DISM /Online /Cleanup-Image /RestoreHealth

Run the DISM scan
Finally, restart your PC again. Hopefully, this will fix the system speed problem successfully.
5. Disable Windows Search Indexer
In some cases, the Windows search indexer service was accessing the hard disk heavily, which was causing the entire system to slow down. If this service is working on your system, you can try disabling it to check if the problem is fixed.
Here is how to proceed:
- Press Win + R to open Run.
- Type services.msc in Run and click Enter.
- In the Services window, look for the Windows Search Indexer service and right-click on it.
- Choose Properties from the context menu.
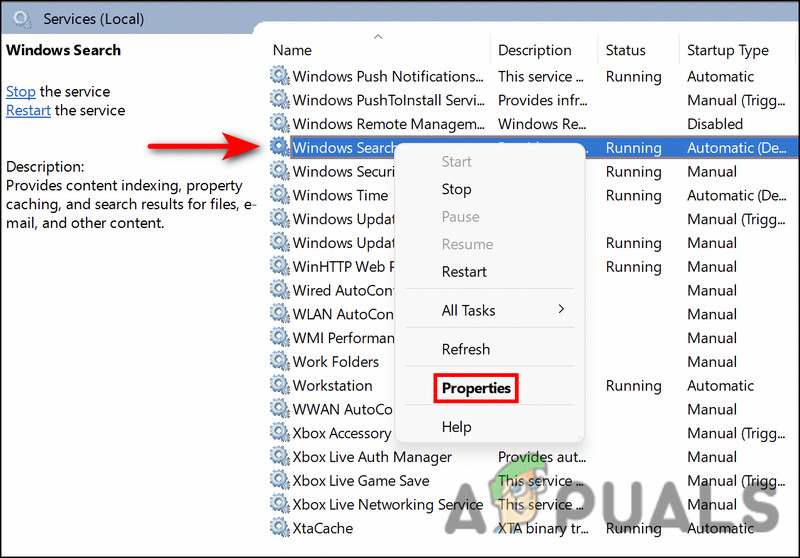
Access the properties of the service - In the Properties dialog, click on the Stop button to disable the service.
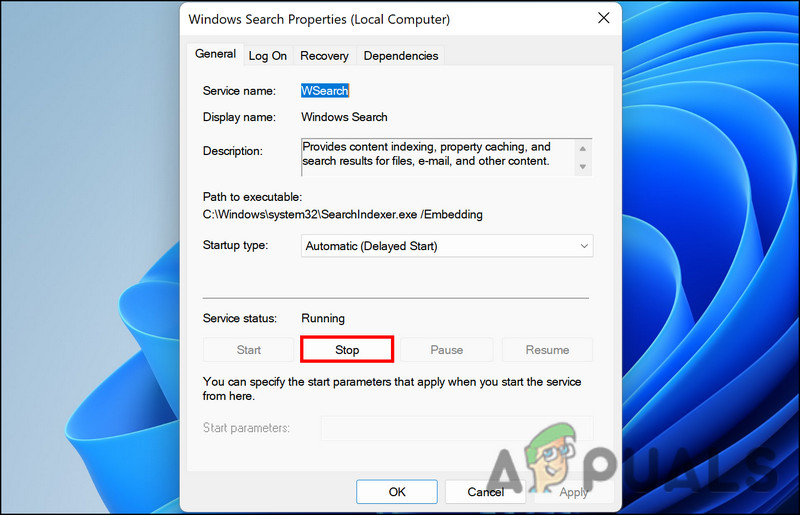
Stop the Windows Search Indexer service - Click Apply > OK to save the changes, and then check if you can use the system without any slow speed problems.
5. Perform a Clean Boot
Alternatively, a third-party program installed on the system can interfere with the system’s operation. You could blame a new program if the issue started occurring right after you installed it.
A Clean Boot, which launches the system with only critical drivers and programs, is the best way to identify problematic applications. When the issue is not present in the Clean Boot state, it implies that a third-party program is indeed responsible.
Here is how you can perform a Clean Boot in Windows. If a third-party app is causing the problem, this method should help you identify the culprit and get rid of it.


