How to Fix Windows Update Error 0xc1900223?
Some Windows 10 users are encountering the error 0xc1900223 whenever they try to install a Windows Update conventionally. In most documented cases, the problem occurs when the user attempts to install the 1903 update, and typically, the error appears when the update reaches 97%.

In case you’re only encountering the issue with the 1903 update, you should attempt to install the update again via the $GetCurrent folder. If that doesn’t work, another convenable method that might allow you to circumvent the issue is to use the Upgrade this PC Now feature of the Media Creation Tool. Another way to circumvent the built-in WU component is to install the update manually via the Microsoft Update Catalog.
However, this issue can also be caused by a network-wide adblocker like Pi-Hole. If you’re using one, you can either disable it temporarily (while installing the update) or uninstalling the utility altogether.
In some cases, the issue can also occur due to some kind of glitch or system file corruption that ends up affecting the Windows Update component. In this case, you can try to refresh every Windows Update component or run a couple of utilities capable of fixing system file corruption (SFC, DISM or Clean Install).
Method 1: Forcing the update via $getcurrent folder
Whenever you try to install a pending Windows update, Windows 10 will automatically create a $GetCurrent and $SysReset folders in your C:\ drive. This folder will contain log files about the latest Windows Update process, but might also contain installation files from that update.
In case you’re dealing with a failed windows update (which is the case if you’re encountering the error 0xc1900223) you might be able to force install the update by accessing the media subfolder of the $getcurrent folder and re-doing the installation that way.
However, keep in mind that the $getcurrent folder is hidden by default. So, you’re either going to need to access directly via the address bar or by enabling Hidden folders from File Explorer.
Here’s a quick step by step guide on forcing the update via the c folder:
- Open File Explorer, paste the following command inside the navigation bar at the top and press Enter:
C:/$getcurrent
Note: Keep in mind that you might need to change C to the letter corresponding to your current OS drive.
Note 2: Additionally, you can access this location manually by enabling hidden items first (In File Explorer, go to View and check the box associated with Hidden Items.
View Hidden Items option is checked - After you do this, access the media folder from the list of subfolders and double-click on the Start executable.
- Once you’re inside the update installation screen, follow the on-screen prompts to install the update via the dedicated executable.
- After the update installs successfully, restart your computer and see if the issue is resolved at the next system startup.
In case the $getcurrent folder is not visible, it’s very likely that the WU component wasn’t able to update the files necessary for the installation. If this is applicable, move down to the next potential fix below.
Method 2: Updating via Media Creation Tool
If the automated WU function is not able to update to version 1903 on its own, you might be able to force the installation by using the Media Creation tool. On top of allowing you to clean install Windows 10, this tool also includes an Upgrade this PC Now feature that will convenable allow you to fix the 0xc1900223.
Several affected users have confirmed that this operation allowed them to bring their Windows 10 build up to date.
Here’s a quick guide on updating to Windows 10 version 1903 via the Media Creation Tool:
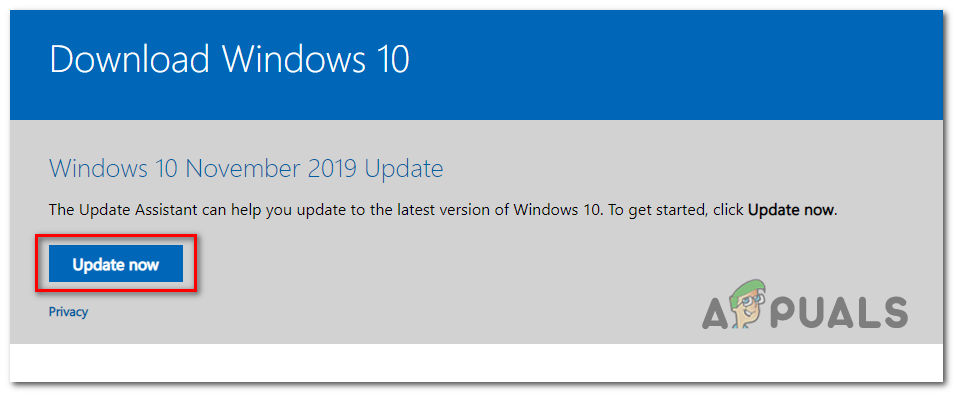
- visit this link (here) and click on the Update Now button in order to download the Windows 10 upgrade assistant.
Downloading the updating executable - After the executable is downloaded successfully, double-click on it and click Yes at the UAC (User Account Control) to grant administrative privileges.
- Next, follow the on-screen prompts to complete the installation.
- Once the operation is complete, restart your computer and see if the issue is resolved at the next computer startup.
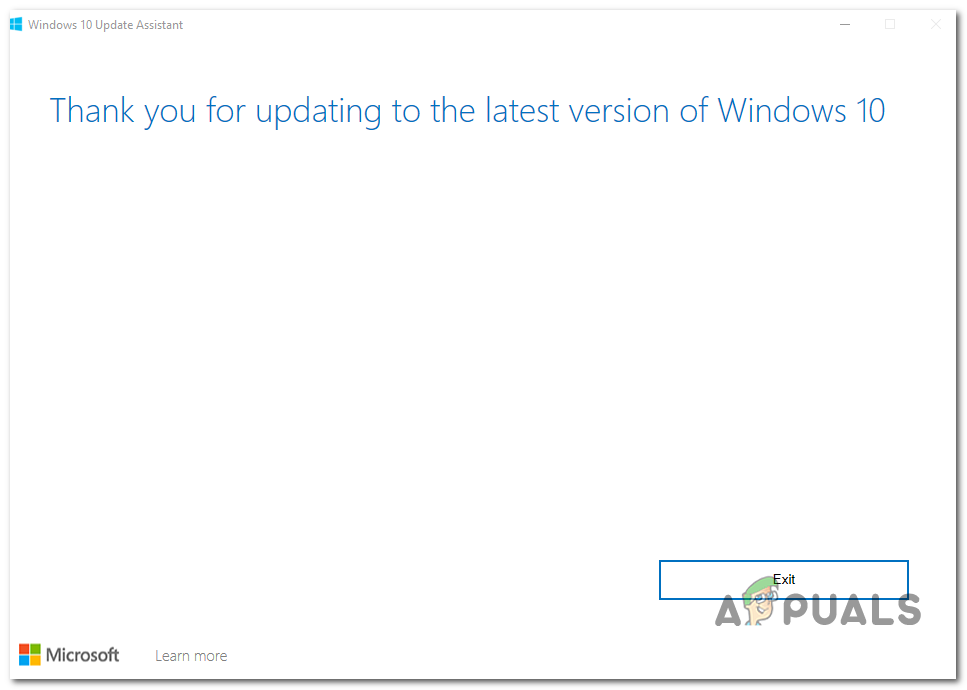
Updating to the latest version using Windows 1 Update Assistant - Once your computer boots back up, see if the issue is now resolved.
In case the Windows update installation attempt fails with the same 0xc1900223, move down to the next potential fix below.
Method 3: Disabling Pi-Hole (or a different network-wide adblocker)
As it turns out, the 0xc1900223 error code when installing a Windows 10 update can also be triggered by Pi-Hole or a similar network-wide adblocker. According to other affected users, this issue can be caused by a DNS blocklist that might end up stopping the update from completing.
Users that found themselves in a similar situation have confirmed that they managed to install the update without the same error by disabling or uninstalling Pi-Hole while the updating is taking place.
Disabling Pi-Hole Temporarily
- Press Windows key + R to open up a Run dialog box. Next, type ‘cmd’ and press Ctrl + Shift + Enter to open up an elevated CMD prompt with admin access. When you’re prompted by the UAC (User Account Control), click Yes to grant administrative privileges.

Running the Command Prompt - Once you’re inside the elevated CMD prompt, type the following command to invoke the Pi-Hole utility:
pihole
- Once Pi-Hole has been invoked, type the following command and press Enter to disable it:
pihole disable
- Now that the Pi-Hole adblocker utility is disabled, attempt to install the update that was failing again and see if you can install it without getting the 0xc1900223.
- If the update is installed successfully, run the following command in the same elevated terminal in order to enable Pi-Hole again:
pihole disable
Uninstalling Pi-Hole
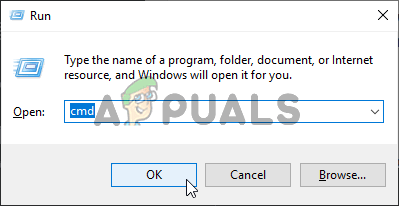
- Open up a Run dialog box by pressing Windows key + R. Next, type ‘cmd’ in the text box and press Ctrl + Shift + Enter to open up an elevated CMD prompt. At the UAC (User Account Control) prompt, click Yes to grant administrative privileges.
Type “cmd” into the Run dialog - Inside the elevated CMD prompt, type the following commands and press Enter in order to commence the uninstallation of Pi-Hole:
pihole uninstall
- Once the command is successfully processed, restart your computer.
- At the next update, attempt to install the update that was previously failing with the 0xc1900223 error and see if the operation is complete.
In case this method wasn’t applicable or it didn’t resolve the issue, move down to the next potential fix below.
Method 4: Flushing the DNS cache
As it turns out, this particular issue can also occur due to a network inconsistency that can be resolved by flushing your computer’s DNS cache. The easiest way to do this is via an elevated CMD prompt.
After doing this and restarting their computer, some affected users have confirmed that they were finally able to complete the Windows Update installation without encountering the 0xc1900223 error.
Here’s a quick guide with the steps you need to take in order to flush your DNS cache from an elevated Command Prompt window:
- Open up a Run dialog box by pressing Windows key + R on your Keyboard. Then, inside the text box, type ‘cmd’ and press Ctrl + Shift + Enter to open up an elevated CMD window.
Running Command Prompt Note: When you’re prompted by the UAC (User Account Control), click Yes to grant administrative privileges.
- Once you’re inside the elevated CMD prompt, type the following commands in order and press Enter after each command:
ipconfig /flushdns
ipconfig /registerdns
ipconfig /release
ipconfig /renew
- After each command is processed successfully, restart your computer and attempt to install the update that was previously failing at the next computer startup.
If this method didn’t allow you to fix the 0xc1900223 error, move down to the next potential fix below.
Method 5: Installing the update via the Microsoft Update Catalog
If none of the methods above have allowed you to fix the issue so far, you might be able to complete the installation of 1903 by doing it manually via the Microsoft Update Catalog. This procedure will install the update directly (without involving the local WU component). This means that every corrupted dependency that might cause this issue will circumvent.
Here’s a quick guide on installing the 1903 update manually via the Microsoft Update Catalog:
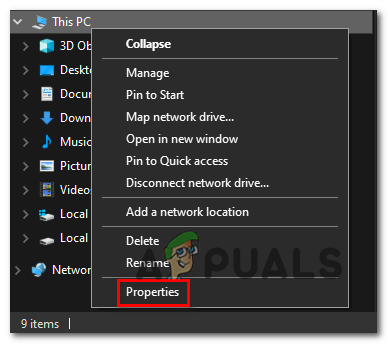
- First things first, you need to know your OS architecture (if it’s 32-bit or 64-bit). If you don’t know it, open File Explorer, right-click on This PC and choose Properties from the newly appeared context menu.
Opening the System Properties screen - Once you’re inside the System Properties screen, take a look at the System Type category. If it says 64-bit, you will need to download the 64-bit update and if it says 32-bit, you need the 32-bit version.

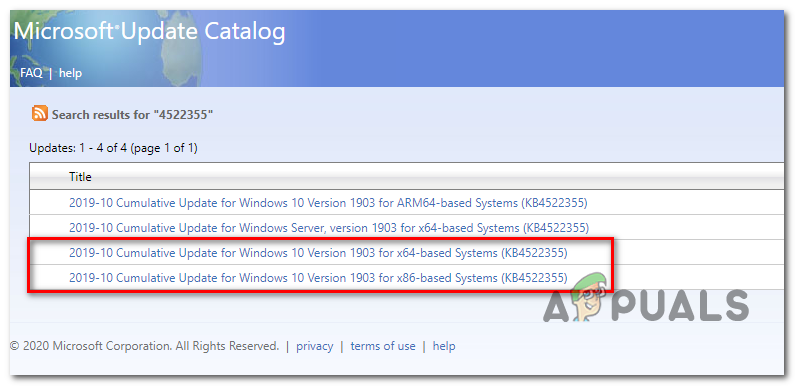
Verifying your OS architecture - Once you are certain of your OS architecture, visit this link (here) and use the search function in the top-right corner of the screen to search for ‘4522355‘ and press Enter.
- After the result page is generated, look for the correct version corresponding to your Windows 10 version (x64-based or x86-based) and click on the Download button associated with the correct Windows Update.
Downloading the correct Windows update manually - On the confirmation page, click on the link once again to initiate the download.
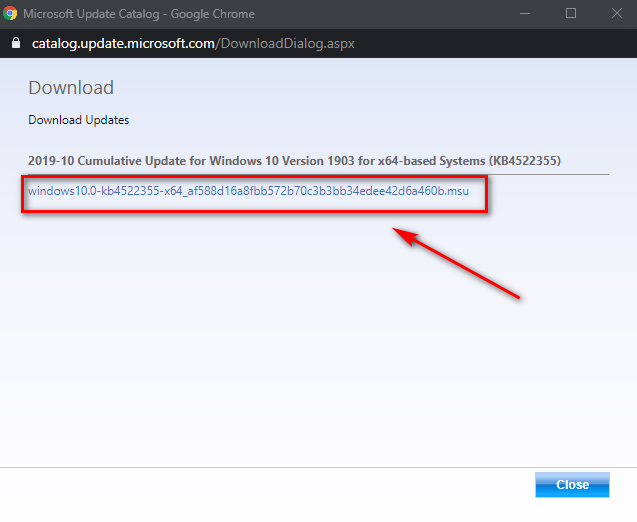
Downloading the correct Windows update - Wait patiently until the download is complete, then open the .msu installation package and follow the on-screen prompts to complete the installation.
- After the installation is complete, restart your computer to allow the remaining files to install.
In case the same issue is still occurring, or you can’t find the update that is failing conventionally using Microsoft Update Catalog, move down to the next potential fix below.
Method 6: Refresh every Windows Update component
If none of the methods so far have allowed you to resolve this issue, it’s very likely that you’re encountering this particular issue due to a Windows Update glitch that ends up inhibiting WU’s ability to install new updates. This is apparent if multiple updates are failing with this same error code (0xc1900223 error).
Several Windows users that encountered the same issue have confirmed that the issue was resolved and the 1903 build installed successfully after they followed a series of steps capable of resetting every component associated with WU (Windows Update).
Here’s a quick step-by-step guide on resetting every involved Windows Update component manually from an elevated CMD prompt:
- Open up a Run dialog box by pressing Windows key + R. Next, inside the text box, type ‘cmd’ and press Ctrl + Shift + Enter to open up an elevated Command Prompt window.
Running the Command Prompt Note: When you’re prompted by the UAC (User Account Control), click Yes to grant administrative privileges.
- After you manage to open the elevated CMD prompt, type the following commands in order and press Enter after each one in order to stop every essential WU service:
net stop wuauserv
net stop cryptSvc
net stop bits
net stop msiserver
Note: These commands will automatically stop the services associated with Windows Update, MSI Installer, Cryptographic and BITS services.
- Once you manage to disable every essential service, paste the following commands (in whichever order) and press Enter after each one to rename the two folders that Windows users to store update files (SoftwareDistribution and Catroot2):
ren C:\Windows\SoftwareDistribution SoftwareDistribution.old
ren C:\Windows\System32\catroot2 Catroot2.old
Note: If you didn’t know, SoftwareDistribution and Catroot2 are two folders responsible for storing update files that are actively being used by the Windows Updating component. Since the two cannot be deleted conventionally, the only way to limit the damage of a corrupted file is to force your OS to create new healthy copies that will take their place.
- Once you manage to delete the two folders, type these final commands and press Enter after each command to restart the same services (the same ones that we disabled at step 2):
net start wuauserv
net start cryptSvc
net start bits
net start msiserver
- After each service is restarted, attempt to install the same update that was previously filing again and see if it installs successfully now (without the 0xc1900223 error).
In case the same error code is still preventing you from installing the update, follow the final method below.
Method 7: Running DISM & SFC scans
If no potential fixed worked for you, it’s very likely that you’re dealing with some type of system file corruption that has rendered your WU component inoperable. There are multiple ways to fix it, but most affected users have managed to get the issue resolved by using a couple of built-in utilities (SFC and DISM).
Both of these tools are capable of fixing system file corruption, but they operate differently – SFC uses a local cache to replace corruption with healthy equivalents while DISM relies on a subcomponent of WU to download healthy files that will replace corrupted files.
Our advice is to run both utilities in quick succession and doing a system restart in between them.
Start by performing an SFC scan, then restart and perform a DISM scan once the next startup is complete.
If you’re still having issues, consider performing an in-place-repair (or a clean install if your data is already backed up)


