Windows 11 Update Stuck at 0%? Here’s the Fix!
Lately, there are a lot of Windows 11 users that are suddenly unable to install a pending Windows Update on their computer. The update gets stuck at 0% and remains like this indefinitely. This issue seems to occur on both Insider Preview builds and retail versions of Windows 11.
After thoroughly looking into this issue, we realized that several different underlying causes might trigger this type of issue on Windows 11. Here’s a short list of scenarios that you should consider when troubleshooting this issue:
- Installation glitch – If you’re looking for a temporary fix, you can try to postpone the pending update that’s failing for seven days and wait a day before retrying the installation. This is only a temporary workaround that doesn’t fix the root cause of the problem.
- Insufficient free space on Windows drive – Keep in mind that Windows 11 is hardwired to stop installing new pending updates when you have less than 10 GB of free space. Make sure that’s not the case by freeing up the necessary space.
- Common WU inconsistency – You can address the most common inconsistencies related to WU by running the Windows Update troubleshooter and applying the recommended fix.
- Firewall / AV interference – Another potential culprit that might affect the installation of a pending Windows update is an overprotective AV or firewall suite. To address this issue, you’ll need to briefly deactivate the security suite before installing the problematic cumulative update to verify this theory.
- Corrupted files inside the WU download folders -This issue might also occur due to an unanticipated system interruption that occurred just as your operating system was downloading Windows Update files. In this case, the problem could be fixed by deleting any remaining data accumulated in the SoftwareDistribution and Catroot2 folders.
- Associated dependency is stuck in a limbo state – The installation of a pending Windows update is strongly influenced by several dependencies, many of which have essential correlations to Windows Update. To address this issue, restart every WU service + any associated dependency.
- System file corruption – In rare circumstances, a system file corruption problem might be why your PC cannot install some pending updates. Run SFC and DISM scans, use System Restore, or carry out clean install or repair install processes to resolve this problem. You may also sideload the problematic update using the Microsoft Update Catalog.
Now that we have gone over why a pending Windows 11 update will get stuck at 0% let’s go over a series of viable fixes that other affected users have successfully deployed to install the pending update and bring their Windows 11 build-up to date.
1. Pause all updates for 7 days
If you’re looking for a temporary fix, you can try to postpone the pending update that’s failing for seven days and wait a day before retrying the installation. This might seem like a weird fix, but it’s the number 1 method that’s been used by affected Windows 11 to fix this particular issue.
Note: While this should work, keep in mind that it’s only a temporary fix that won’t fix the underlying cause of why one or more pending Windows 11 update is failing. Many users have reported that even if this method has worked for them, future updates failed with the same symptom. If you want to look for a permanent fix, disregard this method and move down to the next one below.
If you don’t mind that this is probably a temporary fix, follow the instructions below for specific steps on pausing the update temporarily before re-trying the installation:
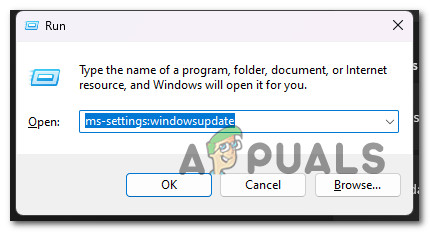
- Press the Windows key + R to open up a Run dialog box.
- Next, type ‘ ms-settings:windowsupdate’ inside the run box, then press Ctrl + Shift + Enter to open up the Windows Update tab of the Settings app with admin access.
Access the Windows Update screen - At the User Account Control (UAC), click Yes to grant admin access.
- Once you’re inside the Windows Update tab, move over to the right-hand section of the screen and click on the Pause for 1 week button.
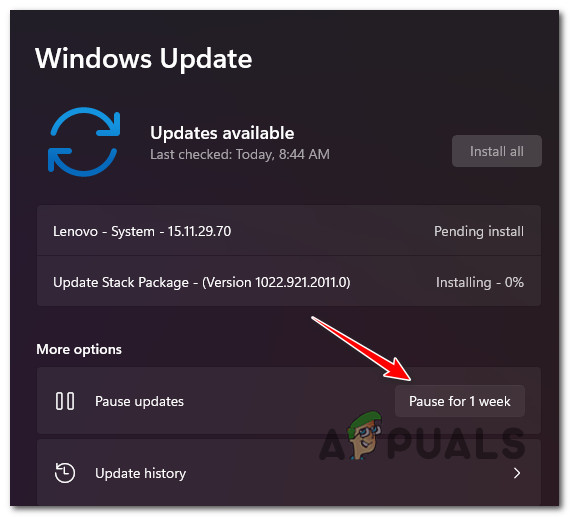
Click on the ‘Pause for 1-week’ button - Wait for a day or so before the unpause button becomes available. Make sure to check this screen regularly.
- Install the pending update again and see if the issue is now resolved.
If the problem is still not fixed, move to the following method below.
2. Free up disk space
If you don’t want to go for a temporary fix or it didn’t work for you, the next thing you should do is make sure that you have enough space to accommodate the pending Windows update.
Keep in mind that Windows 11 is hardwired to stop installing new pending updates when you have less than 10 GB of free space.
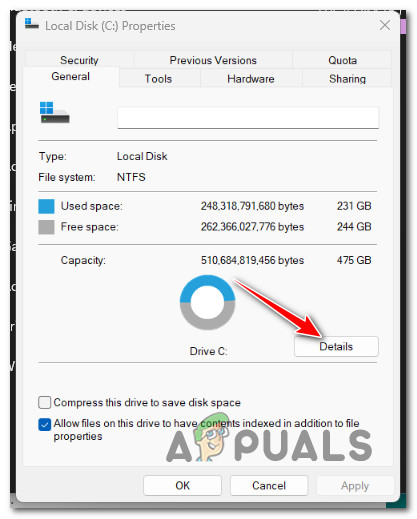
Check if this is the source of your issue by accessing File Explorer (Windows key + E), right-click on your Windows drive, and click on Properties from the context menu that just appeared. Next, select the General tab and see if the current free space is less than 10 GB.

If the available free space is less than 10 GB, follow the instructions below to free up enough space to allow the installation of new pending Windows updates:
- From the General tab of the Windows drive’s Properties screen, click on Details.
Access the Details section of Windows drive - Once you’re inside the Storage Usage screen, click on Temporary Files.
- Select the cluster of files you wish to remove from the new menu that just appeared.

Removing temporary files Note: Our recommendation is to remove the Previous Windows installation(s) files, the System error memory dump files, the Delivery Optimization Files, and Windows update log files. These alone should be enough to free 10 GB of available space.
- Click on Remove files when ready to clear your cluster of temporary files.
- Once you have enough free space, reboot your PC and see if the installation of the pending update completes without issues.
Try the following method below if the update still gets stuck at 0%.
3. Run the Windows Update Troubleshooter
After clearing adequate space on the Windows disk, if the update is still stuck at 0%, you should investigate whether there is a problem with the WU component.
The Windows Update Troubleshooter likely includes a Microsoft repair plan that you may apply to resolve the problem. Running the Windows Update Troubleshooter and implementing the suggested fix is likely enough to fix the issue.
Note: Keep in mind that on Windows 11, the troubleshooting tool is far more comprehensive than on earlier versions. Microsoft has included thousands of additional automated repair options that may be automatically deployed to address the operation of Windows Update if a recognizable situation is found.
To use the Windows Update Troubleshooter and apply the recommended fix, follow these steps:
- To open the Run dialog box and attempt to repair the Windows Update component, use the Windows key + R.
- To open the Control Panel interface, type “control” into the text field of the just-appeared dialog box and press Enter.
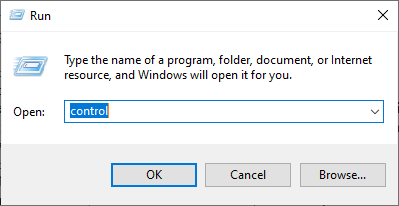
Open the classic Control Panel interface Note: If the User Account Control prompt asks you to provide admin access, choose Yes.
- Once within the Control Panel window, use the search bar to look up “troubleshoot.”
- Pick all of the Troubleshooting categories from the results list.
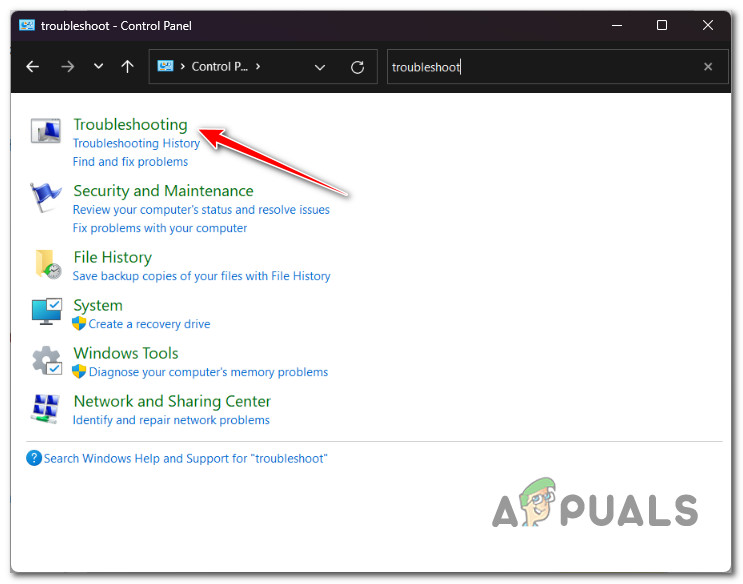
Access the Troubleshoot tab - After clicking on the Troubleshooting page, choose Fix issues with Windows Updates under System and Security.
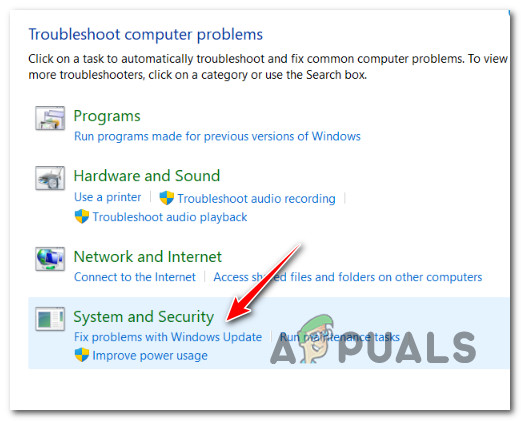
Fix issues with Windows Update - After selecting Next, wait until the initial analysis has been completed.
- If the Windows Update Troubleshooter has identified a workable fix, click Apply this Fix to incorporate it into the present situation.
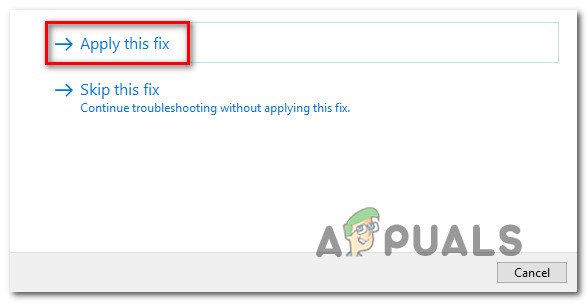
Apply the recommended fix Note: You might need to do several manual steps with some advised solutions suggested by the troubleshooter.
- Restart your computer after the fix has been applied successfully, then attempt to install the failed update once more.
If the same issue is still occurring, move to the following method below.
4. Disable AV / Firewall protection
Many people who have experienced this problem think that it could potentially be related to some kind of antivirus program interference. When this tampering occurs, BitDefender and a few other third-party antivirus suites are regularly pointed out as the offenders.
To address this issue, you’ll need to briefly deactivate the security suite before installing the problematic cumulative update to verify this theory.
Note: It won’t do any harm to temporarily disable the real-time protection of your antivirus software and check to see whether the Windows 11 update was successful with the security suite off.
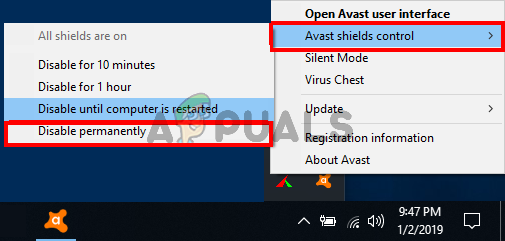
Note: Most antivirus software programs allow you to disable real-time protection directly from the taskbar icon. If this is not possible, you should be able to find a setting in the Settings menu of your AV or firewall suite.
Additionally, you can delete the third-party suite entirely, which is worth considering if you use an antivirus product that simultaneously serves as a firewall.
Continue to the following potential solution if your pending Windows update still gets stuck at 0% despite disabling the AV or firewall protection.
5. Delete SoftwareDistribution & Catroot2 folders
It turns out that this particular issue might also occur due to an unanticipated system interruption that happened just as your operating system was downloading Windows Update files.
In this case, the problem could be fixed by deleting any remaining data accumulated in the SoftwareDistribution and Catroot2 folders.
To carry out this procedure, you must run a series of commands from an elevated CMD terminal. Follow the instructions below to open up an elevated CMD and clear out the two folders responsible for storing temporary WU files.
Note: To be able to clear the SoftwareDistribution and Catroot2 folders, you’ll first need to disable a set of WU dependencies. Unless you do this, you won’t be able to rename the WU download folders and force the WU component to disregard them.
Follow the steps below:
- To start, use Windows + R to bring up the Run dialog box.
- Next, type “cmd” into the text box, then press Ctrl + Shift + Enter on your keyboard to open an elevated Command Prompt.

Open an elevated CMD prompt Note: To give administrator privileges, select Yes when prompted by UAC (User Account Control).
- To stop any WU-related services, perform the following commands in the order supplied and hit Enter after each one once you are at the elevated Command Prompt:
net stop wuauserv
net stop cryptSvc
net stop bits
net stop msiserver
Important: These instructions will stop the Windows Update Services, MSI Installer, Cryptographic Services, and BITS Services. In this step, you instruct the terminal to stop these services temporarily.
- After all necessary services have been turned off, run the following commands to rename the SoftwareDistribution and Catroot2 folders:
ren C:\Windows\SoftwareDistribution SoftwareDistribution.old
ren C:\Windows\System32\catroot2 Catroot2.old
Important: Keep in mind that the primary function of these folders is to hold update files that the WU component needs. Since you can’t clear these folders conventionally, the only alternative is to rename them and force your windows installation to create new folders and disregard the old equivalents.
- After the files have been cleaned up, use the following commands to reactivate the services that we had previously disabled:
net start wuauserv
net start cryptSvc
net start bits
net start msiserver
- Restart your computer again and check whether the issue is still present when you turn it on.
If your pending update is stuck at 0% despite recreating the two WU download folders, move down to the following method below.
6. Deploy SFC and DISM scans
Another reason you could be experiencing this problem is if the Windows Update component is affected by some type of file corruption.
The next step in troubleshooting this problem is to run quick successions of SFC (System File Checker), and DISM (Deployment Image Servicing and Management) scans.
Note: Even though SFC and DISM are somewhat similar, we advise running both scans quickly, one after the other, to increase your chances of fixing the corrupted system files.
Start with a basic SFC scan.
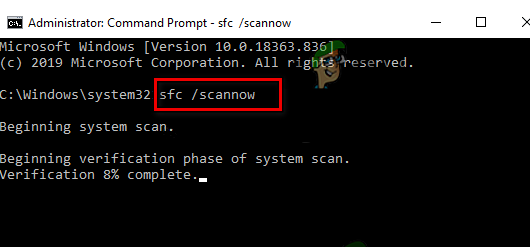
Note: SFC functions is entirely local, so you do not need to be actively connected to the internet to use it. The CMD window must not be closed after this procedure starts, even if the utility seems to have stopped responding and frozen. This is a frequent occurrence.
Important: Wait until the process is complete before interacting with the CMD terminal. Doing so might cause logical errors on your HDD or SSD.
Restart your computer when the SFC scan has been successfully completed, and after the machine has started again, check to see if the issue has been fixed.
If your updates still get stuck at 0%, deploy a DISM scan and wait for it to complete.
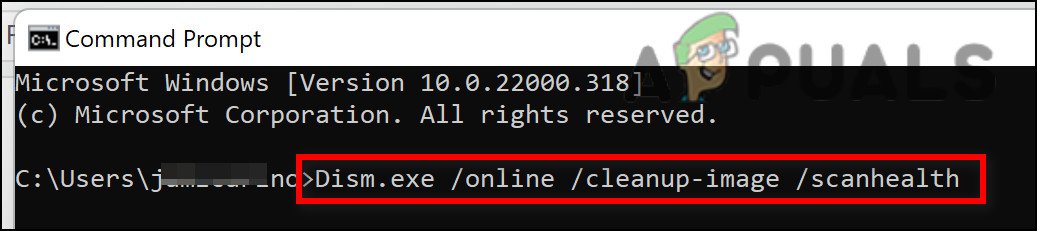
Note: DISM uses a component of Windows Update to retrieve healthy copies of corrupted system files to replace such files; this is an essential distinction between DISM and SFC. Because of this, you must make sure that you have access to a solid internet connection before starting a DISM scan.
Once this procedure is complete, reboot your Windows 11 PC and see if the problem is now fixed. If you still cannot install specific pending Windows updates, move to the next potential fix below.
7. Revert to a healthy state (via System Restore)
According to several afflicted users, you may expect to deal with this issue following a recent system modification (like installing an infrastructure update, a driver update, or a cleanup procedure performed by an antivirus).
By using System Restore to return your system to a previous point in time, you can most likely avoid the problem entirely and force your system to clean install the Windows update currently stuck at 0%.
Important: Note that executing this operation would nullify all changes made after the system restore point was created. All installed programs, changed system preferences, and anything else will all be gone.
If you are aware of the repercussions and decide to try this particular remedy, follow the instructions provided in this article.
If you don’t have a viable restore point, go for the following method below.
8. Install pending updates manually
There is a significant chance you can bypass this entire situation where the pending update gets stuck at 0% by manually installing the update. There are various ways to accomplish this, but the Microsoft Update Catalog is the most practical and secure way.
Note: This method will not effectively address the root cause of the problem. The fundamental issue that stops you from installing new pending updates will persist even if you successfully use this technique. Only consider it if you have one or two updates failing.
Here are some quick steps on how to complete the process:
- Open the official Microsoft Update Catalog page in your web browser.
- When you are on the Microsoft Update Catalog page, use the search box in the top-right corner of the page to search for the update that fails to install.

Search for the failing update - After seeing the findings, look for a suitable update by considering the CPU architecture and the Windows version.
- Click the Download button after you’ve found the correct update, then wait for the download to complete before moving on.
- After that, double-click the executable file you just downloaded in your downloads folder. Next, follow the on-screen instructions to complete the sideloading of the pending Windows update.
- If the installation goes off without a hitch, you have effectively sideloaded the Windows update failing to install conventionally.
If this didn’t work for you or you’re looking for a permanent fix, try the final method below.
9. Perform a clean install or repair install
You can conclude that the issue is caused by an underlying system corruption problem if none of the abovementioned options helped fix the issue where some (or all) Windows updates get stuck at 0% when installing.
Many people who had the same problem claimed that it has been fixed after performing a complete system refresh. You can either go for a clean install or repair install (in-place repair) to achieve this.
A clean installation is a more straightforward option, but the main drawback is that you won’t be able to keep any of your personal information (apps, games, personal media, etc.) unless you first create a backup of everything. This procedure might take a while.
On the other hand, the main advantage of choosing the repair install (in-place repair) approach is that you can save your personal data (including applications, games, personal material, and even specific user preferences). However, the process will be a little more time-consuming.


