FIX: Windows 10 update stuck at 32%
Microsoft released the Windows 10 Technical Preview in 2014, but it was not officially announced at that time. The company took a year to build the final version of Windows 10, which was released on July 29, 2015.
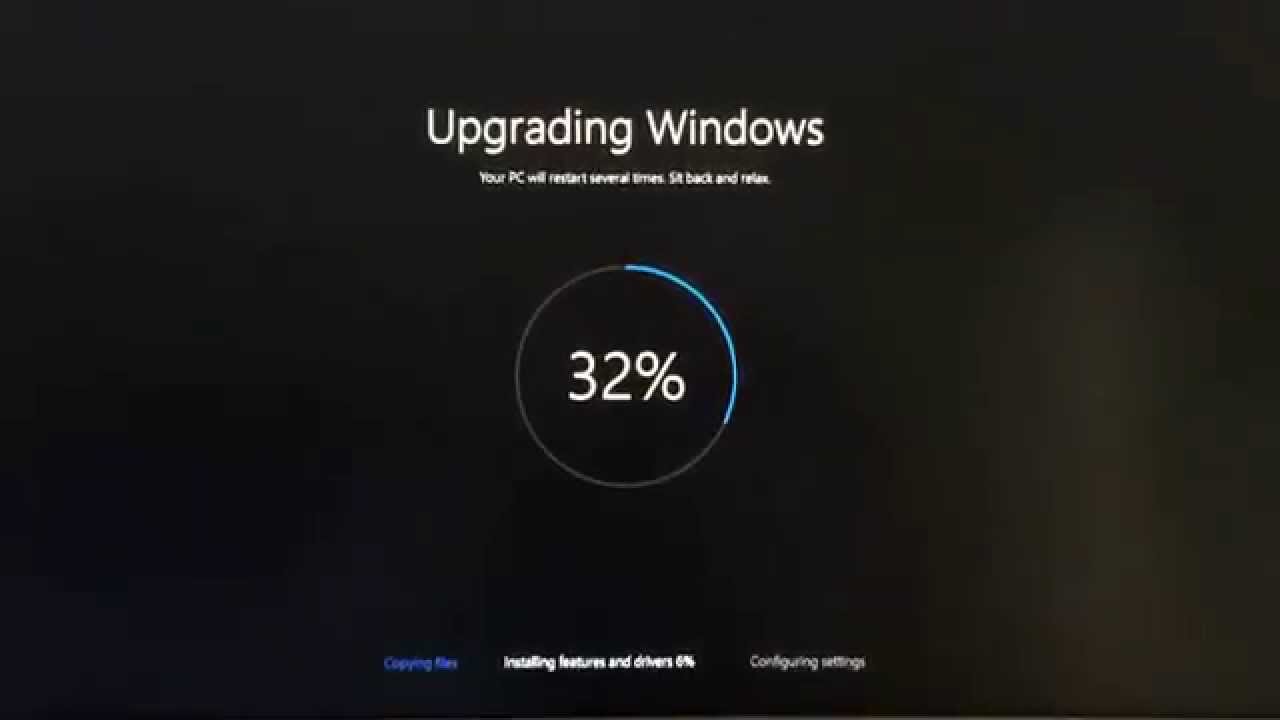
While upgrading the operating system to Windows 10, a majority of people encounter an unpleasant issue where the upgrade process hangs at 32%. According to Microsoft, during the first 30% of the Windows installation setup, updates are being downloaded to the PC, and after that, the PC begins installing those updates. This issue doesn’t arise when installing a clean copy of Windows 10 using removable media, such as a USB. It only occurs during the upgrade from a previous version of Windows to Windows 10.
This issue prevents users from upgrading their Windows, and when they try to restart their PCs, the computers revert back to the previous version of Windows. This is a really annoying and time-consuming process.
Method #1: Troubleshooting Windows Update.
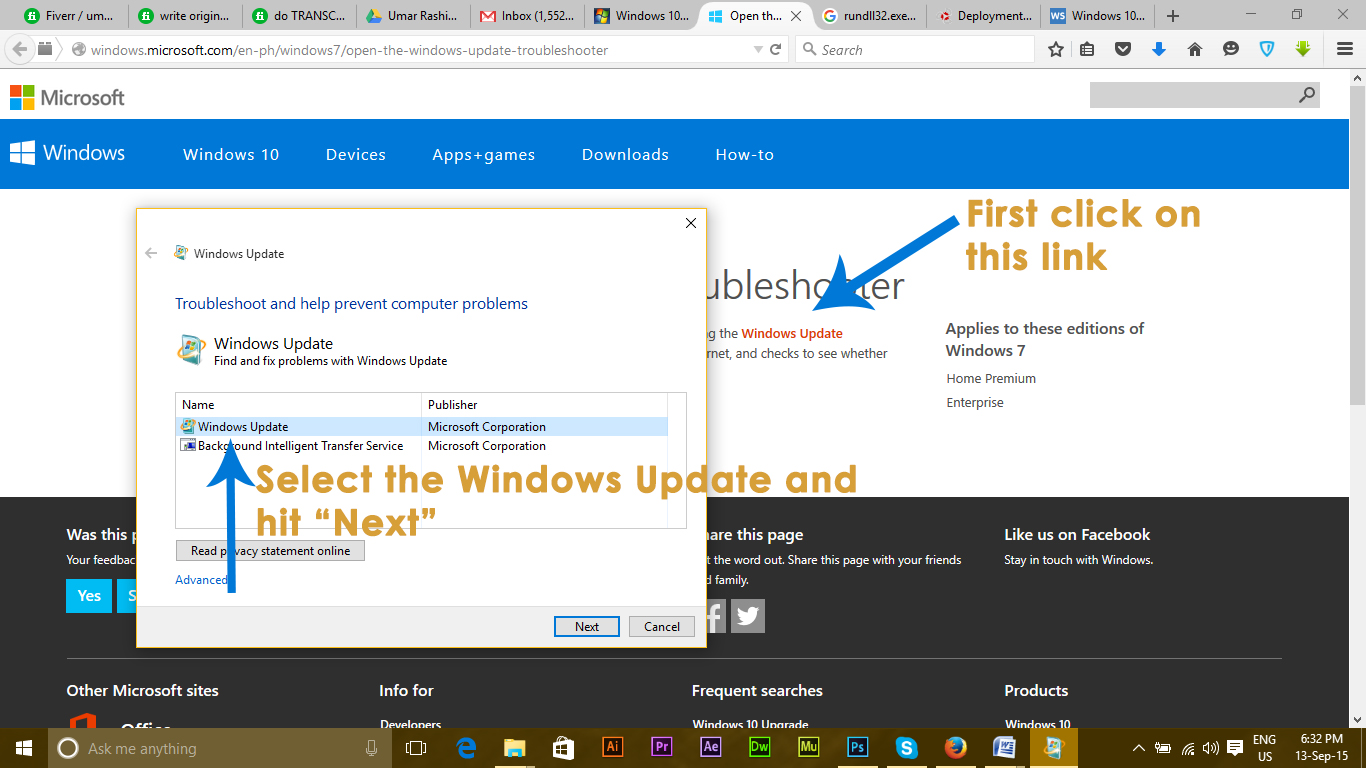
1) First, you should run a Windows application called Windows Update Troubleshooter. You can find this at the following URL. After downloading the file, run it as an administrator using the default program and select Windows Update from the list. Click ‘Next,’ and it will start troubleshooting.
2) After the troubleshooting process, disable the network, whether it is WiFi or LAN. Every connection should be shut down before proceeding to the next step. You can do this by holding the Win key and pressing R; then typing ncpa.cpl, right-clicking your network connections, and choosing Disable. The same procedure will be used to re-enable them. If you find it complicated, turn off your WiFi or router, and this will automatically disconnect you from the internet.
3) Create a Windows 10 bootable USB again using free software like RUFUS or Windows 7 USB/DVD Tool. Make sure that all the files are written properly; otherwise, you may end up with the same issue.
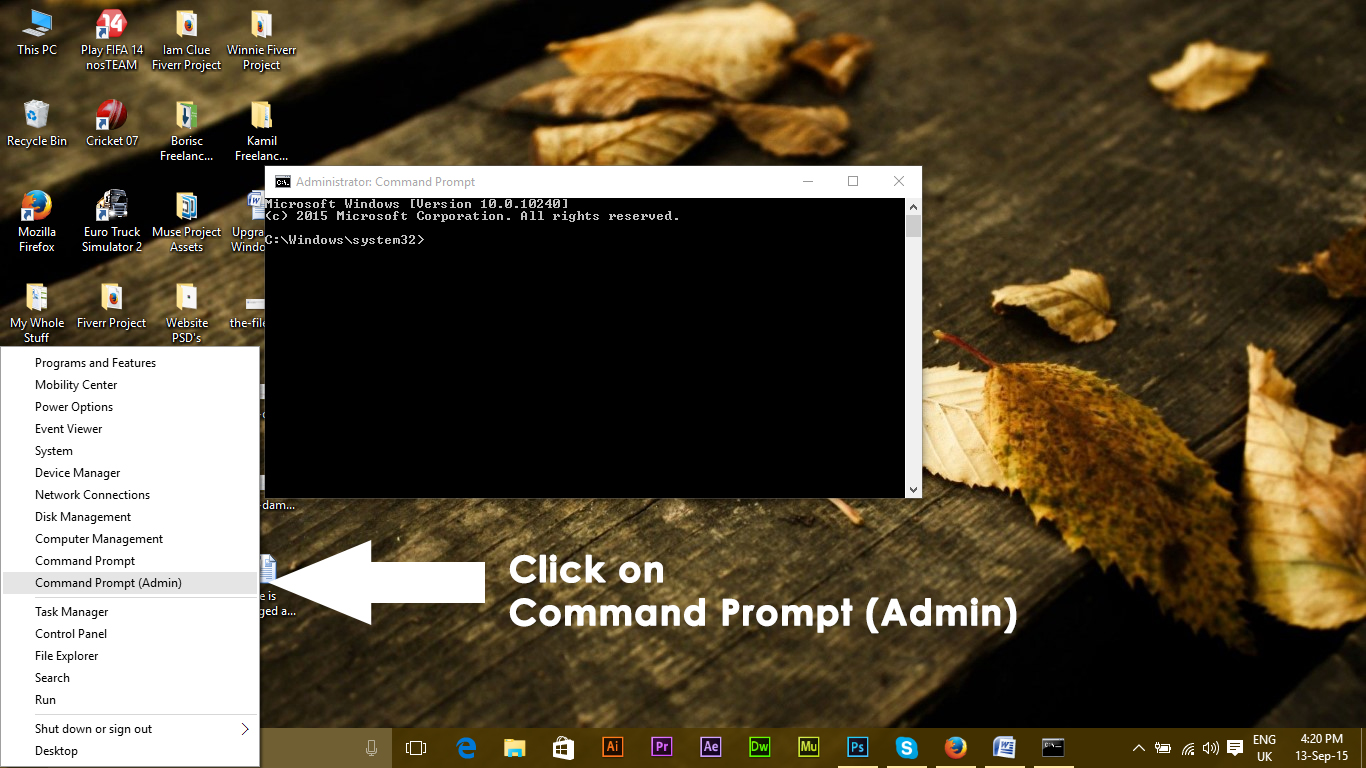
Now, open the Command Prompt (Admin) by right-clicking on the start menu icon and selecting Command Prompt. Type the code mentioned below inside the command prompt and press Enter.
rundll32.exe pnpclean.dll,RunDLL_PnpClean /DRIVERS /MAXCLEAN

This code will clean up the driver packages within Windows to help you progress toward installing Windows 10.
Now everything is good to go. Restart your PC and boot it through the bootable USB drive you created earlier. Run the installation by following the instructions, and you will be stunned to see that it works.
Method #2: Check External Drives
The first and most anticipated method of solving this issue is to unplug any external devices connected to the PC through USB. A number of times, these external USB devices create conflicts within Windows. During the upgrade from Windows to Windows 10, this conflict prevents the process from moving forward and causes it to become stuck at 32%.
After removing the USB devices, restart your PC to upgrade Windows again. If this issue was due to a conflict between Windows and USB devices, then this time, it won’t restrict the process. As a result, you will get your new Windows 10 on the PC.
Method #3: Restart Services.
The second method appears quite interesting, and it also works most of the time when you are trying to update using Windows Update. In this case, all you need to do is disable your internet connection, whether it is Wi-Fi or LAN, when the download reaches 100%. Disabling the internet will prevent the setup from downloading additional files, including language packs. Consequently, Windows will upgrade to the latest version without getting stuck at 32%.
Use the following method if you are upgrading Windows using Windows Update.
1. Open the Command Prompt (Admin) window by right-clicking on the start menu icon, or you can press Win + X as a shortcut key to open it.
2. Now, you need to stop some services by typing the following code inside the Command Prompt. Press Enter after typing each line of code.
 net stop wuauserv
 net stop cryptSvc
 net stop bits
 net stop msiserver

3. After typing and pressing Enter after each line of code, you need to rename two folders called SoftwareDistribution and Catroot2. For this purpose, type the code provided below. Remember to hit Enter after each line of code.
ren C:WindowsSoftwareDistribution SoftwareDistribution.old
ren C:WindowsSystem32catroot2 Catroot2.old
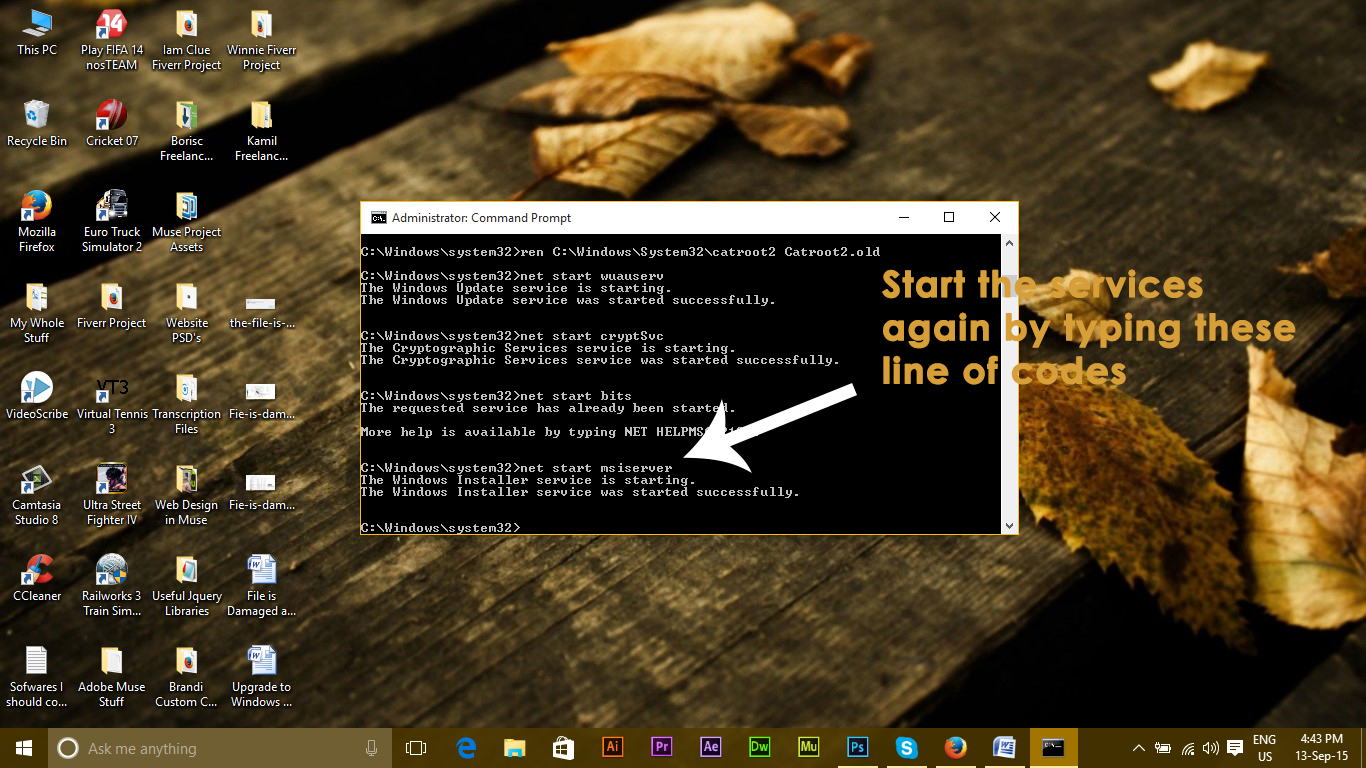
4. After renaming the folders, restart the services that you stopped during the second step by writing a few lines of code. Type the following code:
net start wuauserv
net start cryptSvc
net start bits
net start msiserver
Now, all the difficult stuff is gone. Simply type ‘Exit‘ in the Command Prompt and press ‘Enter.’ Restart your PC and attempt the update again.
I would appreciate it if you let us know which method has worked, if any, and inform us if nothing worked for you so that we can improve our guide.
Do you have any suggestions that will work with Windows 7? Suggestions above seem more geared towards windows 8 (even things like pnpclean.dll only exist in 8). I have a HP dv5t-1000, no usb devices plugged and window update itself has no problems, yet no matter what I have tried such as the suggestions above and even manually updating every possible driver in advance of the upgrade – nothing has worked.