How to Revert Back to the Classic File Explorer Look on Windows 11
A lot of people prefer the classic File Explorer look over the new revamped one present on Windows 11. There’s no question that the new iteration is slicker and looks way cleaner, but it can be very confusing until you get used to it.
If you don’t want to spend a few weeks assimilating the new changes Microsoft has made to the File Explorer look on Windows 11, you’ll be happy to know that there are a couple of methods that you can use in order to restore the classic File Explorer look (with ribbon) on Windows 11.
Below, we’ll walk through 2 different ways that will allow you to get rid of the modern clean look and the new command bar and return to the classic File Explorer complete with ribbon:
- You can restore the classic File Explorer on Windows 11 by running a .reg file.
- You can restore the classic File Explorer on Windows 11 look by doing some modifications via Registry Editor.
Important: Both of these fixes have been confirmed to work for the latest Insider Preview build currently available for Windows 11. This might change as Microsoft releases new updates for the operating system.
1. Restore the Classic File Explorer on look by running a .REG file
If you’re looking for the easiest way of restoring the classic File Explorer look, you should simply run this custom.REG file that we’ve created for you.
This will essentially do the same modifications that are a feature in the next method, but it spares you from having to do complicated Registry modifications with the potential of breaking UI elements on your Windows 11 computer.
Follow the instructions below to restore the classic File Explorer look simply by running a .REG file.
- Download this custom-made .reg file on your Windows 11 computer.
Note: This .reg file was created by us and it’s free of malware or adware. - Once the file is downloaded locally, right-click on it and click on Run as Administrator from the context menu that just appeared.
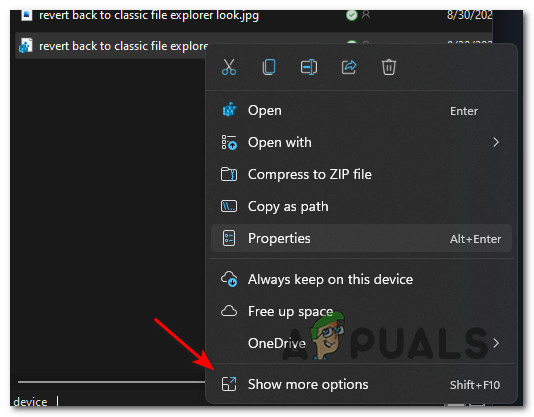
Running the .REG file to restore the classic File Explorer look Note: If Run as Administrator is not available in the menu, click on Show More Options first to bring up the classic menu. Depending on your UAC settings, the Run as Administrator option might not appear – In this case, double-click on the .REG file normally.
- At the first UAC (User Account Prompt), click Yes to grant administrative privileges.
- Next, you’ll see a different prompt asking you to confirm the registry modifications. Click Yes to enforce the changes and revert back to the classic File Explorer look.
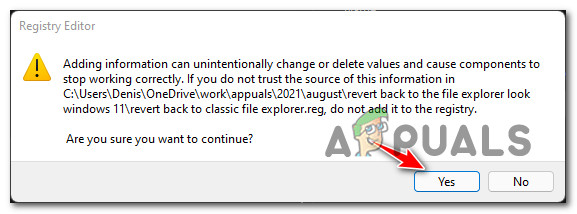
Confirm the running of the .REG file - Keep in mind that the changes won’t reflect as soon as the modifications are done. You’ll need to restart your PC in order to see the changes to the File Explorer menu.
If you’re looking for a more hands-on method of doing this modification, move down to the next potential fix below.
2. Restore the Classic File Explorer on look via Registry Editor
If you aren’t intimidated by deep diving inside your operating system’s Registry and you enjoy enforcing modifications via Registry Editor, this method will scratch your itch.
In what follows, we’ll walk you through the process of restoring the classic File Explorer look on Windows 11 by doing certain modifications to the Registry via Registry Editor:
Note: As always, our recommendation is to take the time and back up your Registry prior to following the steps below. By doing this, you are protected in case you make the wrong modification and it ends up affecting the stability of your PC.
- Press Windows key + R to open up a Run dialog box. Next, type ‘regedit’ inside the text box and press Ctrl + Shift + Enter to open up the Register Editor utility with admin access.
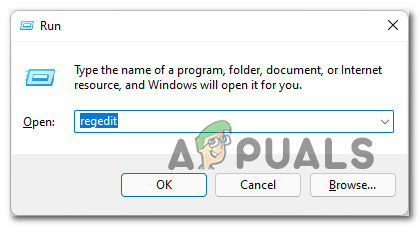
Opening the Regedit utility - When you’re prompted by the User Account Control, click Yes to grant administrative privileges.
- Once you’re inside the Registry Editor, use the left-hand pane to navigate to the following location:
HKEY_LOCAL_MACHINE\SOFTWARE\Microsoft\Windows\CurrentVersion\Shell Extensions
Note: You can either navigate there manually (by clicking on each key) or you can paste the location inside the navigation bar and press Enter to get there instantly.
- Once you’re inside the correct location, right-click on the Shell Extensions key and choose New > Key.
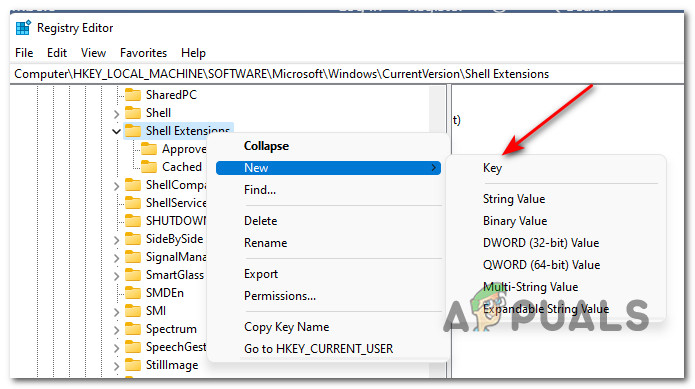
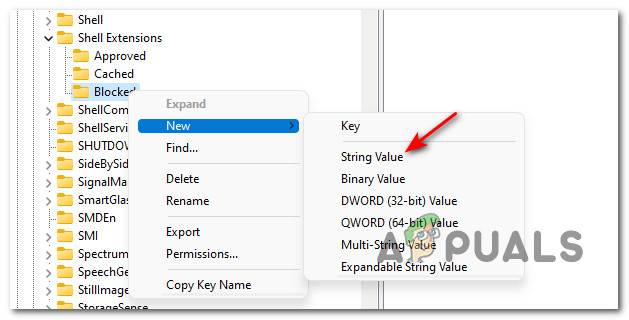
Creating a new key - Next, name the newly created key as Blocked.
- Right-click on the newly created Blocked key and choose New > String Value.
Create a new string value - Next, move over to the right-hand menu and rename the newly created string value as {e2bf9676-5f8f-435c-97eb-11607a5bedf7}.
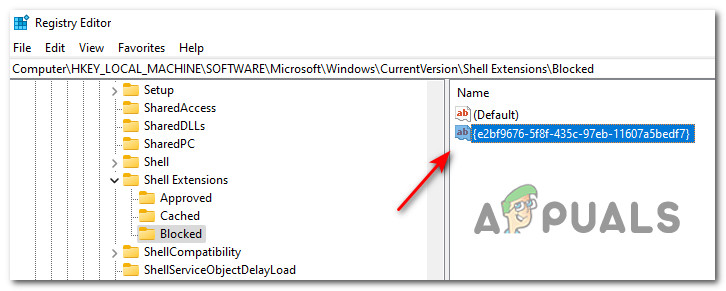
Deleting the string file - That’s it. All you have to do now is restart your PC in order to allow the changes to take effect. You should notice that the look of your File Explorer window after you boot back up.


