How to Fix Screen Artifacts Display Problem in Windows?
Visual artifacts on your monitor in Windows often occur due to your graphics card or the graphics drivers on your system. They can arise if the GPU is not seated correctly or if it is overheating due to accumulated dust.
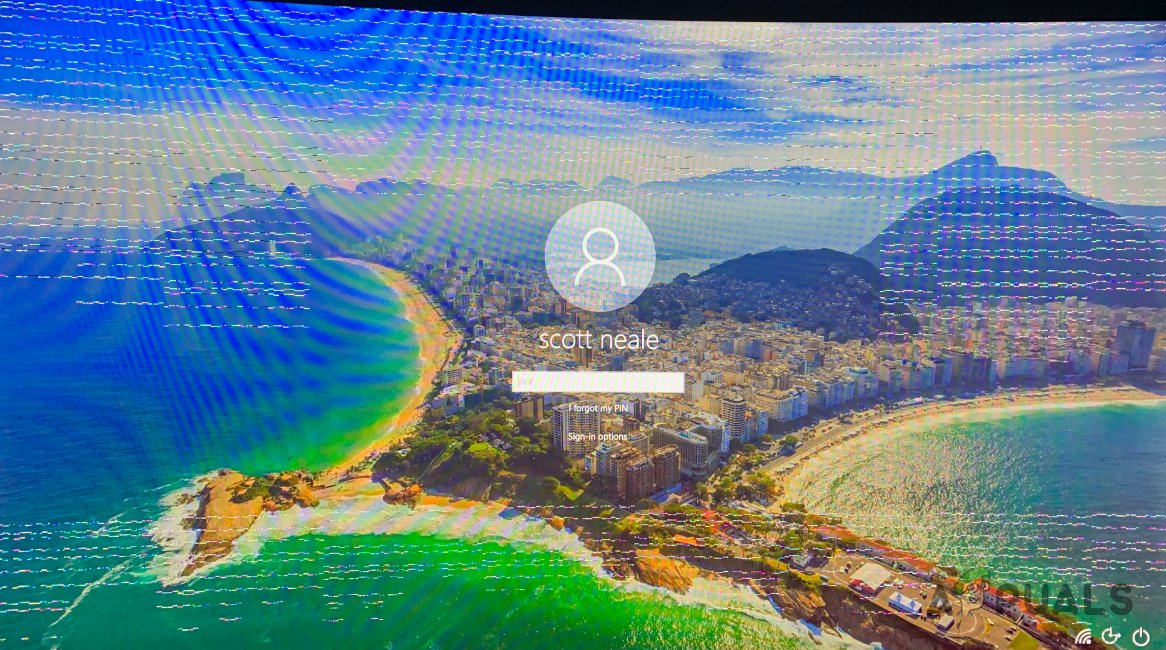
In addition, visual artifacts may be caused by the video cable connecting your monitor to your GPU. This article presents multiple methods you can use to resolve the artifacting issue on your system.
1. Use a Different Video Cable
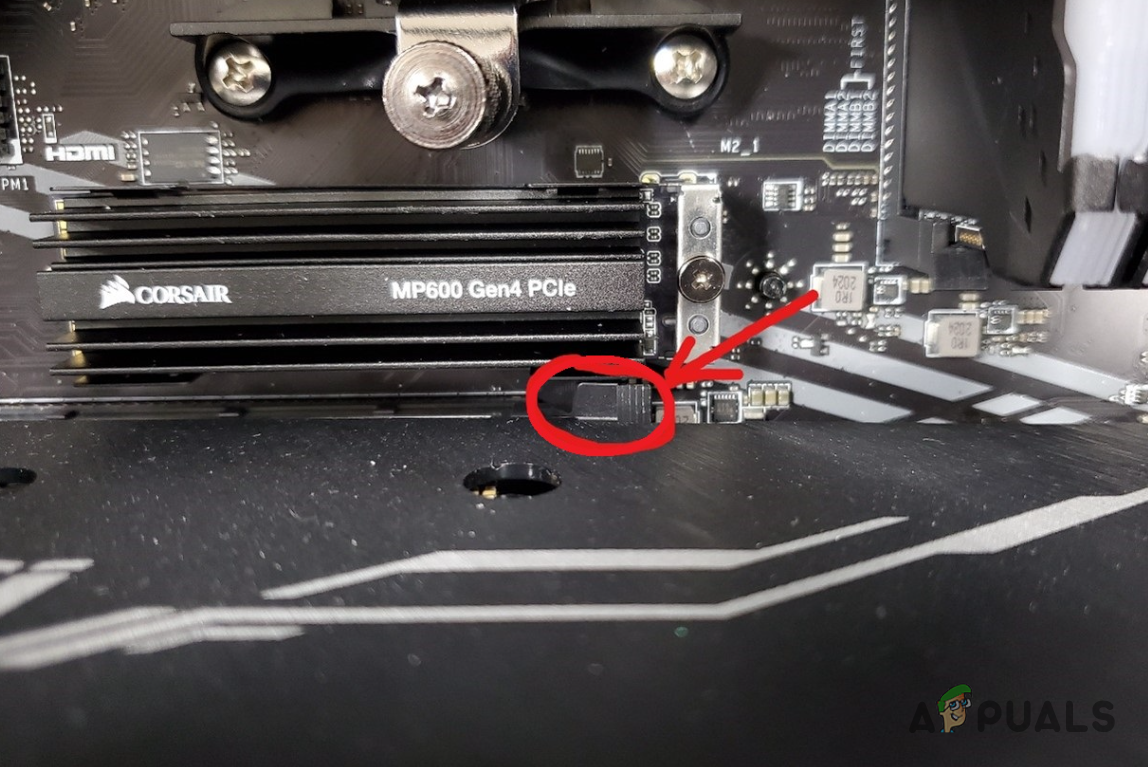
If you encounter artifacts, try using an alternate video input cable with your system. A defective cable can disrupt communication between the GPU and your monitor, leading to artifacts.
Therefore, switch out your video input cable to see if the problem persists. You can also try different ports on both your GPU and monitor to determine if that resolves the issue.
2. Turn off G-Sync (if applicable)
G-Sync is a feature in some monitors designed to eliminate screen tearing. However, if you are using a monitor with G-Sync support and encounter artifacts, the feature may be malfunctioning.
First, access the monitor’s settings menu to find and disable the G-Sync function. Alternatively, use the NVIDIA Control Panel to turn it off.
- Open the NVIDIA Control Panel on your system.
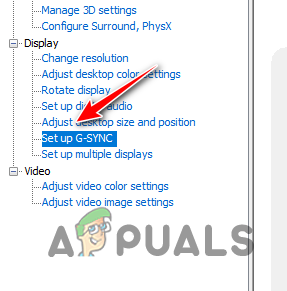
- Navigate to the Set up G-SYNC option on the left.
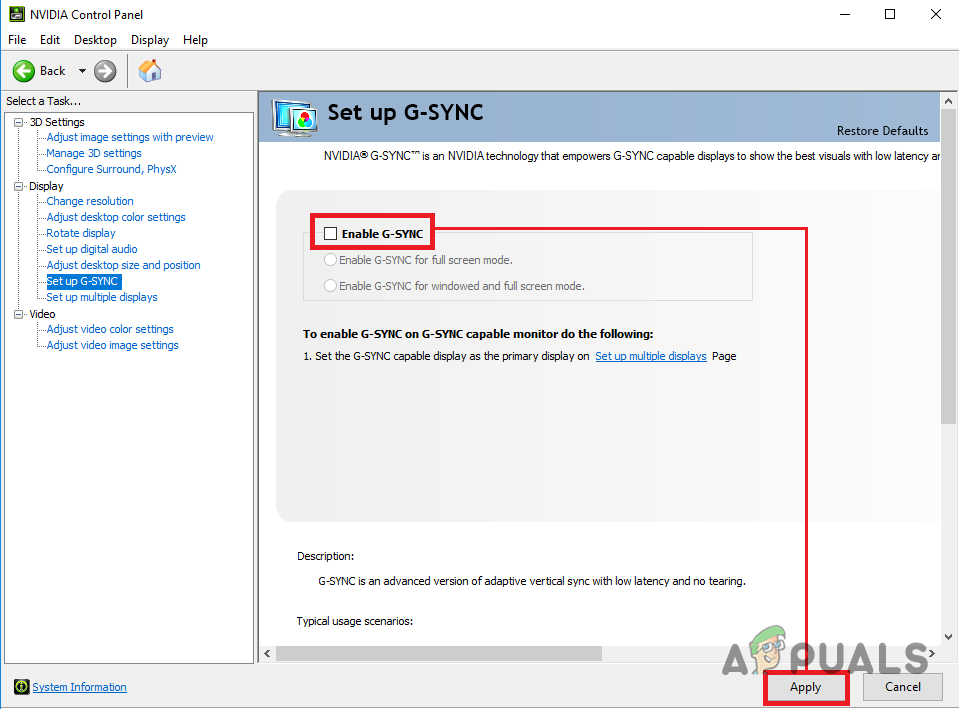
Navigating to Set up G-SYNC - Deselect the Enable G-SYNC checkbox and click Apply.
Disabling G-SYNC - Determine if this step resolves the issue.
3. Reinstall Graphics Drivers
Corrupted or outdated graphics drivers can also cause artifacts on your monitor by preventing proper communication with the GPU. To resolve this, a clean installation of the graphics drivers is necessary.
- Download the Display Driver Uninstaller (DDU) utility from the official website here.
- Extract the downloaded file to a location on your drive.
- Open the Display Driver Uninstaller.exe file from the extracted folder.
- In DDU, press the Continue button in the Options dialog box.
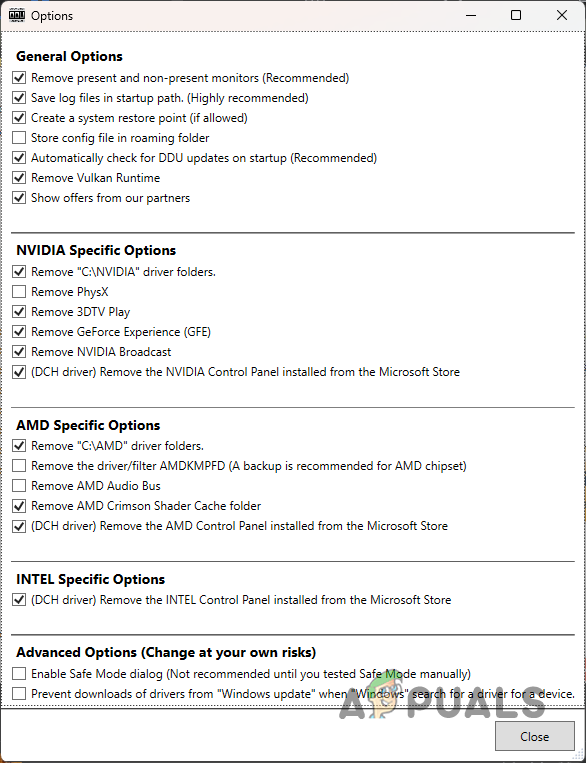
General Options - Use the Select Device type menu to pick GPU.
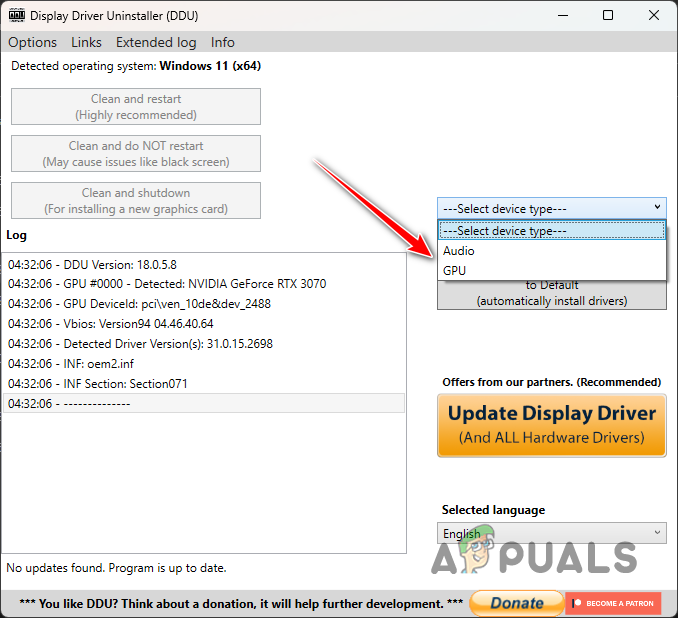
Selecting Device to Uninstall - Choose your GPU manufacturer from the Select device menu.

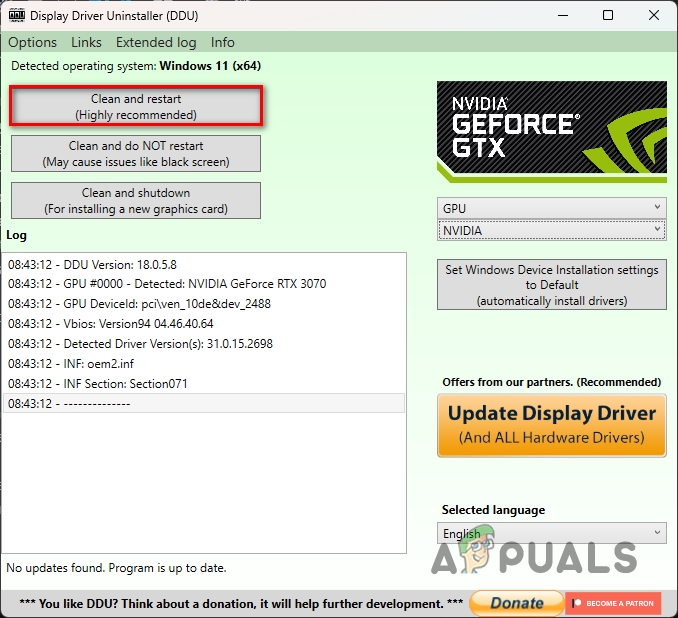
Selecting the Manufacturer of GPU - Select the Clean and restart option to remove your video drivers.
Uninstalling Video Drivers - Once your PC reboots, visit your GPU manufacturer’s website and download the latest drivers for your graphics card.
- Install the newly downloaded drivers and check if the artifacts still occur.
- If the issue began after a recent driver update, reverting to an older driver version may solve the problem.
4. Reseat Graphics Card
If your GPU is not correctly inserted into the motherboard, this could lead to screen artifacts. This is especially common after moving your computer or if the GPU was never fully inserted initially. To fix this, you’ll need to reseat the graphics card to ensure it’s properly seated.
- Unplug your computer and open the PC case.
- Use a screwdriver to remove your GPU.
Unscrewing Graphics Card - Detach the cables connected to the GPU.
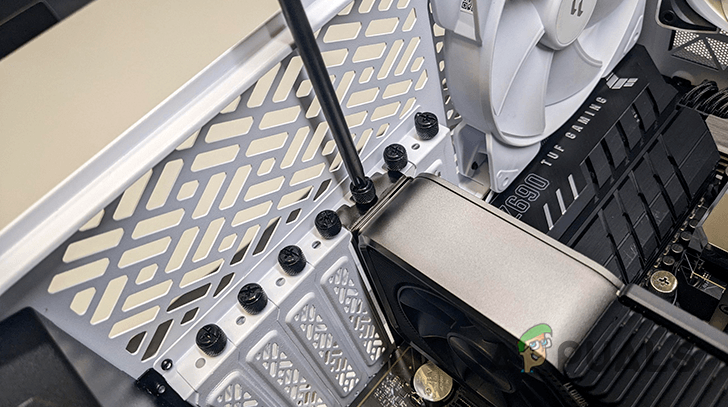
- Find and unlock the GPU by pulling the lever on the expansion slot, which is located beneath the GPU.
Expansion Slot Lever - Carefully remove the GPU from the motherboard.
- Clean the expansion slot to ensure there’s no dust present.
- Reinsert the graphics card, reconnect the cables, and secure the GPU with screws.
- Check to see if the artifacts continue to appear.
5. Disable MPO
Multiplane Overlay (MPO) is designed to reduce the workload on your CPU and GPU. However, after a recent NVIDIA update, it has been causing artifacts.
- Download the NVIDIA-provided registry file for disabling MPO from here.
- Execute the registry file to implement the necessary changes. This action will disable MPO on your system.
- Test to see if the problem has been solved.
- If the artifacts persist, you can re-enable MPO by running the mpo_restore registry file from the same source here.
6. Clean your Graphics Card
Overheating due to dust buildup in your graphics card’s fans can also lead to artifacts. Cleaning the graphics card is necessary in this case.
Use gentle bursts from an air blower to remove accumulated dust from the GPU fans. After cleaning the fans, make sure the rest of the graphics card is dust-free.
Then, reinsert the graphics card into your system and verify if the issue persists.
7. Check your GPU
In cases where the graphics card itself is defective, artifacts on the monitor are a common symptom. A damaged GPU might be unable to render graphics properly due to an internal issue.
To confirm this, test the GPU by installing it in a different computer system. If artifacts show up, unfortunately, your GPU may be faulty. Conversely, if there are no artifacts, another issue may be causing the problem, and you can continue with the next method.
8. Reinstall Windows
If none of the above methods has worked, a fresh installation of Windows may be the solution. This will help to eliminate any software-related problems causing the artifacts.
Before reinstalling Windows, it is highly recommended to format your hard drive and start with a clean slate. Consequently, make sure to back up important data to avoid loss; you can use this guide to back up your data.
Refer to this guide for detailed instructions on performing a clean installation of Windows.
This should address the issue with artifacts in Windows. If the problem continues post-installation, consider contacting the official Microsoft support team or seek assistance from a local PC repair professional.