How to Backup your Data from Windows 11 For FREE?
While working on our Windows 11, we create, store, and manage a different set of files, personal or business. What we often forget is backup them to safe locations. So, in case of any hardware or system issues, we don’t get into a panic mode.
When considering which product to use, we may become confused because there is a multitude of options available on the market. Some products are free but lack essential features, while others are commercial and require payment.
In this article, we will show you how to back up your files and folders from Windows 11 for free using native Windows backups called File History and BDRSuite, a better alternative. If you have several Windows 11 machines in your environment, BDRsuite will help you to have a single UI to manage them all. Unfortunately, you can’t do it using File History.
1. File History: A native Windows backup
File History is a native Windows feature that helps you to back up your personal data. You can access it by navigating to Control Panel\All Control Panel Items\File History or searching for File History in the search menu.
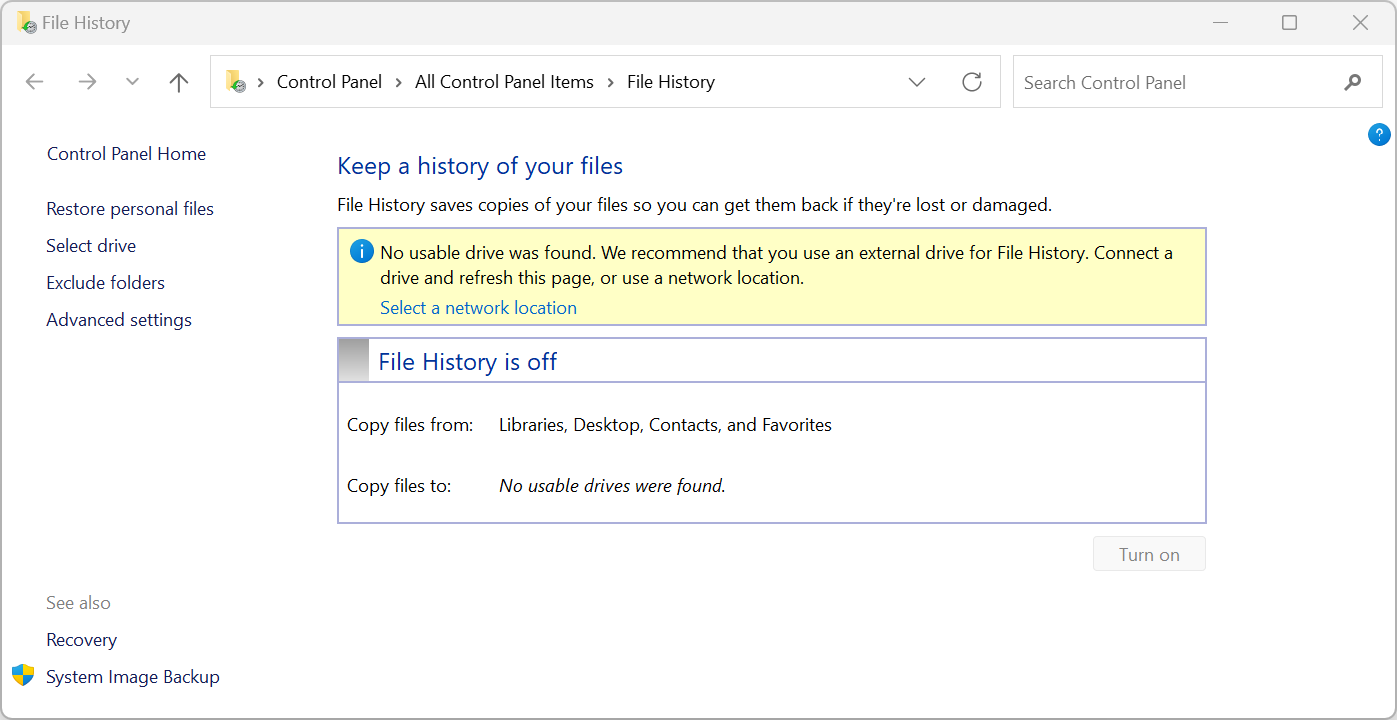
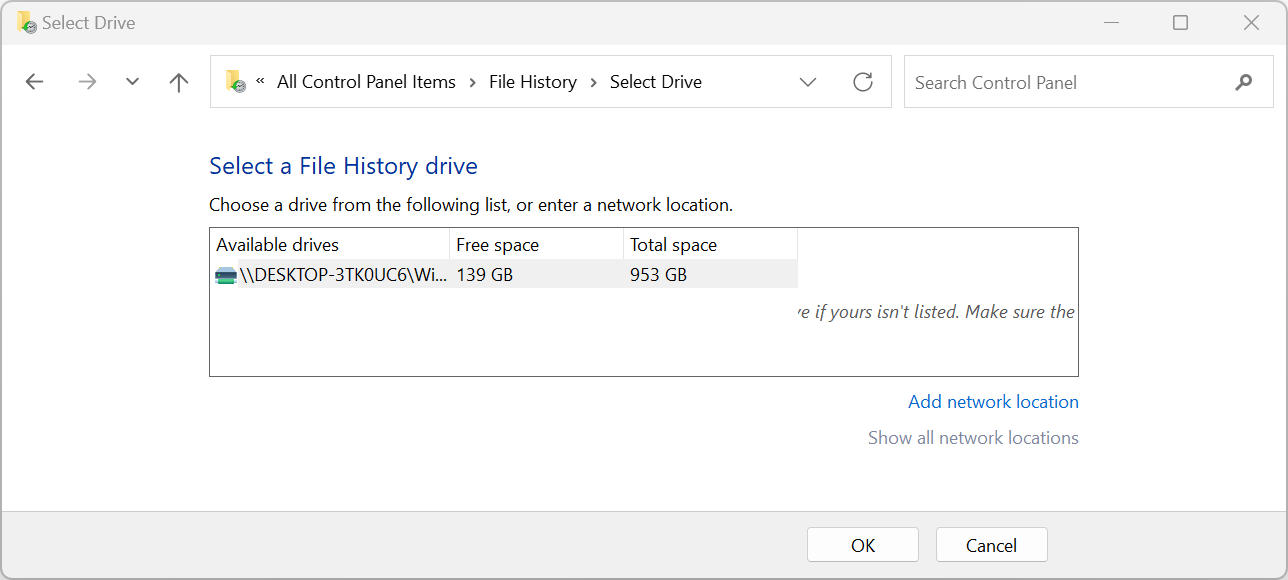
If you want to enable File History, you first need add network location where you want to backup your data. You can do it by clicking on “Select a network location” or by navigating to Control Panel\All Control Panel Items\File History\Select Drive. Once you come there, add your network location and confirm by clicking OK.
Once you add your network location, you will be able to Turn on File History.
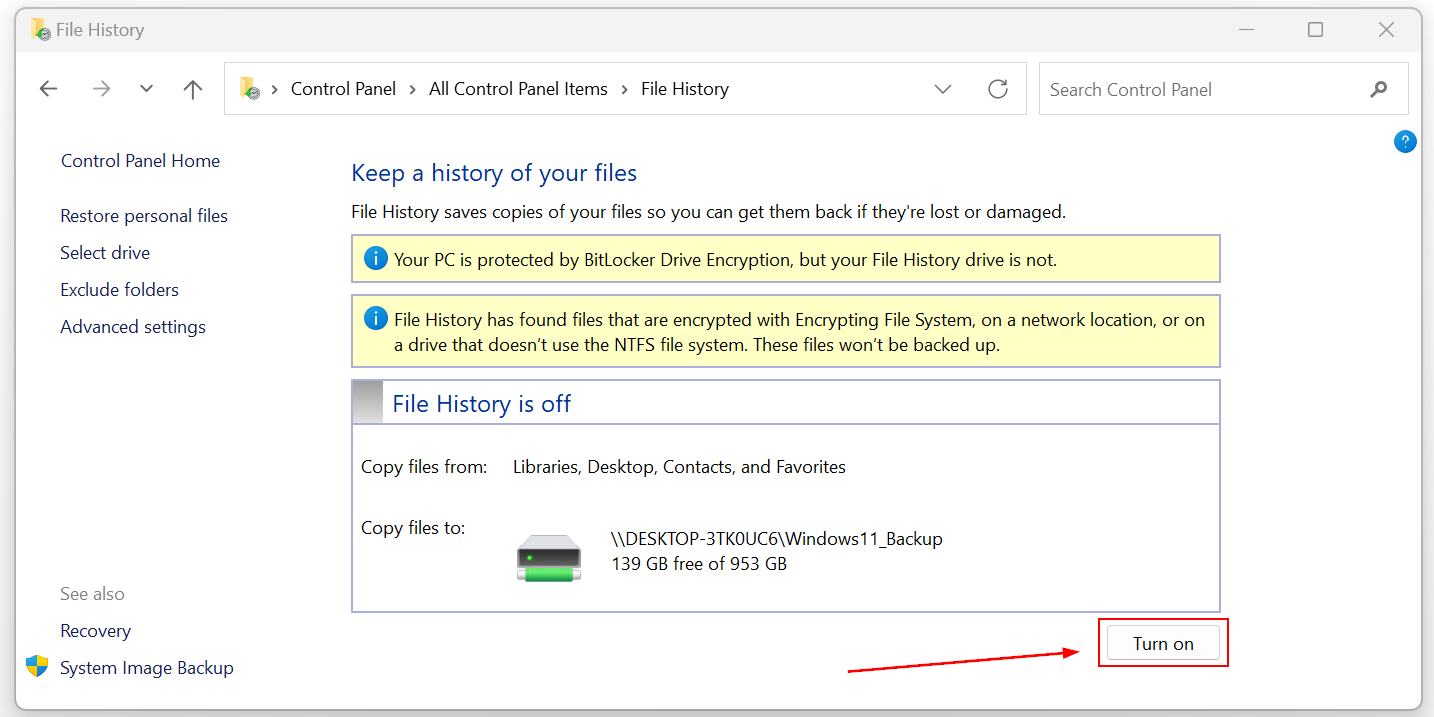
When File History is on, it will automatically backup files from Libraries, Desktop, Contact, and Favorites.
There are some limitations with File History. It has only basic backup features, your can’t encrypt your files, you can manage multiple backups and you are limited in terms of what you want to backup.
2. Backing up files using BDRSuite
BDRsuite is backup solution with advanced features. It helps you with doing backup to different backup locations, it supports encryption and by using single UI you can manage multiple Windows backup jobs. In the first step, I will show you how to install BDRSuite on your Windows 11, and in the second step, I will show you how to configure BDRSuite to backup data from your single or multiple Windows 11 instances.
Step 1: Install BDRsuite
Installation of BDRsuite is quite straightforward. Follow these steps:
- Open Internet browser and download BDRSuite. The installation file is 860 MB.
- Run Installer
- Under BDRSuite – Backup Installation Wizard click Next.
- Accept the license agreement and click Next.
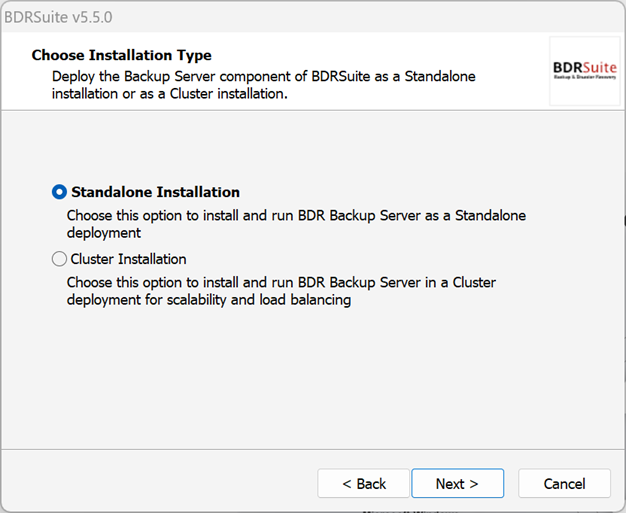
- Under Choose Installation type click Standalone Installation. Choose this option to install BDR Backup Server as a standalone deployment. There is also Cluster Installation available, but that is not part of this article.
- Under Installation Location click Next.
- Under Database Storage Location click This location is used to store the PostgreSQL Database components. Please note that size of the storage should be at least 3% of the total size of the backup data.
- Under Backup Server Settings click Install to install the BDRSuite Backup Server with default settings. If you want to customize it, you can do it by clicking on Customize Settings.
- Click Finish to close the window and open the BDRsuite Backup Server console. This will start the BDRSuite Backup Server application and BDRSuite Backup Server Web Console.
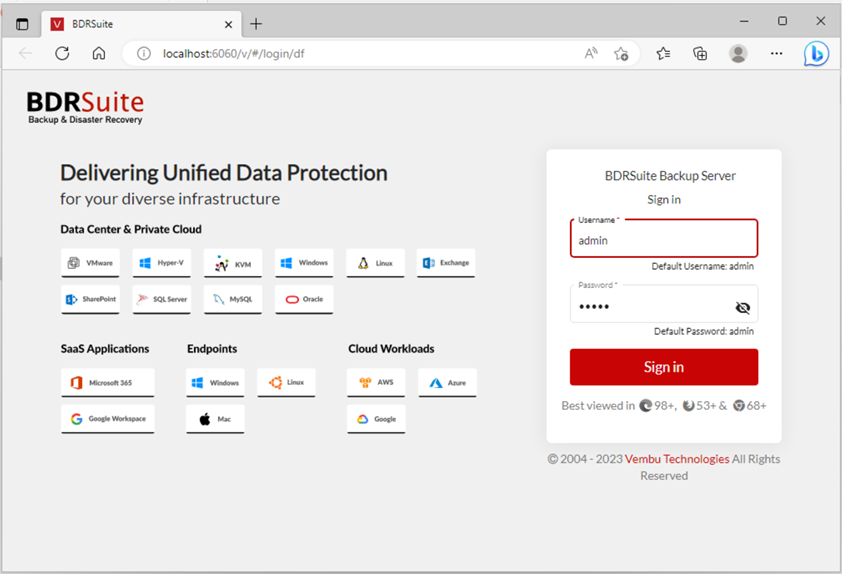
- Click Sign in to log in to BDRSuite. It uses default credentials, username admin, and password admin.
- Enter the Unique BDR ID for the BDRsuite Backup Server and click In my case, a unique ID is appuals.
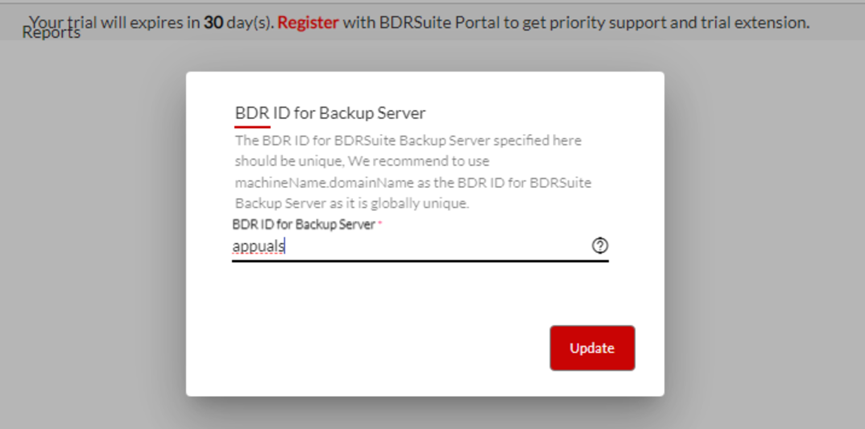
- Click on X to close the popup window.
Step 2: Backup your files
In the second step, you will configure BDRSuite so it can backup data from your Windows machine. We will add target Windows 11, backup repository and configure files we want to backup.
- Open web UI.
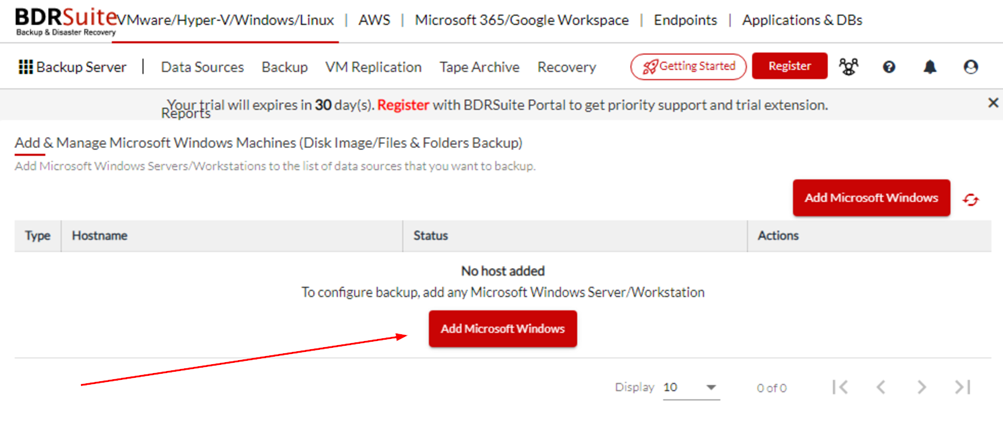
- Click on Data Sources and then click Window Server.
- Click on Add Microsoft Windows.
- Add IP address or FQDN, and then click on Add Credentials to add new credentials that will give you permission to work with the target Windows 11 machine.
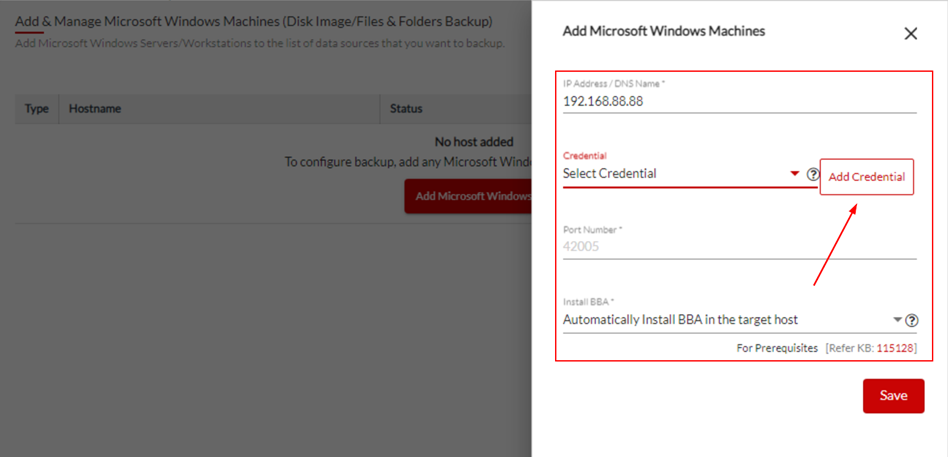
- Add Credential Name, username, and password then click Save.
- Click Save.

- Click OK, Proceed.
This will install the BDRsuite agent on your Windows 11 machine. In case you didn’t add proper credentials, you will get an error.
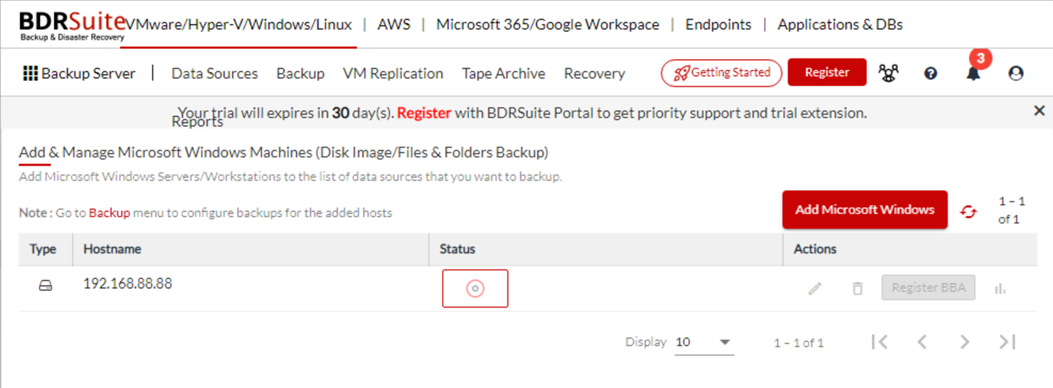
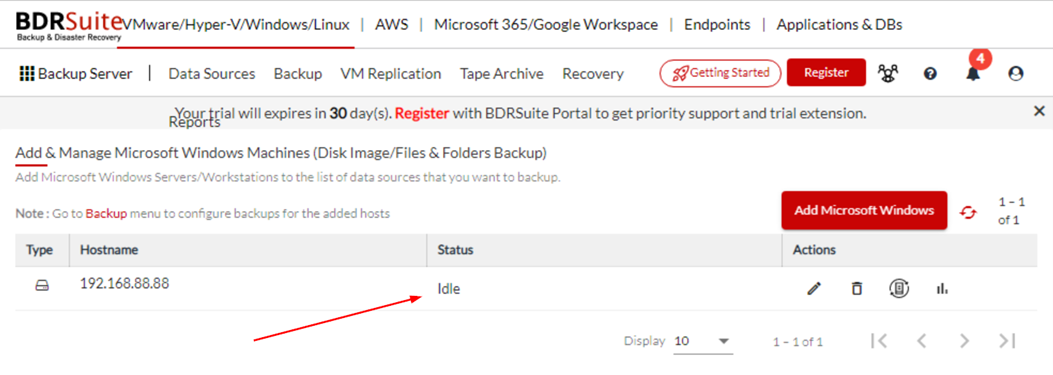
When finished, you will see Status: Idle.
- Now go to Backup – Configure backup – Microsoft Windows – Files and Folders to add files and folders that you want to back up.
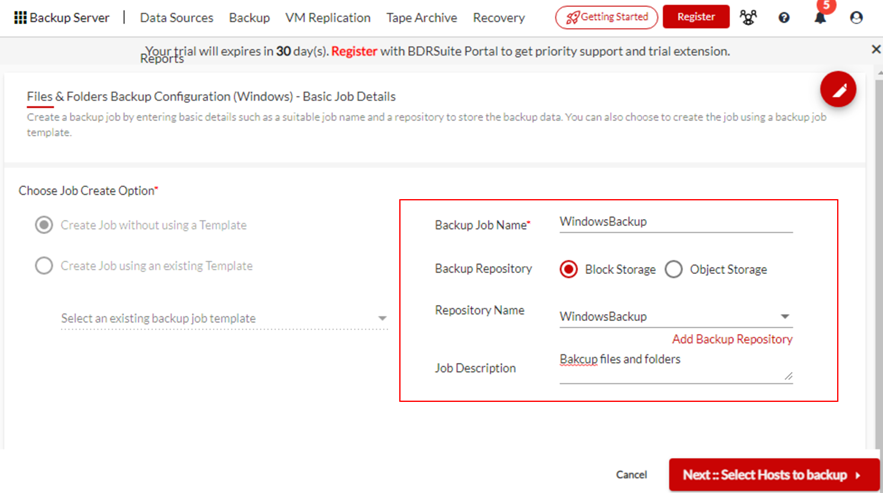
- Configure Backup Job Name, and then click Add Backup Repository to add the location where you want to store the backup.
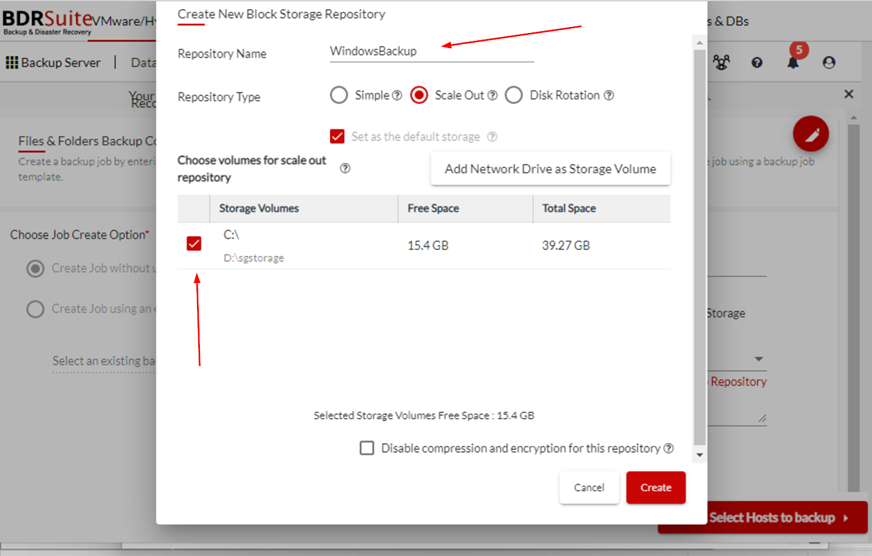
- Configure Repository Name, Repository Type, and the select destination where you want to make your backup.
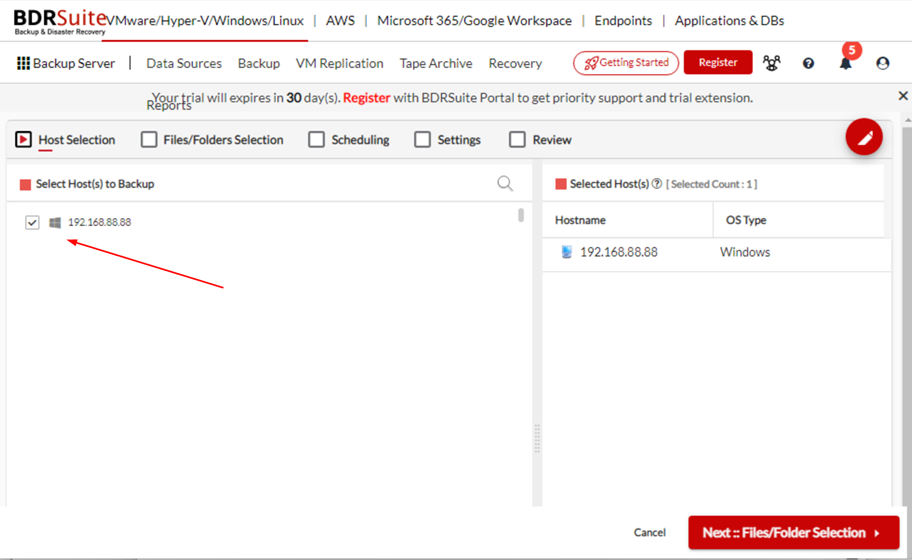
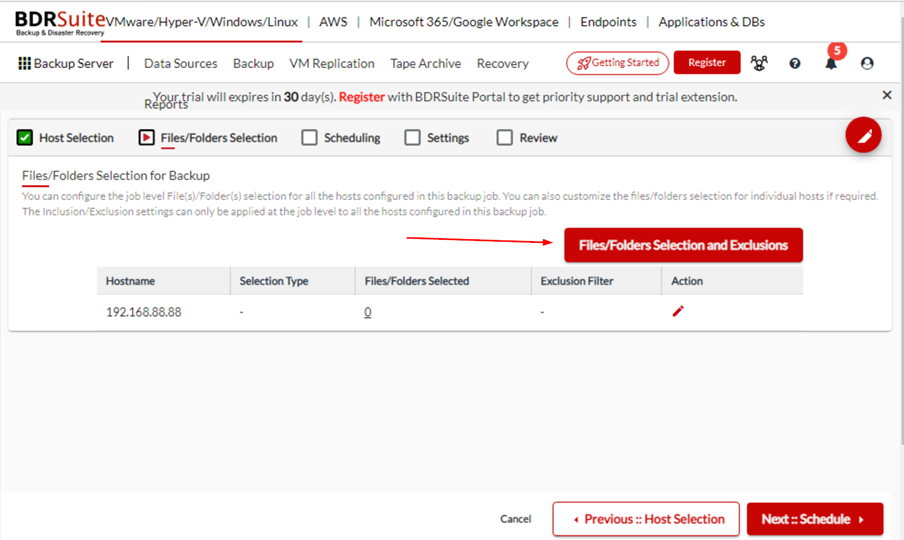
- Select the hosts that you want to backup and then click Next:: Files/Folder Selection. In my case, that is Windows 11 machine.
- Click Files/Folders Selection and Exclusions.
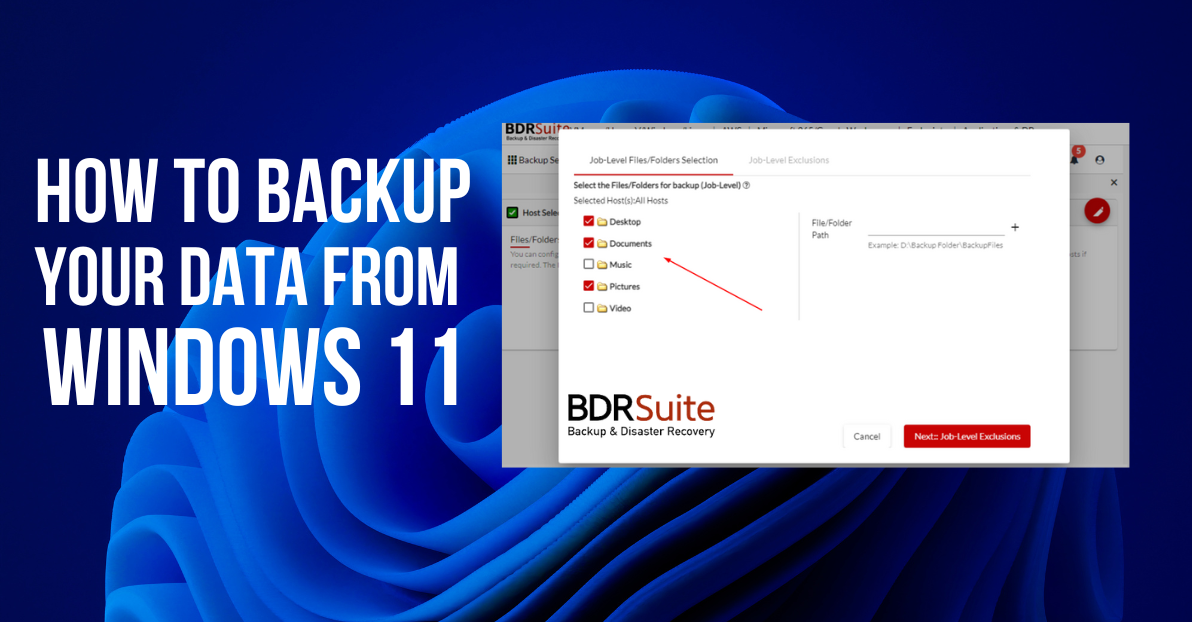
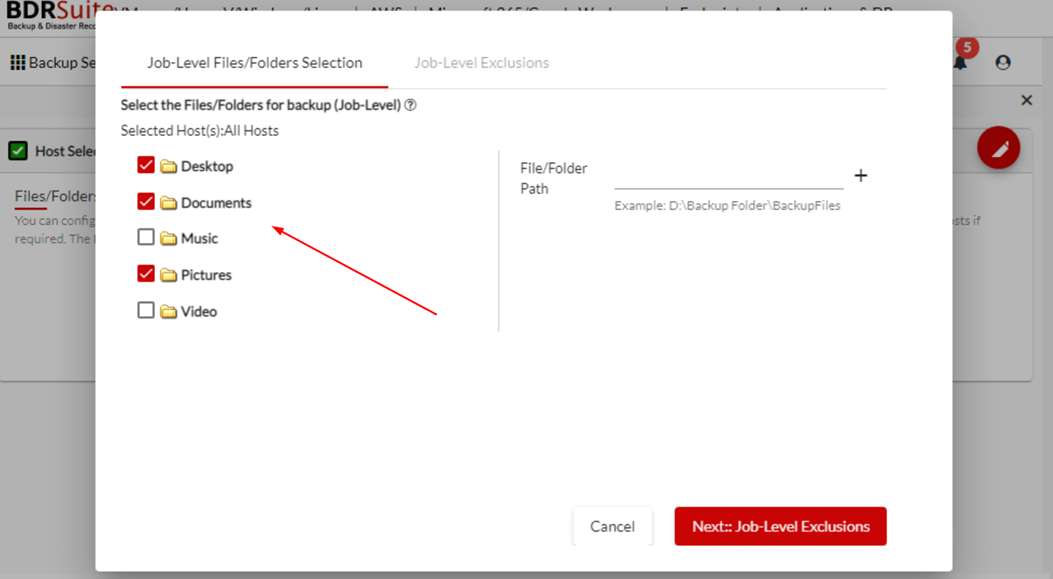
- Select the folders you want to backup and then click Next:: Job-Level Exclusions.
- Click Apply and then click OK, Proceed.
- Click on Next::Schedule configure schedule for your backup jobs.
- Proceed on to Next::Settings > Next::Encryption > Next::Advanced Settings.
- Select Next::Review and review the settings.
- Finally, hit Save, followed by Run now.

You will see a pop-up notification saying „Job is scheduled to run immediately. When the job starts running, the job status will show its progress“.
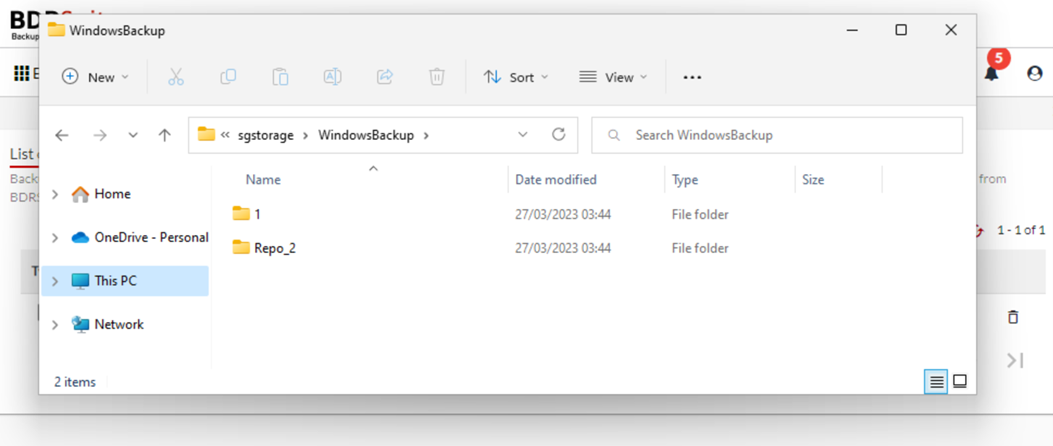
19. Navigate to your File Explorer and the directory where you store your backup.
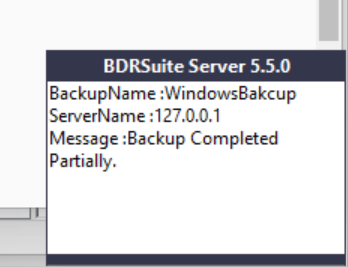
Once the backup is done, you will also see the notification in the taskbar.
Thanks for reading! We hope you found this article helpful. If you know anyone else who could benefit from this information, please share this article on your favorite social media platform.