How to Automate Network Configuration Backup Using SolarWinds NCM
As we know, backup of the Network Configuration is essential, in a big enterprise, it is not easy to backup the configuration manually from every device by logging into all the devices. If frequent changes happen on the devices, it is difficult to back up and track what changes are made.
To overcome this difficulty, we can Solarwinds NCM to automate the configuration backup using one of the features called Jobs. We can schedule jobs to download configuration daily or weekly based on the environment.
What is ‘Solarwinds Jobs’?
Jobs is one of the inbuilt features available in Solarwinds NCM. We can create jobs to automate our network-related activities. One of the essential benefits of Jobs is automating network configuration backup. Based on the schedule, the job will download the backups automatically.
We can set up a notification email to get the job report to review the backup status of the devices.
Solarwinds NCM has lot many valuable features. To know more about Solarwinds NCM, click on this link.
How to Automate Configuration Backup
Some prerequisites exist to download the configuration from a device and store it in an archive folder.
- Network Device needs to be onboarded in Solarwinds NCM.
- A connection profile should be configured to download the configuration from the device.
- Set up a configuration archive folder to store the downloaded configuration.
How to Onboard Network Device in Solarwinds
As a first step, we need to onboard the device into Solarwinds NCM. Onboarding a node into Solarwinds is a simple task to onboard the node using SNMP, if you use SNMP V2, then the SNMP string must be configured on the device.
If you use SNMP V3, then a username, authentication method and authentication password, encryption method, and password must be configured on the device end. To learn how to onboard a device, click on this link.
Configuring Connection Profile in the Device and Solarwinds
A connection profile is nothing but a username and password with enough privileges to download the configuration from the device using SSH or Telnet, if you are going to manage the configuration on the device, then the connection profile should have enough privileges to do changes in the configuration.
Once the connection profile is configured, follow the below steps to add the connection profile in Solarwinds.
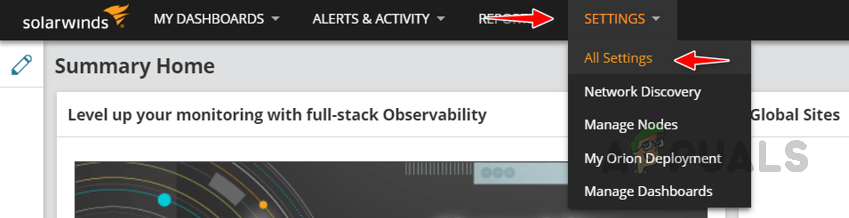
- On your Solarwinds NCM web console, go to Settings and click on All Settings.
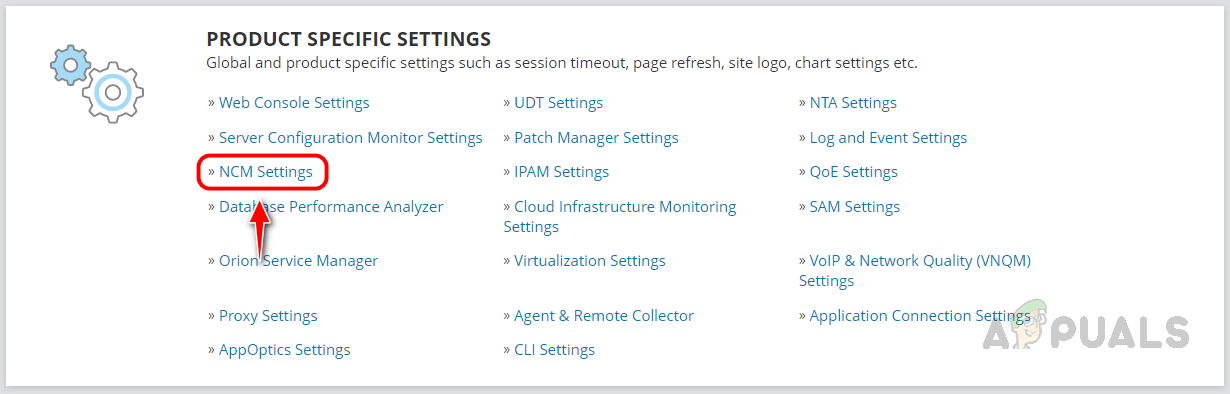
- Click on NCM Settings under Product Specific Settings.
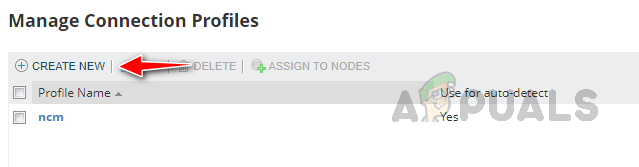
- Click on Connection Profiles under Global Device Defaults

- Click on Create New to add your connection profile.
- Provide a name for your connection profile. Enter the SSH login username and password, click the dropdown under enable level, select enable, and then provide enable level password. Select SSH auto in Execute Command and Scripts, Config Request, Transfer Configs. Mention the Telnet and SSH port numbers.
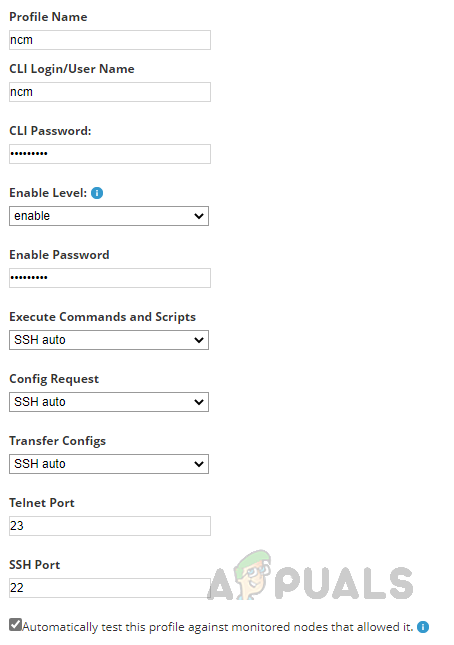 If you select Automatically test this profile against monitored nodes that allowed it, it will automatically test this credential for the new devices being onboarded using Network Discovery. Finally, click on Submit to save.
 - We have configured the connection profile, let’s see how to add this connection profile to a device.
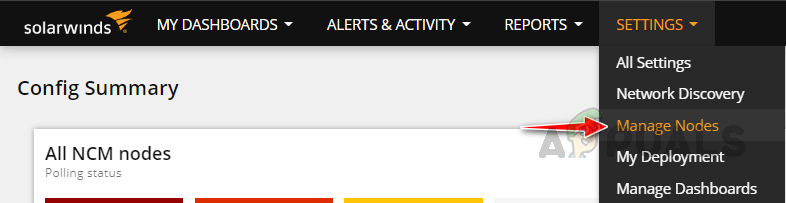
- Now go to Settings and click on Manage Nodes.
- Select the device to which you want to apply the connection profile and click on Edit Properties.
 You can select multiple devices as well to apply the connection profile.
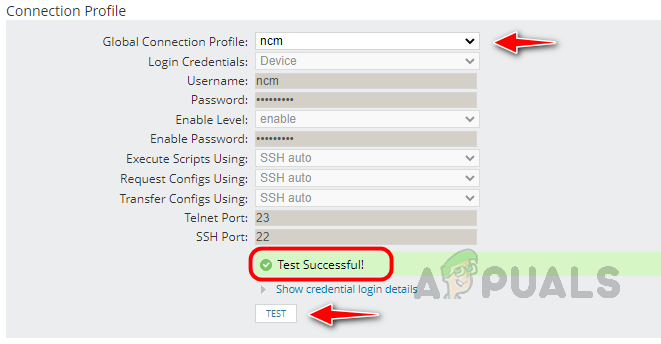
 - Scroll down to the NCM Properties section, and in Connection Profile, select the connection profile you created from the drop-down list and then click on Test, you should get a Test Successful message. If the Test failed, ensure the connection profile is configured correctly on the device end, and the SSH port is allowed in your firewall between your Solarwinds NCM server and the device.
We have configured the connection profile successfully. Now we need to set up a config archive folder to store the backup of the configuration downloaded from the devices.
Set up a configuration archive folder to store the downloaded configuration
Solarwinds NCM comes up with a configuration archive folder by default, which will be placed on the server where Solarwinds NCM is installed. We can use that folder to store our backups. Let’s see how to check the archive folder location and validate the path.
- In NCM Settings, click on Config Settings under Config Settings.

- In Config Settings, you can use the default settings for Config Transfer and Config Comparisons until any changes are required. In the Config, Archive section, select Save a copy of each config into the archive directory as it downloaded so that the downloaded configuration will be stored in the archive folder.
Check the config archive folder path and click on Validate; you should get a validation passed message. If validation fails, verify whether the mentioned folder is available in the exact path; if not, create the folder and check the validation again.
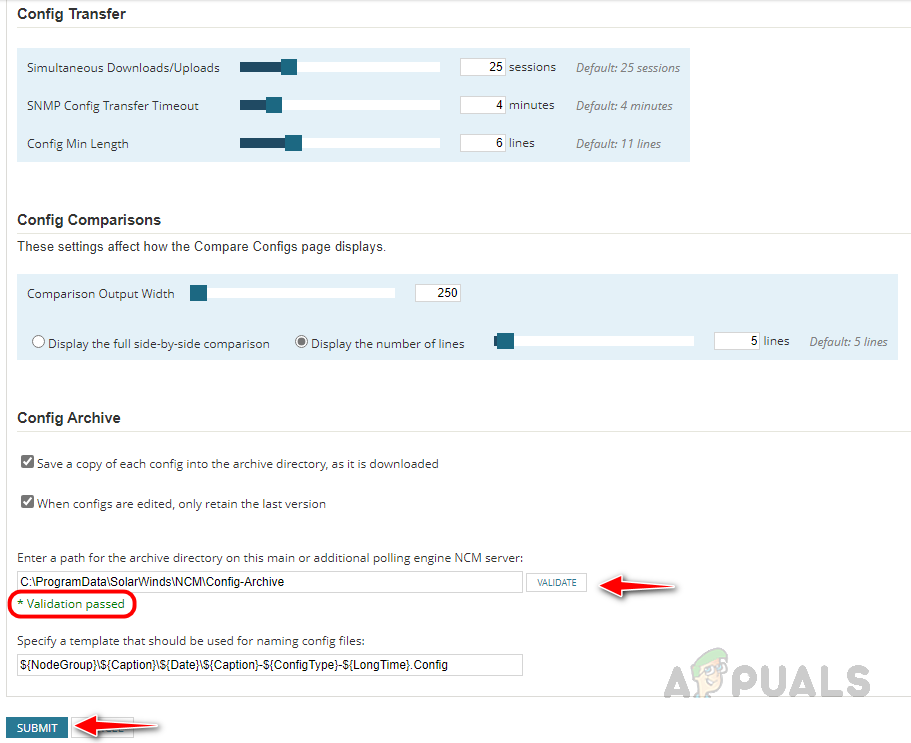 You can use the default variables configured to name the config files. Once validated, click on Submit.
Now our archive folder is ready to store the configuration backup. We have completed the prerequisites. Now let’s see how to create a job to automate the configuration download.
Scheduling Config Backup Job
To schedule the configuration backup job, follow the below steps.
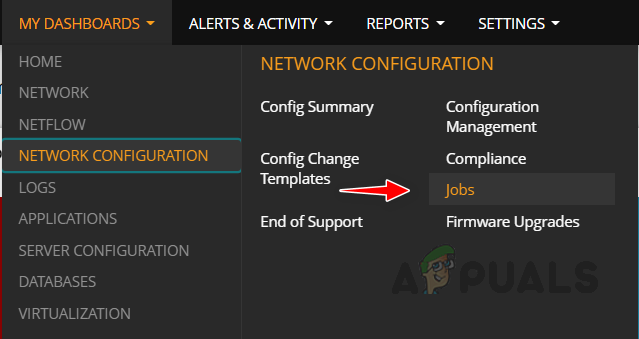
- Go to Home, Network Configuration, and click on Jobs on the sub-menu.
- We can see default jobs for Nightly and Weekly backup jobs, we can use them or we can create a new one by clicking Create New Job.
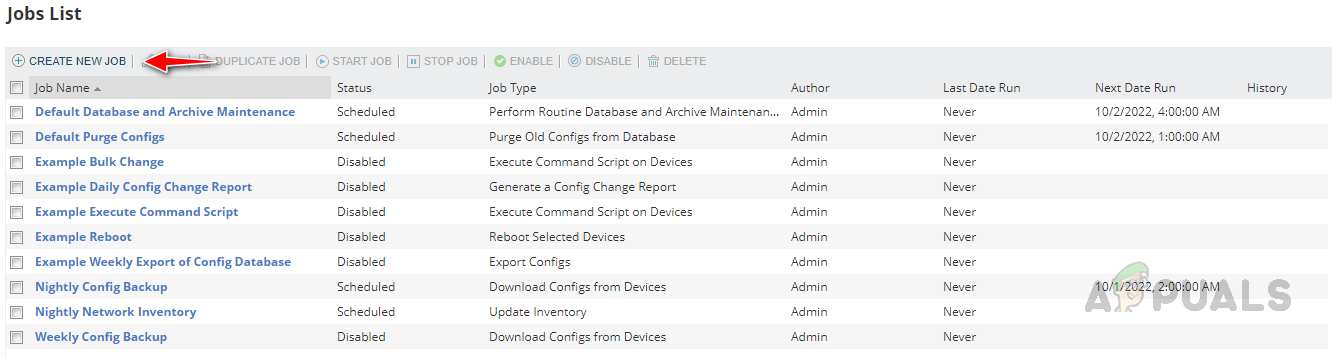
- Provide an appropriate name for the job, and select Download Configs from Devices from the Job Type drop-down list. Select Basic in Schedule Type and click on Daily. Mention the time when the job needs to be initiated and select the start and end date. By default, Solarwinds use the end date as 10 years from the start date, we can choose our end date as well if required.
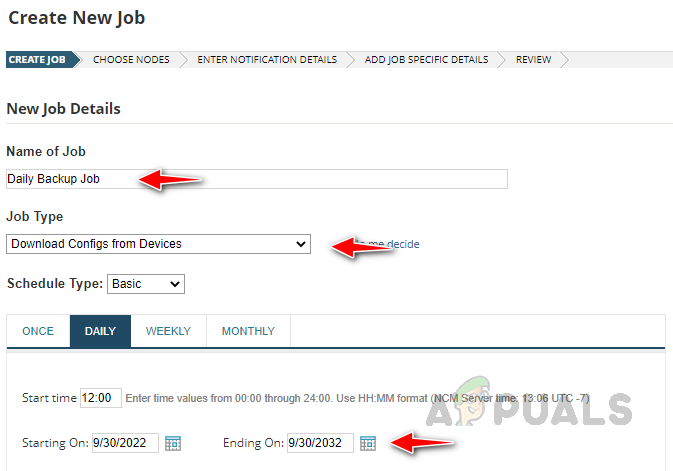
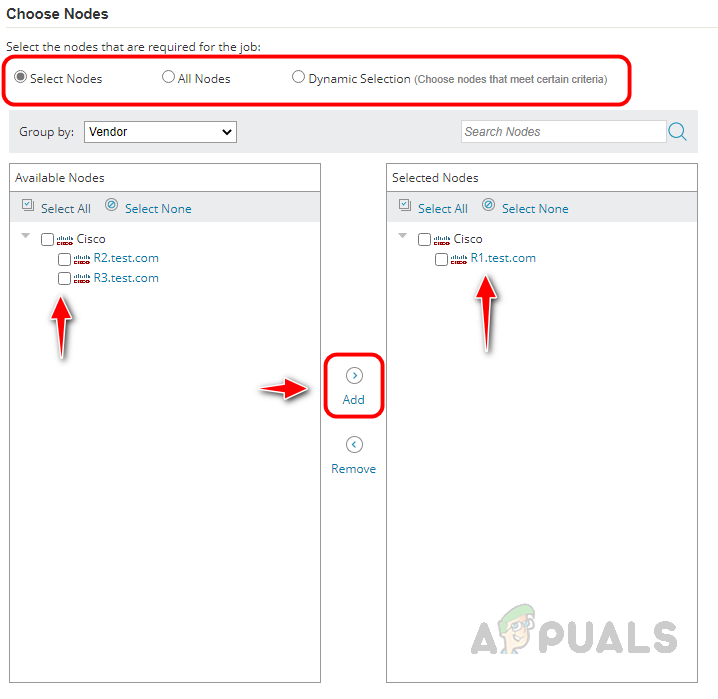
Once configured, click on Next. - There are three different options for choosing devices for the job. If you want to select any specific node, use the Select Nodes option. Use the All Nodes option if you want all the devices to do the job. You can use the Dynamic Selection option to choose the nodes with certain criteria; for example, vendor equals Cisco; this will bring all the Cisco devices into the job.
In this demo, I am using the Select Nodes option, once you select the device and click on Add icon, your device will appear in the Selected Nodes section. Now click on Next.
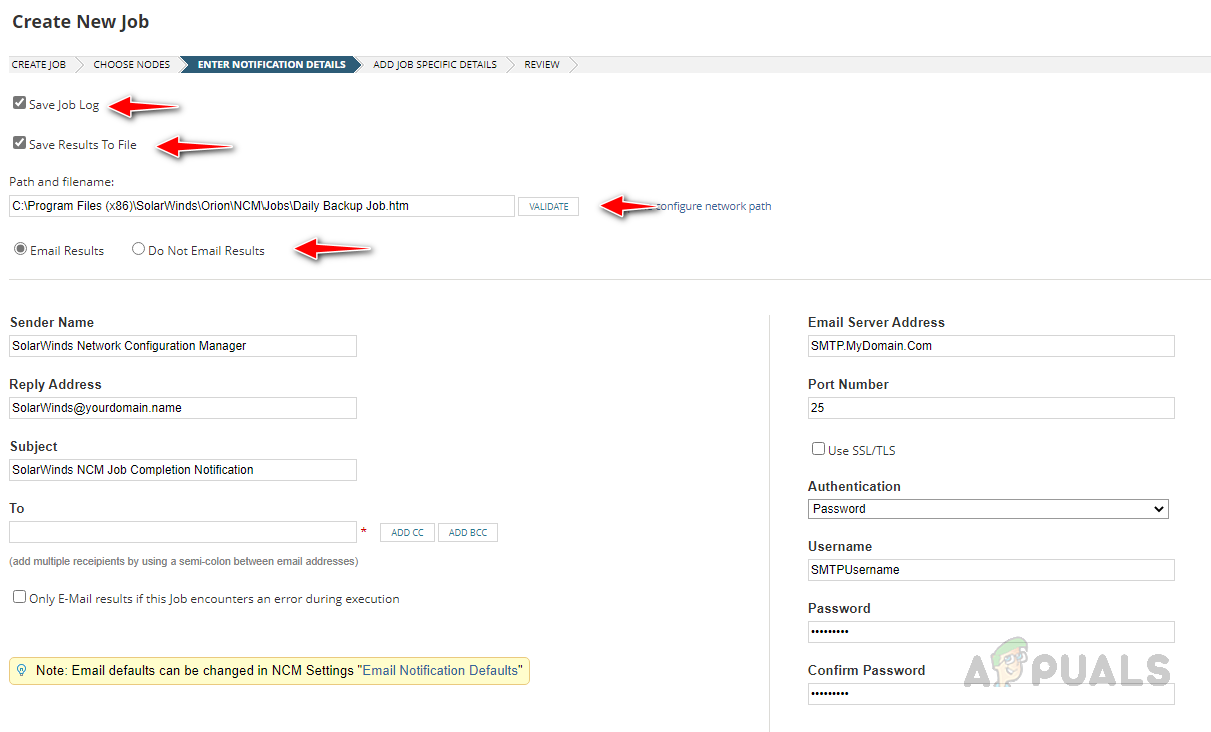
- You can save the job logs to review whether the configuration has been backed up for all devices or not. If any device fails, then we can view the error message to fix the issue with that specific device. You can save the log in a file by choosing Save Results to File, and validate the path configured to store the log. If an Email notification is required, select Email Results, configure the Email settings and click next.
- In this section, choose the config file types you want back up based on your requirement. You can set up Send config change notifications to receive any changes in the config. We have a dedicated document on monitoring config changes in real-time using NCM; click on this link to configure the same.
 Once done, click on Next.
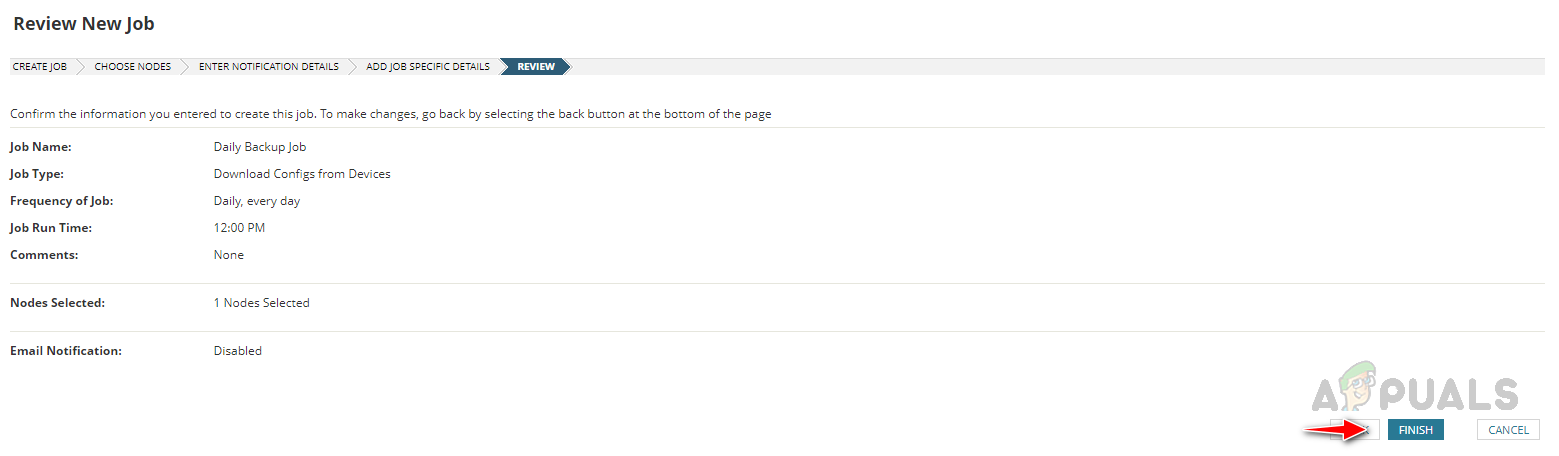
 - In the Review section, review the configured job and click on Finish to save the job.
Now our job is ready, once the scheduled time comes, the job will run and save the configuration backup in the database as well the archive folder location.
Now Validate whether the job is running properly or not.
Validate the Configuration Backup Job
Once your scheduled time is over, and if you go to Jobs, you can see the date and time when the job finished under Last Date Run. With this, we can make sure the job is completed.

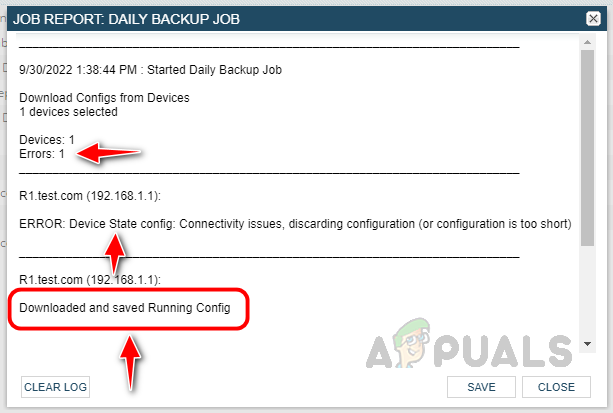
Now, if you click on the History icon, it will show the job log. In the job log, we can see whether the configuration backed up successfully or not. As you can see in the below log, there is an error.
Details of the error are mentioned below, NCM failed to download the device state config. Device state config will be downloaded only for the applicable devices. We can use this error message to troubleshoot any issues in configuration backup. We can see Downloaded and saved Running Config, so our device is backed up.
To validate whether the configuration is backed or not go to Configuration Management in the Network Configuration sub-menu. Expand the device name to see the available backups, since the device backed up successfully, we can see the backups under the device.

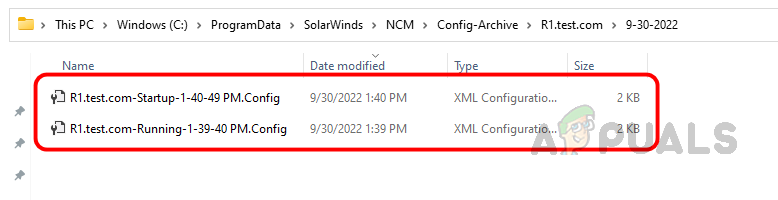
Now let’s go to the archive folder and verify whether the backup is stored or not. The device’s running and startup configuration are backed up successfully.
This is how we can use the Jobs feature available in Solarwinds NCM to automate the network configuration backup activity. The job will run as per the schedule and store the backups in our configured archive location. Network Administrators can use these backups for validation or rollback, etc. Click on this link to know more about Solarwinds NCM and download it.