How to Use Solarwinds NCM to Monitor Config Changes?
Network Administrators cannot manually track the configuration changes by checking all the devices, which is a challenging task. Solarwinds NCM helps Network Administrators by simplifying this task with real-time change detection.
This feature will help us identify the changes in real time and sends a notification whenever a change occurs in the configuration. Let’s see how to configure this feature to get the full benefits of it. Solarwinds NCM can do much more than this.
Configuring Real-Time Change Detection
To configure Real-Time change detection, there are some prerequisites. To check and configure those prerequisites follow the below steps.
- Login into your Solarwinds NCM console through your preferred browser.
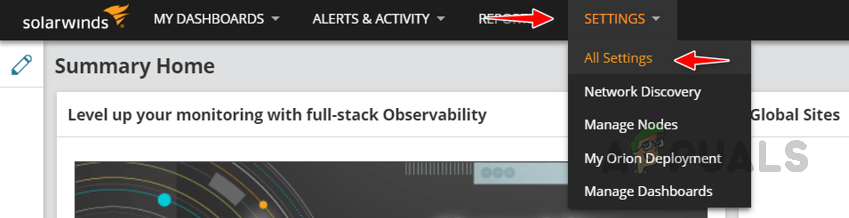
- Go to Settings and click on All Settings.
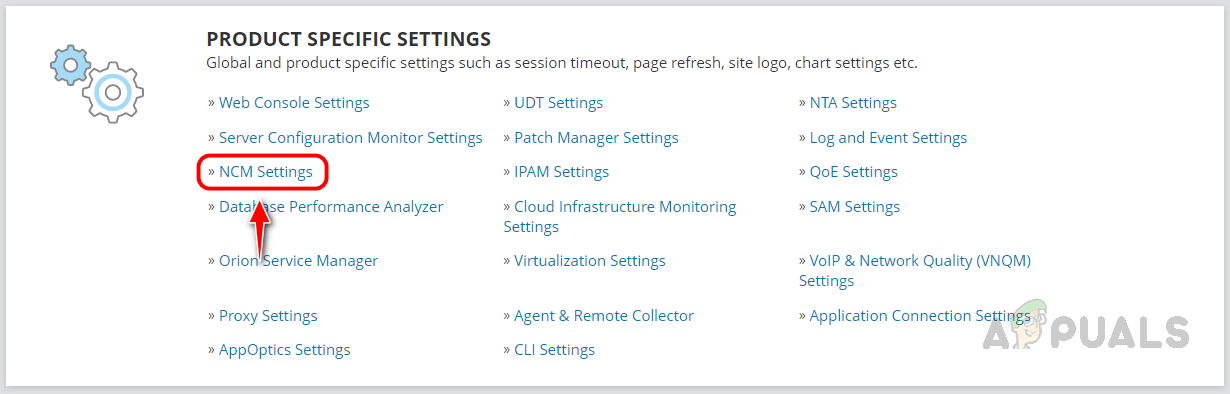
- Click on NCM Settings under Product Specific Settings.
- Click on Configure Real-Time Change Detection under the Real-Time Change Detection widget.

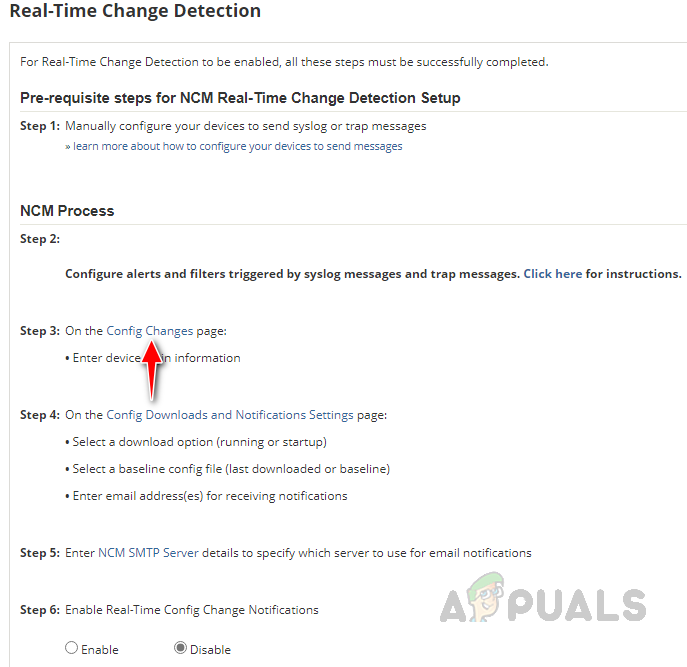
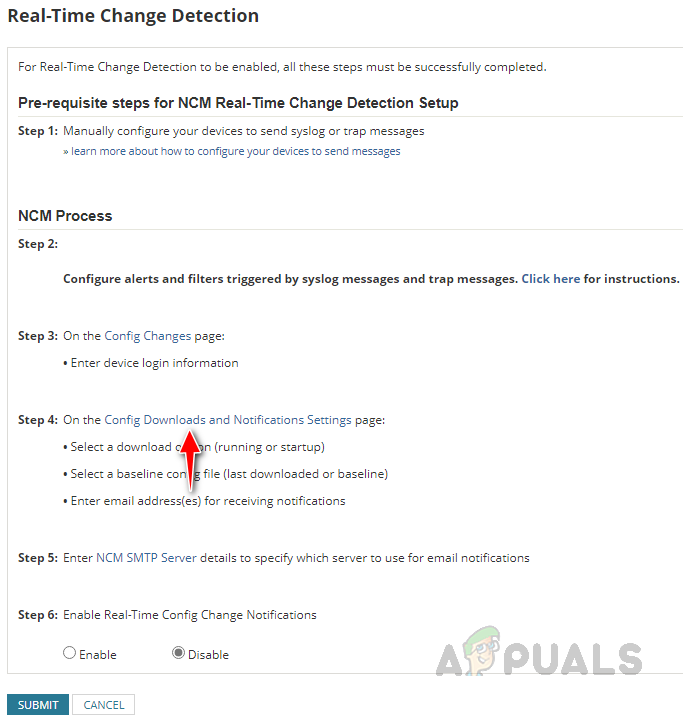
- These are the prerequisites to enable Real-Time Change Detection successfully.

Now let’s see how to configure all these prerequisites.
Step 1: Configure Network Device to Send Syslog or Trap Message
Before proceeding with the steps below, ensure you added your network devices to Solarwinds NCM. If you are not aware of how to add devices to NCM, click on this link.
Follow the below steps to enable syslog and trap messages on your network device.
- Login into your network device.
- Go to global configuration mode.
- Enter the below commands to enable syslog.
logging 192.168.1.5
logging trap 6
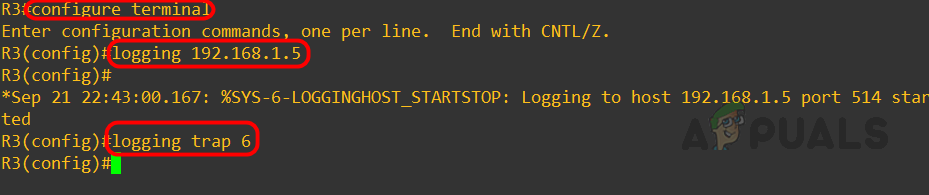 Replace the IP Address with your Solarwinds IP, and 6 in the below command mentions the level of trap that we want to forward to Solarwinds.
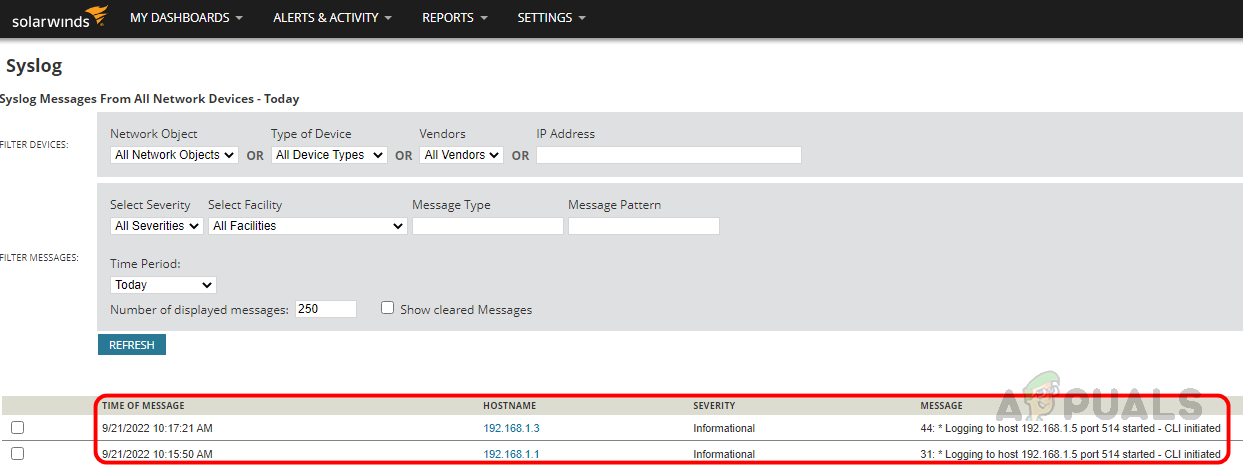
 - Once you have enabled the syslog, verify in Solarwinds whether you are receiving the syslog from the device. I am receiving the traps from the devices I enabled.
- Enter the below commands to enable Traps.
snmp-server host 192.168.1.5 solarwinds config
snmp-server enable traps config
Replace the IP Address with your Solarwinds IP.
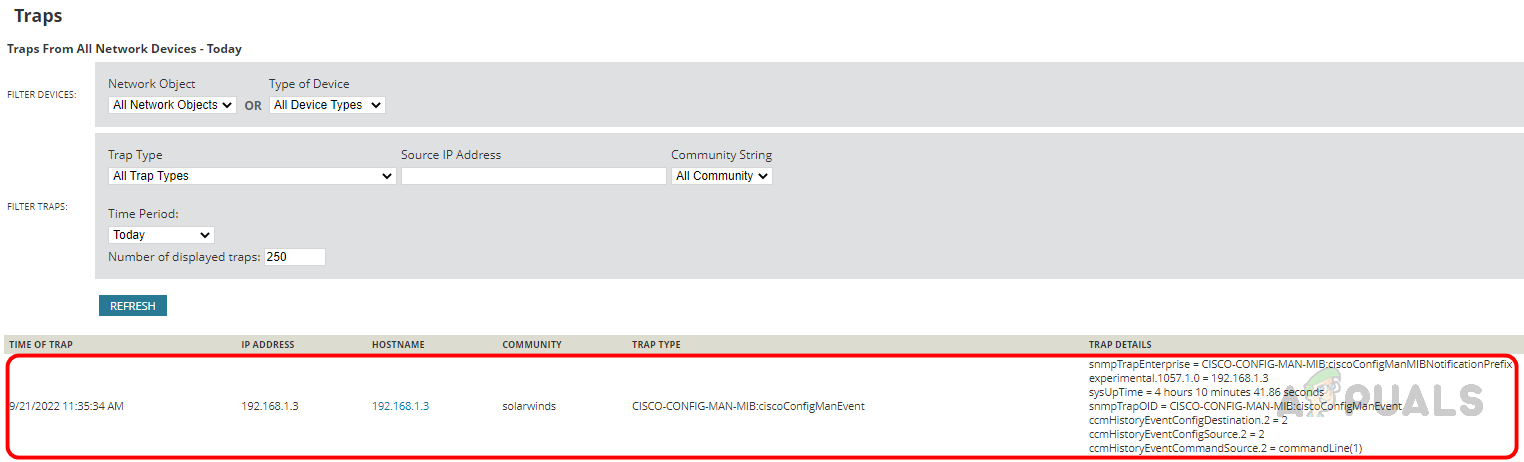
- Now let’s send some test traps to validate whether we are receiving traps in Solarwinds. Use the below command to send test traps.
test snmp trap config

- Now Solarwinds can receive the traps from the device.
We have completed the prerequisite step 1 and now move to step 2.
Step 2: Configure Rules for Syslog and Trap Messages
We need setup rules for the syslog and trap messages to detect the config changes. Those rules should have executable action RTNForwarder.exe.
This downloads the config and determines the changes happening in the device. Solarwinds already has pre-configured rules for config change detection to simplify this task. To enable the rule, follow the below steps.
- Login into your Solarwinds server.
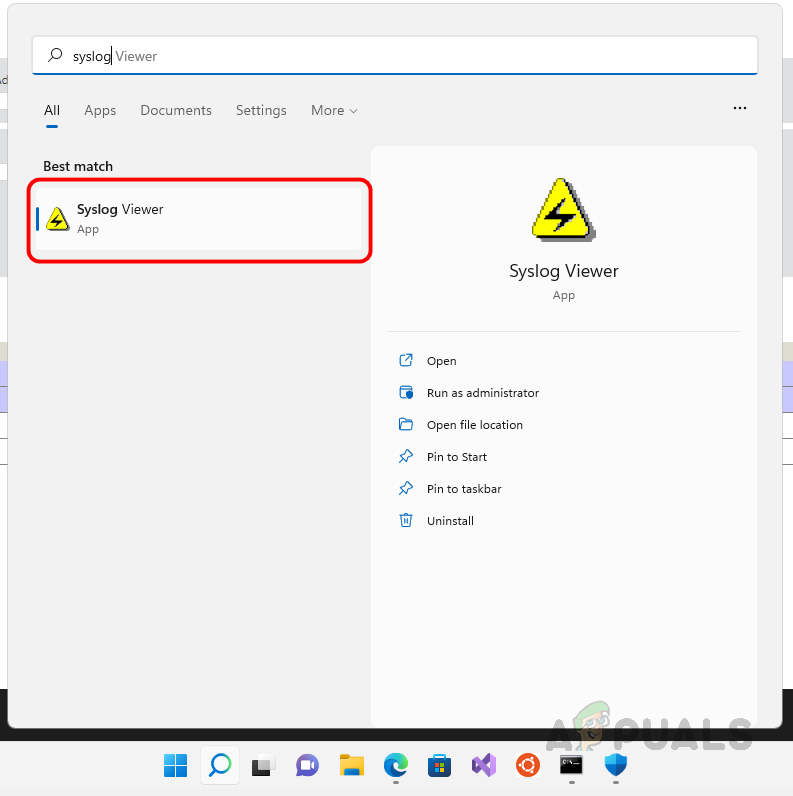
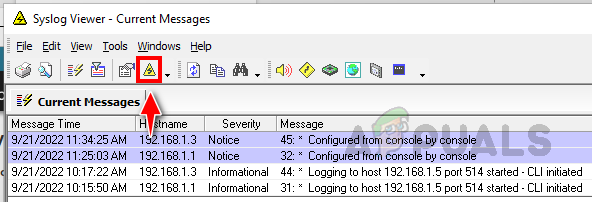
- Click on the start button, search for Syslog Viewer, and open Syslog Viewer from search results.
- Click on Alerts/Filter Rules.
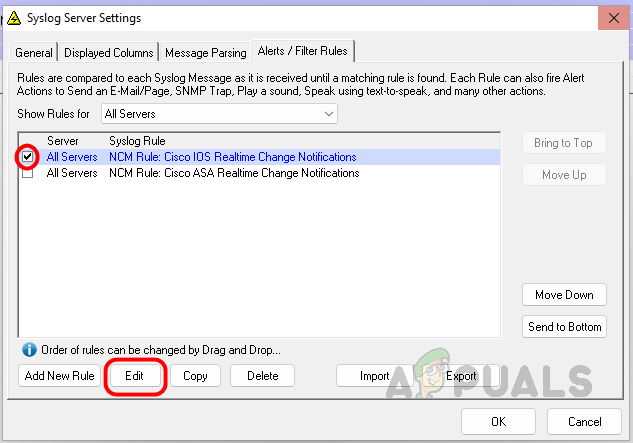
- Select the Realtime Change Notification rule based on the device you set up and click edit.
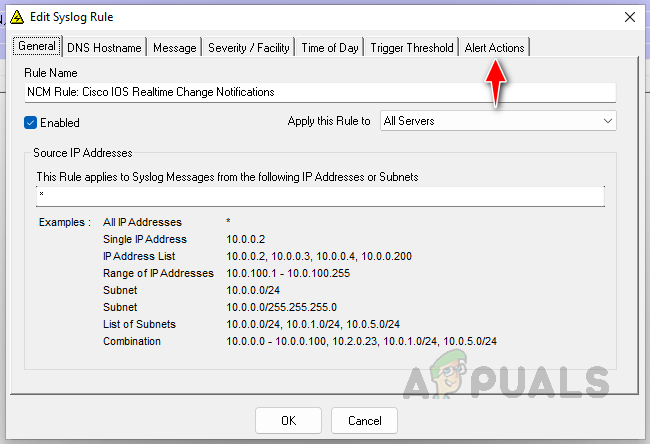
- No need to configure anything in the rule, all the settings are already pre-configured. Click on Alert Actions to configure one more action for our internal reference.
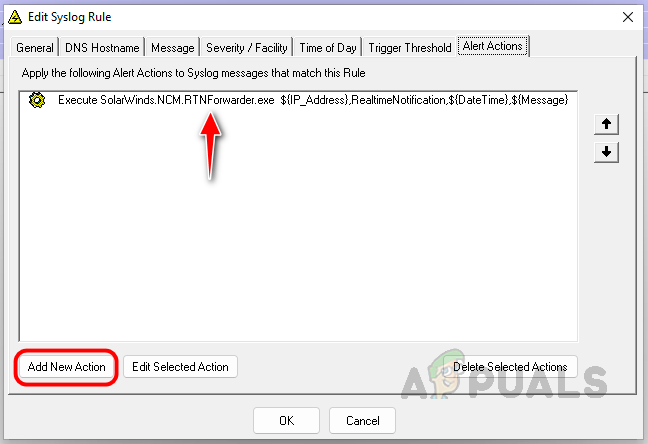
- As you can see, RTNForwarder.exe is already configured. No need to change anything on that. Now click on Add New Action to set up a new Alert Action.
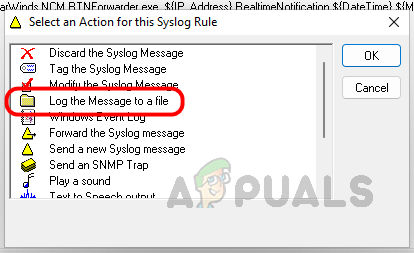
- Select Log the Message to a file and then click on OK.
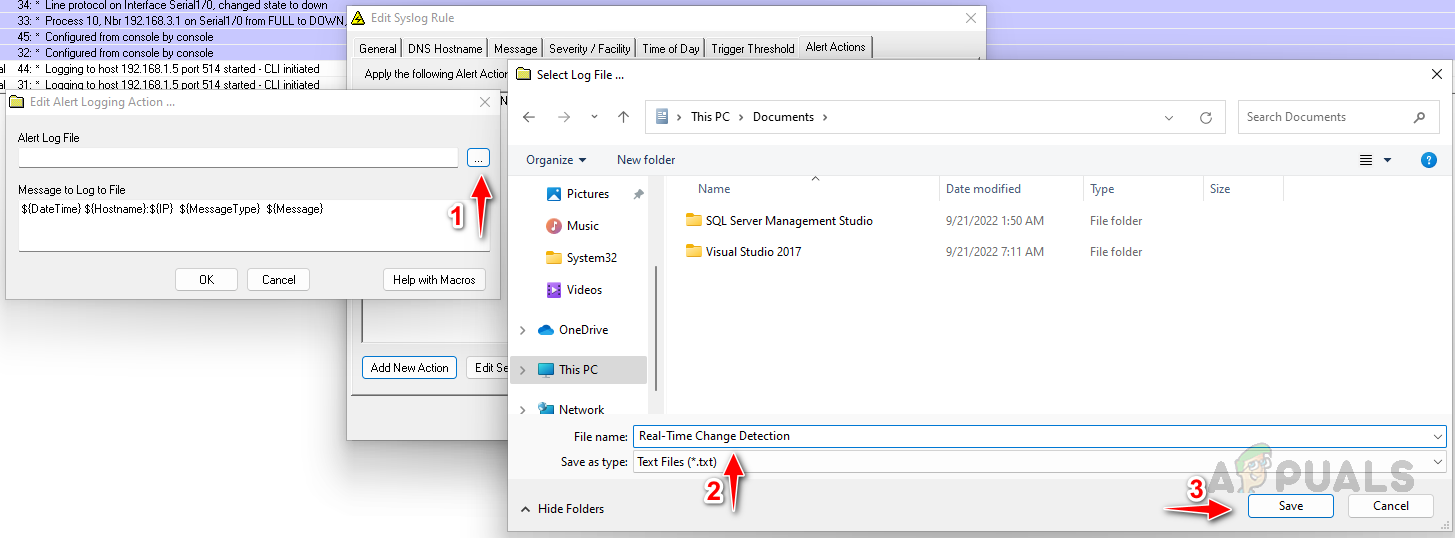
- Choose a location to store the file by clicking the three dots icon, providing an appropriate name for the file, and clicking on Save.
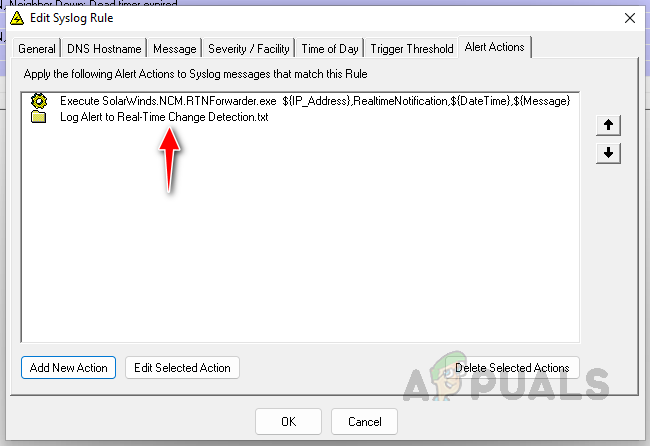
- Click OK to save the Alert Action. Once saved, you can see the action inside the Alert Action panel.
- Now click on OK to close the Rule configuration window.
We have completed the prerequisite step 2. If you are using Global Connection profiles to connect your Network devices using NCM, you can skip step 3. You must choose the credentials to access the devices if you are using Individual – User Level credentials.
Step 3: Select Credentials to Access the Network Device
- Go to the NCM Settings page on your web console.
- Click on Configure Real-Tiem Change Detection.
- Click on Config Changes in step 4.
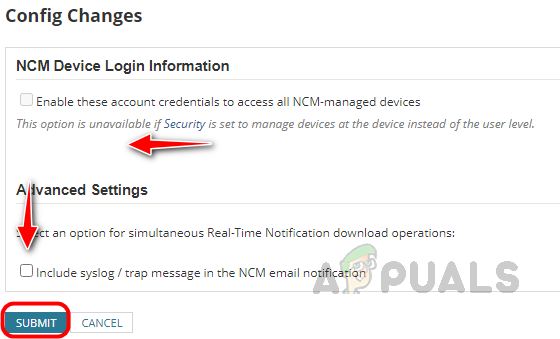
- If you have an individual user login, then all credentials will be listed here. You can choose them to login into your network devices.Here I have set up a global connection profile as my preferred setup. Hence no user details are available here. Check the Include syslog/trap message option and then click on submit.
Step 3 has been completed, now move to step 4.
Step 4: Setup Config Comparison and Email Notification
In Configure Real-Time Change Detection, click on config download and notification settings.
- Select the config type you want to monitor, and choose running config.

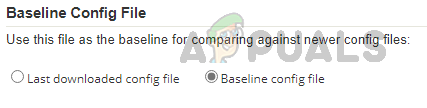
- Select the baseline config you want to use for comparison, and you can choose any of the based on your preference.
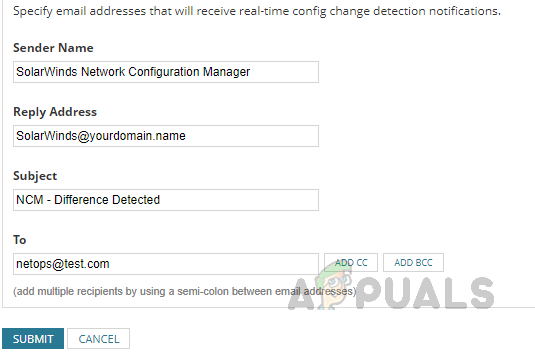
- Now provide the notification Email details. You can mention multiple Email addresses in To. Click on Submit to save the changes.
Step 5: Configure SMTP Server
Click on NCM Configure SMTP Server in step 4 on Configure Real-Time Change Detection page.

You can get the SMTP Server details from your mail server management team, configure the details on this page, and click Submit.

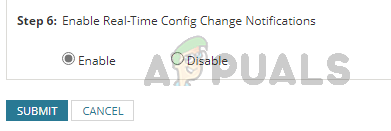
Step 6: Enable Real-Time Change Detection Notification
Now we are at the last step. All we have to do in this step is select enable in step 6 and click submit on Configure Real-Time Change Detection page.
We have completed all the steps and are now set to receive notifications whenever a change happens in the network devices monitored through NCM. To test this, I have made an interface to upstate. To ensure my trigger actions are working properly, I am checking the configured write-to-file action.

I can see the changes were captured and added in the log file I set up using Syslog Viewer. Also, Email notifications will be triggered to the provided Email addresses in step 4. I can’t demonstrate the email option since no email server is attached to this POC environment. If you haven’t received any notification, check the SMTP settings with your server team.
By following this procedure, we can monitor the changes in device configuration in real time to avoid any impact on business and prevent unauthorized changes.