How to Monitor Network’s Power Supply Status Using SolarWinds?
 Reviewed by Muhammad Zubyan
Monitoring a device’s availability isn’t enough to keep your network stable. There are many other parameters that need to be monitored to maintain network stability and availability at all times. One of the essential parameters on that list is Power Supply status.
Monitoring the status of the power supply is very important as it aids in preventing unplanned downtime and hardware failure due to voltage drops or peaks. An unstable power supply can cause hardware failure. By proactively monitoring the health of the power supply, you can avoid such issues and maintain a stable and available environment for your customer at all times.
SolarWinds Network Performance Monitor (SolarWinds NPM) can assist you with proactive monitoring. SolarWinds has built-in features that enable monitoring of the power supply health for your network devices and servers. Once you enable the hardware health monitoring feature on your device, SolarWinds can oversee the power supply health of that device, providing information like whether the power supply status is up, or whether it’s in a critical or normal state, etc.
In this article, we will explore how to monitor the power supply status of your network device, and set up alerts to detect any problems in your network device’s power supply using SolarWinds’ advanced alerting feature. To learn more about SolarWinds and to try this feature, please click on this link.
Monitoring the Power Supply of Your Network Device
While adding a network device, such as a router, switch, firewall, or any other device, ensure that the Hardware Health Sensors are checked for monitoring.

Hardware Health Sensors are enabled by default for devices supported by SolarWinds. If you are unable to see hardware information as illustrated below, check whether the device is part of the supported device list from SolarWinds. Refer to this link for the list of supported devices.
If the device is part of the supported devices and you are still unable to see the hardware details for it, follow the steps below to fix this.
- Ensure the SNMP polling is working fine on the device.
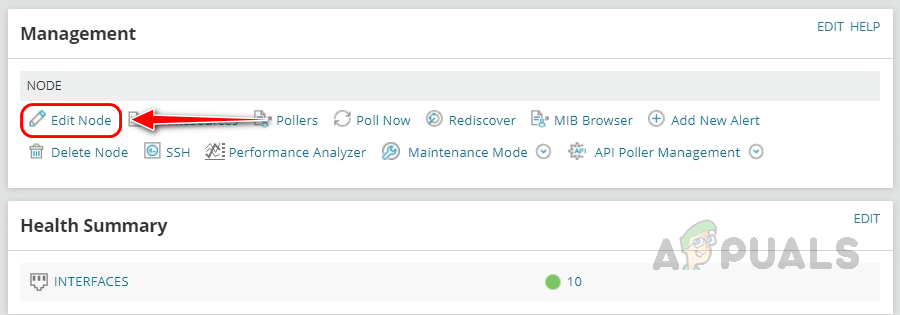
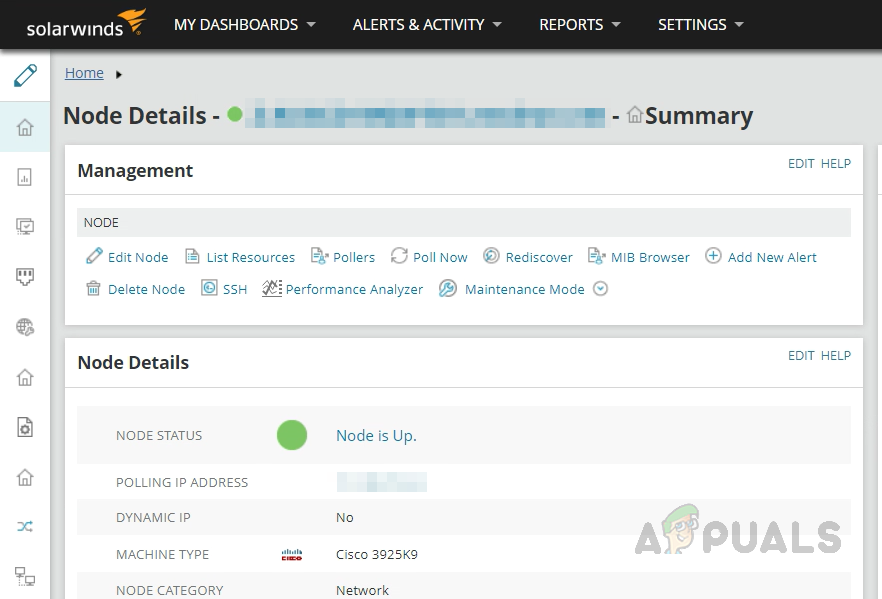
- To check that, open the node summary page of the device and click on Edit Node.
- Click on Test to validate the SNMP string, you should get a Test Successful message like below. If not, fix the SNMP issue.
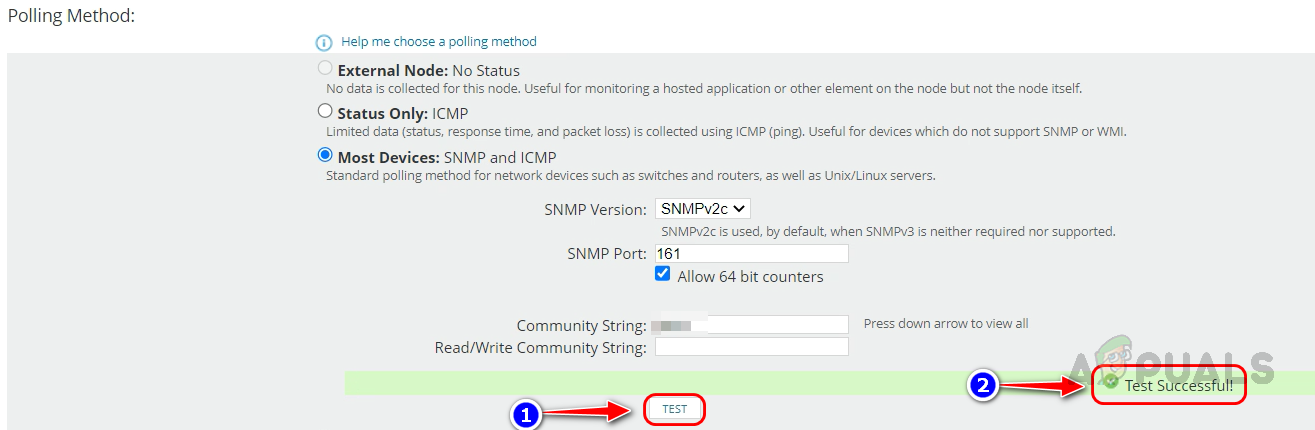
- There could be multiple reasons for the SNMP issue. It might be due to a wrongly configured SNMP string in Solarwinds, a blocked SNMP port in the firewall, or a Solarwinds IP that is not part of the allowed IPs (Whitelist) on the device. Please check and fix these issues to resolve the SNMP communication problem between Solarwinds and the device.
- If there is no issue with SNMP follow the below steps to enable hardware monitoring on your device.
- Click on List Resources.
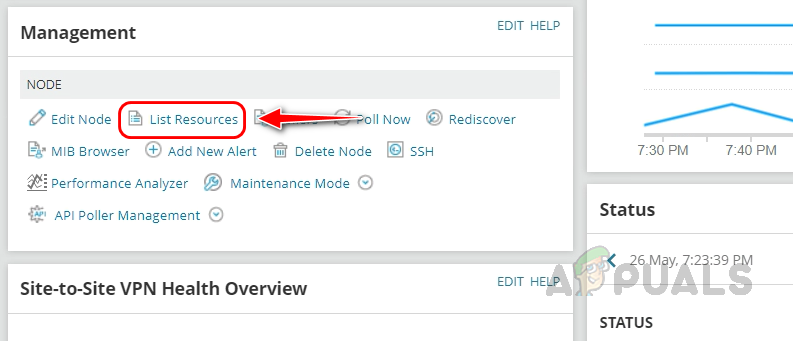
- Check the Hardware Health Sensors.
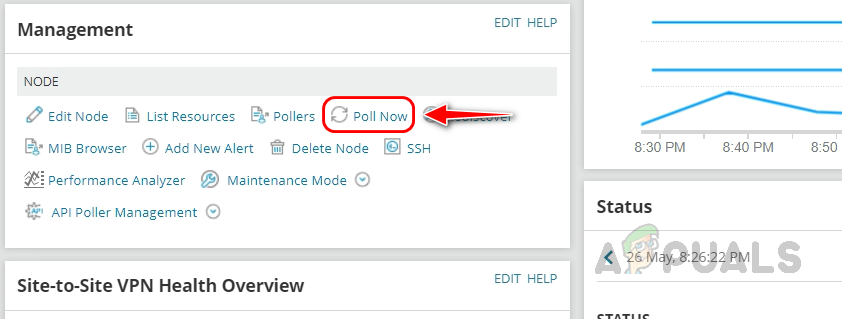
- Wait for the node to poll in the next cycle or click on Poll Now to poll manually.
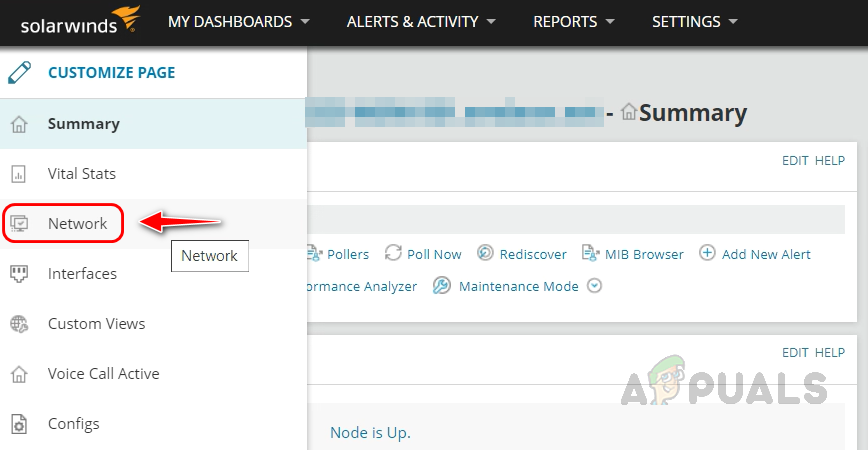
- Click on Network from the left navigation pane. If Network is not available then click on Platform.

- You can see the Hardware Health details for your network device now.
How to Check the Power Supply Status of Your Network Device
Follow the below steps to check the power supply status of your network device.
- Go to the node summary page of your device.
- Click on Network or Platform from the left navigation pane.
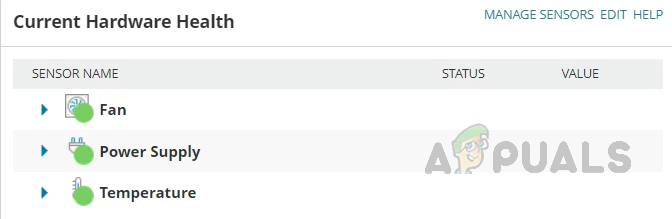
- Scroll down to the Hardware Health widget.
- Expand Power Supply. You can see all the available power supply modules on your device and the status of each power supply module separately.
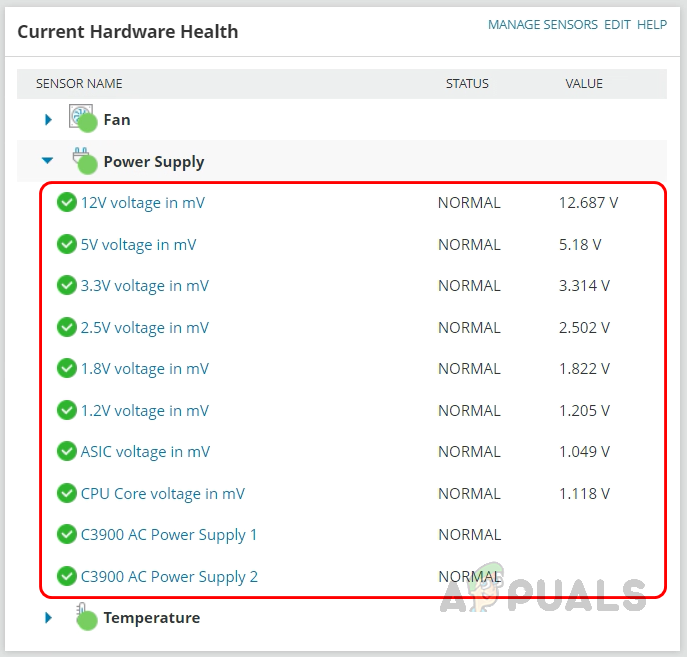
- Based on SolarWinds’ default thresholds, the status of the power supply module will be populated, and you can see the voltage values if they can be fetched by SolarWinds.
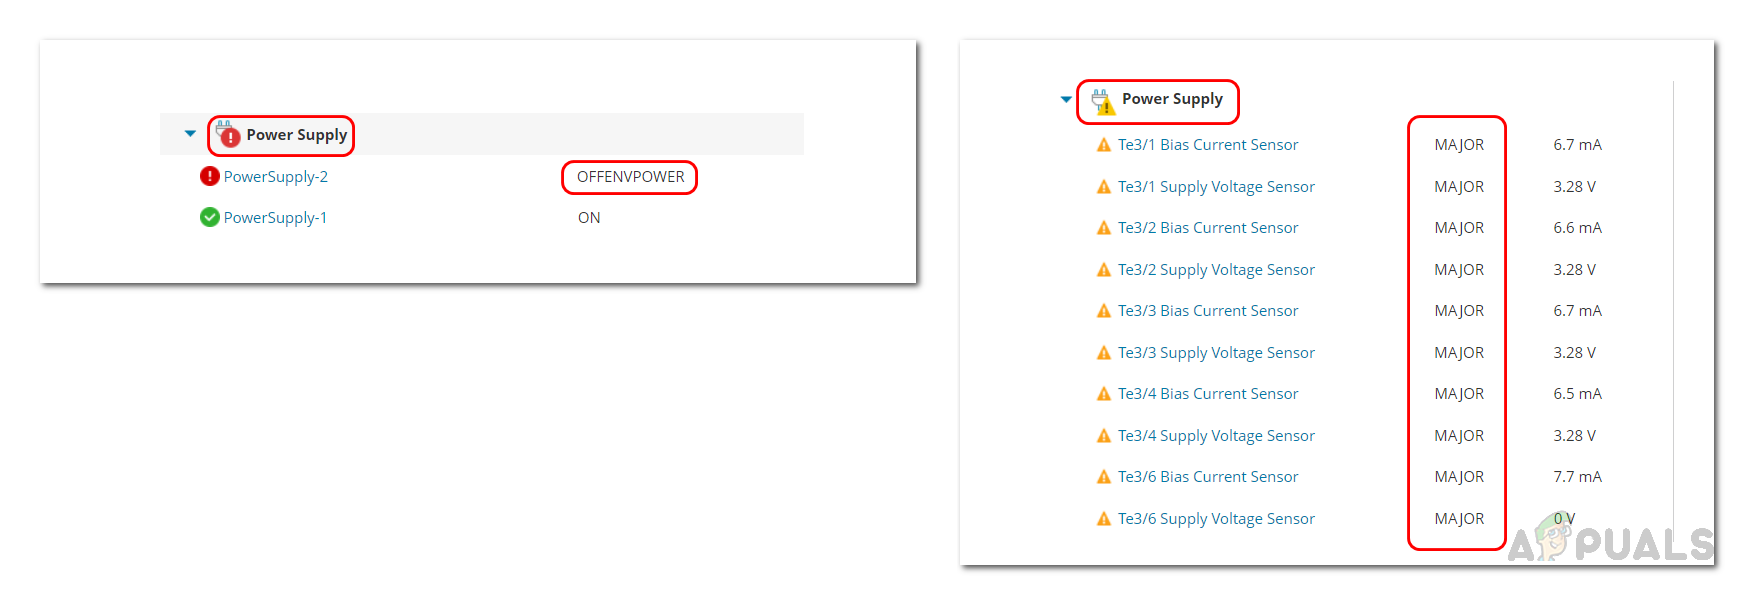
- If there are any issues in any of the power supply modules, based on the issue status of the module will be changed to critical, major, off or etc. A few of the examples are below for your reference.
Using Solarwinds NPM’s hardware health monitoring feature, you can monitor your Network device’s power supply in detail to avoid any potential threat to the device.
Now let’s see how to create alerts for your network device’s power supply status to alert whenever the power status goes to critical or down.
Creating an Alert on the Power Supply Status of Your Network Device
Follow the below steps to create an alert on the power supply status of your network device.
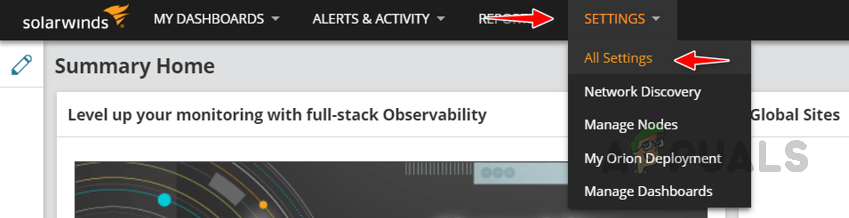
- Go to Settings and then click on All Settings.
- Click on Manage Alerts under Alerts & Reports.

- Click on Add New Alert.

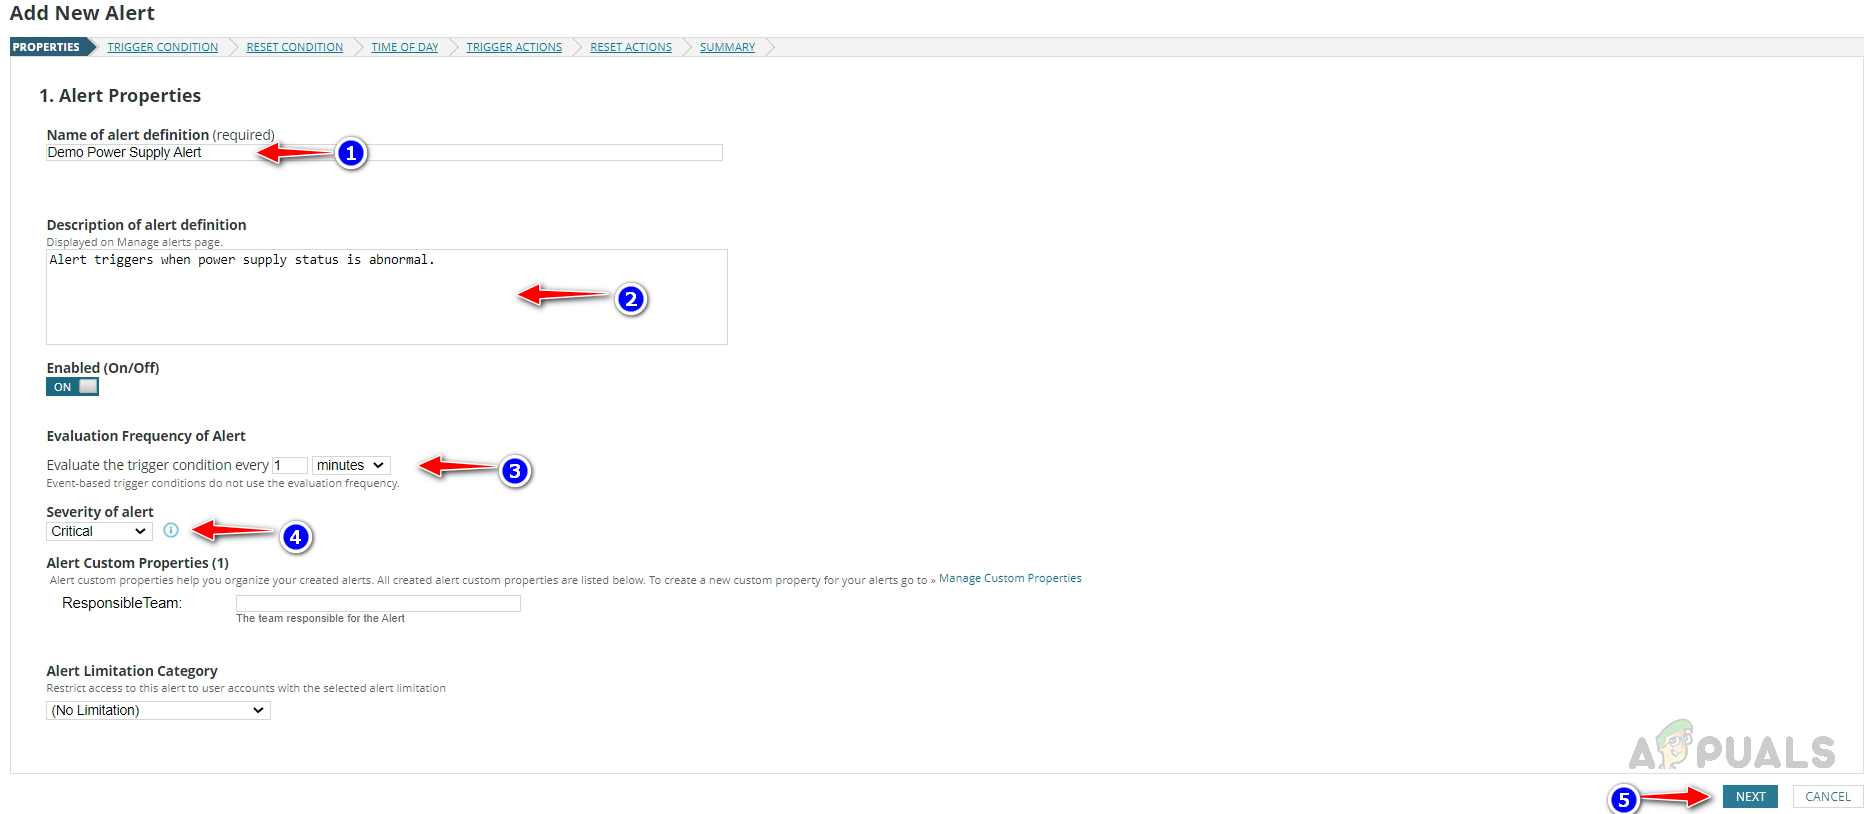
- Provide an appropriate name, and description for the alert. Choose the evaluation frequency, and severity and then click on Next.
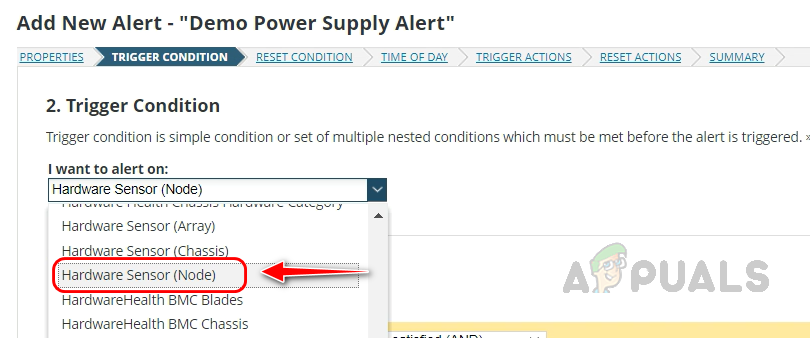
- Select Hardware Sensor (Node) from I want to alert on the drop-down list on the Trigger Condition page.
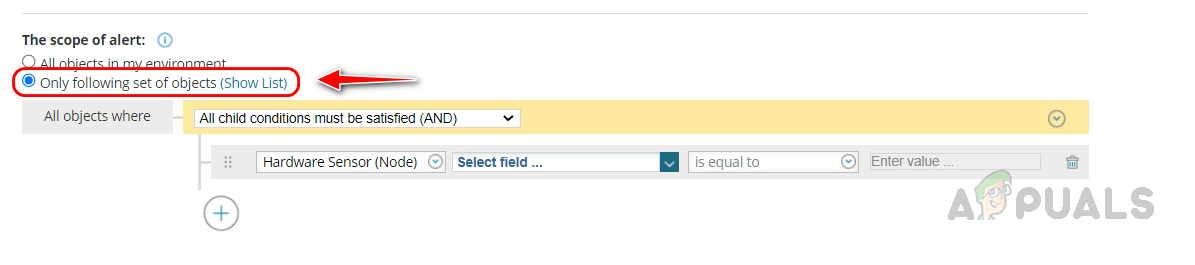
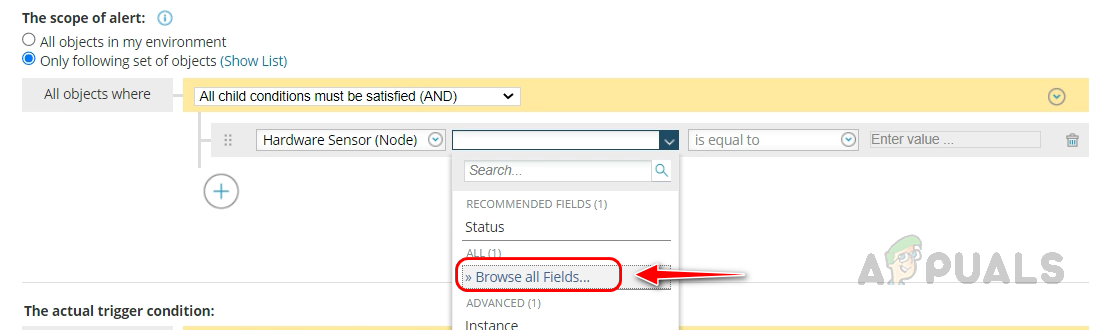
- Select Only following set of objects under The scope of alert.
- Select Browse all Fields from the drop-down list.
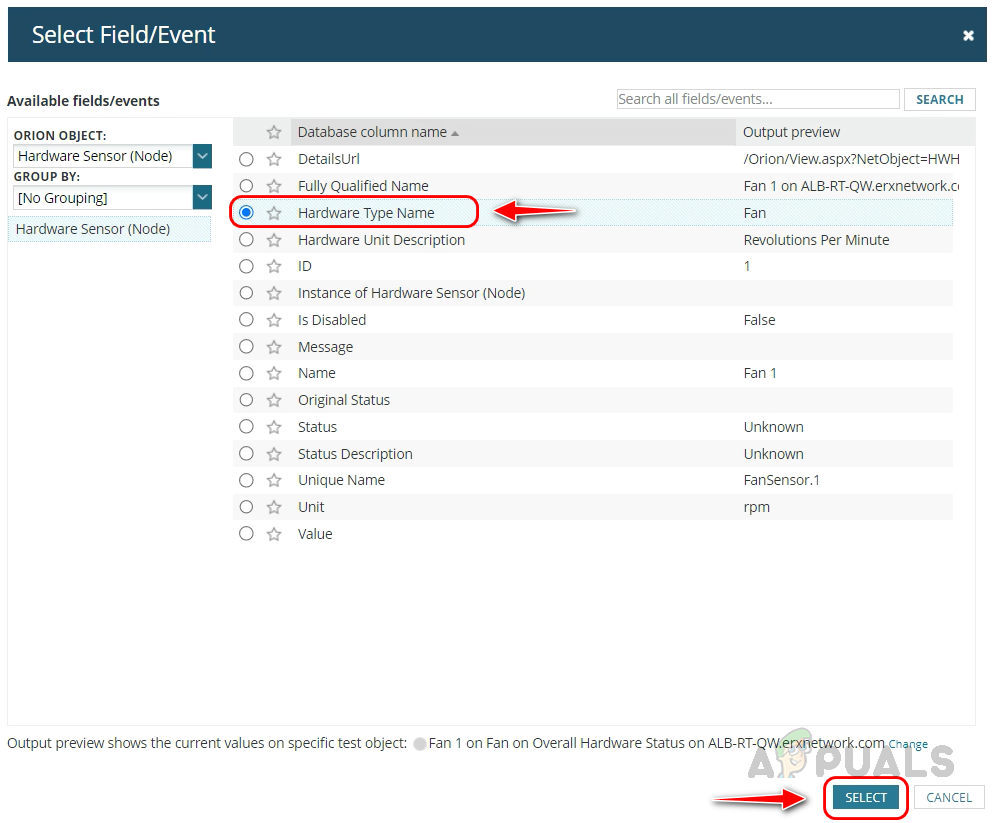
- Select Hardware Type Name from the list and click on Select.
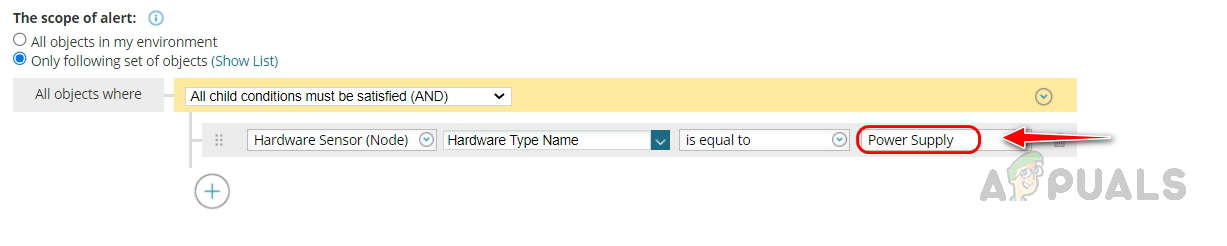
- Select Power Supply from the drop-down list.
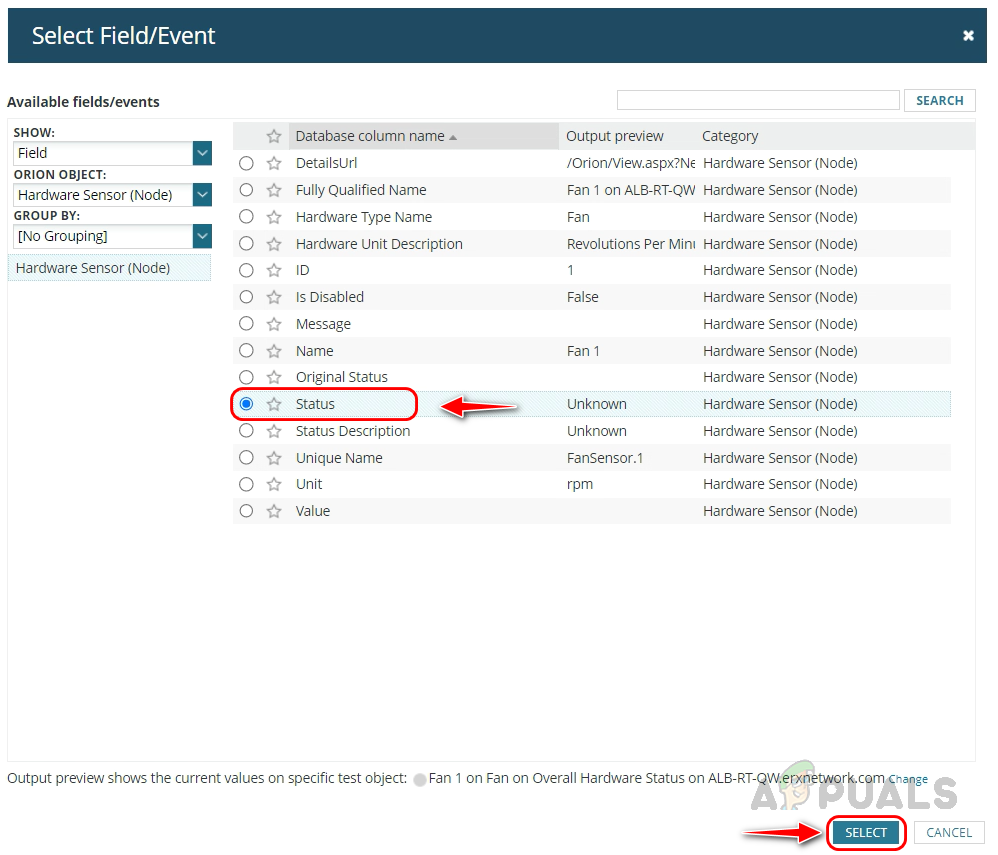
- Select Browse all Fields from the drop-down list under The actual trigger condition.
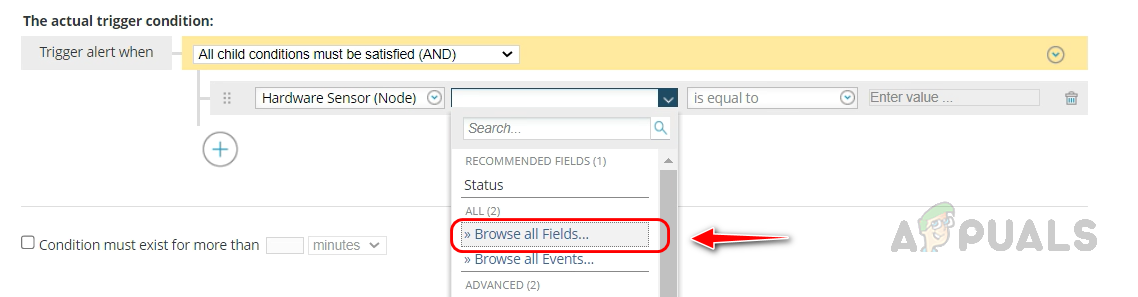
- Select Status from the list and then click on Select.
- Select Critical from the drop-down list next to Equal to.

- If the power supply status goes to critical then an alert will trigger. If you would like to set up multiple trigger conditions for the status, follow the below steps.
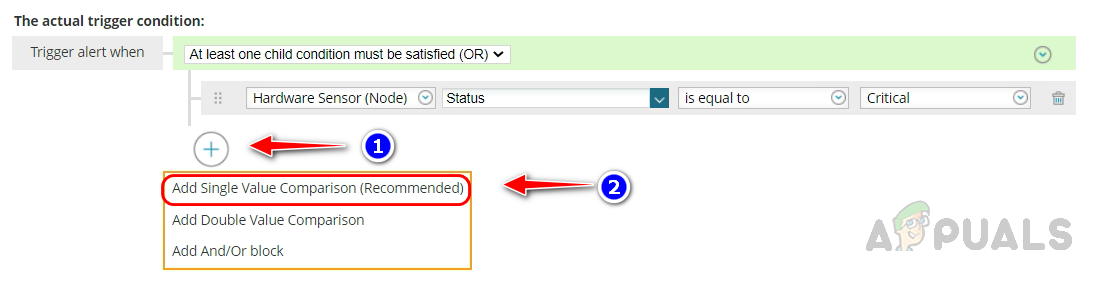
- Select At least one child condition must be satisfied (OR) from the drop-down list next to Trigger alert when.

- Now, click on the plus icon and then select Add Single Value Comparision (Recommended).
- Now, select Status and then select the required the option from drop-down list that you would like to set up as an alert condition.
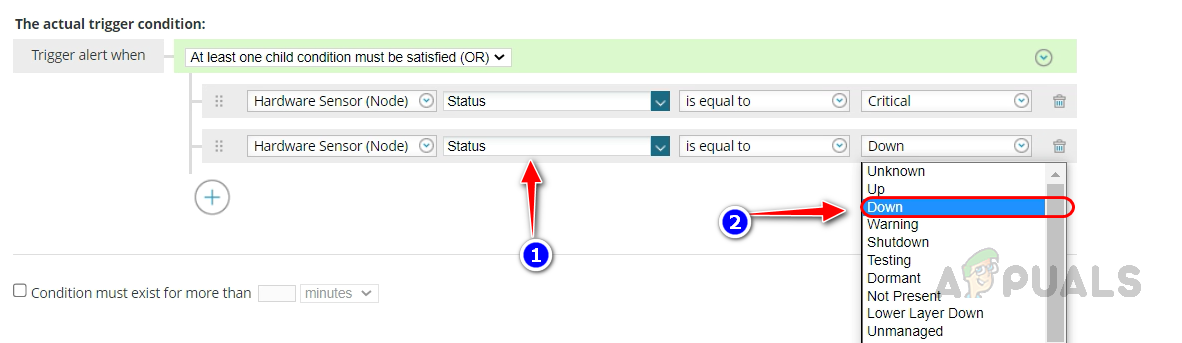
- Once you are done with the alert condition click on Next.
- You can use the default reset alert condition available in the Reset Condition section, unless until you don’t need a custom reset alert condition.

- Select the necessary option in the Time of Day section based on your need, if you would like to enable the alert always select the first option and if you would like to enable/disable it at certain time periods then select the second option and select the time that you would like to schedule.

- Now Solarwinds will take us to the Trigger Actions section. This is where we configure the Email or Text alert notifications. Solarwinds alert manager also provides various trigger actions we can use based on our needs.
- In the Trigger Actions section, click on Add Action.

- Below are the available trigger actions provided by Solarwinds alert manager.
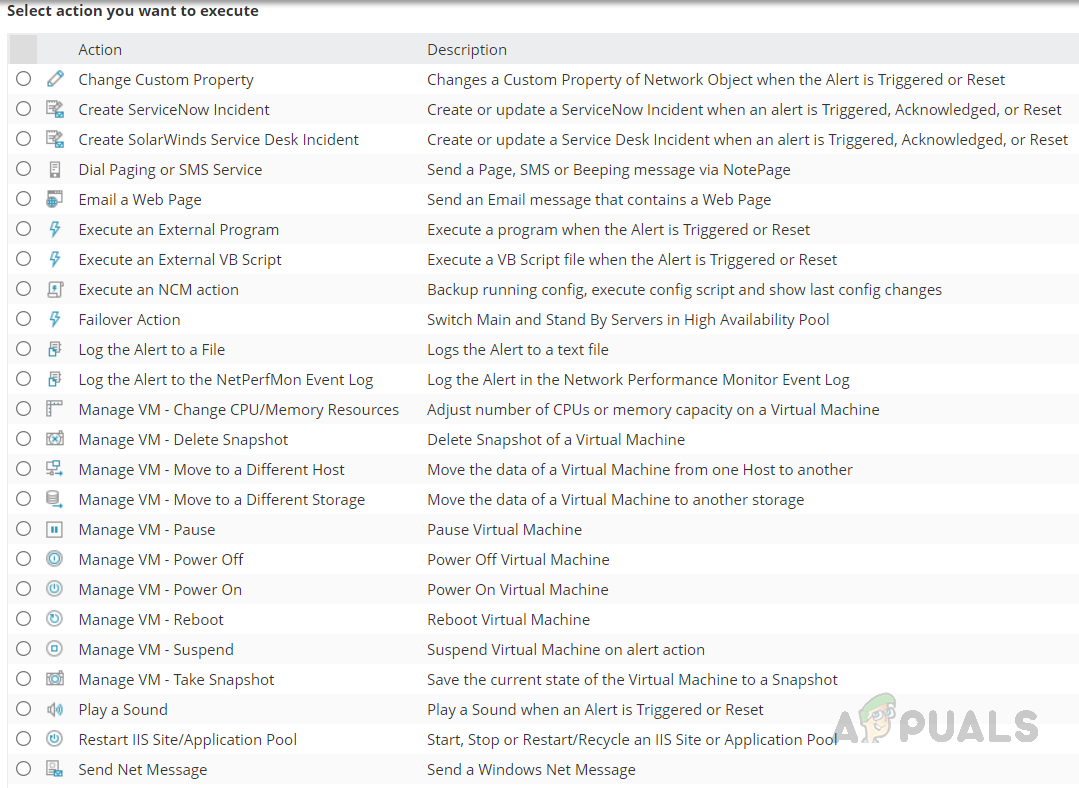
- Scroll down, select Send an Email/Page, and click Configure Action.

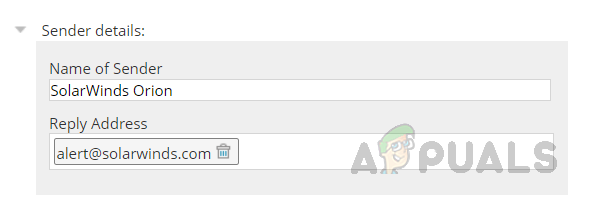
- Provide a name for the action, and enter the recipient’s Email ID. You can also add Cc and Bcc in the Email action if required.

- Configure the sender details.
- Expand the Message section. We can see the default message configured by Solarwinds. We can use it or modify it.

- Let’s modify the default message. We can use the Insert Variable option to call the device and alert related fields like device name, IP address, alert name, alert triggered time, etc.
- Let’s see how to add the network device name in the alert Email subject.
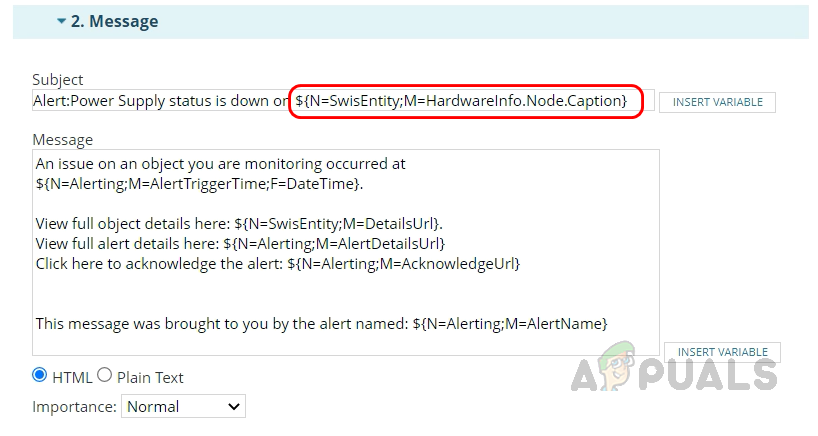
- Modify the subject as you wish and click on Insert Variable.

- Search for caption in the search box, select the caption (Node) from the list, and click on Insert Variable.
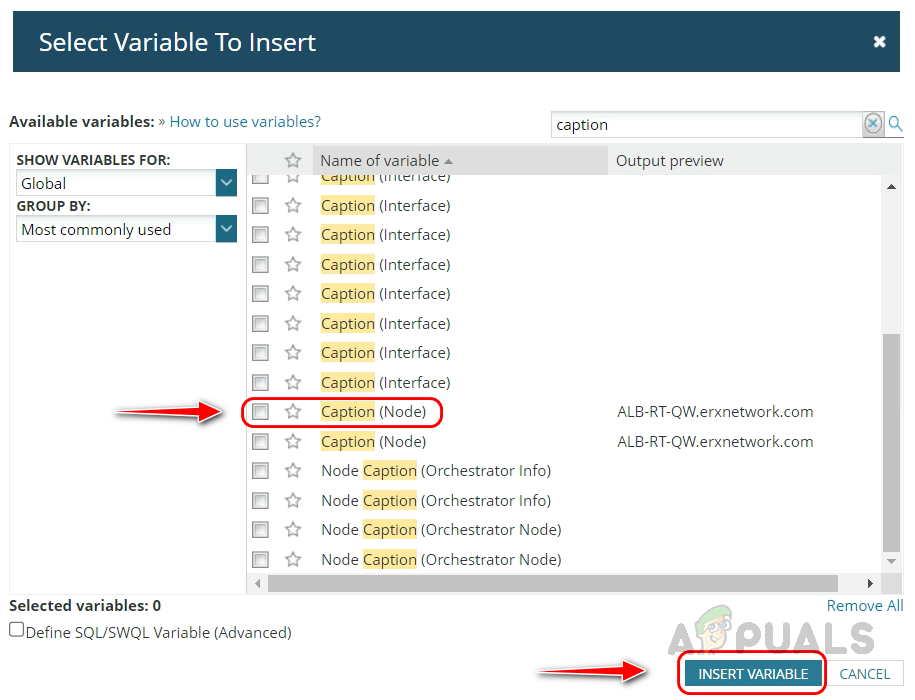
- We can see the variable added in our subject.
 Using this Insert Variable option, we can include more details like IP address, vendor, and custom property details if we have any.
 - You can include your custom inputs as well in the subject and message body.
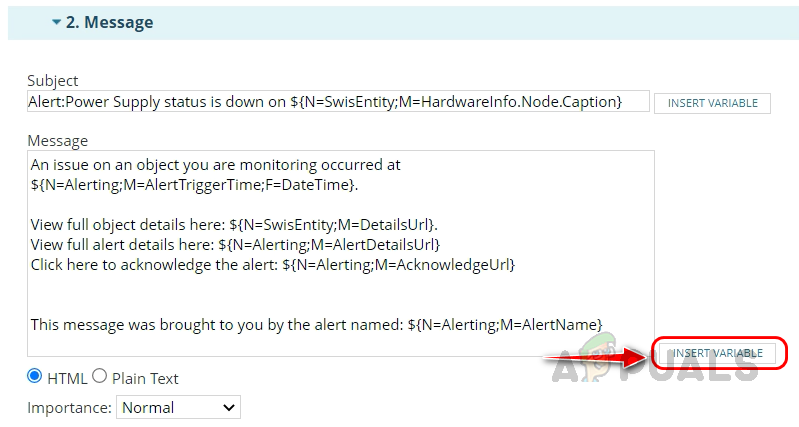
- Use Insert Variable option available for the message body section to add the required details for the alert Email.
- Expand SMTP Server and select your SMTP server.
 If you configured your SMTP server already in Solarwinds, you could choose Default Server as your SMTP server.
 - Expand the Time of Day. You can disable or enable the trigger action if required using this option.

- Expand the Execution Settings and modify them if required. Once done, click on Add Action.
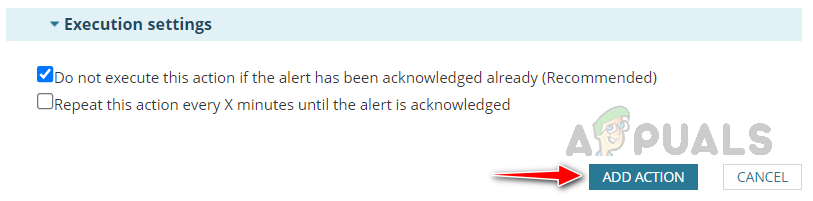
- Click on Next once the action has been added.
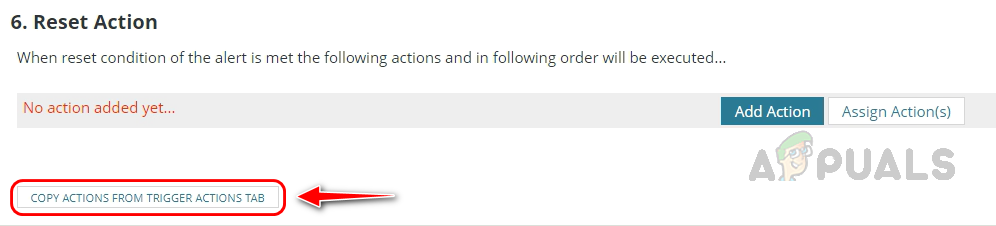
- You can copy the trigger action to reset the action section and make a few changes to configure the reset action. Click on Copy Actions from Trigger Action Tab and perform the necessary changes and click on Save.
- Once the action is configured, click on Next.
- On the Summary page, review the summary of the configured alert.
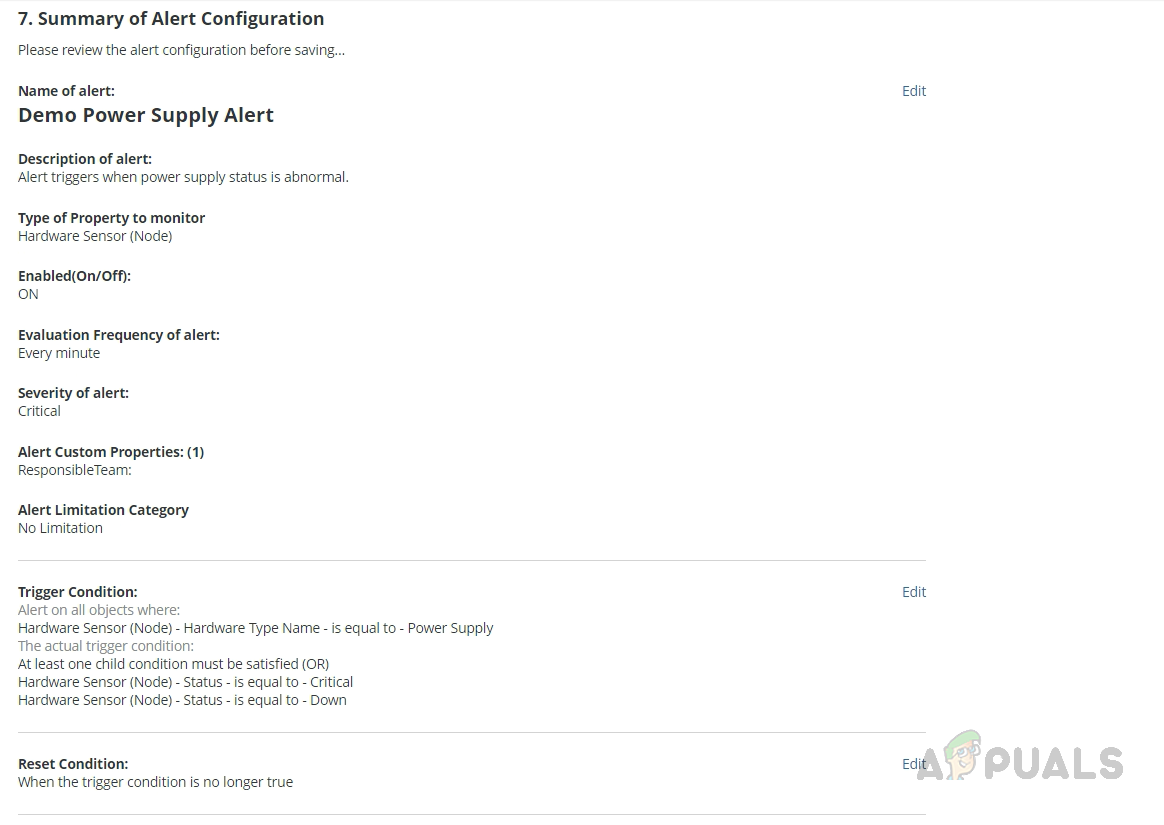
- Before submitting the alert, you can see how many alerts will be triggered for the condition. With this, we can validate whether the alert condition is correct. If not, reconfigure the alert.
This is how we can configure an alert for power supply status for your network or any other device using SolarWinds.
Using SolarWinds NPM’s advanced monitoring and alerting capabilities, you can easily monitor the device’s power supply status and act proactively to avoid unwanted downtime and keep your environment up and running all the time.
Reviewed by Muhammad Zubyan