How to Fix “There Was A Problem Communicating With Google Servers”
When trying to sign in to your Google account, it can be frustrating not to log in simply because the service cannot communicate with the servers. The only solution you see in the message dialog is to “try again later,” which isn’t very helpful, especially if you’re trying to access something important.
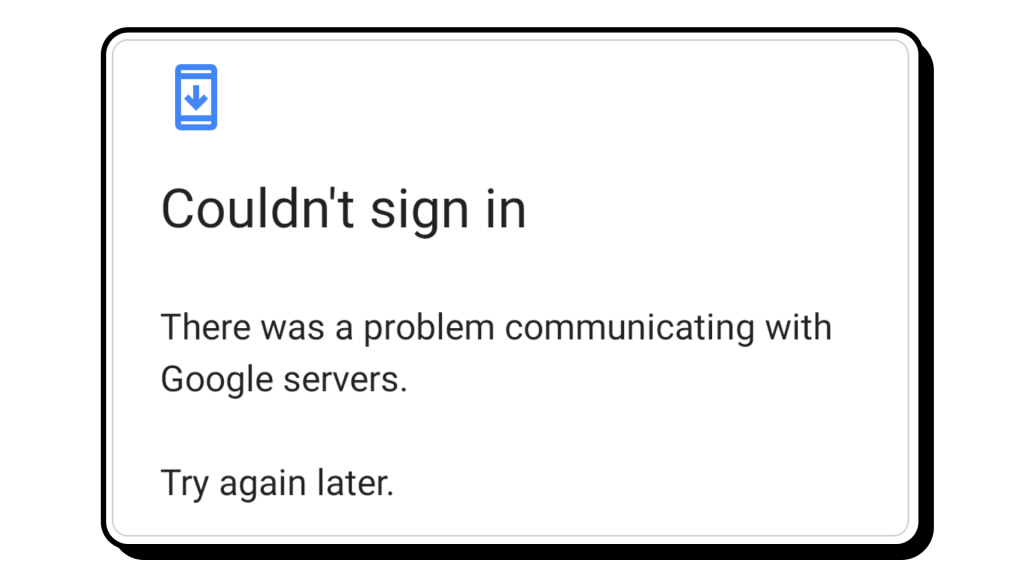
Table of Contents
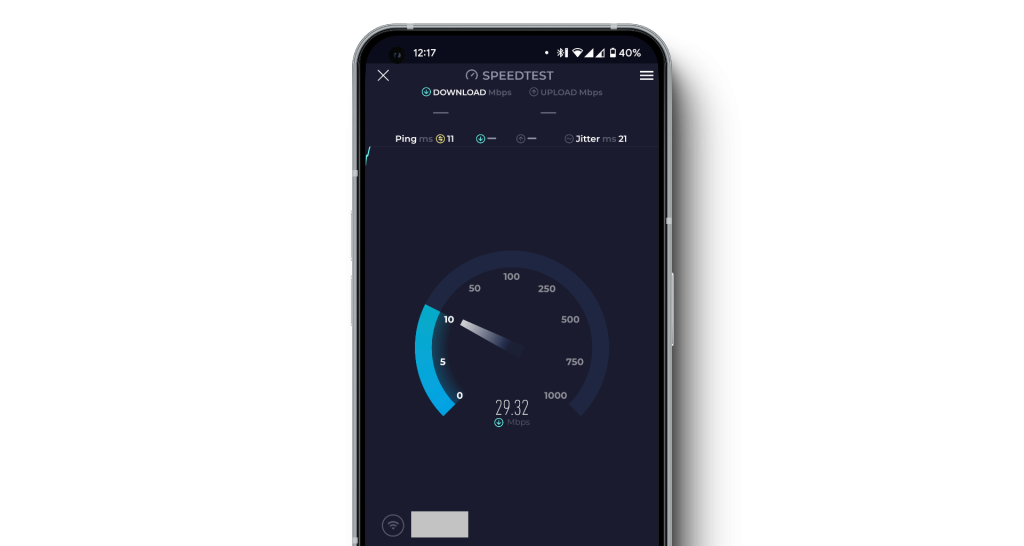
1. Check Your Internet Connection
Before anything else, it’s a good idea to check your internet connection. There’s a possibility that the reason you can’t log in or access Google’s servers is due to a poor connection on your end. Try switching to a different network. If you’re on Wi-Fi, shift to mobile data or vice versa.
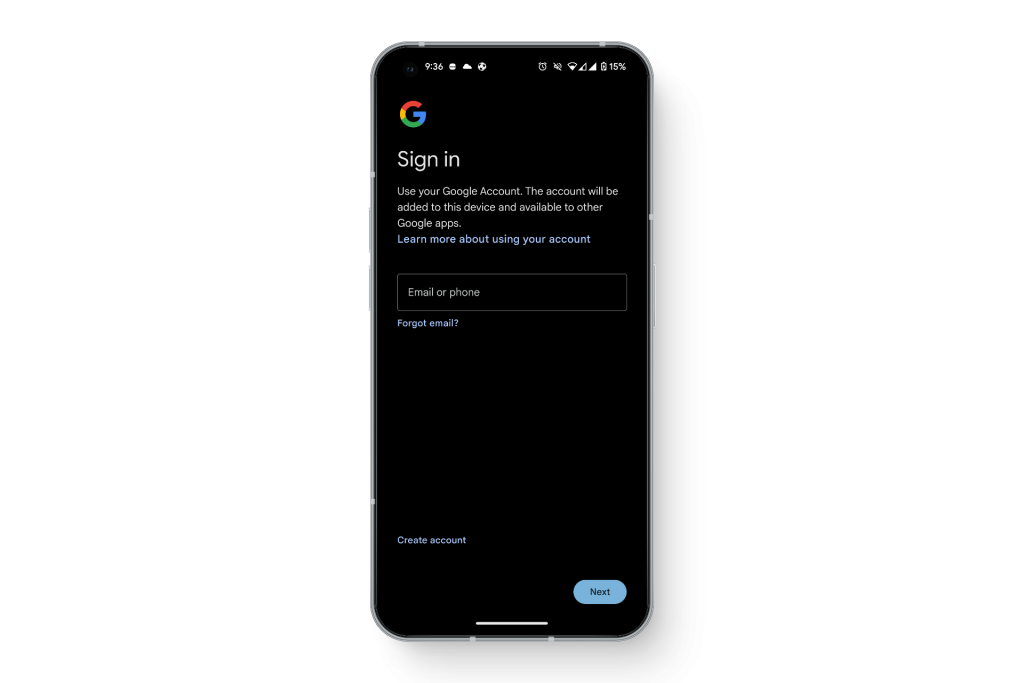
2. Use a Different Device to Sign in
Google uses various verification checks to ensure that the person trying to log in is legitimate. This includes verifying if the device’s serial ID, location, and time are accurate. While the methodology is not publicly documented, an easier approach is to simply use a different device to see if it leads to the same response.
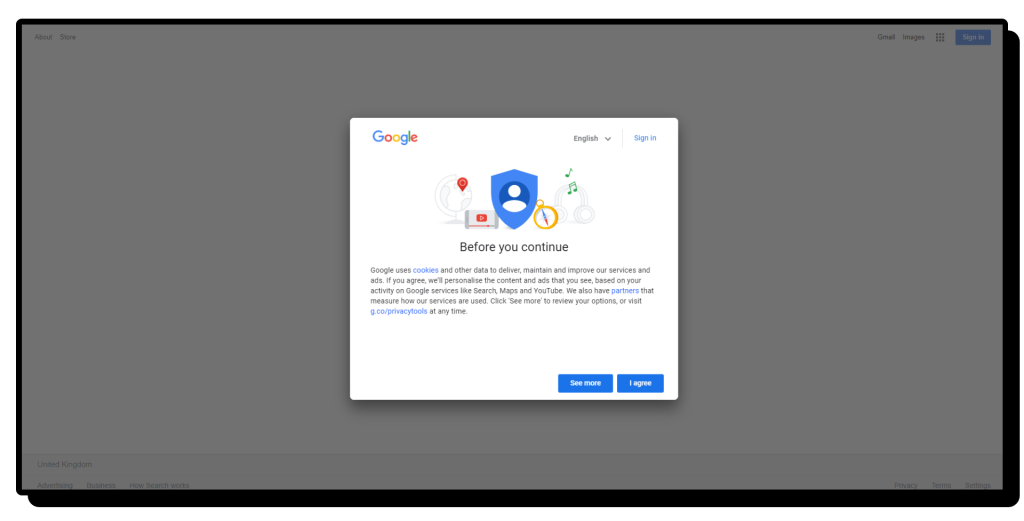
3. Turn on Cookies
If you’ve disabled cookies on a website or service and are trying to log in, Google might halt the login. This is because Google clearly states that it uses cookies to work with third-party services and that your account may not function correctly if you choose to disable them when prompted.
4. Check If Your Account is Disabled or Suspended
The reason you can’t log in and that services can’t contact Google’s servers for your account might be that your account is disabled or suspended. To check if this is the case, use a browser or a different device to sign in to your account on a native Google service.
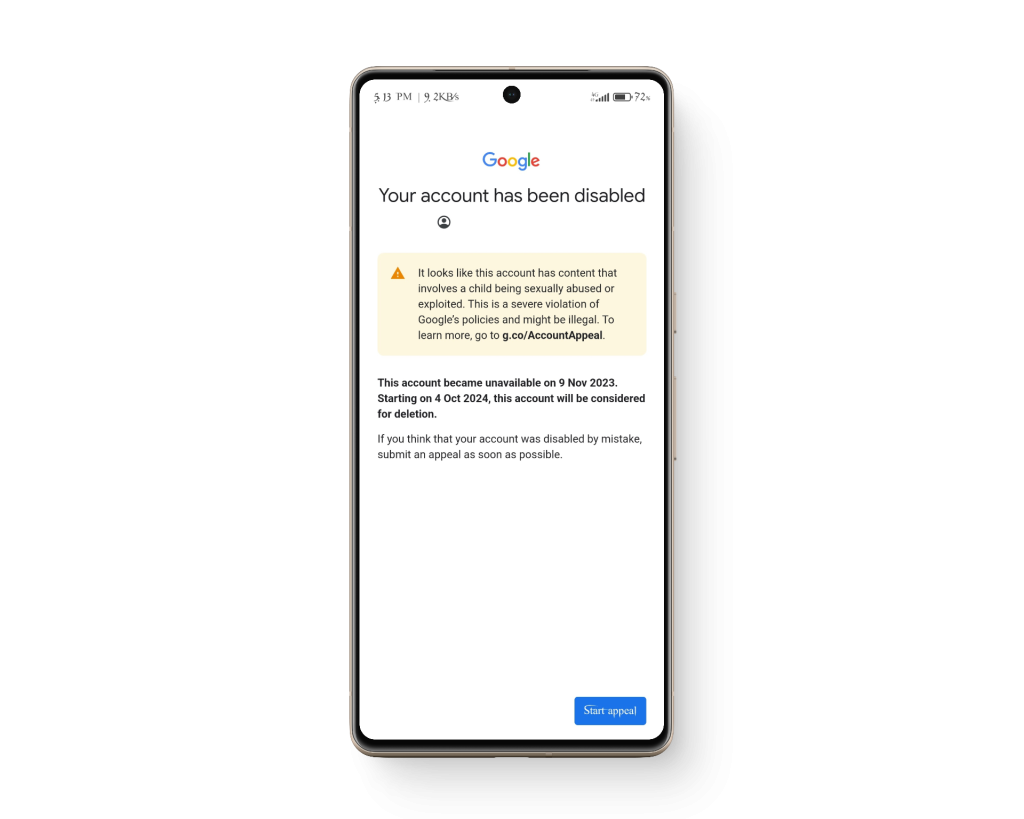
Once in, you’ll most likely see a brief explanation from Google detailing what may have happened. Here, you’ll also have the chance to appeal the suspension or request access again. You’ll have to go through a series of verification checks and may regain access to your account.
5. Clear Cache for Google Play Services
In some cases, a bug or software conflict might have caused the issue in the first place. It is recommended that you clear the cache for Google Play Services. This action would effectively clear out any issues that may have occurred initially. Appuals provides an in-depth guide on clearing the cache for any app on Android.
If, after clearing the cache for Play Services, the issue persists, repeat the process for Play Store and Google Account Manager too. While this may remove any saved data on each of these services, it will also eliminate any corrupted data that might have been causing the issue with connecting to Google’s servers.
6. Reset Your Device’s Date and Time
Google uses the device’s date and time settings to verify if the device making the login request is authentic. If you don’t have a secondary device with you, it is advised to reset your device’s date and time. Instead of manually setting it again, connect to a network and use the automatic time settings. This will automatically fetch the accurate clock settings from its services.
- Open your phone’s Settings and select System.
- Tap on “Date & time.”
- Turn on the “Set time automatically” setting.
- Scroll down, and under “Time zone,” toggle on “Set automatically.”
- Under “Time format,” enable “Use locale default.”

Note: These steps were replicated on a Pixel. The steps to change the date and time settings on your device may vary.
7. Temporarily Disable 2FA on Your Account
While it is strongly recommended to have Two-Factor Authentication (2FA) enabled on each of your Google accounts, it can sometimes complicate the login process. This complexity might mean the verification process is where the service is buggy or unable to access the servers.
To resolve this issue, try to disable 2FA on the account in question. This can be done by logging into a native Google service and making the change there, or by using a device that already has the particular account logged in. Google provides a detailed guide on disabling 2FA on any of their accounts.


Non of these works… rooted no root, keep getting the error, removed whole playstore, still got it…