How to Use Narrator in Windows 11 & Windows 10 – Easy Guide
 Reviewed by Huzaifa Haroon
Imagine having a helpful assistant who reads out text for you when you can’t – that’s what the Windows Narrator is. It’s a lifeline for those dealing with visual challenges or anyone who needs an audible read-out.
Plus, with the latest Windows Update, it now speaks in traditional Chinese too, broadening its utility across diverse communities. This tutorial will help you switch on this nifty feature and guide you on how to use it in the most effective way.
How to Enable Narrator in Windows 11
Narrator is also available on Windows 10 and you can enable it with the same steps. Follow along to turn on Windows Narrator on your PC in no time.
Step-1:
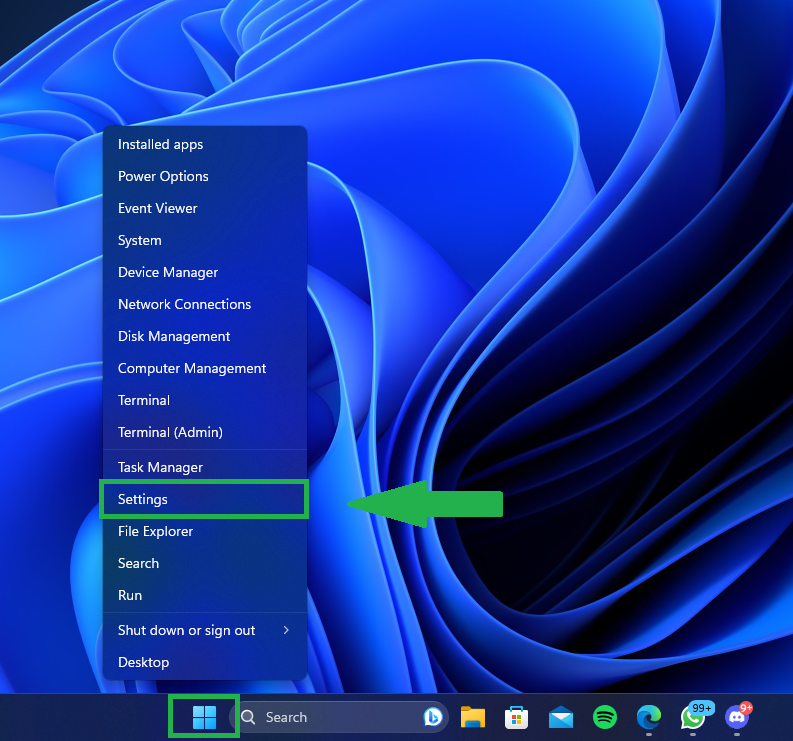
On your taskbar, right-click on the Start icon next to the search bar. A list will appear; select ‘Settings‘ from the options. You can also press Windows + X to bring up this list.
Step- 2:
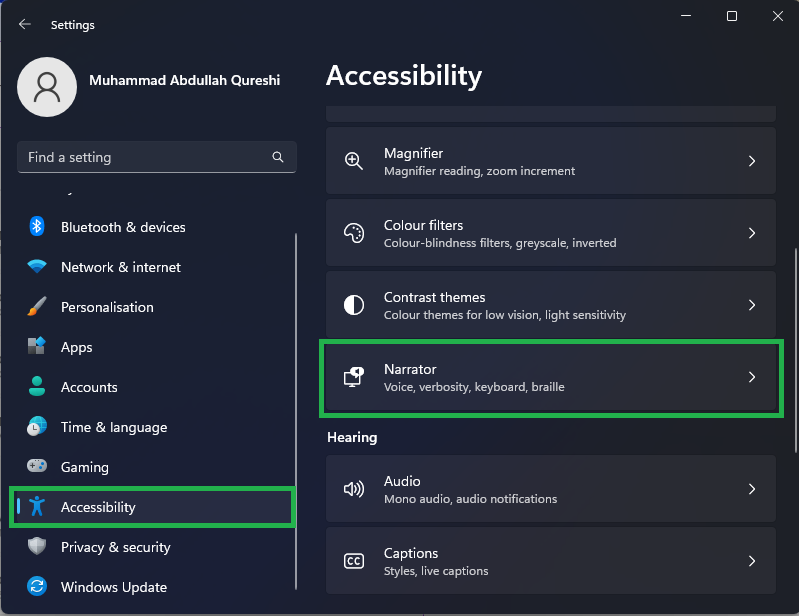
After opening Settings, click on “Accessibility” from the options on the left side. Then select Narrator from the Accessibility options.
Step-3:
Now, under the “Use Narrator” heading, enable the Narrator toggle to start using it. In addition, you can also select the Narrator to auto-start when you turn on your computer.
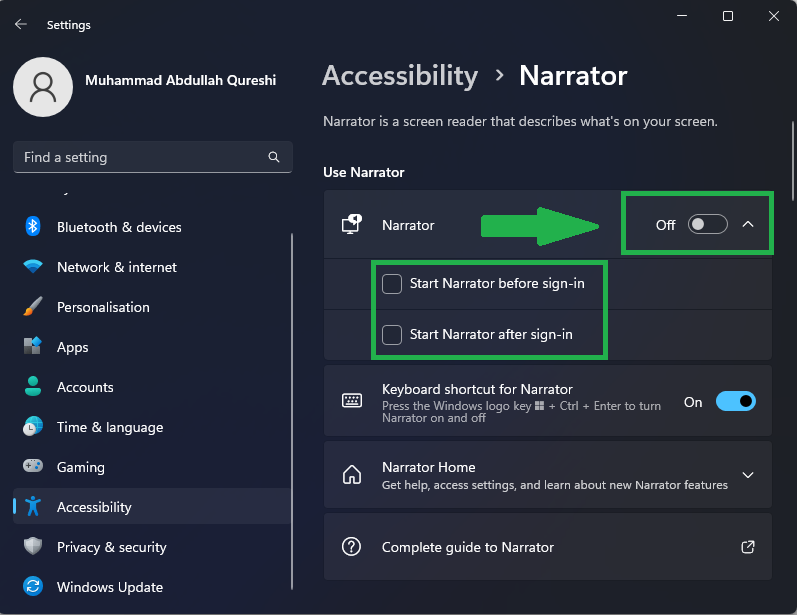
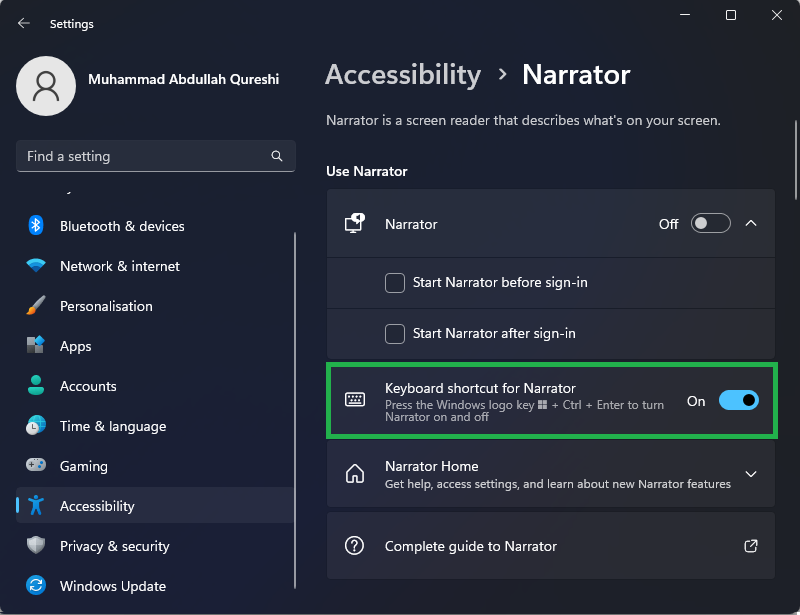
Alternatively, pressing Windows + Ctrl+ Enter will do the same thing quicker. It will turn the Narrator on or off with just one shortcut.
Step-4:
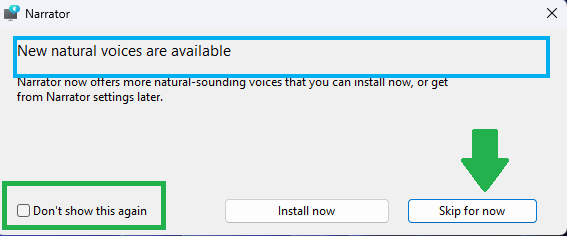
After you enable the Narrator, a dialog box will appear on the screen, sharing new natural voice options that you can install externally.
If you don’t want this dialog box to appear every time you start the Narrator, you can click on the “Don’t show this again” option which will hide this from appearing. To proceed, click the “Skip for now” button.
Step-5:
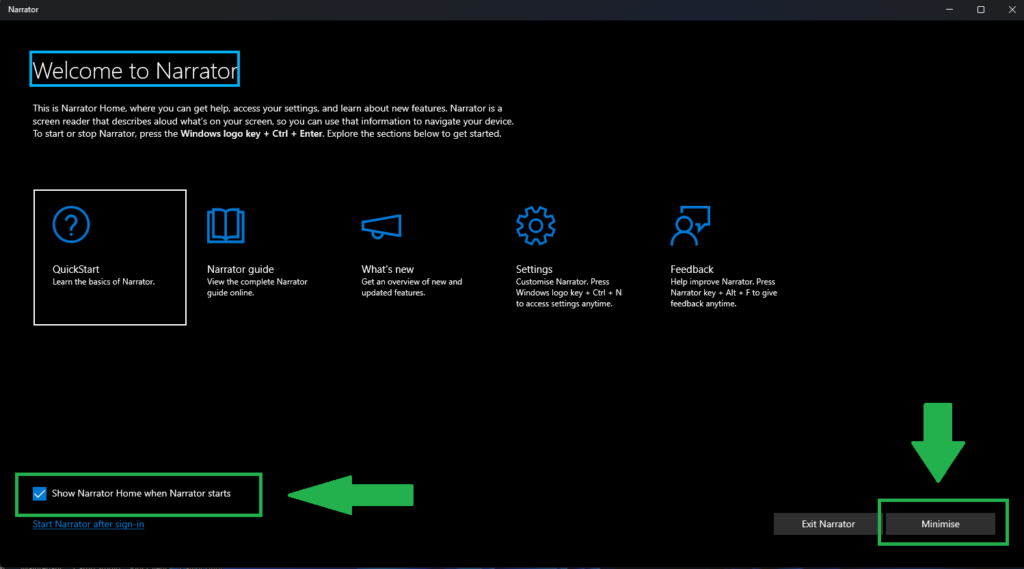
Now, you should be inside the Narrator app. This home window will pop up every time you enable the Narrator, though to disable it, you can uncheck the box on the bottom left, “Show Narrator Home when Narrator starts”. Click on Minimize to start using the Narrator.
Customizing Your Narrator Settings
The Narrator will automatically explain everything you see, including the menus, symbols, and controls that make up the UI. You can change the settings of Narrator if you just want to use it to read aloud text from emails, websites, or documents.
Step-1:
Navigate back to the Narrator settings inside Accessibility.

Step-2:
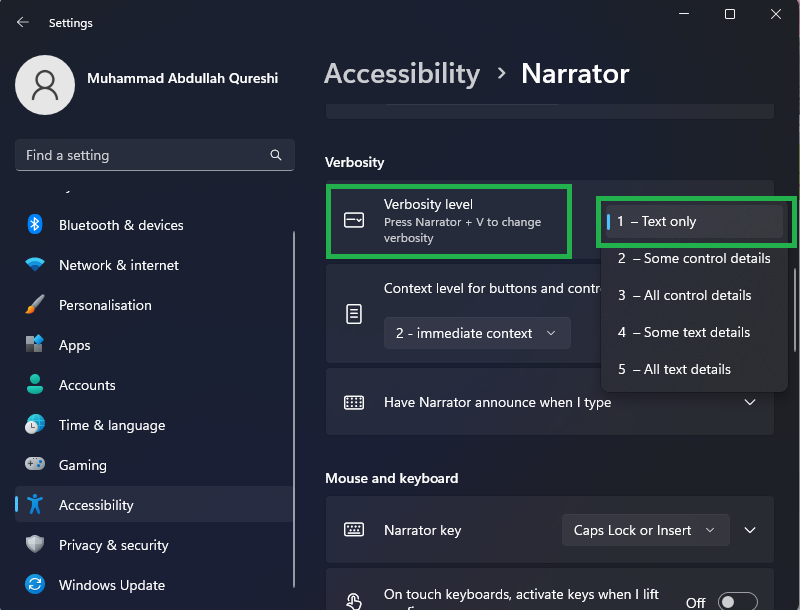
Scroll down until you see “Verbosity” option and click on drop-down menu. Select 1- Text only from the options here.
Step-3:
Just below the Verbosity Level is the Context Level. Select 1 – No context from the drop-down list.
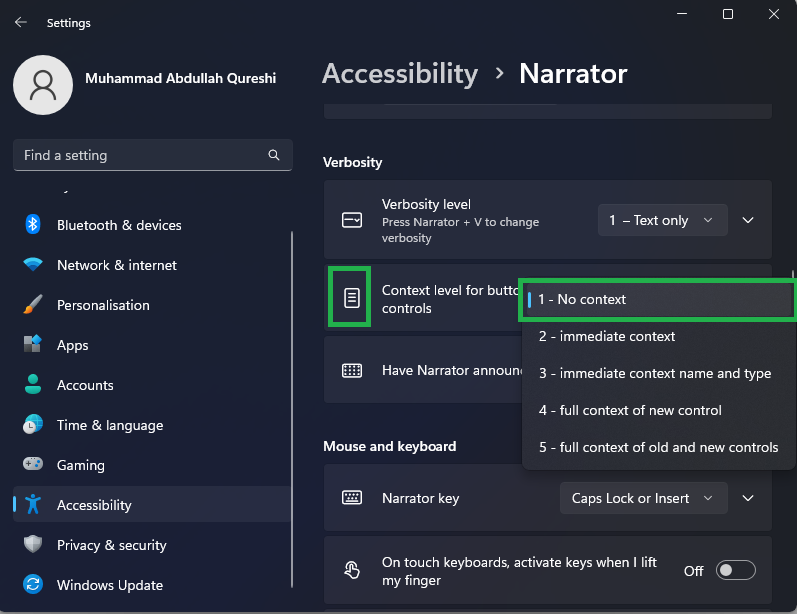
The level of detail provided by the Narrator for each text item, button, and control can be modified using these settings. These choices can be helpful if you notice that there is too much information coming at you at once.
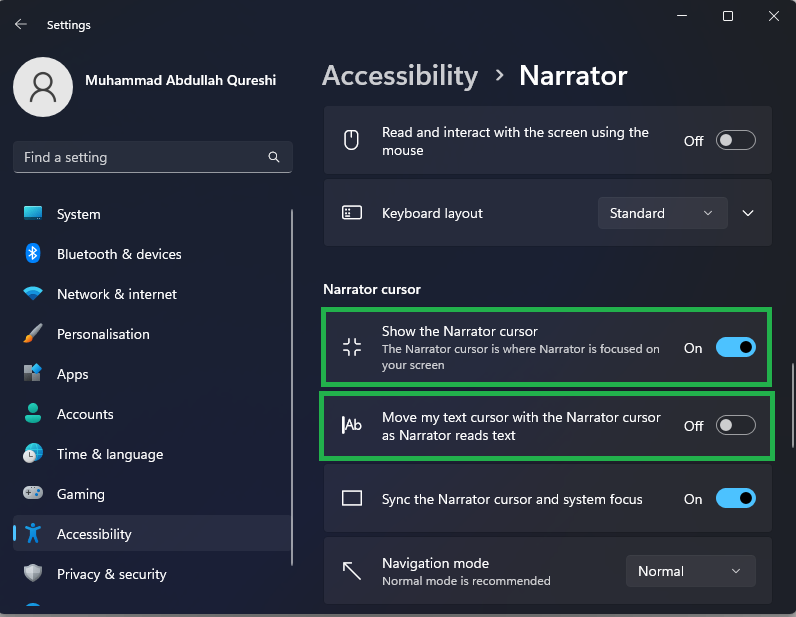
Step-4:
From the same menu, you can choose to have the Narrator pointer move while it reads your screen aloud.
Making Narrator Read Text Out Loud
To enable the Narrator to read text, press Windows + Ctrl + Enter. Make sure to keep something open for the Narrator to read (we opened an article on our website). The narrator will start reading immediately, and you’ll see a blue box at the place where the narrator is reading.

How to Change Narrator’s Voice in Windows 11
If you don’t like the default voice that Narrator comes with, don’t worry as you have a few options that you can choose from.
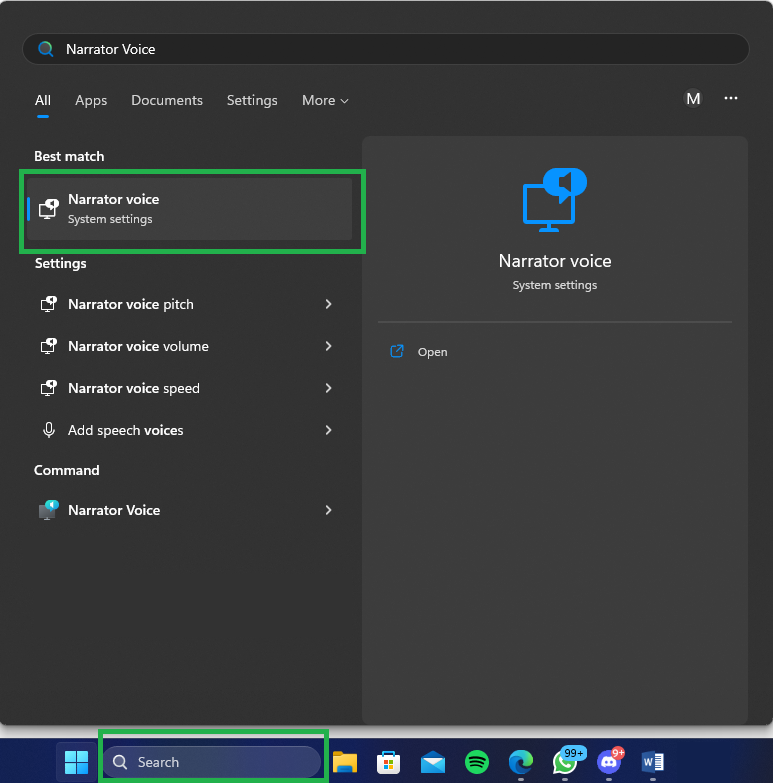
Step-1:
Use the Search option in the Taskbar and type “Narrator Voice.” Select the first option that pops up.
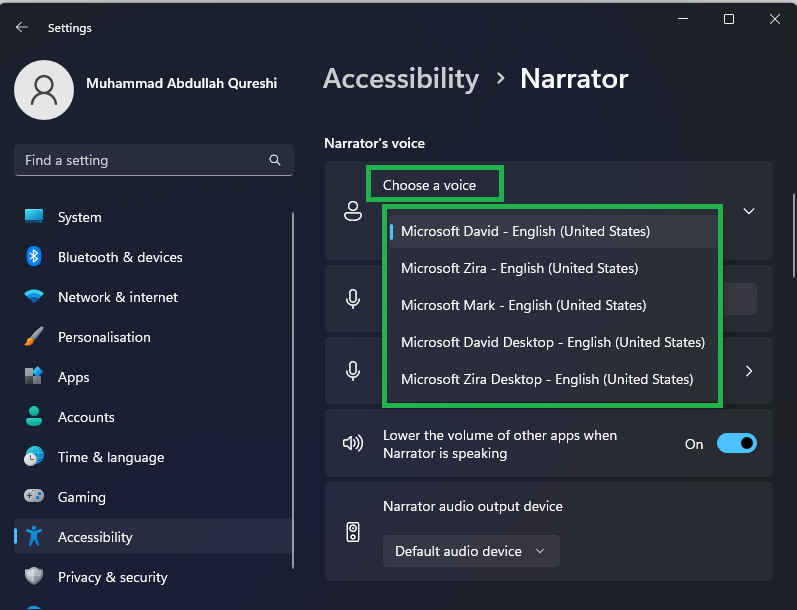
Step-2:
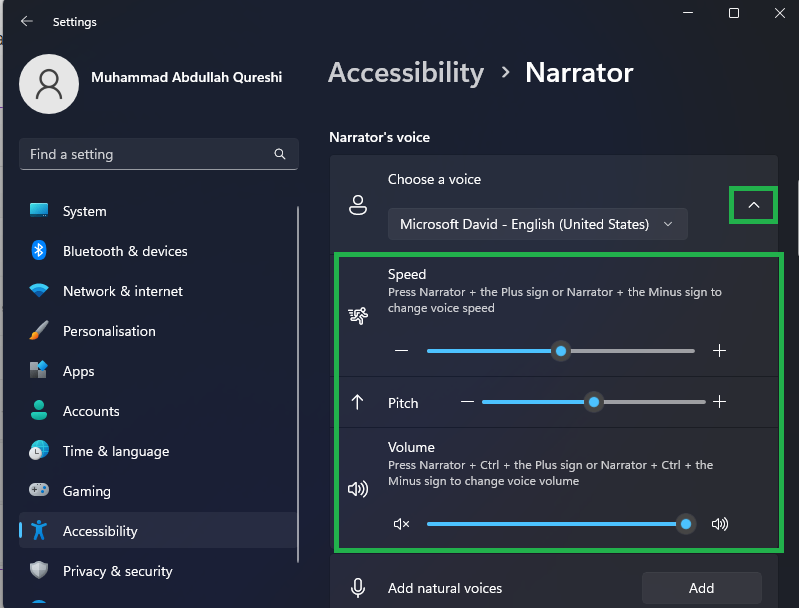
Scroll down until you see the option for “Choose a Voice.” A drop-down menu will open when you click on it, which includes a list of all the pre-added voices that sound more like a robot. You can choose any of these voices if they seem okay. Although if you’d like a more natural voice, don’t worry, as Windows has an option for that too…
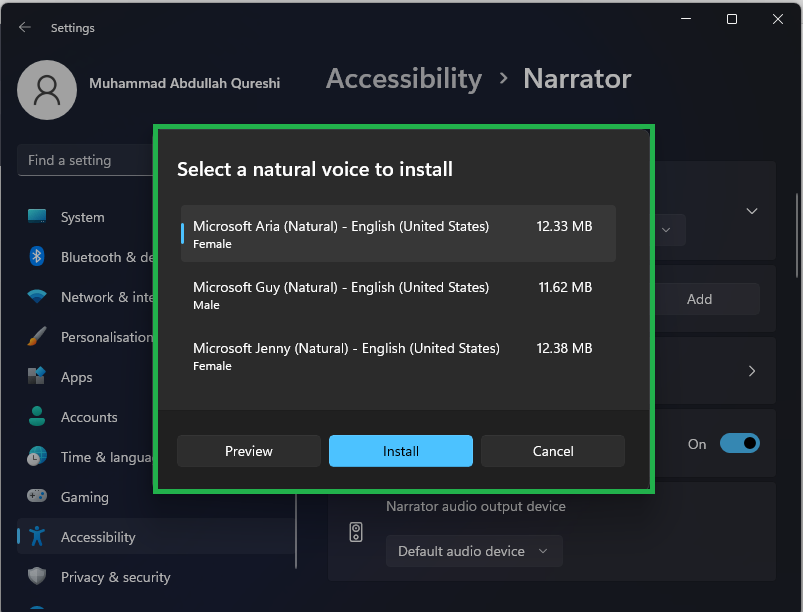
Step-3:
Just below the Choose a Voice option, there will be an option to Install Natural Voices. Upon clicking it, you can see the available natural voices which you can download and use.
Clicking on the arrow next to Choose a Voice, you can adjust the volume and speed of the Narrator’s voice; this is really helpful if you cannot understand what the Narrator is saying.
Conclusion
Narrator is one of the most underrated features in Windows that serves as a beacon of support for visually impaired folk, allowing them to continue their work even with their disadvantages. Narrator works the same way on Windows 10 as well so using this guide you can help yourself or a friend in need with a great accessibility feature.
Windows Narrator - FAQs
Yes, you can adjust the speed and volume of the Narrator’s voice by clicking on the arrow next to the ‘Choose a Voice’ option in the settings.
Yes, the Narrator supports multiple languages, which can be chosen from the ‘Choose a Voice’ option in the settings.
The Narrator can be quickly enabled by pressing the Windows + Ctrl + Enter keys together.
Yes, you can customize the verbosity settings to instruct the Narrator to read only the text without additional context.
Yes, in the Narrator settings, there’s an option to ‘Start Narrator automatically’. Enabling this will start the Narrator each time you sign into your computer.
Reviewed by Huzaifa Haroon


