How to Stop Windows 11 from Encrypting Drive Automatically?
Enabling Secure boot in order to ve able to install Windows 11 might have some unexpected consequences – you might find that Bitlocker is turned on automatically and it will begin encrypting your drive without your explicit say-so.
Although there’s no official confirmation from Microsoft, there’s a lot of user speculation that this automatic drive encryption carried over by BitLocker occurs automatically on some OEM machines once Secure Boot is enabled.
Note: This only occurs with Pro, Education, and Enterprise versions of Windows 11 – as Bitlocker is not present with Windows 11 home.
This seems to be different from one OEM to another – in some cases, this is triggered by a PS script, in others, it’s triggered by a Group Policy.
But regardless of the underlying cause, there are ways to stop Windows 11 from encrypting your OS drive automatically. There are actually 3 different ways that will allow you to go about disabling the automatic driver encryption feature on Windows 11:
- Disable Bitlocker Encryption via Control Panel – This is the easiest way to go about disabling the automated encryption feature. You can do this by accessing the classic Control Panel interface and modify the behavior of Bitlocker from the System and Security tab.
- Disable BitLocker Encryption via Windows Terminal – You can also use an elevated Windows Terminal window to disable the BitLocker encryption using a series of Powershell commands.
- Disable BitLocker Encryption via .BAT file – This is the most advanced method of disabling the automated Bitlocker encryption. You’ll need to create and run a .BAT file that will disable the currently enforced encryption and ensure that your OS doesn’t try to re-encrypt the drive in the future.
Each of these methods will basically allow you to achieve the same thing (disabling the BitLocker encryption), but the excitation is slightly different. Feel free to follow whichever method you feel more comfortable with from the options below.
Disable BitLocker Encryption via ControlPanel
If you’re looking for the easiest option out of the bunch, this is it.
You can use the classic Control Panel interface to access the System and Security tab and disable the encryption from the BitLocker Drive Encryption menu. This method is very easy to enforce, but keep in mind that depending on your OEM, you might notice that the encryption feature will re-enable if you disable and re-enable the secure boot option in your BIOS or UEFI settings.
Follow the instructions below to disable the automated BitLocker Encryption via Control Panel:
- Press Windows key + R to open up a Run dialog box. Next, type ‘control’ inside the text box and press Enter to open up the classic Control Panel interface.
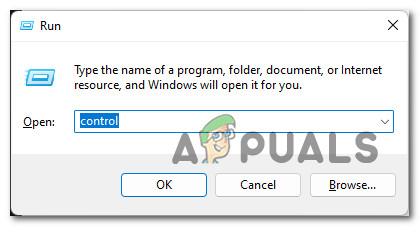
Open up the classic Control Panel interface - Once you’re inside the Classic Control Panel interface, click on System and Security from the list of available options.
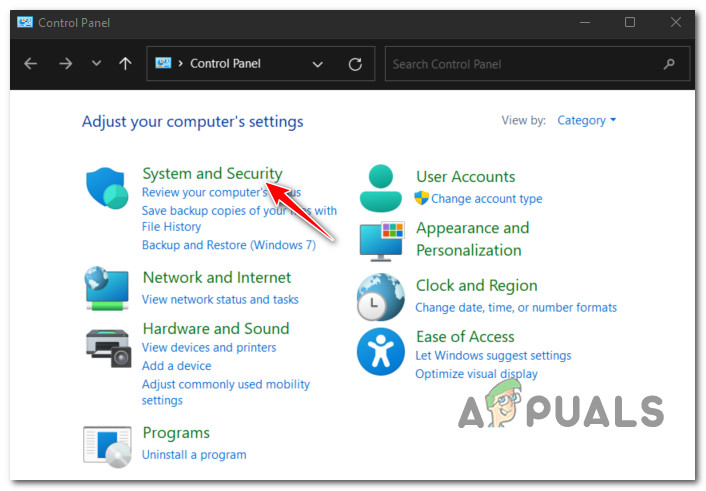
Open up the System and Security tab - Next, from the System and Security menu, click on BitLocker Drive Encryption.
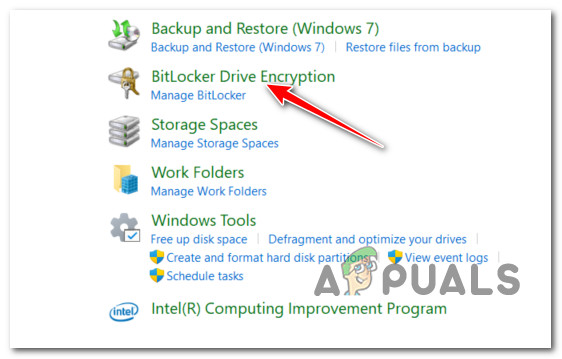
Accessing the BitLocker Drive Encryption settings - Inside the BitLocker Drive Encryption settings, click on the Turn off Bitlocker.

Accessing the BitLocker Driver Encryption feature - When prompted by the User Account Control window, click Yes to grant administrative privileges, then click on the Turn off Bitlocker button at the confirmation prompt.
- Wait patiently until the drive is decrypted. You can confirm that the process was successful by opening File Explorer and checking if the encryption icon is removed from your OS drive.

Disabling the BitLocker Encryption on Windows 11 - Once you confirm that the encryption has been removed, restart your PC and check to see if the drive has remained decrypted once the next startup is complete.
Disable BitLocker Encryption via Windows Terminal
Another way that will allow you to disable the BitLocker encryption and ensure that your drive won’t get re-encrypted in the future is to use an elevated Windows Terminal window to run a series of Powershell commands that will decrypt the current OS drive and disable automatic encryption.
Note: You’ll need an administrative account in order to be able to perform this method.
Follow the instructions below to use the Windows Terminal to disable the automated BitLocker encryption on Windows 11:
- Press Windows key + R to open up a Run dialog box. Inside the run box, type ‘wt’ and press Ctrl + Shift + Enter to open up a Windows Terminal with admin access.

Open a Windows Terminal app - Inside the terminal app, type the following command and press Enter to make an inquiry about the status of your BitLocker encryption:
manage-bde -status
Note: Make sure there’s a space between manage-bde and -status, otherwise the command will fail.
- Next, enter the following command to effectively disable the BitLocker encryption for the operating system drive:
Disable-Bitlocker -MountPoint "C:"
Note: Keep in mind that ‘C’ is only a placeholder. If your OS drive is different, change the command above to accommodate your own operating system drive. Also, make sure that there’s a space between Disable-Bitlocker, -mountPoint and “C:”, otherwise the command will fail.
- After you hit Enter, wait until the operation is complete. You should get a report at the end of this procedure where you can check the current Protection Status.
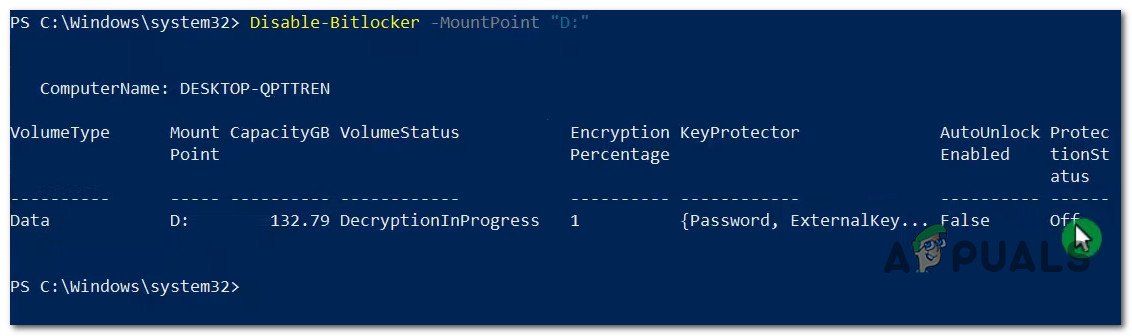
Check the BitLocker Protection Status - Close the Windows Terminal and reboot your PC to make the change permanent.
Disable BitLocker Encryption via .BAT File
The third way (and the most technical one) of disabling the BitLocker encryption and ensure that it doesn’t automatically re-encrypt your drive at a later point in time is to create and run a .BAT file that will auto-disable the BitLocker encryption.
This will also disable every associated dependency that might force the encryption feature to re-enable at a later point in time.
If you aren’t afraid of using .BAT files that you’ve created yourself, this is arguably the best option of dealing with this issue and ensuring that the change is permanent:
- Press Windows key + R to open up a Run dialog box. Next, type ‘notepad’ inside the text box, then press Ctrl + Shift + Enter to open up a notepad window with admin access.

Accessing Notepad with admin access Note: At the User Account Control prompt, click Yes to grant admin access.
- Once you’re inside the elevated Notepad window, paste the following command inside the empty box:
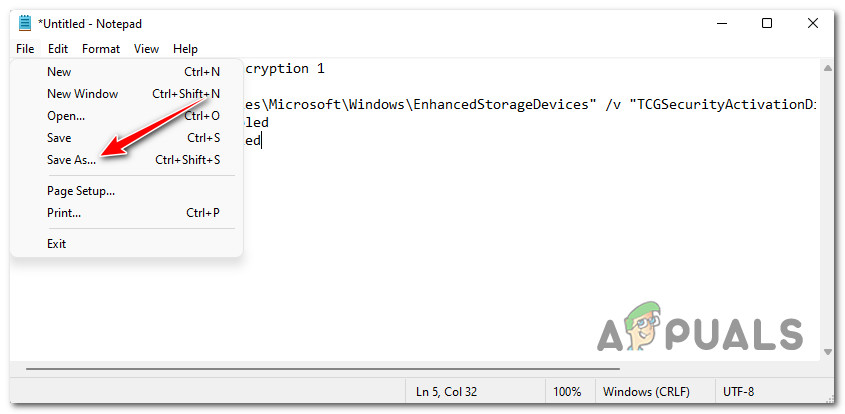
fsutil behavior set disableencryption 1
cipher /d /s:C:\
reg add "HKLM\Software\Policies\Microsoft\Windows\EnhancedStorageDevices" /v "TCGSecurityActivationDisabled" /t REG_DWORD /d "1" /f
sc config BDESVC start= disabled
sc config "EFS" start= disabled
- Once the command is successfully placed, click on File from the ribbon at the top, then click on Save as from the context menu.
Saving the note as REG file - Inside the Save As window, set a location and name of your choosing, but make sure the Save as Type is set to All Files, then add ‘.bat’ at the end of the File Name.
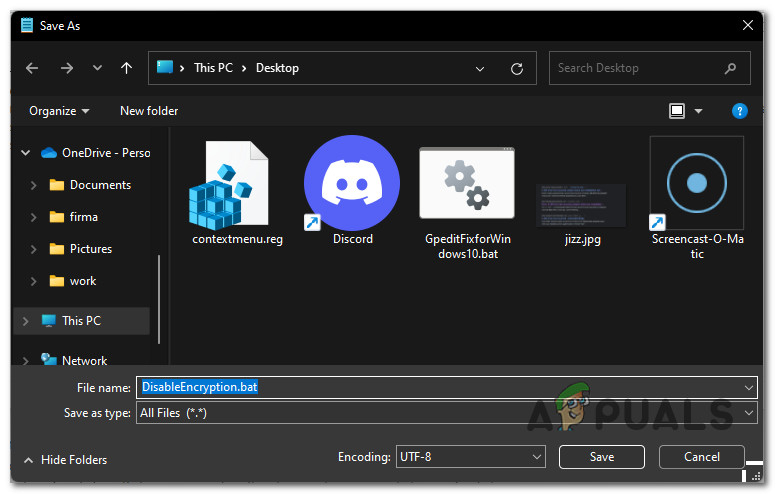
Creating a .bat file that disables the OS drive encryption - Next, click save and wait for the file to be created.
- Navigate to the location where you created the .BAT file, then right-click on it and choose Run as Administrator from the context menu.
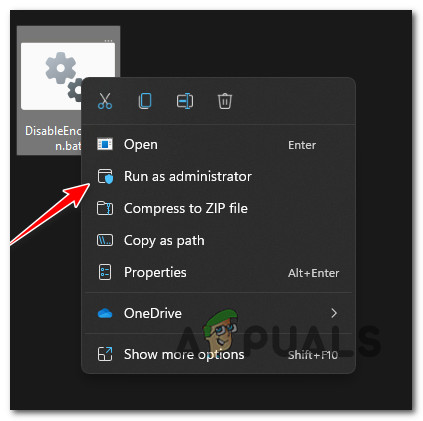
Run as administrator - At the confirmation prompt, click Yes and wait until the operation is complete and the automated BitLocker encryption is disabled.


So I have bitlocker off. It’s set that way for all my drives. Yet Windows 11 keeps encrypting files I save to my desktop. I copied some photos from my desktop to a USB drive to take to the office. Guess what – those are encrypted too. I can’t use them at work. Any ideas?