How to Fix ‘Secure Boot Violation – Invalid Signature Detected’ Problem?
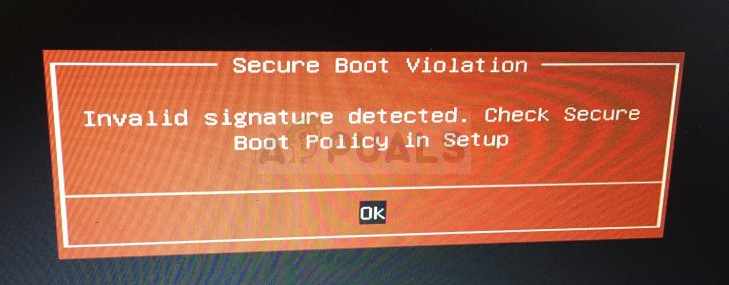
The error Secure boot violation – invalid signature detected commonly appears during the initial system boot-up. Although pressing the Enter key lets you proceed with the boot, the error will recur at every startup, which can be quite frustrating.
Fortunately, there are methods that have proven effective. Below, we’ve detailed these solutions—follow them closely to resolve the problem.
What Causes this Problem on Windows?
Identifying the cause of this problem can be challenging due to its unpredictable nature, particularly on ASUS and DELL computers. A primary reason is often Secure Boot, which may need to be disabled in your computer’s BIOS settings to solve this issue.
Another significant cause is Digital Driver Signature Enforcement, which conducts checks that could block proper booting. Disabling this feature might prevent the problem from reoccurring.
1. Disable Secure Boot
When the Secure Boot mechanism detects an untrusted or improperly signed file, it can prevent the system from booting, leading to the error in question. By disabling Secure Boot in the BIOS, your system becomes less restrictive during the startup process, allowing it to bypass the checks that are causing the error.
This does not harm your computer; it simply relaxes the initial software verification process to allow for a successful boot. After resolving the root issue, Secure Boot can be re-enabled to maintain the protective benefits it provides.
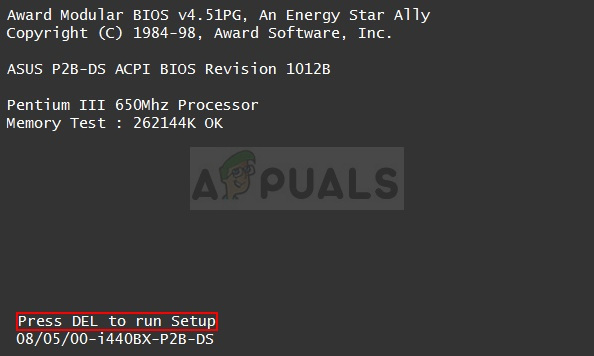
- Restart your PC and press the BIOS key as indicated on the boot screen (typically “Press ___ to enter Setup“). Common BIOS keys include F1, F2, and Del.
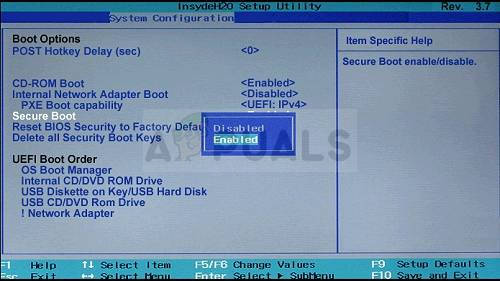
- Navigate to the Security tab in the BIOS settings, select Secure Boot Configuration, and press Enter.
- A warning will prompt you to press F10, taking you to the Secure Boot Configuration menu. There, change the Secure Boot setting to Disable.
- Go to the Exit section and select Exit Saving Changes. Your computer should continue booting. Verify if the error recurs.
2. Uninstall the KB3084905 Windows Update
The KB3084905 update, released for Windows Server 2012 and Windows 8.1, has been known to cause Secure Boot issues on systems joined to the same domain controller. By removing this specific update, you’re basically reversing changes that might be interfering with the Secure Boot process, hence restoring its functionality and preventing the error from recurring.
- Open Control Panel from the Start menu or by searching for it.
- In Control Panel, set View by: Category at the top right, and click Uninstall a Program. Then click the View installed updates link.
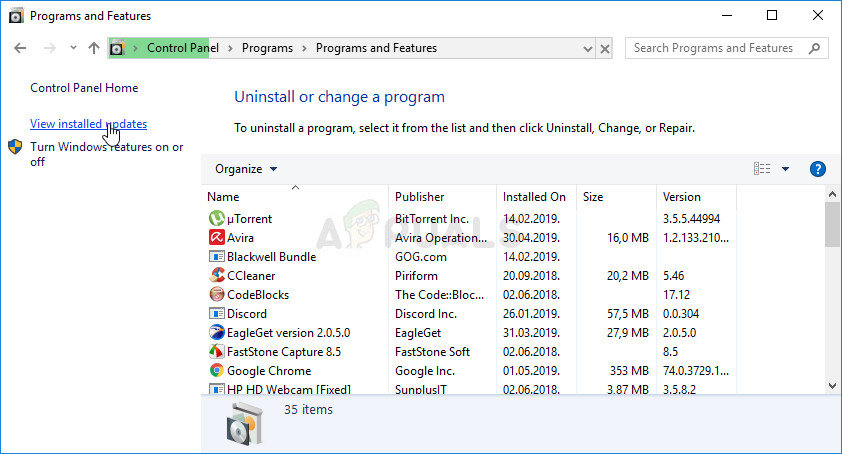
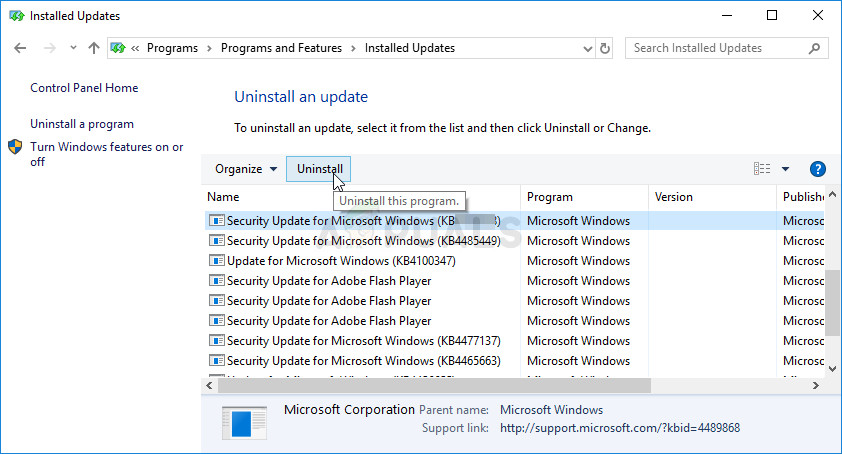
- Locate the KB3084905 update in the Microsoft Windows section towards the bottom of the list.
- To find the update, check the Installed on column for the installation date. Look for the KB number KB3084905.
- Select the update and click Uninstall at the top, then follow the on-screen instructions to remove it.
- Make sure you have automatic updates enabled, so any new updates from Microsoft will be installed automatically. Check if the Secure Boot violation error continues to appear on boot.
3. Disable Digital Driver Signature Enforcement
This solution involves disabling driver signature enforcement, a measure that could be preventing your computer from booting correctly. It has helped many users and is worth trying. Basically, this enforcement is a safety guardrail designed to verify the integrity of drivers by checking their signatures before they run.
If the system encounters an unsigned or modified driver, it won’t let it launch, and that’s where you might run into booting issues. By disabling this feature, you allow your system to overlook these checks and proceed with booting.
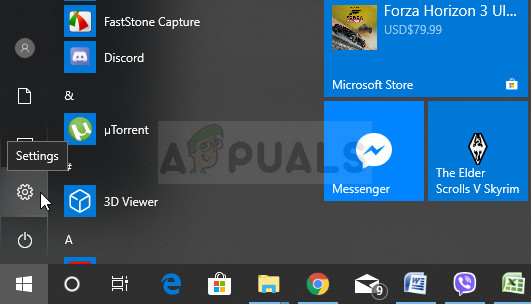
- Open Settings from the Start menu by clicking the gear icon or by using the Windows Key + I shortcut.
- At the bottom of the Settings app, find and click on Update & Security.
- Select the Recovery option from the side menu within the Update & Security settings.

- In the Recovery tab, click on Restart now under Advanced startup.
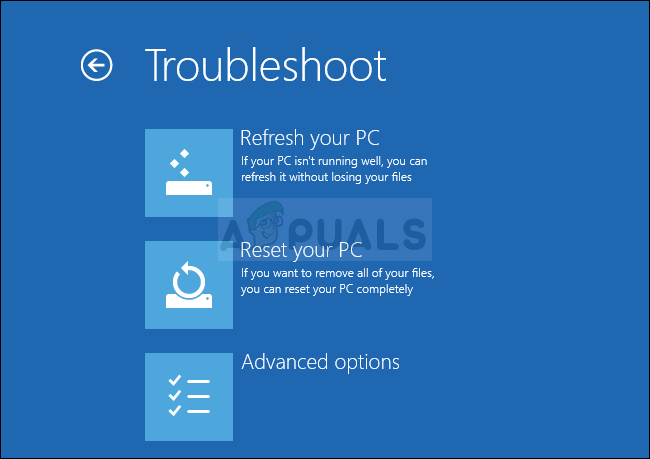
- Once in the Advanced Startup Options, select Troubleshoot and then click Advanced options.
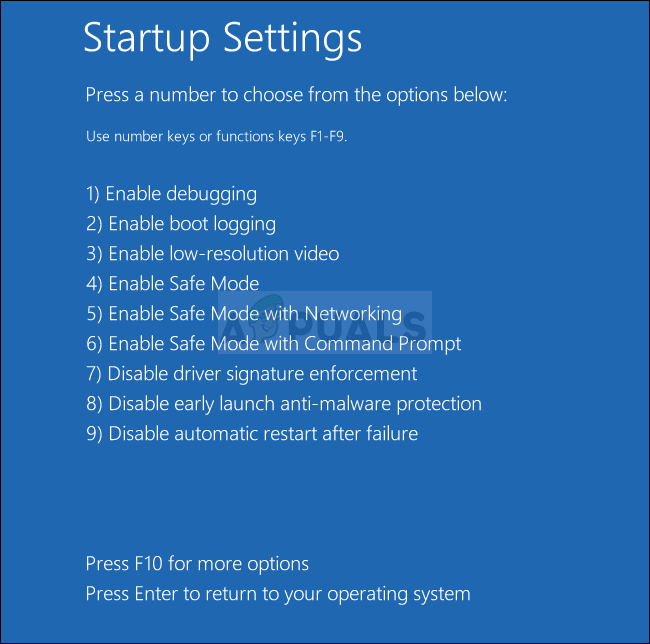
- Choose Startup Settings and select option 7 or press F7 to Disable driver signature enforcement.
- Restart your computer and check if the error still appears during boot.
4. Command to Bypass Integrity Checks
When you input the given command, you’re instructing your system’s bootloader to bypass the mechanism that scans the integrity of driver signatures. This action is quite strong as it permits your system to load drivers that haven’t been signed by the recognized authorities, hence potentially eliminating the error.
Of course, while this unlocks a pathway to boot success, it’s important to recognize that it may expose your system to unsigned drivers, so it should be used carefully and reverted once the specific boot issue is resolved.
- Open an elevated Command Prompt using the Windows Logo Key + R, typing cmd, and then pressing Ctrl + Shift + Enter.
- Enter the following command and press Enter. Wait for confirmation that the operation was successful.
bcdedit.exe -set loadoptions DISABLE_INTEGRITY_CHECKS
- Restart your PC and check whether the issue persists.


