How to Fix Windows Update Error 9C59
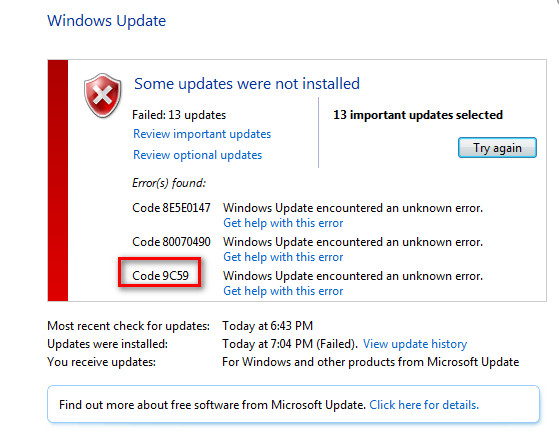
Some Windows users are encountering the error code 9c59 whenever they attempt to install a particular update or when trying to install or update Internet Explorer 11. This particular issue is confirmed to occur on Windows 7, Windows 8.1, and Windows 10.
After investigating this particular issue thoroughly, it turns out that there are several different instances that will cause this error code. Here’s a list of potential culprits that might be responsible for the apparition of this error code:
- Corrupted Windows Update component – One of the most common causes that will cause this particular issue is a corrupted sub-component of Windows Update. Several affected users who d themselves in a similar scenario have managed to fix the problem by running consecutive SFC and DISM scans to fix the corrupted instances.
- Update restriction – A lot of Windows 7 users have been unable to install Internet Explorer 11 due to an apparent restriction that seems to be indirectly caused by Windows Update. In this case, you should be able to fix the problem by using the offline installer to install the problematic browser on Windows 7.
- 3rd party conflict caused by Kaspersky – Out of all the 3rd party AV that are commonly reported to have issues with IE 11, Kasperksy is by far the most common culprit. If you encounter this problem while using Kaspersky as the default security suite, you should be able to fix the issue by uninstalling it and removing any remnants of previous installations attempts of IE 11 before clean installing the browser once again.
- TCP or IP roadblocks – Another potential scenario that’s exclusive to Windows 10 is an instance in which corrupted temp data ends up affecting the updating of existing software signed by Microsoft. In this case, uninstalling the older version of IE (most commonly Internet Explorer 9) prior to creating a .bat file capable of clearing remnant files from a previous installation.
- System File Corruption – Under certain circumstances, you can expect to see this error as a direct consequence of some type of underlying system file corruption that’s affecting your OS’s ability to install new pending updates. In this case, refreshing every Windows component with an operation like clean installing or repair install.
Now that you’ve become familiar with every potential culprit that might be responsible for the apparition of the error code 9c59, here’s a list of methods that other affected users have successfully used to fix the problem:
Method 1: Running SFC and DISM scans
According to some affected users, this problem can also appear due to some kind of system file corruption that ends up affecting the Windows Update component. If you’re encountering the error code 9c59 with every new update that you’re attempting to install, you should take the time to run a couple of built-in utilities capable of fixing the most common causes of system file corruption.
You can use SFC (System File Checker) and DISM (Deployment Image Servicing and Management) to effectively identify those corrupted files that are causing the problem and swiftly replace them with healthy equivalent.
Keep in mind that even though these 2 utilities share a core similarity, the way they go about fixing these corrupted instances is fundamentally different. SFC uses a locally stored archive to replace corrupted instances with healthy equivalents while DISM uses a sub-component of Windows Update to download the ‘clean’ files.
If you’re determined to try this method out, start by launching an SFC scan and wait to see if the scan manages to identify and fix any corrupted instances that might be causing the error code 9c59.
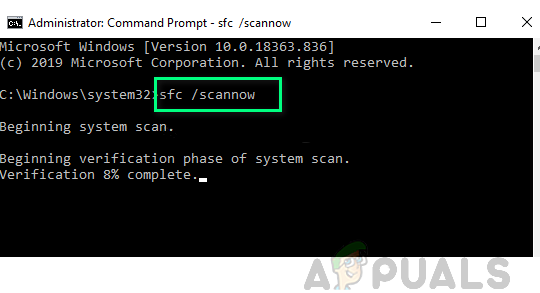
Note: Once you launch this operation, DO NOT close the elevated CMD window or restart/shutdown your computer until the operation is complete.
Once the SFC scan is completed, reboot your computer and wait for the next startup to complete.
After your computer boots back up, start a DISM scan, and wait until the initial scan is complete. If the utility manages to find an underlying corrupted issue and is capable of fixing it, follow the on-screen prompts to replace corrupted files with healthy equivalents.
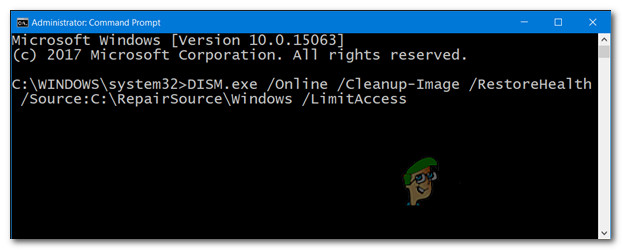
Note: Before you launch this operation, it’s important to ensure that you have a stable Internet connection.
Once the DISM scan is completed successfully, reboot your computer once again and see if the problem is fixed at the next computer startup.
If the same problem is still occurring, move down to the next potential fix below.
Method 2: Installing IE 11 using the Offline installer (Windows 7 ONLY)
If you end up seeing the error code 9c59 when attempting to install or update IE 11 using the Windows Update component on Windows 7, it’s clear that Windows Update it’s running into some issues when tasked with doing this.
In case you’re not in the mood to troubleshoot this issue until you manage to find the culprit, one quick fix that might allow you to update IE 11 without too much trouble is to use the Offline Installer. Several affected users have confirmed that they finally managed to avoid the apparition of this error by downloading the offline installer of Internet Explorer 11.
If you haven’t tried this potential fix yet, follow the instructions below:
- Open your default browser and navigate to the download page of Internet Explorer 11.
- Once you’re on the correct page, scroll down to the list of download items and click on the hyperlink associated with the language and your Windows version.
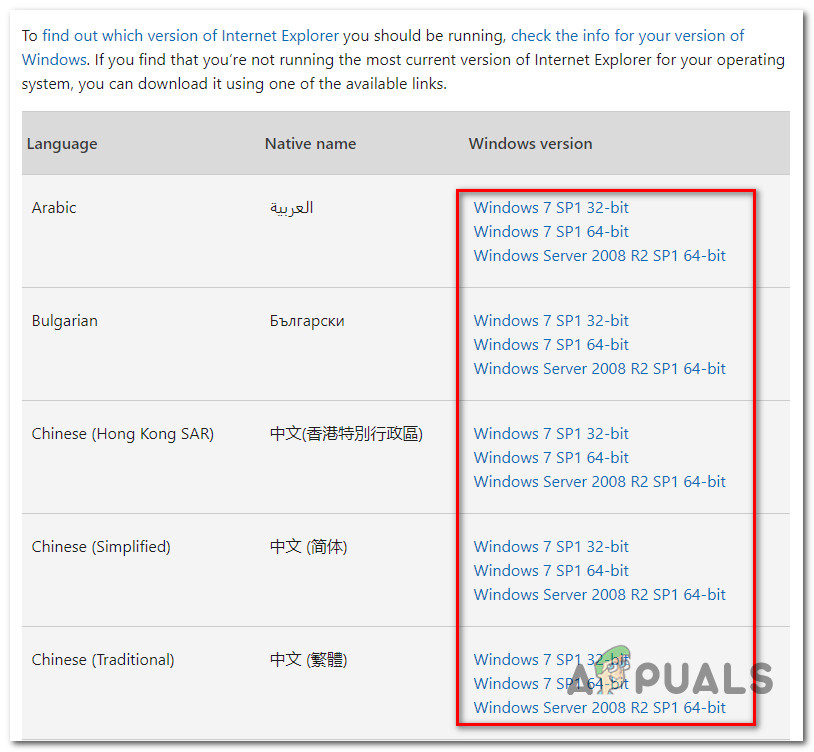
Downloading the compatible IE 11 package - Once the download is successfully downloaded, double-click on it, click Yes at the UAC (User Account Control), and then follow the on-screen instructions to complete the installation of Internet Explorer 11 in your Windows 7 computer.
- If the operation is completed successfully and you are able to install the IE 11 package without the apparition of the same error code 9c59, reboot your PC conventionally and attempt to launch the browser once the next startup is complete.
If this method didn’t allow you to get past the 9c59 error code, move down to the next potential fix below.
Method 3: Solving a conflict with Kasperky AV (if applicable)
If you’re using Kaspersky as your active antivirus solution and you get the 9c59 error code while attempting to install or update an Internet Explorer 11 version, chances are you’re dealing with a fairly common culprit that’s being caused by the network agent component on Kasperky.
Several affected users that found themselves in the same scenario have managed to fix this problem by removing the problematic 3rd party antivirus conventionally and then running a CMD command to effectively remove any trace of an old IE installation before re-trying the installation from scratch.
If you’re looking for step-by-step instructions on how to do this, follow the steps below:
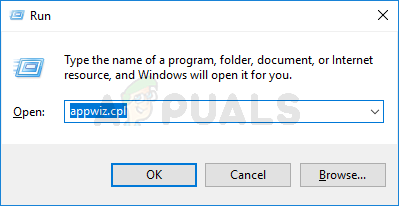
- Press Windows key + R to open up a Run dialog box. Inside the text box, type ‘appwiz.cpl’ and press Enter to open up the Programs and Features menu.

Accessing the Programs and Features menu - Once you’re inside the Programs and Features menu, scroll down through the list of installed applications and locate the local installation of Kasperski. When you see it, right-click on it and choose Uninstall from the context menu that just appeared.
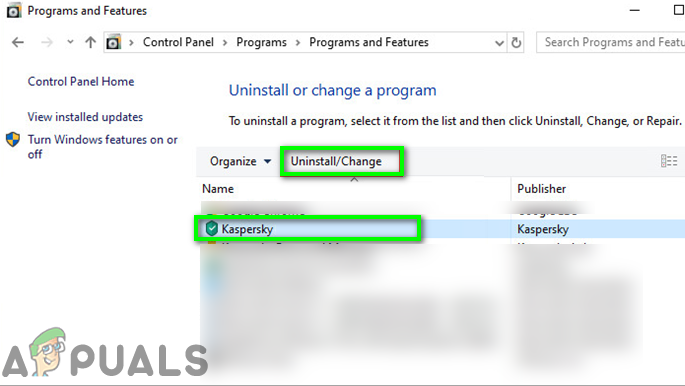
Uninstalling Kaspersky Antivirus - Inside the uninstallation screen, follow the on-screen prompts to complete the installation of this 3rd party security suite, then safely close the Apps & Features screen if you’re not asked to restart first.
- Next, press Windows key + R to open up a Run dialog box. Inside the text box, type ‘cmd’, then press Ctrl + Shift + Enter to open up an elevated Command Prompt.
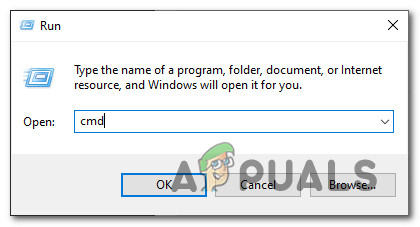
Opening an elevated Command prompt Note: When you’re prompted by the UAC (User Account Control), click Yes to grant admin access.
- Inside the elevated CMD prompt, copy and paste the following command and hit Enter to effectively uninstall the current version of IE 11 along with every remnant file:
FORFILES /P %WINDIR%\servicing\Packages /M Microsoft-Windows-InternetExplorer-*11.*.mum /c "cmd /c echo Uninstalling package @fname && start /w pkgmgr /up:@fname /norestart"
- Wait until the command is processed successfully, then reboot your computer and wait for the next startup to complete.
- Once your computer boots back up, repeat the installation of IE (either via your Windows Update or by using the offline installer) and see if the problem is now fixed.
If the same problem is still occurring after following the instructions above or this method wasn’t applicable, move down to the next potential fix below.
Method 4: Eliminating the most common roadblocks (Windows 7 PRO Only)
If you’re encountering this problem on Windows 7 PRO, you’re likely experiencing this issue due to some type of shared conflict between Internet Explorer 9 and a Network folder that holds read-only data that refuses to be modified in accordance with the dependencies needed by IE 11.
Some users that found themselves in a similar scenario have reported that they were only able to fix the problem after completely uninstalling the IE 9 installation and creating a .bat file capable of flushing every piece of temp data that might cause problems when trying to install IE11.
To make matters easier for you, we’ve put together a step by step guide through the whole thing:
- Press Windows key + R to open up a Run dialog box. Next, type ‘appwiz.cpl‘ inside the text box and press Enter to open up the Programs and Features menu.
Accessing the Apps and Features screen - Inside the Programs and Features menu, use the menu on the left to click on View Installed Updates.
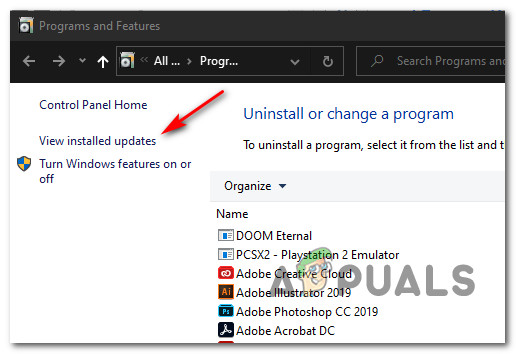
Accessing the View installed updates menu - Inside the Installed Updates screen, scroll down through the list of installed updates and locate the Windows Internet Explorer 9. When you see it, right-click and click on Uninstall from the context menu.
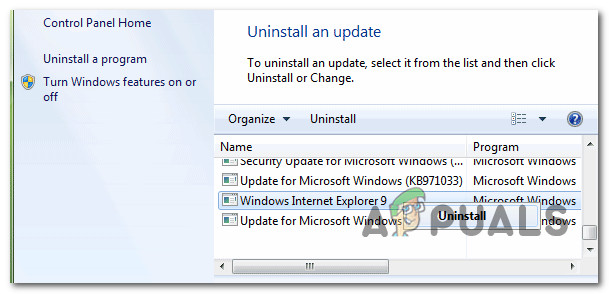
Uninstalling IE 9 - Inside the uninstallation screen, follow the on-screen instructions to complete the uninstallation.
Note: DO NOT restart your computer before completing the operation. - Press Windows key + R to open up another Run dialog box. Inside the text box, type ‘notepad’ and press Ctrl + Shift + Enter to open the Notepad app with admin access.

Opening Notepad via Run dialog box Note: When prompted by the UAC (User Account Control) prompt, click Yes to grant admin access.
- Once you’re inside Notepad, paste the following commands inside the empty box:
net stop bits
net stop wuauserv
Ipconfig /flushdns
cd "ProgramData\Microsoft\Network\Downloader"
del qmgr0.dat
del qmgr1.dat
net start bits
net start wuauser
- Next, click on the File tab from the ribbon menu at the top, then click on Save As from the context menu that just appeared.

Using the Save As features - Inside the Save As window, establish a location where you plan on saving the newly created .bat file, then change the Save as type to All Files. Next, use the File Name section to name the newly created file however you want, just make sure to end the name with the extension ‘.bat‘ (without the quotes).
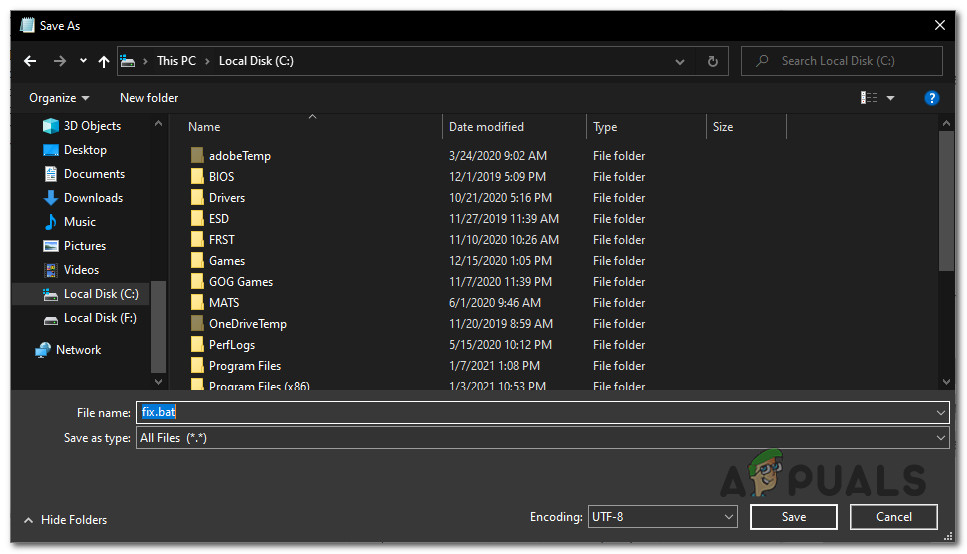
Creating the .bat fix file - Hit Save to create the .bat file, then navigate to the location where you previously saved it. Once you get there, right-click on it and choose Run as administrator. Next, click Yes at the UAC (User Account Prompt) and wait until every command is successfully processed.
- Finally, download and install IE 11 again using the same channels as before and see if the problem is still occurring.
If the same problem is still occurring, move down to the next potential fix below.
Method 5: Repair installing / clean installing
In case none of the potential fixes above have worked for you, you should seriously start to consider the fact that you might be dealing with some type of system corruption that is severely affecting Windows Update – This is even more likely if you are encountering the 9c59 error code with every pending Windows Update that you are trying to install.
If you find yourself in this scenario, the only repair avenues available to you are repair installing and clean installing.
But keep in mind that in case you decide to go for a repair install (in-place repair), you’ll need to insert (or plugin) a compatible installation media. This should be the go-to approach if you have sensitive information on the C drive that you want to keep.
On the other hand, if you’re looking for a quick and painless way of refreshing every Windows component that might be responsible for the apparition of this issue, clean installing is the best choice since you’ll be able to start it directly from the GUI menu of Windows (a compatible installation media is not required).


