How to Fix Update ‘Error Code: 0x800707e7’ on Windows 10
The user notices the 0x800707e7 update issue when either the update process does not start or is stuck at some percentage and the system fails to install the update. The 0x800707e7 error code is reported on feature updates, quality updates, or in some cases, upgrading from Windows 7.

After thoroughly going through the error reports, the following are the main causes identified to originate the issue:
- Indexing location: Many Windows updates prefer to see the hosting environment, including the Indexing Location of your PC, in the default settings and if you or any of your applications have moved this setting to another location, it may cause the update to fail.
- Corrupt Software Distribution and Catroot2 folder: Windows Updates temporarily store their data in the Software Distribution and Catroot2 folders. If these folders on your system are corrupt, it may result in the update error at hand.
- Conflicting Applications: Many applications like SQL Server and Antivirus (e.g., Kaspersky) create hidden user profiles on your PC, and the presence of these profiles can break the operation of the problematic update.
- Unknown User Profiles: If there are unknown/ corrupt user profiles present on the system or their traces in the system’s registry, it can cause the user profile suffix mismatch message in the error logs of your system, resulting in the issue at hand.
Before moving on, check if clean booting your PC clears the update error 0x800707e7. If you are one of those Windows 7 users who are encountering the issue while upgrading, make sure to remove home groups from your system before trying the upgrade again.
Moreover, many users have reported that they were able to solve the issue by logging out (not shutting down) of the system when the update in question status changes to install, so, check if that works for you. Also, it will be a good idea to perform a disk clean-up (clears out the old Windows update files and creates space on the system drive) to solve the update issue at hand.
Use the Windows Update Troubleshooter
The Windows Update Troubleshooter is one of Microsoft’s built-in troubleshooters to hunt down the common update issues affecting the system and running the same may solve the update problem.
- Right-click Windows and select Settings.
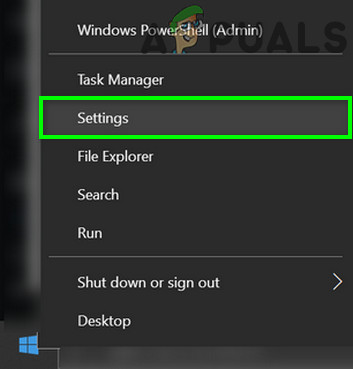
Open Windows Settings - Now open Update & Security and in the resulting window, select Troubleshoot (in the left half of the window).
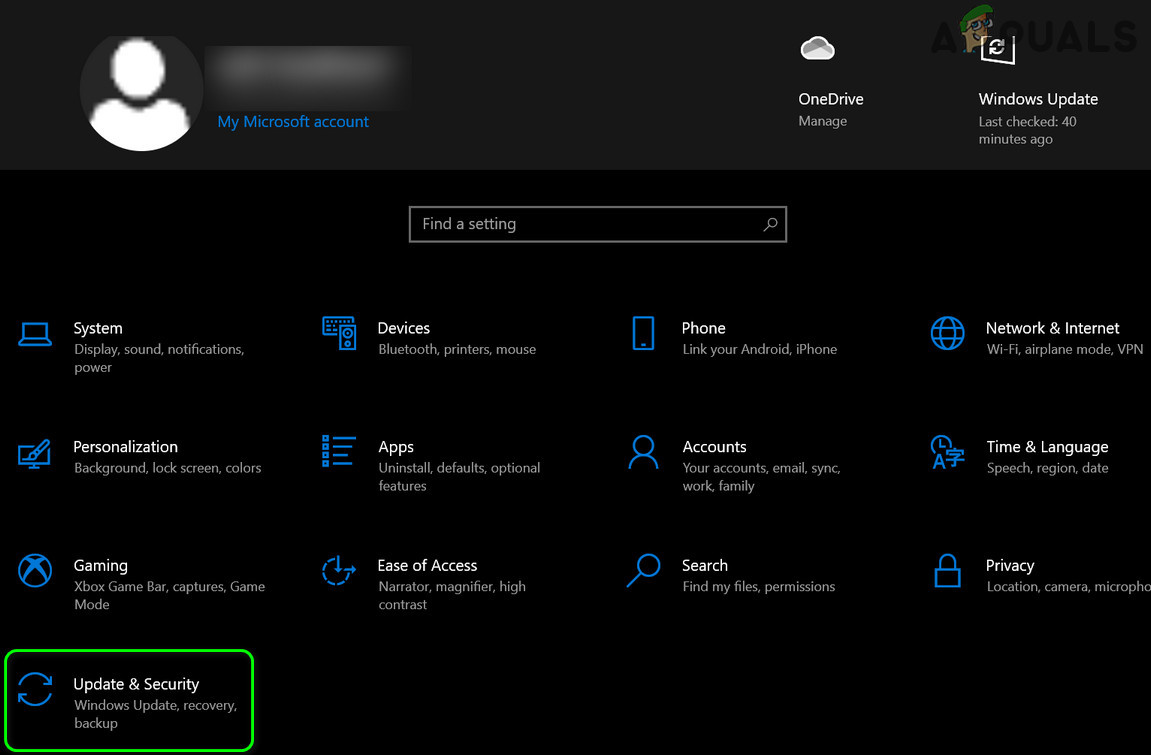
Open Update & Security - Then, in the right half of the window, click on the link of Additional Troubleshooters.
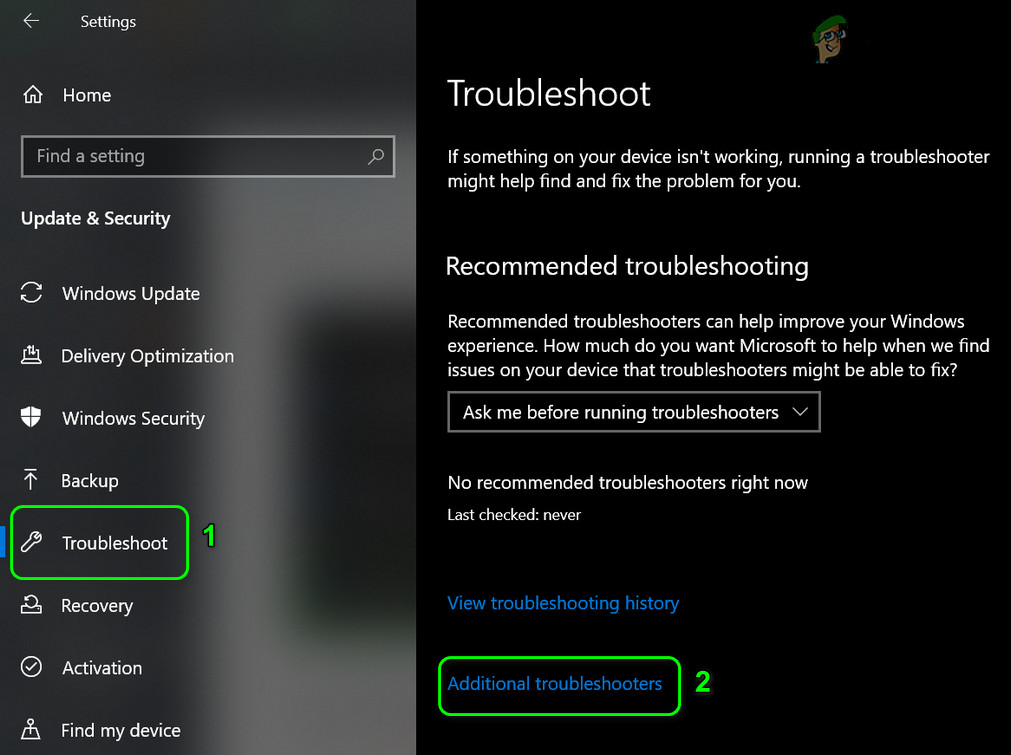
Open Additional Troubleshooters - Now, expand Windows Update (under Get Up and Running) and click on the button of Run the Troubleshooter.
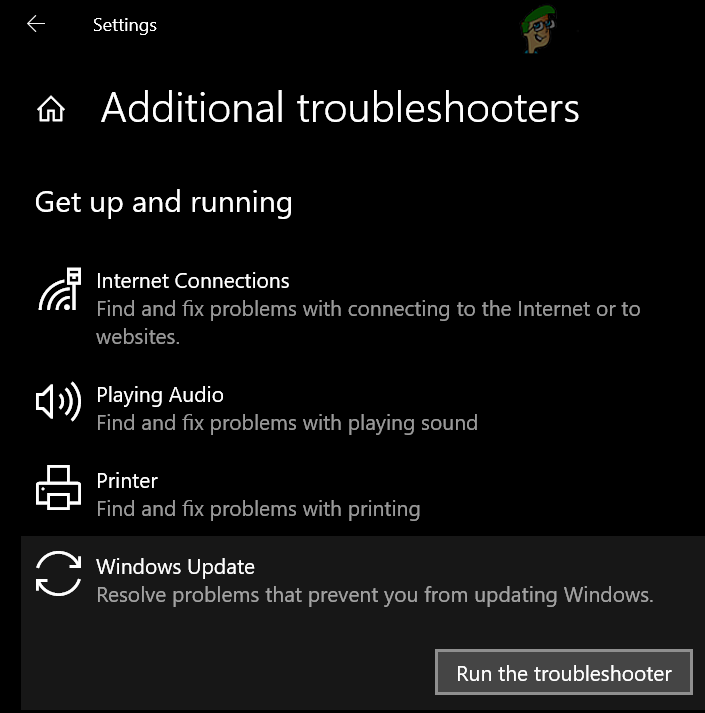
Run the Windows Update Troubleshooter - Then follow the prompts and let the troubleshooter complete its process.
- Once done, apply the changes suggested by the troubleshooter and then check if you can update your system without error 0x800707e7.
Manually Update the PC’s Windows
Installing Windows updates is usually a smooth and automatic process through the Windows Update channel. As these updates are failing to install automatically, manually installing the same, which will use different OS directories and resources, may solve the problem
- Launch a web browser and head to the Windows 10 portion of the Microsoft website.
- Now, under the latest Windows Update assistant, click on Update Now and let the update assistant download.
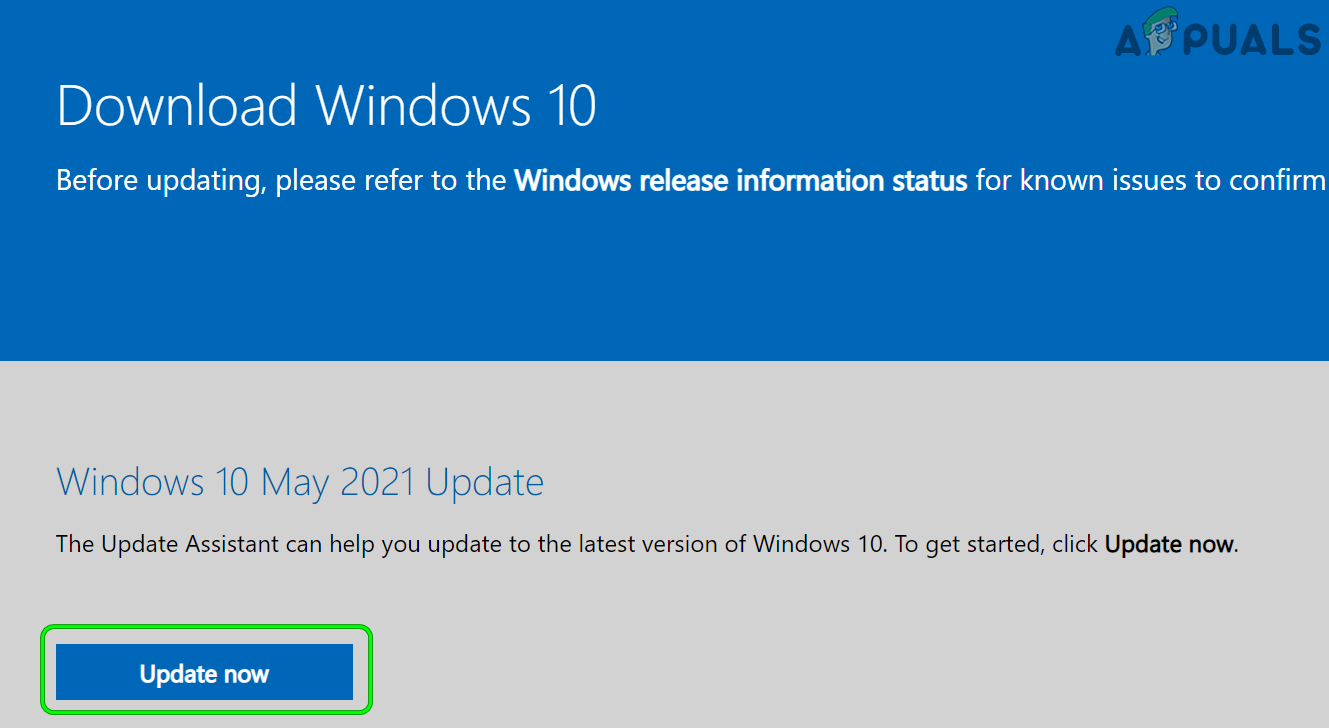
Download Latest Windows Update Assistant by Clicking on Update Now - Afterward, open the setup file of the assistant as administrator and follow the prompts to check if the system can be updated without error 0x800707e7.
Setting the Indexing Location of Your PC to the Default Path
Many users or applications love to customize their PCs as per their requirements. In this process, sometimes they change the Indexing Location path of their system, whereas, some of the Windows Updates require this path to be on the OS drive or on the default setting.
If this path is not set to its default setting on your system, then the updates may fail to install with the update error 0x800707e7 and the same can be fixed by setting the path of the Indexing Location of Your PC to the default.
- Click Windows and search for Control Panel. Then open Control Panel.

Open Control Panel - Now click on View by and select Small Icons.

Open Indexing Options in the Control Panel - Then select Indexing Options and in the resulting window, click on the Advanced button (near the bottom of the window).
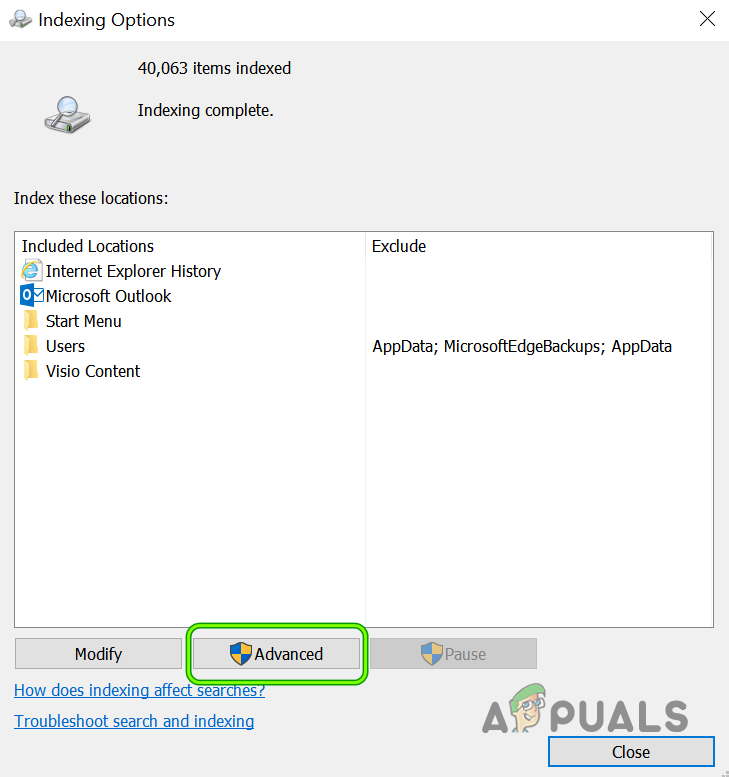
Open Advanced Indexing Options - Now make sure the Current Location under Index Location is set to the following path (you may use the Select New button to set it if the path is a different one):
C:\ProgramData\Microsoft
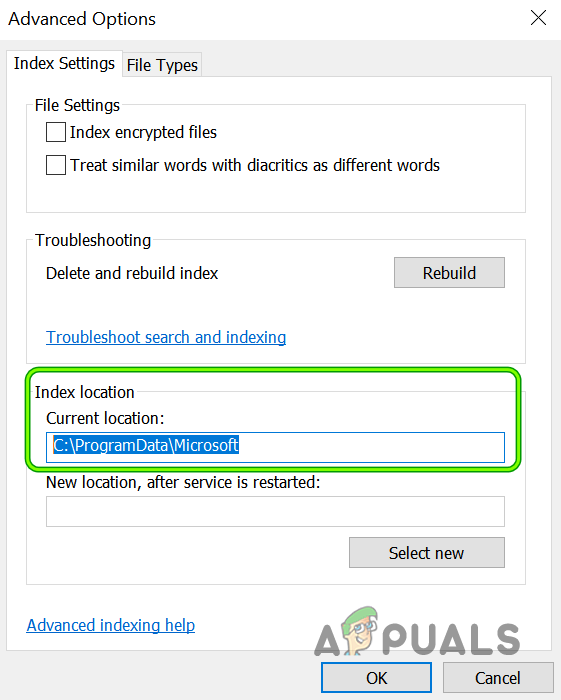
Set Indexing Location to Defaults - Then apply your changes and reboot your PC (if required). Afterward, check if your PC is clear of the update error 0x800707e7.
Run the SFC & DISM Scans on Your System
The system files can become corrupt due to many factors like a power failure or if an essential system file is deleted by the antivirus of your system after marking it as a threat (as a result of false-positive). If the essential system files are corrupt, the update under question might fail to install. In this context, using the DISM and SFC scans to clear the files’ corruption may solve the problem.
- Click Windows and search for Command Prompt.
- Now, right-click on Command Prompt and select Run as Administrator.
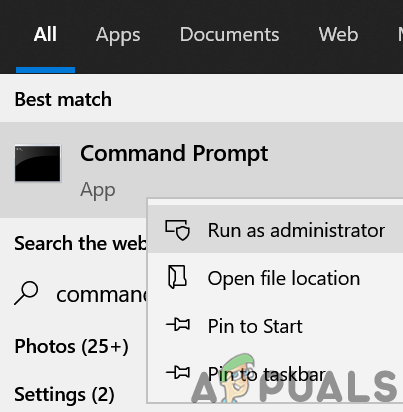
Open Command Prompt as Administrator - Then execute the following (it may take around 20-30 minutes):
Dism /Online /Cleanup-Image /RestoreHealth
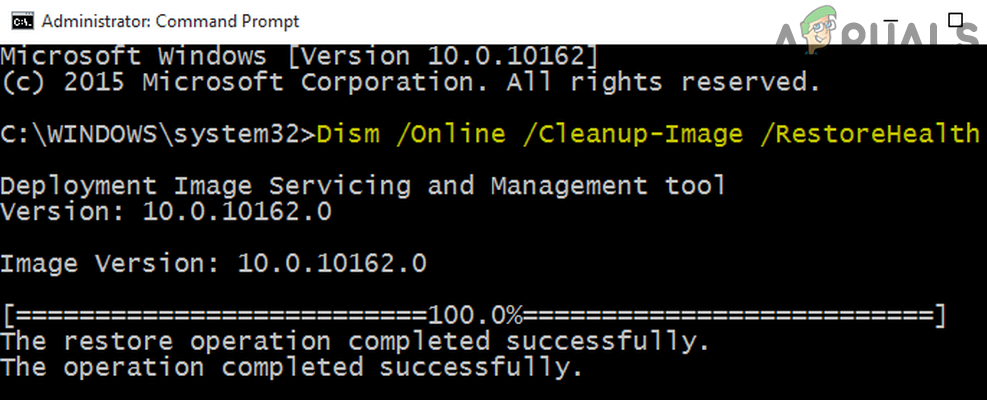
Use the DISM Command to RestoreHealth - Once completed, execute the following command (preferably overnight, as this can take some extended time to complete):
SFC /scannow
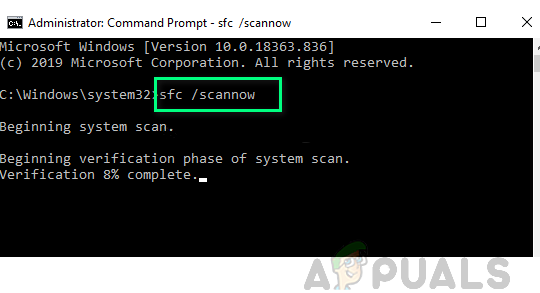
Perform an SFC Scan - Once executed, check if your system can install the problematic update without encountering the error code 0x800707e7.
Reset the Windows Update Components to the Defaults
Windows Update temporarily downloads its files to many system folders like the Software Distribution and Catroot2 folders before propagating to the relevant system directories and if the contents of any of these folders are corrupt, the future updates might fail to install with error 0x800707e7. In this scenario, resetting the Windows Update Components i.e., either rename these folders or delete their contents may solve the problem.
- Click Windows and search Command Prompt. Now right-click on the result of Command Prompt and in the sub-menu, select Run as Administrator.
- Then execute the following by copy-pasting the commands one by one (do not forget to press the Enter key after each cmdlet):
net stop wuauserv

net stop cryptSvc

net stop bits

net stop msiserver

ren C:\Windows\SoftwareDistribution SoftwareDistribution.old

ren C:\Windows\System32\catroot2 Catroot2.old

net start wuauserv

net start cryptSvc

net start bits

net start msiserver
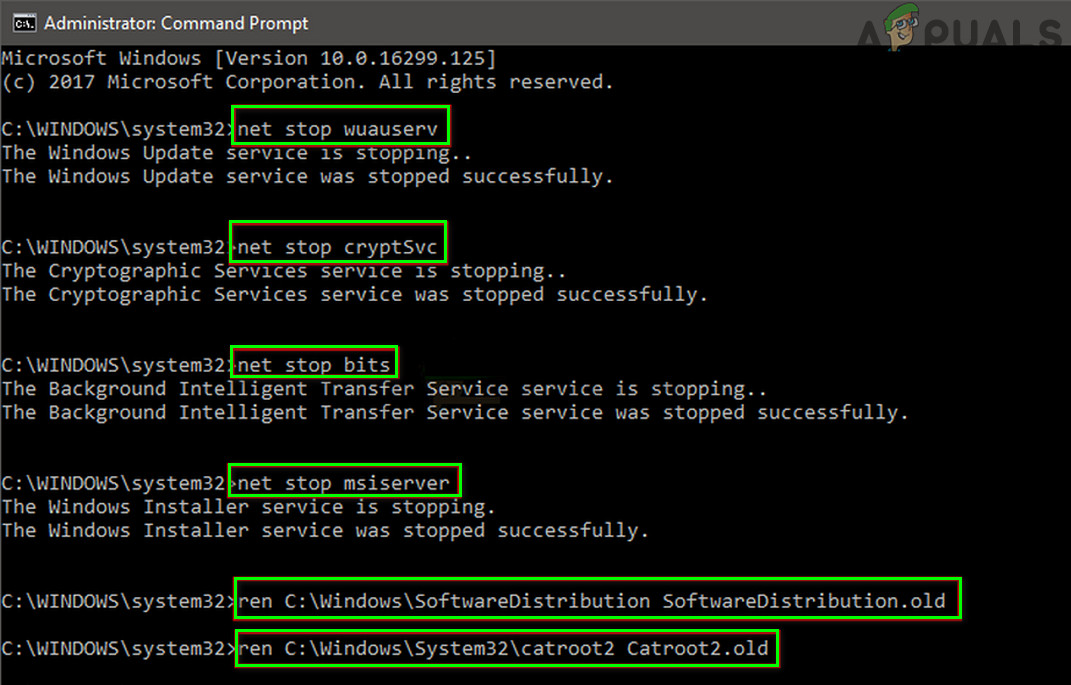
Stop the Services Related To Update & Rename the Software Distribution and Catroot2 Folders - Now close the Command Prompt window and check if the update error 0x800707e7 is cleared.
Uninstall the Conflicting Applications
There are many applications (like SQL Server) that create hidden users’ profiles on your system to complete their operation but these profiles may hinder the update process and thus cause the update error 0x800707e7. In this scenario, uninstalling the conflicting applications (like antivirus, etc.) may solve the problem. Following are the applications reported by users to trigger the issue:
- SQL Server
- Kaspersky Antivirus (it will be better to remove any third-party security product but at your own risk as uninstalling the security product may expose your data/system to threats)
- Microsoft’s Zune Software
- Nvidia Drivers
If you have any of these or a similar application, then you may uninstall it. For illustration, we will discuss the uninstallation process of the Kaspersky Antivirus.
- Right-click Windows and open Apps & Features.
- Now expand Kaspersky and click on the Uninstall button.

Uninstall the Kaspersky Anti-Virus - Then confirm to initiate the uninstall process of Kaspersky and follow the prompts to complete the uninstallation process.
- Once completed, reboot your PC, and upon reboot, check if your system is clear of the error 0x800707e7.
Delete the Unknown User Profiles from the System Properties
Your system might fail to install the update in question with error 0x800707e7 if there are corrupt or unwanted user profiles (usually from an uninstalled application) on your system. In this context, deleting the corrupt or unwanted user profile may solve the problem. Before proceeding, it will be better to create a system restore point (to be on the safer side).
- Right-click Windows and select Run.
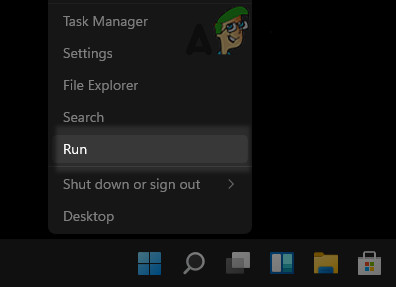
Open the Run Command Box from the Quick Access Menu - Now, navigate to the following:
\users
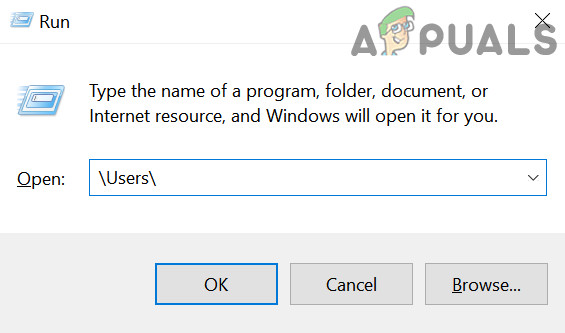
Open Users Folder Through the Run Box - Then check if there are user profiles folders that are not required or identified by you (you may have to enable viewing of hidden files/ folders and protected system files). If so, then you may back up the contents of the user folders that you do not need.
- Now, click Windows and search for Advanced System Settings.

Open Advanced System Settings - Then open View Advanced System Settings and under User Profiles, click on Settings.
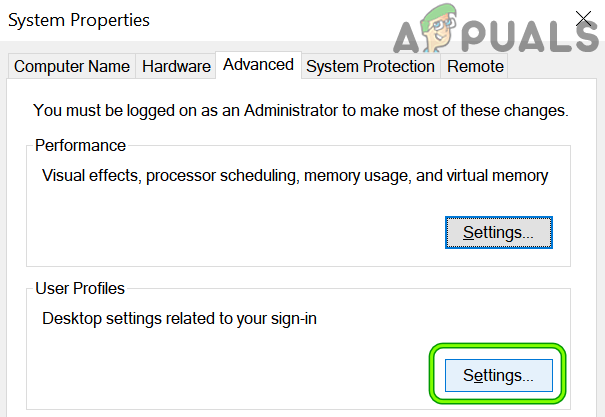
Open User Profiles Settings in the Advanced System Settings - Now check if the unknown user profiles are shown here, if so, then select the unknown profile, and click on Delete. Make sure you are not deleting an essential user profile.
- Then confirm to delete the profile and repeat the same for all other unknown profiles.
- Afterward, reboot your PC and upon reboot, check if the problematic Windows update can be applied to your system without triggering the error 0x800707e7.
Edit the System’s Registry to Delete the Corrupt User Profile Entries
If deleting the user profile did not work for you then most probably a corrupt user profile entry, even though it does not exist on the system might be triggering the issue at hand. Before moving on, it is essential to create a backup of your system’s registry (just to be safe). Also, if you are one of those advanced users who have shifted their user profiles to a non-OS drive by editing the registry, then you may revert the same to complete the update process.
Warning:
Advance at your own risk as editing the PC’s registry can be a risky task (if not done properly) and you may cause everlasting damage to your PC/data.
- Click Windows and search for Registry Editor.
- Now right-click on Registry Editor and in the sub-menu, click on Run as Administrator.
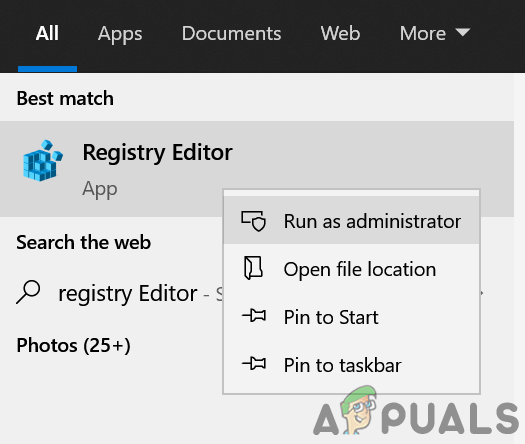
Open Registry Editor as Administrator - Then navigate to the following (copy-paste the address):
Computer\HKEY_LOCAL_MACHINE\SOFTWARE\Microsoft\Windows NT\CurrentVersion\ProfileList

Open the ProfileList Key in the Registry Editor - Now check if there is an unknown user account present there that you do not use. If so, delete that registry key and the relevant folder. Be extremely careful, do not delete a key referring to a valid user account.
You can check the folders under the ProfileList key in the left pane and explore the ProfileImagePath key to find out the problematic user profile. If any of the values of the ProfileList key has a .bak extension, you may delete that key as well.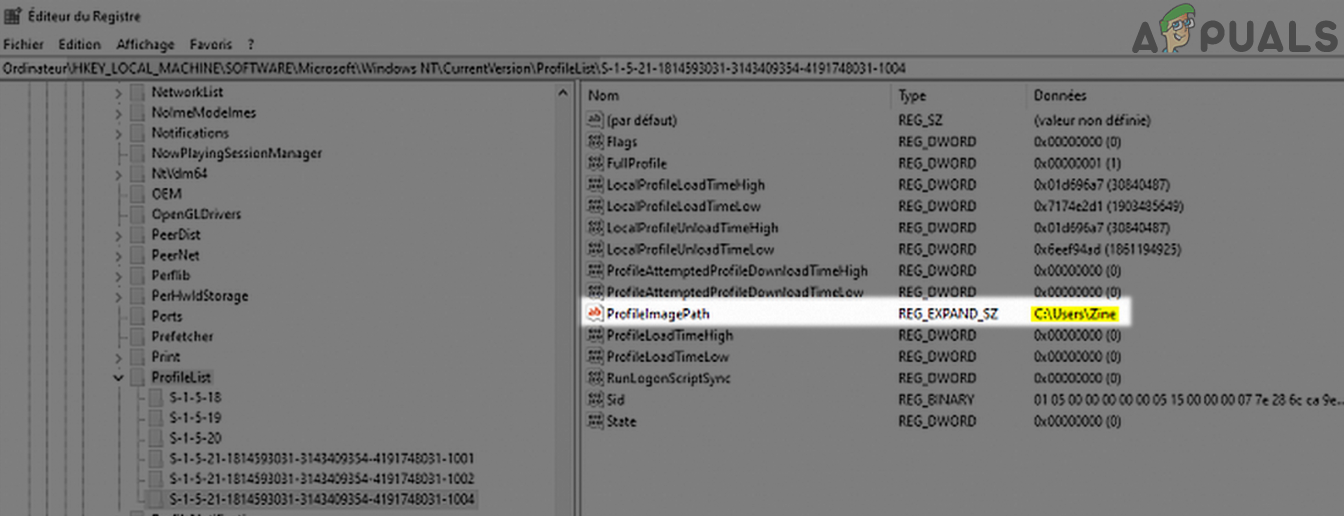
Delete the Registry Key and Folder Referring to the Problematic User Profile - Then repeat the same to the following key:
Computer\HKEY_LOCAL_MACHINE\SOFTWARE\WOW6432Node\Microsoft\Windows NT\CurrentVersion\ProfileList

Delete the Sub-Key of the ProfileList With the .Bak Extension - Once done, reboot your PC after closing the editor’s window and upon reboot, check if the update issue 0x800707e7 is solved.
Run an In-Place Upgrade of Your PC’s Windows
If the issue is still there after trying the above solutions, then running an In-Place Upgrade of your PC’s Windows that will reinstall the OS while keeping your data/apps may clear the error 0x800707e7. Before moving on, make sure to back up essential files/data and create a system restore point.
- Launch a web browser and steer to the Windows 10 portion of Microsoft’s website.
- Now click on the Download Tool Now button (in the section of Create Windows 10 Installation Media) and let it download.
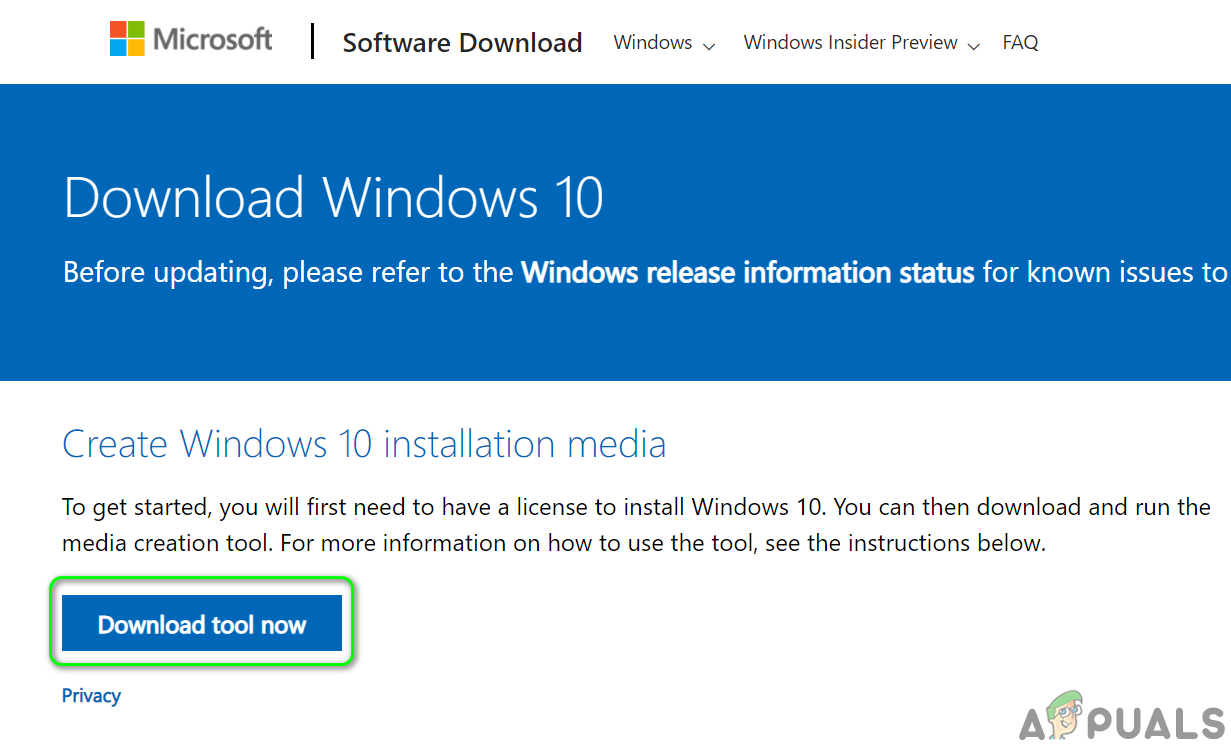
Download Media Creation Tool Now - Then, launch the Media Creation Tool as administrator and on the license terms page, click on the Accept button.
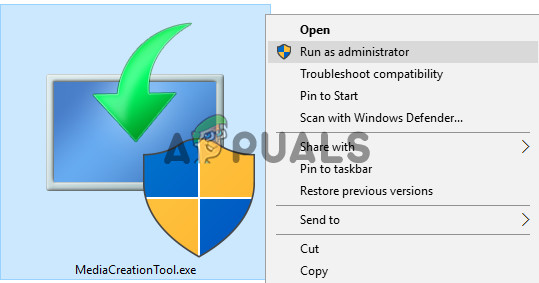
Launch the Media Creation Tool as Administrator - Now select the button of Upgrade This PC Now and follow the wizard’s prompts to complete the upgrade process but during the process, when asked to, select Keep Window Settings, Personal Files, and Apps.
- Once the upgrade process is complete, hopefully, your PC would be clear of the update error 0x800707e7.
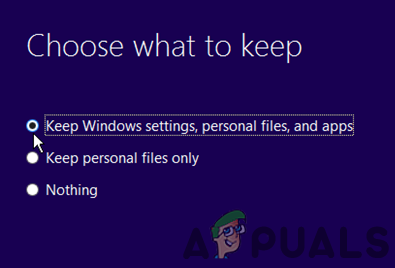
Keep Windows Settings, Personal Files, and Apps
If everything else fails, then you may have to either reset your PC to the defaults or perform a clean installation of your PC to solve the update issue.


