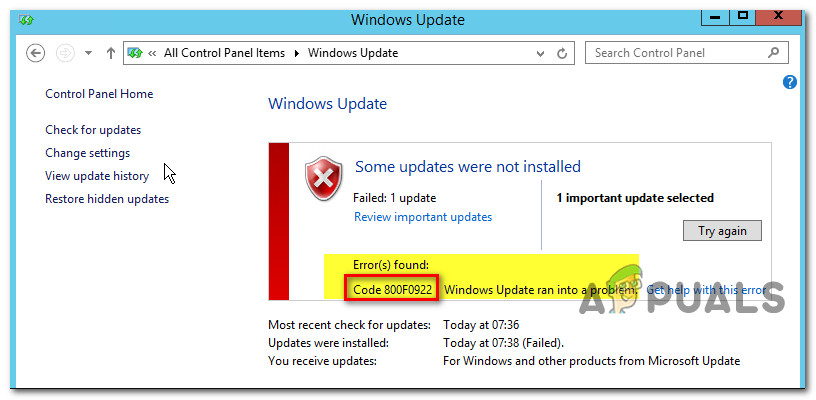
How to Fix Error Code 800F0922 on Windows 7 / 8.1 / 10
Some Windows users are encountering the Error Code 800f0922 when trying to install a pending update on their computer. In most cases, this particular issue is reported to occur on Windows 7 and Windows 8.1 and sometimes on Windows 10 as well.
After investigating this particular error code, it turns out that this problem might occur due to several different potential culprits. Here’s a shortlist of scenarios in which the 800f0922 error code is confirmed to occur:
- Common WU glitch – In most common instances, this problem will occur due to a common glitch that Microsoft is already aware of. In this case, running the Windows Update Troubleshooter should be enough to fix the problem automatically. If that doesn’t work, there are some 3rd party alternatives to consider.
- WU process is stuck in a limbo state – Under certain circumstances, you can expect to see this error code because one or more essential WU services are stuck in a limbo state. In this case, you’ll need to reset every Windows Update component in order to fix the issue.
- KB2919355 is missing from Windows 8.1 – If you’re seeing this error on Windows 8.1, it’s most likely because you’re missing a key update that serves as a prerequisite to the update you’re trying to install when seeing the error. Most likely, you can fix this problem by installing the KB2919355 update using the Microsoft Update Catalog.
- Framework conflict – If you’re dealing with a .NET framework conflict (seeing this error while trying to install a new framework), you should be able to get the issue resolved by disabling every NET framework that’s already installed before completing the Windows Update installation.
- Windows 10 installation is missing the Creators Update – If you’re seeing this error on Windows 10, one of the most common reasons why you might see this error is an instance in which you’re trying to install an update to the Creators Update infrastructure while missing the Creators Update. In this case, you can sue the Update Assistant to install the Creators update in order to fix the issue.
- Corrupted files inside the temp folder – As it turns out, corrupted files inside the temp folder can also be responsible for the apparition of this error code. In this case, you can fix the issue simply by clearing the temp folder using the Disk Cleanup utility.
- Corrupted .CBS logs – According to dozens of affected users, this error code can also occur if your CBS folder is currently holding corrupted .cab or .log files. To fix this problem, all you need to do is clear the folder and run a DISM command to regenerate the folder.
- Conflict with Secure Boot – As it turns out, this problem can also occur due to a conflict between the update you’re trying to install and the Secure Boot feature enforced through your BIOS or UEFI settings. In this case, you can avoid the error code by disabling Secure boot before attempting to install the update.
Now that you know every potential culprit, here’s are the potential fixes for the 800f0922 error code:
Method 1: Running the Windows Update Troubleshooter
Before you utilize any of the other fixes below, you should start by checking if your Windows 7 or Windows 8.1 computer is not equipped to fix this problem automatically. If Microsoft is already aware of this issue and has actively included a repair strategy for it, then the Windows Update Troubleshooter should be able to fix it automatically.
Windows Update Troubleshooter is essentially a collection of automated repair strategies that will fix a variety of issues. After you launch it, it will automatically analyze the WU component and attempt to repair any inconsistency (or at least recommend a fix for it).
Here’s a short step-by-step guide on running the Windows Update Troubleshooter utility to fix the 800f0922 error code:
- Press Windows key + R to open up a Run dialog box. Next, type ‘control’ inside the text box and press Enter to open up the Classic Control Panel interface.
Running Control Panel - Once you’re inside the main Control Panel interface, use the search function (top-right corner) and search for ‘troubleshoot‘. Next, from the list of results, click on the Troubleshooting entry to expand the list of integrated troubleshooter.
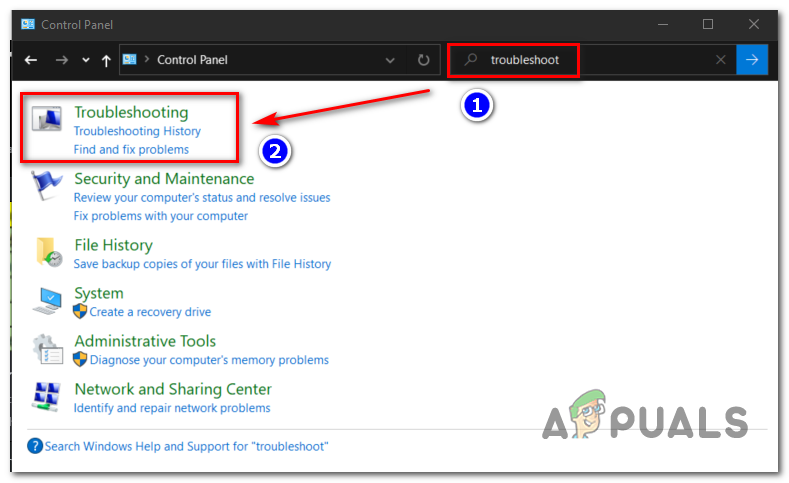
Accessing the classic troubleshooting menu - Inside the Troubleshooting menu, click on System and Security.
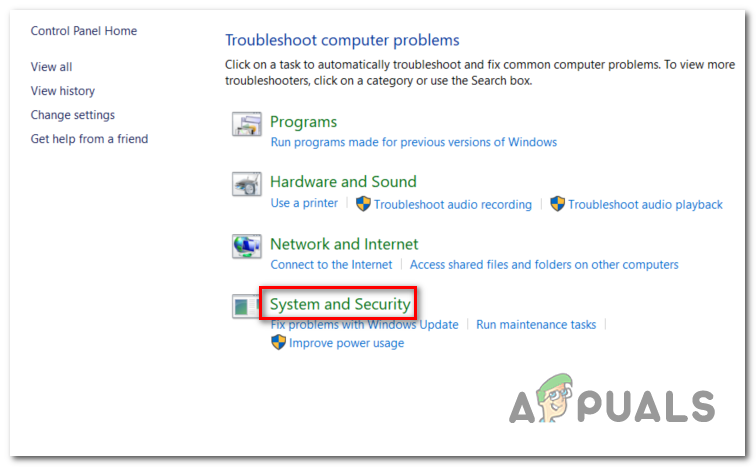
Accessing the System and Security Troubleshooting menu - Once you’re inside the System and Security menu, click on Windows Update (under Windows) and click on Windows Update Troubleshooter.
- At the first screen of the troubleshooter, start by checking the box associated with Apply repairs automatically then click Next to move to initiate the operation.
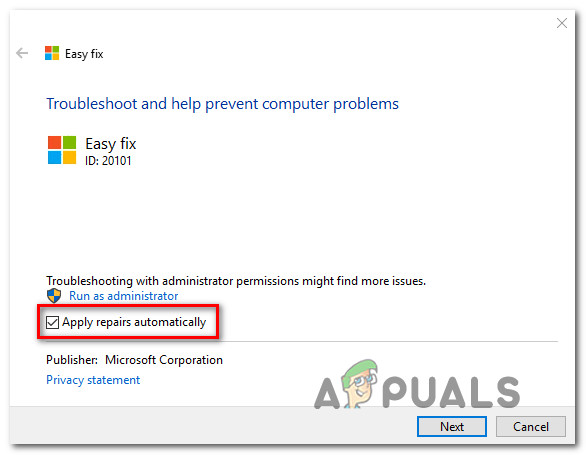
Applying repairs automatically - Once the scan is started, wait until the operation is complete, then click on Apply this fix and follow the on-screen prompts to apply the recommended fix.
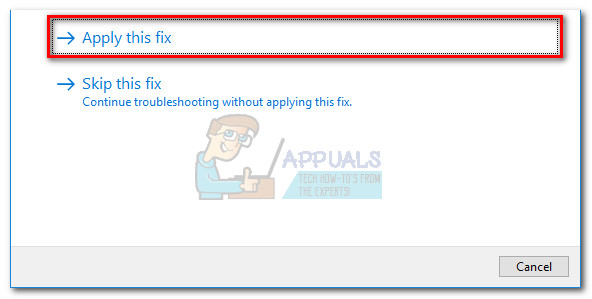
Applying the recommended fix - Reboot your computer and see if the 800f0922 error is now fixed.
In case the same issue is still popping up when you attempt to install a pending update, try following Method 2.
Method 2: Resetting the Windows Update component
If the first potential fix was ineffective, the next thing you should do is to reset every Windows Update component that might be responsible for this error code. As some affected users have confirmed, it’s possible to see the 800f0922 error code due to one or more components that are currently stuck in a limbo state.
If this scenario is applicable, you can fix the issue by following the instructions below to reset every WU component:
- Open up a Run dialog box by pressing Windows key + R. Next, type ‘cmd’ and press Ctrl + Shift + Enter to open up an elevated Command Prompt. When you ser the UAC (User Account Control), click Yes to grant admin access.

Running Command Prompt - Once you’re inside the CMD window, ty[e the following commands in order and press Enter after each one to stop every essential WU service:
net stop wuauserv
net stop cryptSvc
net stop bits
net stop msiserver
Note: Running these commands will stop the Windows Update Services, MSI Installer, Cryptographic services, and BITS services.
- Next, run the following commands in quick succession to rename the Software Distribution and Catroot folders:
ren C:\Windows\SoftwareDistribution SoftwareDistribution.old
ren C:\Windows\System32\catroot2 Catroot2.old
Note: This operation will force your OS to disregard the current folders and create new instances of the 2 folders.
- Once the folder has been successfully renamed, run the following commands to re-enable the services that you disabled at step 2:
net start wuauserv
net start cryptSvc
net start bits
net start msiserver
- Restart your computer and see if the update error is now fixed.
In case you still end up seeing the 800f0922 error, move down to the next potential fix below.
Method 3: Install KB2919355 update first (Windows 8.1 Only)
If you’re seeing this error code on Windows 8.1, chances are you’re seeing this error code because you’re trying to install an update requiring an infrastructure update that’s currently missing from your computer.
In most documented cases on Windows 81., that missing update is KB2919355 – We’ve managed to find several different user reports that have managed to fix the 800f0922 error code by using the Microsoft Update Catalog to install the KB2919355 update prior to using Windows Update to install the pending update that was triggering the error code.
If you’re not sure how to use the Microsoft Update Catalog for this purpose, follow the instructions below:
- Open your default web browser and access the home page of the Microsoft Update Catalog.
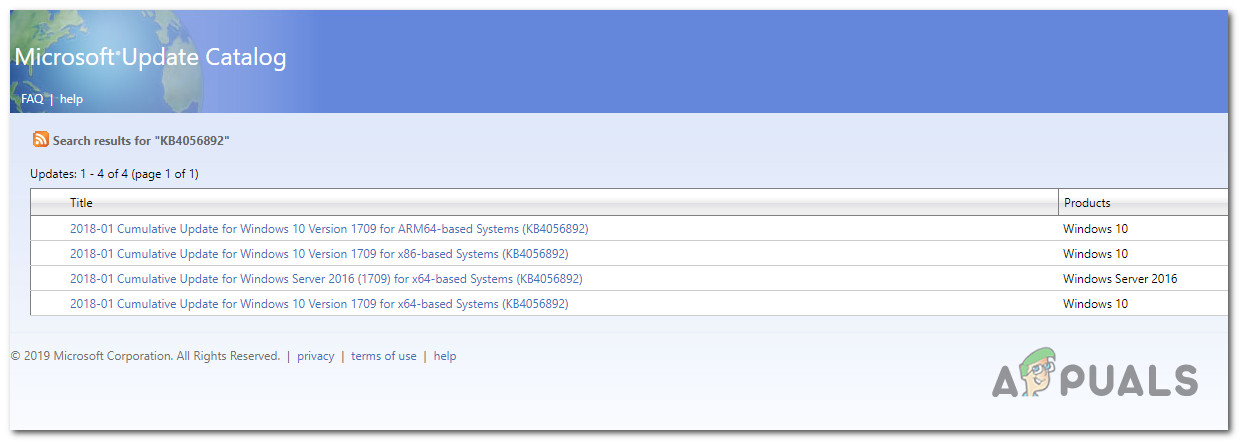
- Once you’re inside the correct page, utilize the search function in the top-left corner of the screen to search for the missing KB2919355 Windows Update.
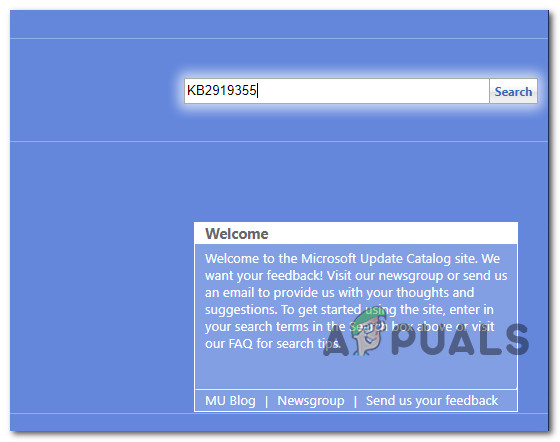
Searching for the KB2919355 update - Once the results are generated, look for the appropriate version of the KB2919355 update by looking at their targeted OS architecture and the Windows version they’re designed for. You need to ensure that you’re downloading the Windows 8.1 version and that you select the correct bit version according to your Windows installation.
Note: If you’re not sure which bit infrastructure you’re using, press Windows key + R (to open a Run box) then type ‘msinfo32’ and hit Enter to open up the System Information menu. Once you’re inside, click on msinfo32, then move over to the right-hand section and check the entry associated with System Type – If it says x64-based PC, you’re using a 64-bit version and if it says 86-based PC, you’re using 32-bit.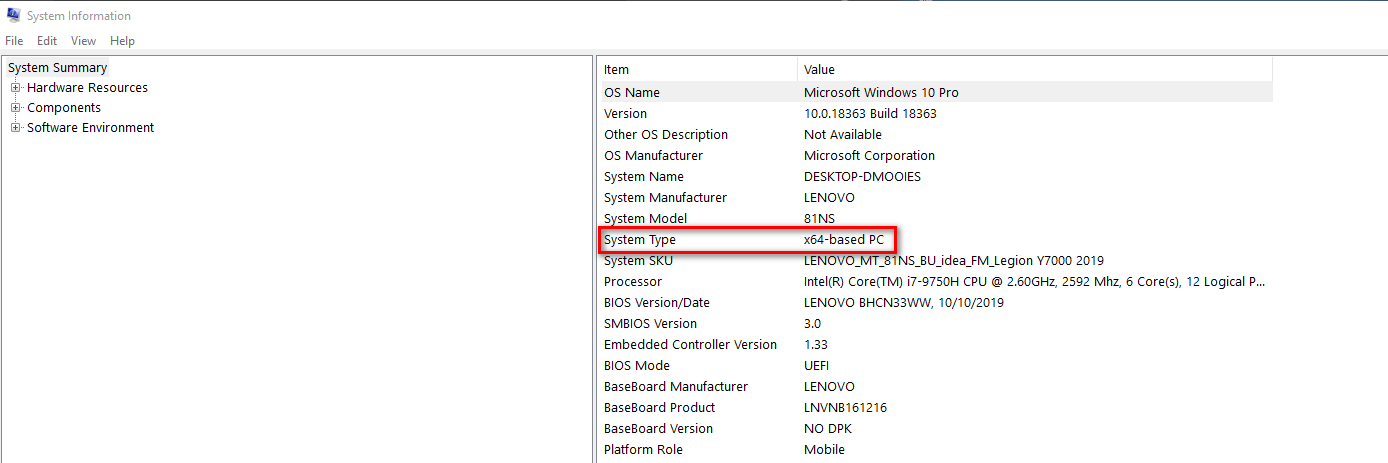
Discovering the system architecture - Once you know which version to download, go ahead and click the Download button associated with the correct update.
Choosing the right Windows Update - Once the download procedure is complete, open File Explorer and navigate to the location where the update was downloaded (by default, it’ll be located inside the Download folder). When you get there, double-click on the installer executable (if available) or right-click on the inf file and choose Install from the context menu that just appeared.
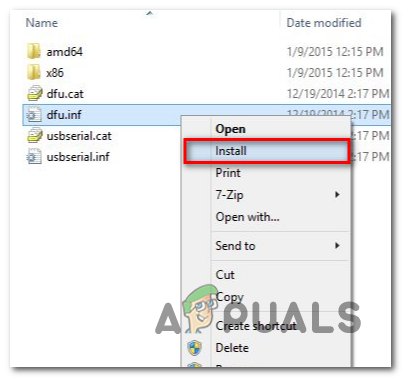
Installing the Inf driver - After the installation is complete, restart your computer conventionally and attempt to reinstall the update that was previously failing with the 800f0922 error once the next startup is complete.
If the same error code is still occurring, move down to the next potential fix below.
Method 4: Running DISM and SFC scans after disabling built-in frameworks
If you’re encountering this error code while attempting to install Microsoft .NET framework through Windows Update or when Steam tries to install it as a game dependency, you are probably dealing with a conflict between existing versions of .NET Frameworks and new iterations
In this case, other affected users have discovered that you should be able to fix the problem by disabling .NET Framework 3.5 and .NET Framework 4.6 prior to utilizing a couple of utilities capable of resolving system file corruption (DISM and SFC).
This method was confirmed to be effective by a lot of users that were previously encountered this issue when trying to install a .NET Framework version.
If you’re looking for step by step instructions on enforcing this method on your computer, follow the guide below:
- Press Windows key + R to open up a Run dialog box. Next, type ‘appwiz.cpl’ inside the text box and press Enter to open up the Programs and Features menu.
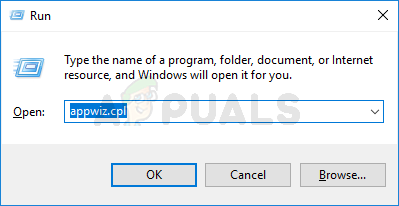
Type appwiz.cpl and Press Enter To Open Installed Programs Page - Once you’re inside the Programs and Features window, move down to the left-hand section of the screen and click on Turn Windows Features on or off.
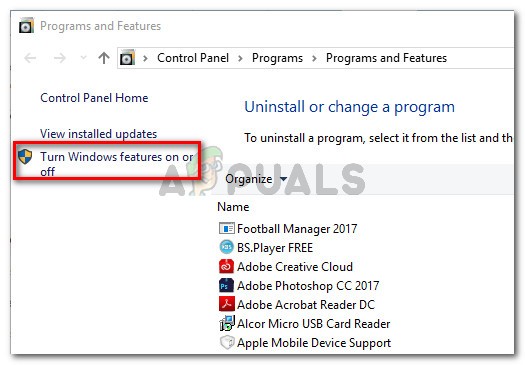
In Programs and Features, click on Turn Windows Features On or Off - From the insides of the Windows Features screen, uncheck the boxes associated with .ET Framework 3.5 (includes .NET 2.0 and 3.0) and .NET Framework 4.8 Advanced Services and click Ok to save the changes.
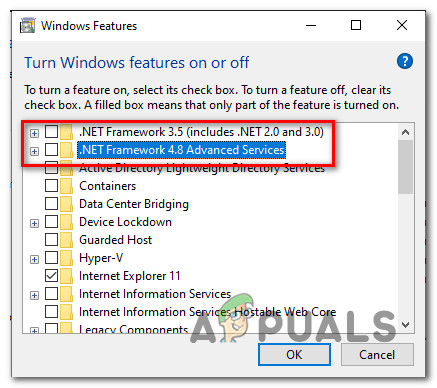
Disabling both .NET framework versions - When prompted to confirm the change, do so and restart your computer.
- Once the next startup is complete, press Windows key + R to open up a Run dialog box again and type ‘cmd’ inside the text box. But this time, press Ctrl + Shift + Enter to open up an elevated Command Prompt.
Running Command Prompt Note: When prompted by the UAC (User Account Control), click Yes to grant admin access.
- Once you’re inside the elevated CMD prompt, type the following command to initiate an SFC scan:
sfc /scannow
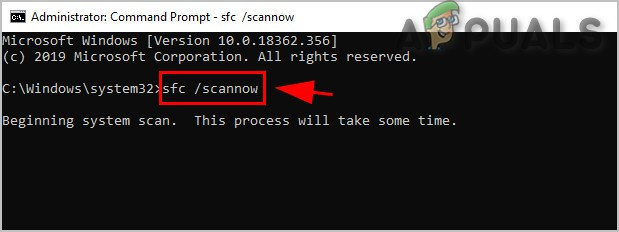
Run SFC Command Note: Wait for the operation to complete, then restart your computer once the operation is completed.
- One the next startup is complete, open another elevated CMD prompt using the instructions above and type the following commands in order to scan and fix file corruption using the DISM (Deployment Image Servicing and Management) utility:
DISM.exe /Online /Cleanup-image /Scanhealth
DISM.exe /Online /Cleanup-image /Restorehealth
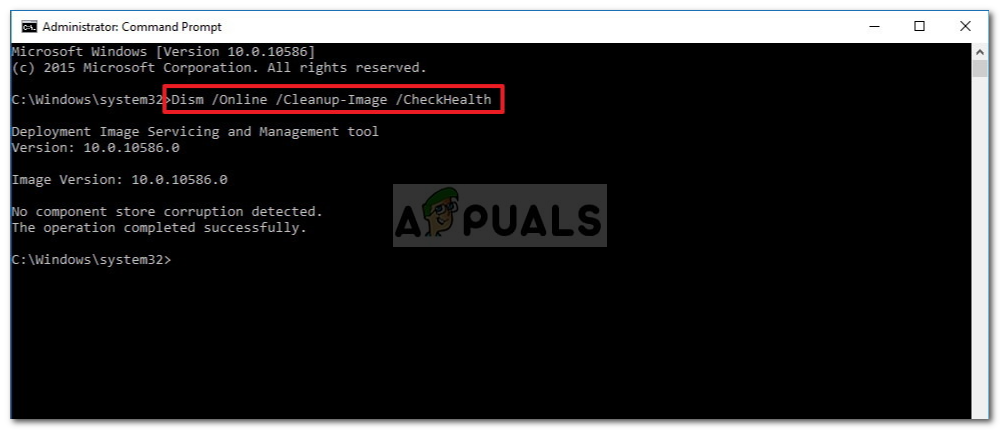
Checking Integrity of System Files - Once the DISM operation is complete, return to the Window Features screen (using the instructions at steps 2 and 3) and re-enable the previously disabled .NET frameworks before rebooting your computer.
- At the next startup, attempt to install the same .NET package that was previously causing the 800f0922 and see if the problem is now fixed.
If you already followed this and you’re still encountering the same problem, move down to the next potential fix below.
Method 5: Installing the Creators Update first (Windows 10 only)
If you’re on Windows 10, the issue might be related to a missing architecture update. According to some affected users, you can expect to see this error code in situations where you’re attempting to install pending updates that have the Creators Update as a prerequisite.
Normally, the Creators Update should be automatically installed by the WU (Windows Update) component, but a certain type of system file corruption or restrictions imposed by the end-user might prevent the architecture update from getting installed.
If this scenario is applicable, you should be able to fix the problem by using the Update assistant to apply the Creators Update prior to attempting to install the update that was failing with the 800f0922 error.
Here’s a quick on installing the Creators Update using the Update assistant:
- First things first, you need to download the Media Creation Tool from the official download page.
- Once you’re on the correct page, click on Update Now button to download the latest version of the Windows Update Assistant.
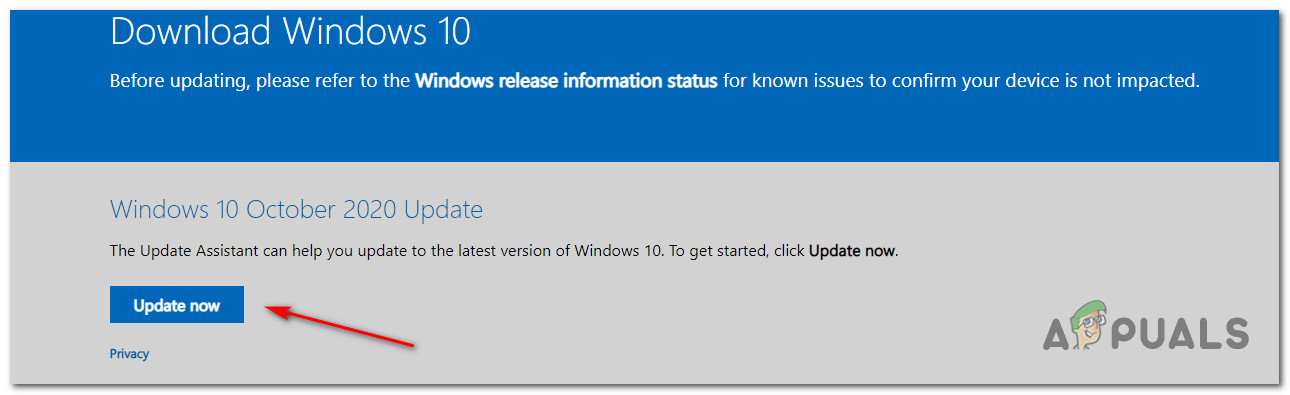
Downloading the latest version of the Windows Update assistant - After the download is complete, double-click on the WIndows10Upgrade.exe, click Yes at the UAC (User Account Control), and click on Update Now to update your Windows build to the latest and install the missing architecture Windows Updates.
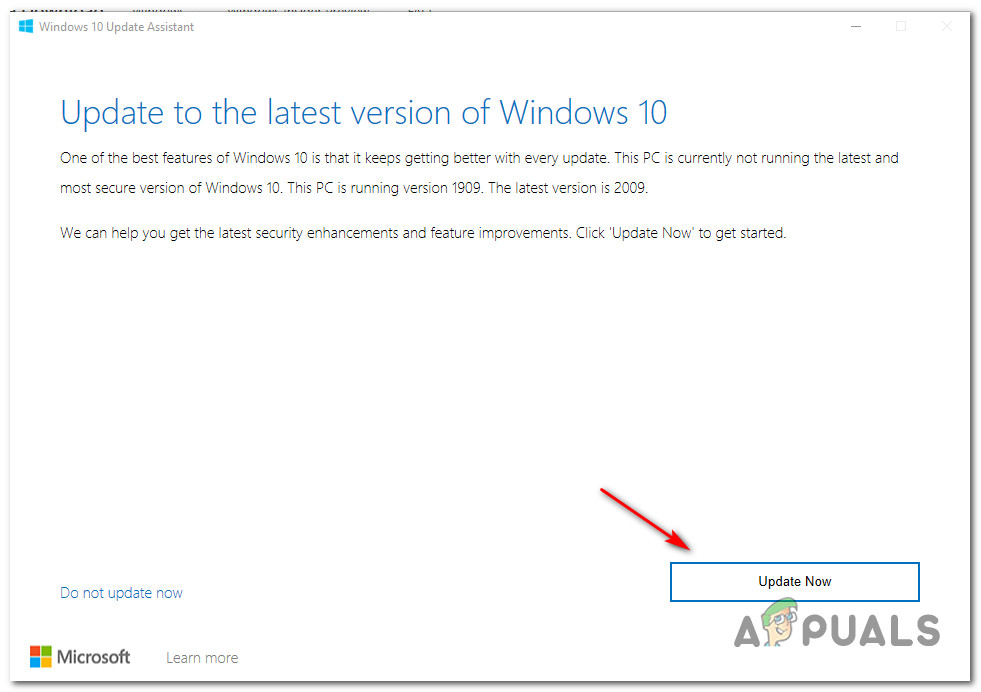
Using the Update Assistant to install the missing Creators Update - Once the installation is complete, restart your computer and see if the problem is fixed once the next startup is complete by attempting to install the remaining updates using Windows Update.
If the same 800f0922 error code is still occurring, move down to the next potential fix below.
Method 6: Clearing the temp folder
As some affected users have reported, you can also expect to see this error due to the fact that your WIndows installation is currently holding some corrupted files that end up interfering with the Windows Update component.
If this scenario is applicable, all you need to do is clear the temp folder and restart your computer in order to fix the 800f0922 error – You can also clear the temp folder manually, but we recommend doing this using the Disk Cleanup menu for maximum efficiency.
Once you successfully manage to clean the temp folder, attempt to install the same update that was previously failing with the 800f0922 error and see if the issue is now resolved.
In case the same error code is still occurring, move down to the next potential fix below.
Method 7: Clearing the .CBS logs
According to some affected users, you can also expect to see this problem if you’re dealing with some type of corruption that’s currently affecting you CBS logs. In most cases, this type of problem is actually caused by a series of .CBS logs related to the DISM utility.
If you haven’t tried clearing your CBS logs in order to fix the 800f0922 error yet, follow the instructions below to do so:
- Open File Explorer conventionally and navigate to the following location:
C:\Windows\Logs\CBS
- Once you’re inside the CBS folder, select everything inside and choose Delete from the newly appeared context menu.
- After you have successfully managed to delete every .log and .cab file inside the CBS folder, you can close the File Explorer window.
- Next, press Windows key + R to open up a Run dialog box. Next, type ‘cmd’ and press Ctrl + Shift + Enter to open up an elevated Command Prompt. When you see the UAC (User Account Control), click Yes to grant administrative privileges.

Running Command Prompt - Once you’re inside the elevated Command Prompt, type the following command and press Enter to run the following command:
Dism.exe /online /enable-feature /featurename:NetFX3 /source:C:\
- After the operation is complete, repeat the action that was previously causing the 800f0922 error and see if the problem is now fixed.
If the same problem is still occurring, move down to the next fix below.
Method 8: Disabling the Secure Boot feature
According to documents of users were dealing with the same 800f0922 error, this problem can also occur due to a Secure Boot conflict. As it turns out, certain Windows Updates will refuse to install properly while this BIOS / UEFI feature is enabled.
If you didn’t know this, keep in mind that Secure Boot is an industry-standard agreed upon by the biggest players in the PC industry in order to ensure that PCs ONLY use software trusted by Original Equipment Manufacturers (OEMs).
This should not cause a conflict with Windows Update since all of them are signed by Microsoft Corp., but apparently, that issue is there.
If the 800f0922 error is actually caused by a Secure Boot conflict, you will be able to fix the problem by disabling the feature from your BIOS / UEFI menu prior to installing the update.
If you don’t know how to do this, follow the instructions below:
- Power up your machine conventionally and start repeatedly pressing the Setup (boot) key during the bootup sequence. YOu can typically find it someone on the bottom section of the screen.
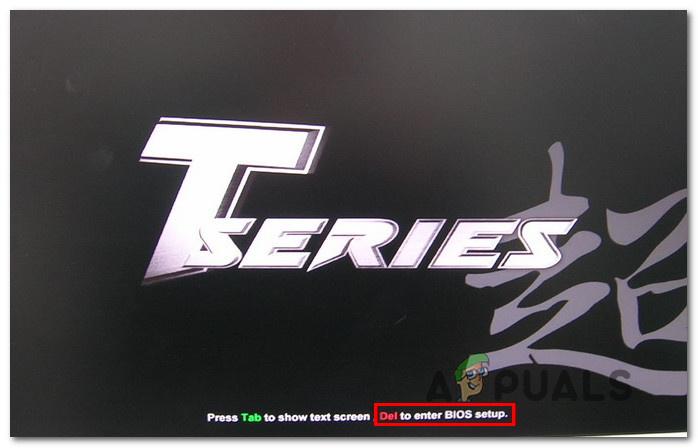
Pressing the Setup key to enter BIOS settings Note: Keep in mind that depending on your motherboard manufacturer, the exact instructions of doing this will be different. In most cases, your setup key will be one of the following: F1, F2, F4, F8, F12, Esc, or Del key
Note 2: If your computer uses UEFI by default, hold the shift key while clicking the Restart button at the initial login screen to force the computer to enter the recovery menu. Then, go to Troubleshoot > Advanced Options > UEFI Firmware Settings to reach the UEFI Menu where you can disable the Secure Boot feature.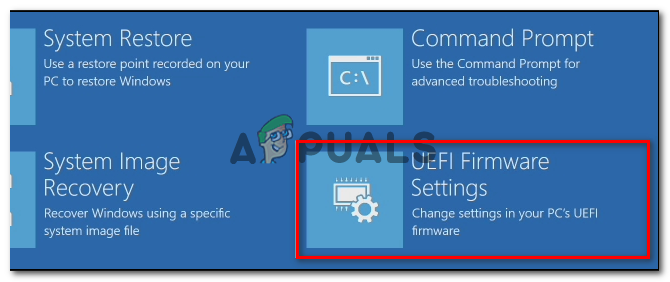
Accessing the UEFI firmware settings - Once you gained entry into the BIOS / UEFI menu, look for an option named Secure Boot and disable it before having the changes – You’ll typically be able to find it inside the Security tab (but the exact name and location will vary depending on your motherboard manufacturer.
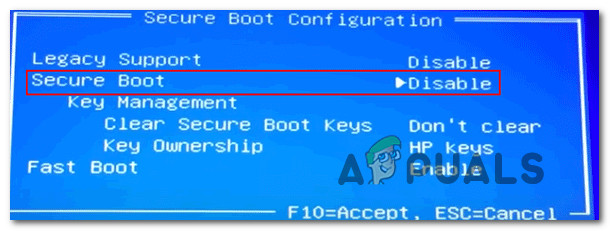
Disabling Secure Boot - Once the Secure Boot feature is disabled, save the changes and boot your computer normally.
- After the next startup is complete, install the pending update conventionally and see if you can do so without encountering the same 800f0922 error.
- If the operation was successful, go ahead and reverse engineer the steps above and re-enable Secure Boot from the same BIOS / UEFI menu.
In case this method was not effective in your case, move down below to Method 7.
Method 9: Running a Farbar Recovery Scan
As it turns out, this particular error code can also occur if your computer is currently dealing with remnant adware or malware files that are affecting the Windows Recovery Environment, making your Windows installation unable to fix the problem automatically.
If this scenario is applicable, you should be able to fix the problem by running a 3rd party scan using the Farbar Recovery.
This method was confirmed to work by several different users that were previously unable to install pending Windows updates (their attempts will halt with the 800f0922 error code).
IMPORTANT: This is not an official Microsoft Product that will scan and potentially replace critical kernel data associated with your Windows Installation. When used improperly, it can cause additional damage to your Windows installation, so consider using it at the last resort (if the other potential fixes have failed)
If the scenario explained above is applicable to your particular situation and you understand the consequences of using a 3rd party tool of this kind, follow the instructions below to initiate a Farbar Recovery scan in an attempt to fix the Windows Update issue:
- Open your favorite browser and visit the download page of the Farbar Recovery Scan Tool.
- Next, download the latest version of the Farbar Recovery Scan Tool and save it to your Desktop

Downloading the Farbar Recovery Scan Tool Note: Keep in mind that depending on which version you’re using, you might need to download the 32 or 64-bit version.
- Once the download is complete, right-click on the Farbar Recovery executable and choose Run as administrator from the newly appeared context menu. Next, click Yes at the initial prompts if you understand the consequences of using this software wrongly.
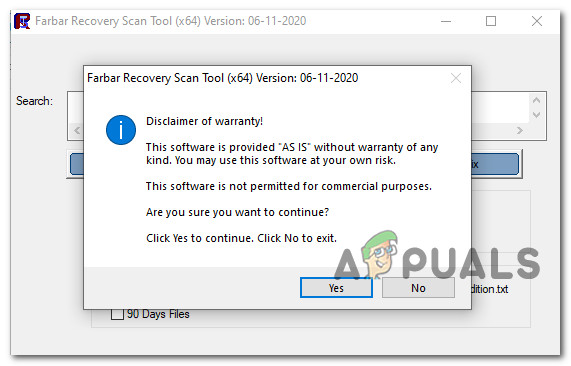
Getting past the initial prompt Note: Depending on your UAC settings, you might need to go through an additional prompt before you’ll be able to run the app.
- Next, start by clicking on Scan, then wait for the operation to complete.
- Leave the default settings, then click Fix to start the operation and confirmed at the final prompt.
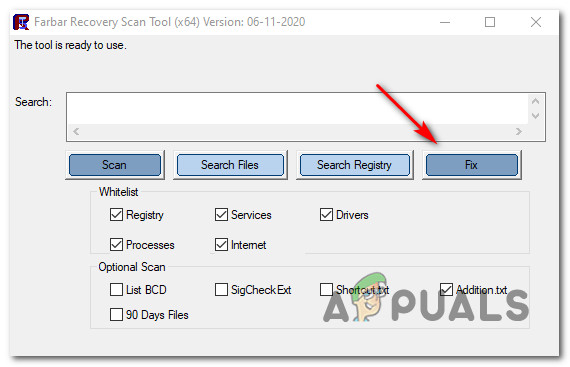
Fixing malware/adware related inconsistencies - Once the operation is complete, reboot your computer and see if the problem is fixed once the next startup is complete.


