What is the “Temp” folder and Should it be Deleted?
There have been many inquiries relating to the “Temp” folder that can be seen across almost all operating systems. Users are anxious regarding the purpose of the existence of the folder and many were wondering if it is safe to delete the folder or its contents.
What is “Temp” Folder?
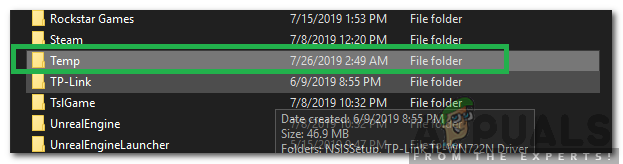
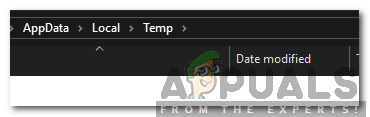
Depending upon the version of Windows that you are using the location of the folder might differ. For most users, the location is “AppData/Local/Temp” while for others it might be “LocalAppData/Temp“. The size of the folder can vary from user to user. It actually depends on the number of applications installed on your computer and the period for which the operating system has been installed.
The Temp folder is used to store certain launch configurations and cached data for all applications installed on the computer. Certain data is cached by the operating system that helps it to reduce loading times and provide a smoother experience, this data is later stored in the Temp folder. The “Temp” folder is created during the Windows installation and the files inside are also created automatically.
Should it be Deleted?
The Folder itself shouldn’t be deleted or tampered with, however, the contents of the folder are entirely safe to be deleted without any harsh side effect to the computer. In fact, it is recommended by top officials to delete the contents of the computer periodically to avoid sluggish performance on the computer’s part.
How to Delete the Content of the Temp Folder?
Although it is entirely safe to delete the content of the folder, in some cases, it was observed that some applications might malfunction if they are storing important data in the folder. Keep in mind that the folder isn’t normally used for storing important data but just to be safe we will only be deleting the content of the folder that isn’t used by any application regularly, this can easily be achieved by using the disk cleanup tool instead of conventional deleting methods. For that:
- Press “Windows” + “S” to open search.
- Type in “Disk Cleanup” and click on the first option.
- Select “C” as the drive and click on “OK“.
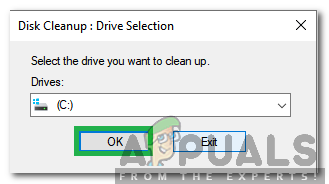
Selecting the “C” drive Note: Select the drive in which Windows has been installed.
- Check the “Temporary” files option and click on “OK“.

Checking Temporary Files and clicking on “OK” - Once the process is completed, the useless contents of the folder will automatically be deleted.