How to Fix Windows Update Stuck at “Working on Updates 100%”
This error commonly arises during the Windows update process, wherein the system appears to be stuck on the “Working on Updates 100% Complete” screen without any further progression. A prevalent cause of this issue is corrupted system files that disrupt the update process, rendering it incapable of completion.
Additional factors contributing to this complication include uninstalled pending updates leading to new update conflicts, and outdated or incompatible drivers that may hinder the update process.
To potentially resolve this without addressing system corruption, you might remove any attached USB peripherals and wait an extended period (2 to 3 hours) to allow the configuration and installation of updates to complete.
For users experiencing this frustrating error, it’s essential to recognize that it’s a frequent problem, but various troubleshooting steps are readily accessible.
1. Give the Update Some Time
Initially, it’s advisable to allow the update some time to conclude autonomously. Certain updates, particularly larger ones, may require an extended period to finish.
The completion time can also vary depending on your computer’s specifications. Older hardware, for instance, can prolong the installation process. Therefore, it’s recommended to leave the update screen undisturbed for approximately 2-3 hours as a precaution. If, after such time, the screen remains static, a system restart could resolve a visually frozen but otherwise completed update process.
2. Remove External Peripherals
Detaching external peripherals from your computer may help. These devices could be interfering with the update process and consequently preventing Windows from finalizing the update.
Such devices might include backup devices or any other non-essential peripherals beyond your keyboard and mouse. Subsequently, disconnect these additional peripherals from your PC and check if the error persists. A system restart may be required for this solution to be effective.
3. Disconnect Your PC’s Internet Connection
An active internet connection might also result in the update getting stuck on the “Working on updates” screen. This happens when Windows attempts a network request that fails to complete.
By disconnecting your device’s internet connection, you can attempt to resolve the situation. Thus, remove the ethernet cable from your computer and verify if the update continues. If the problem remains, reboot the system and reattempt the update.
4. Repair Windows Files
Damaged system files are a common cause of update issues. This can occur as a result of Windows attempting to extract the update files on your computer.
Utilize the Windows Recovery Environment to repair system files with the System File Checker (SFC) and the Deployment Image Servicing and Management (DISM) tools.
- Restart your machine while pressing and holding the Shift key on your keyboard.
- This action will boot your PC into the Windows Recovery Environment.
- Select the Troubleshoot > Advanced Options > Command Prompt menus.
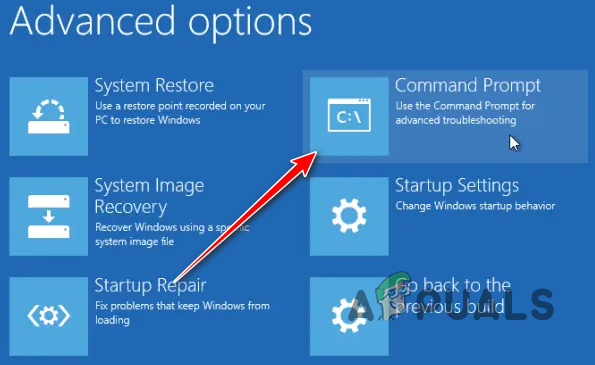
Opening Command Prompt in Windows Recovery Environment - Within the command prompt, type:
sfc /scannow
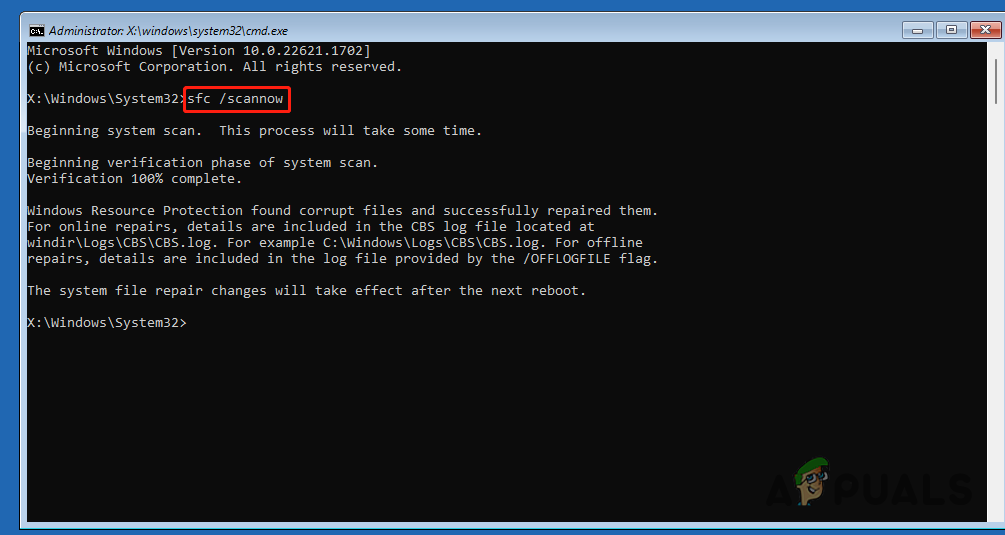
Repairing System Files in Windows Recovery Environment - Let the system files undergo scanning and repair.
- After completion, enter the following command:
DISM /Online /Cleanup-Image /RestoreHealth
- Ensure your device is connected to the internet and await the finalization of the process.
- Subsequently, exit the Command Prompt and restart your computer to see if the update completes.
5. Use a System Restore Point
Utilizing a system restore point presents another way to overcome the “Working on updates” screen if it gets stuck. Windows automatically creates these restore points periodically (unless disabled) to allow reverting your system to a prior state should issues arise.
You can initiate the system restore via the Windows Recovery Environment.
- Once again, restart your computer while holding down the Shift key as it boots.
- Navigate to the Troubleshoot > Advanced Options > System Restore selections in the Windows Recovery Environment.
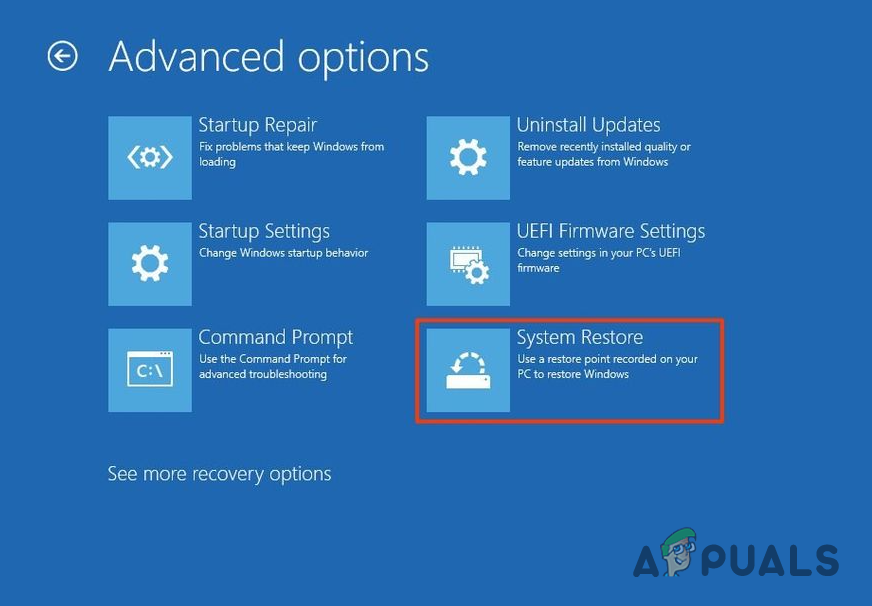
Navigating to System Restore in the Windows Recovery Environment - Choose your user profile and enter the corresponding password.
- Determine the software impacted by the restore through the Scan for affected programs feature.
- Next, choose a system restore point from before the update difficulty and press Next.
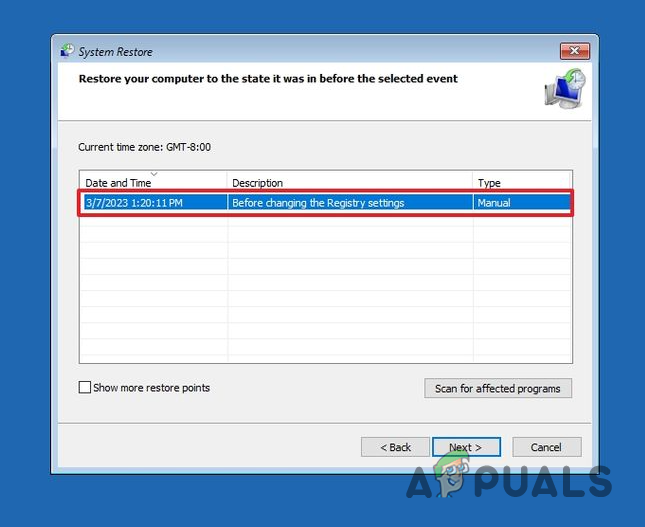
Selecting System Restore Point - To initiate the restoration, click the Finish button.
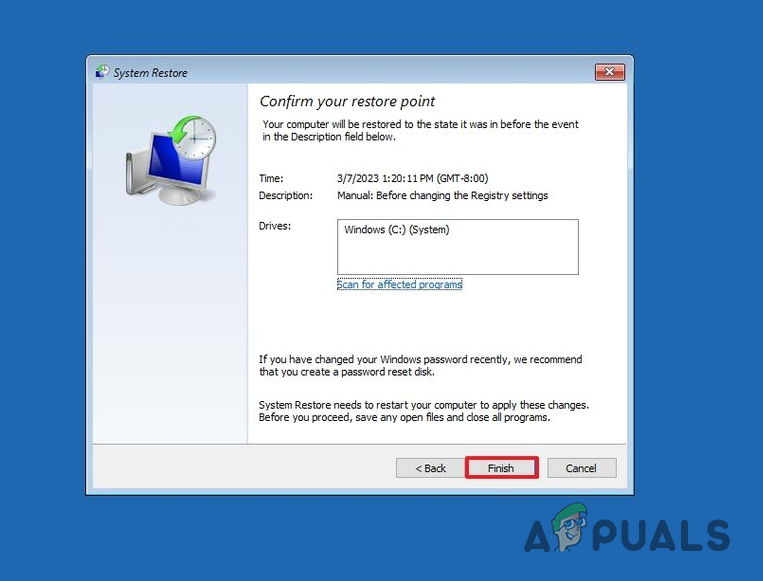
Starting System Restore
6. Clean Install Windows
Should the aforementioned methods fail to solve the issue, a clean installation of Windows is your final option. This process installs a fresh version of Windows on your drive and will result in the loss of any data on the system drive.
You will require a USB drive to create a bootable drive for Windows installation.
- Use a secondary PC to download the Rufus utility from the official website here.
- Insert the USB drive and launch the Rufus utility.
- If you already have a Windows ISO file, use the Select button to locate it.
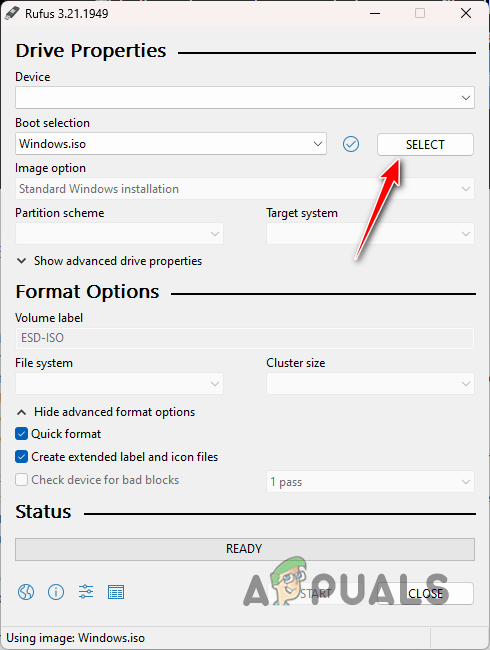
Selecting Windows ISO Image - Otherwise, to download a Windows ISO image, click the down arrow beside the Select button.
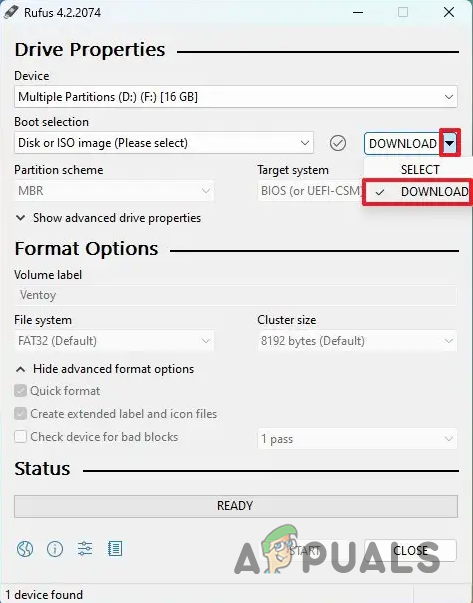
Navigating to Download Menu in Rufus - Choose the version and build of Windows you wish to download.
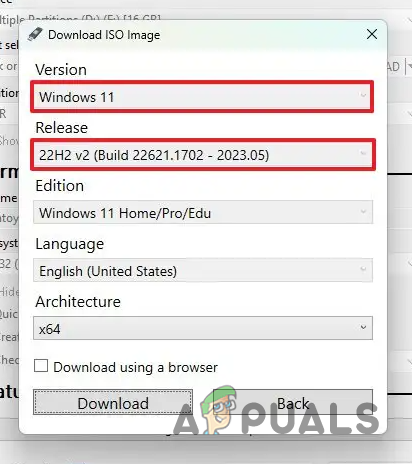
Downloading Windows Image via Rufus - From the Image Option drop-down, select Standard Windows Installation.

Choosing Image Option - Start the process by clicking the Start button.
- After completion, plug the USB into the computer experiencing problems.
- Reboot the PC and boot from the USB drive.
- Follow the instructions on the Windows Setup screen to install Windows.


