Can’t update Windows Defender on Windows 11? Here’s How to FIX It
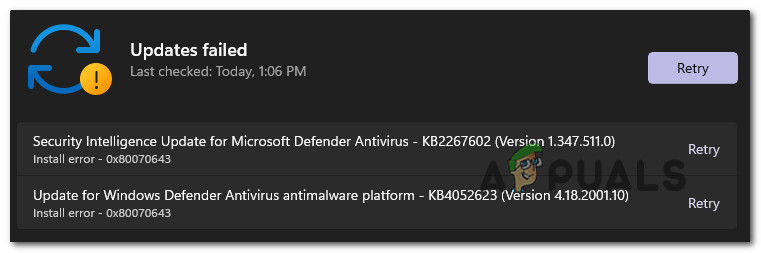
A lot of Windows 11 is stuck with an outdated Windows Defender version since every associated Windows Update fails with the same error (0x80070643). An overwhelming amount of users that are experiencing this issue are on build 22000.160.
After investigating this issue, it turns out that there are several underlying causes that might be responsible for the apparition of this error code. Here’s a shortlist of potential culprits that might be responsible for this issue:
- Corrupted Windows Update component – More often than not, this issue is related to some kind of corruption that affects the WU (Windows Update) component. In this case, the most hassle-free way of fixing the problem is to run the Windows Update Troubleshooter and apply the recommended fix.
- Windows Update is partially broken – It’s also possible to face this issue solely with Windows Defender updates. Some users reporting that only Windows Security updates for Windows Defender fail while cumulative & other types of updates install just fine have reported that they’ve been able to circumvent the error by using the Microsoft Update catalog to install the failing updates manually.
- Corrupted WU Dependencies – In more serious circumstances (where every pending Windows Update fails with the same error), it’s clear that you’re dealing with some kind of system file corruption affecting the WU component. If this scenario is applicable, the ideal way to fix it is to perform a repair install (in-place repair) procedure.
Now that you got an overview of all the potential causes that might render your Windows 11 incapable of updating the Windows Defender component, let’s explore some repair strategies that other affected users have successfully used to get to the bottom of this issue.
Run the Windows Update Troubleshooter
Before you move to other repair strategies, you should start by running the Windows Update Troubleshooter and check either your operating system is capable of dealing with this issue on its own.
Note: Windows Update Troubleshooter contains a collection of troubleshooting strategies for the most common issues affecting the Windows Update component. This tool is capable of auto-applying repair strategies that you would normally need to deploy manually.
If your operating system’s inability to update Windows Defender is related to the WU component, this operation should help you fix the root of this issue.
Follow the instructions below to learn how to run the Windows Update Troubleshooter and apply the recommended fix:
- Press Windows key + I to open up the Settings menu of Windows 11.
- Inside the home screen of the Settings app, access the vertical menu on the left and click on System.
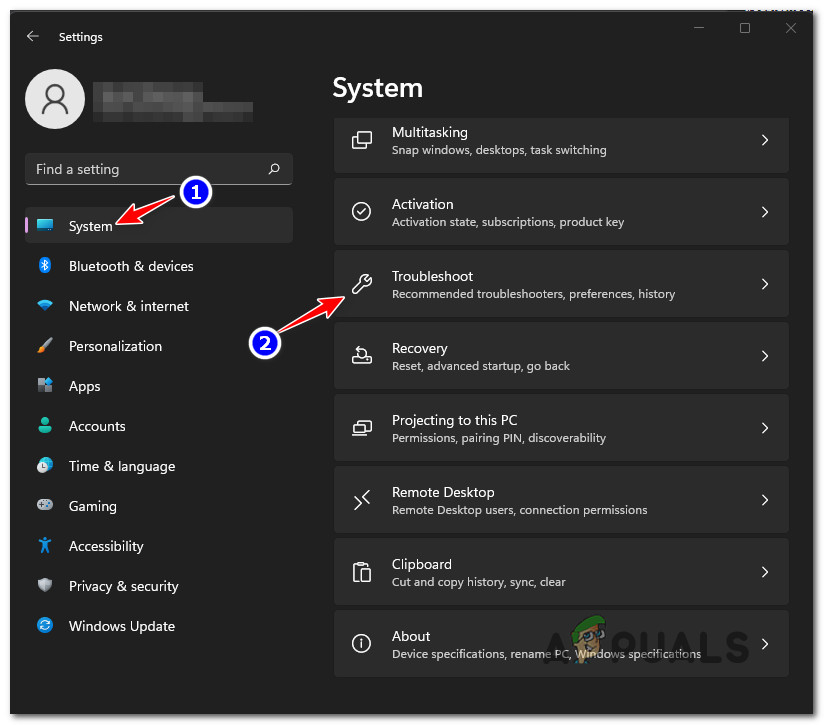
Accessing the Troubleshoot tab Note: If the vertical menu is not visible by default, click on the action button (top-left section) to make it visible.
- Inside the System tab, move over to the right-hand pane and click on Troubleshoot.
- From the Troubleshoot tab, click on Other Troubleshooters, then click the Run button associated with Windows Update.
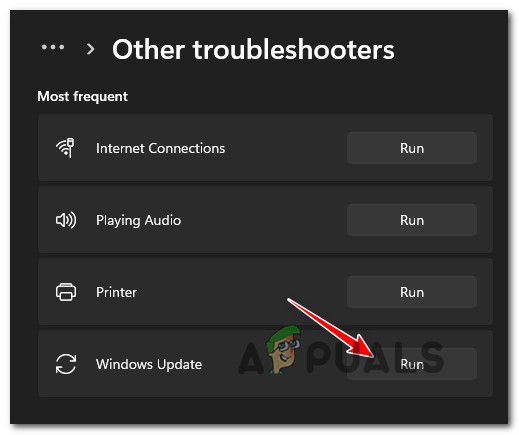
Running the Windows Update tab - As soon as you run this troubleshooter, the utility will begin scanning for known issues that might be affecting the Windows Update component.
- If a viable fix is identified, simply click on Apply this fix and wait until the repair strategy is enforced.
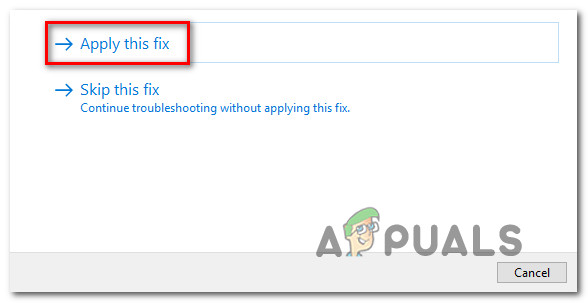
Apply this fix for Windows Update Note: Depending on the fix that gets recommended, you might need to do some manual steps – follow the on-screen instructions to enforce them.
- Once the recommended fix is successfully applied, reboot your computer if you’re not prompted to do so automatically and attempt to install the failing update after the next startup is complete.
If the issue is still not fixed, move down to the next method below for an additional way of installing the failing Windows Defender updates.
Install the failing updates manually
If Windows Update Troubleshooter deems the WU component unfixable, you can probably bypass the error entirely by installing the failing updates manually using the Microsoft Update Catalog.
While this will most likely allow you to install the failing Windows Defender updates, it won’t fix the root issue that’s causing this weird behavior on Windows 11. You’ll still need to troubleshoot your WU component further if you don’t want this issue to repeat with other updates. \
Note: This procedure will allow you to install the update directly (without involving the local WU component). This means that in case some corrupted dependencies are causing this behavior, this method will allow you to bypass them entirely.
Follow the instructions below to install the failing Windows Defender updates manually using the Microsoft Update Catalog:
- Before you do anything else, you need to know your operating system architecture (32-bit or 64-bit). If you don’t know it, open File Explorer, right-click on This PC, and choose Properties from the newly appeared context menu.
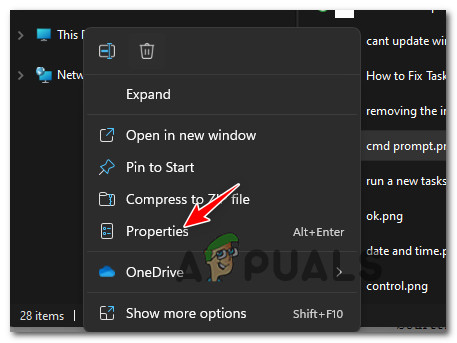
Accessing the Properties screen - From the About system tab, scroll down under Device specifications and check the System type to find out your OS architecture.
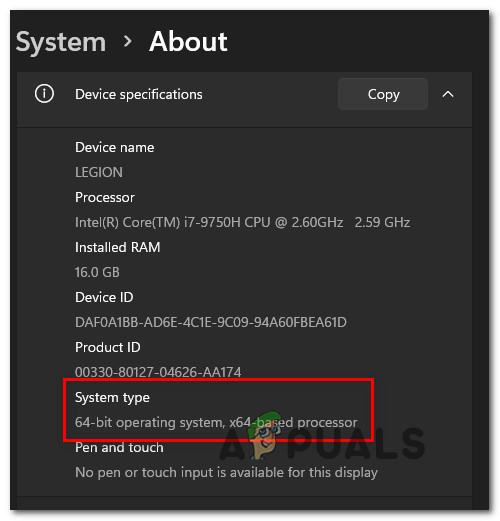
Checking the System architecture Note: If the System type says 64-bit, you will need to download the 64-bit update and if it says, 32-bit, you will need the 32-bit Windows Update equivalent.
- Now that you know your OS architecture, visit the home page of Microsoft Update Catalog and use the search function (top-right corner) to search for the failing update.
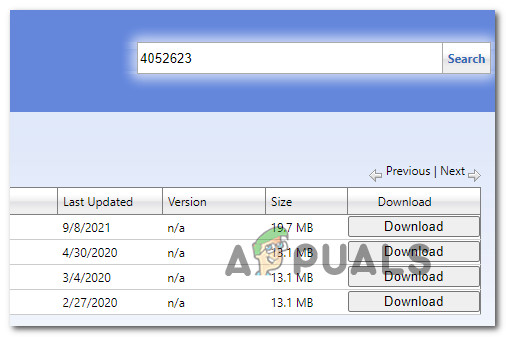
Finding the correct update Note: You can find out the name of the failing update by looking at the error you get inside Windows Update when the pending update fails to install.
- Next, from the list of results, look for the correct Update for Microsoft Defender Antivirus antimalware platform by looking at the architecture. Once you find the correct listing, click on Download to download the update locally.
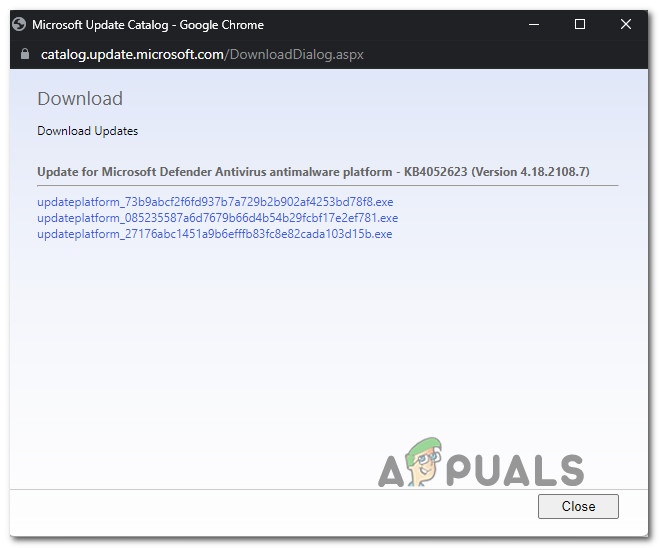
Downloading the correct update - Wait until the download is complete, then navigate to the location where the update was downloaded (most likely in the Downloads folder), then open the .msu installation package and follow the on-screen prompts to install the update locally.
- Once the installation is finally complete, reboot your computer and see if the issue is fixed once your PC boots back up.
If the problem is still not fixed, move down to the final potential fix below.
Perform a Repair Instal
If none of the methods above have proven to be effective in your case, the only thing left to do is to reset the WU component along with every associated dependency that might affect the updating operation.
A Windows 11 clean install is always an option, but we would advise against it if you can.
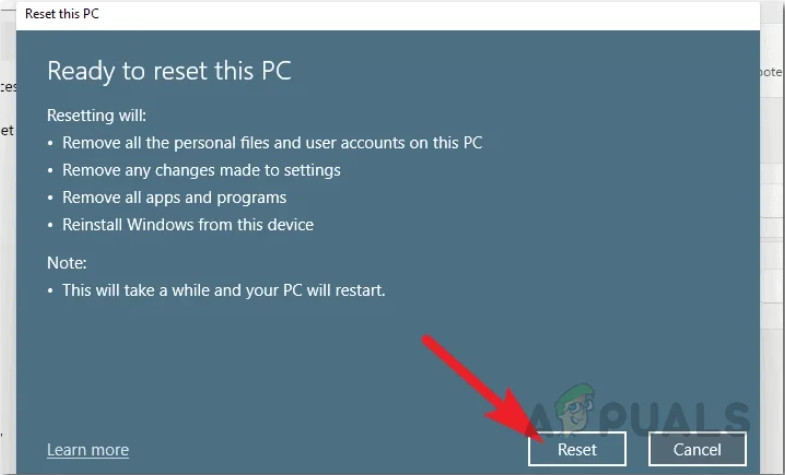
Our recommendation is to go for a Windows 11 repair install (in-place repair) procedure since it will only touch the system files that are stored on your OS drive. You get to keep all your personal files, apps, games, and documents that you’re currently storing on the partition where Windows 11 is installed.


