[SOLVED] One of the Update Services is not Running Properly in Windows Update
One of the Windows update services might not run if an application on your system (like StopUpdates10Guard) is hindering the operation of the update modules of your system. Moreover, the wrong configuration of the Windows Update or BITS services may also cause the error under discussion.
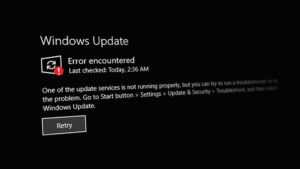
The issue arises when the Windows update fails to check for the latest available updates with the following message:
“Error encountered. One of the update services is not running properly, but you can try to run a troubleshooter to fix the problem. Go to Start button > Settings > Update & Security > Troubleshoot, and then select Windows Update.”
But when the user launches the troubleshooter to fix the Windows Update services issue, the troubleshooter does not work.
Before moving on to fix the Windows update service issue, check if you can update your system on another network. For example, if you are using a Wi-Fi connection, then check if trying an ethernet connection resolves the issue. In some cases, the users reported that the issue was occurring on a cellular-based or metered network, so, make sure that is not the case with you.
Solution 1: Set Startup Type of the BITS and Windows Update Service to Automatic
The Windows update issue may arise if any of the essential update services are in an error state or disabled. In this context, setting the Startup type of these Update services (i.e., BITS and Windows Update service) to Automatic may solve the problem.
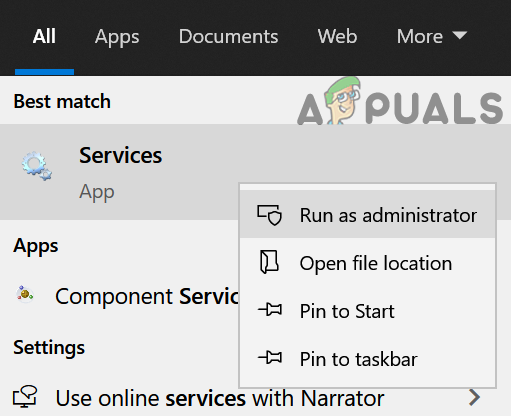
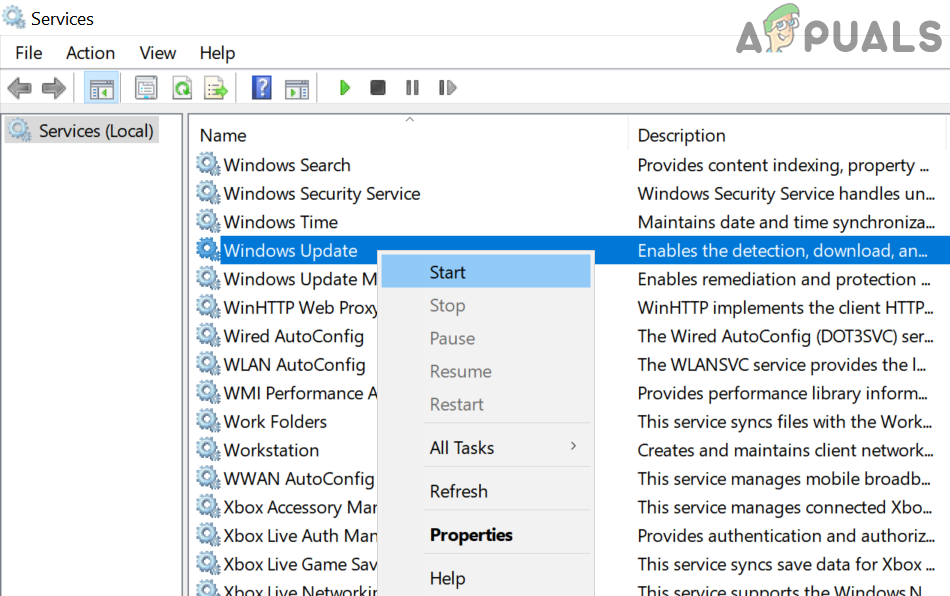
- Press the Windows key and in the Windows search, type: Services. Now, hover your mouse over the result of Services, and in the right pane of the Start menu, choose Run as Administrator.
Open Services as Administrator - Now, double-click on the Windows Update service (or right-click and choose Properties) and change its Startup Type to Automatic.

Open Properties of Windows Update Service - Then click on the Start button and apply the changes.
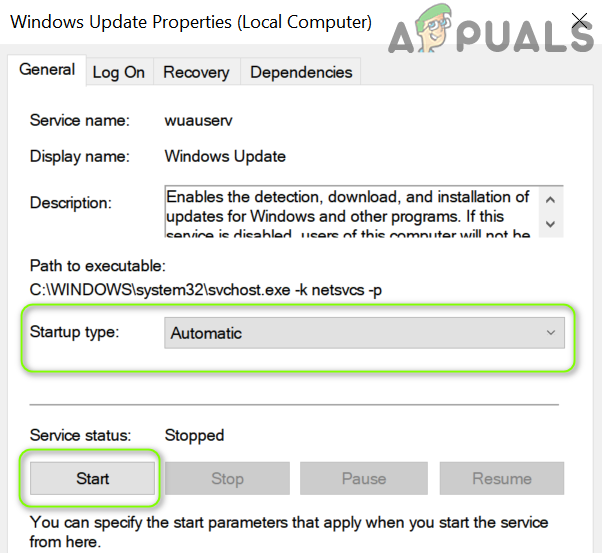
Set the Startup Type of the Windows Update Service to Automatic and Start it - After that, repeat the same for the BITS (Background Intelligent Transfer Service) service to set its Startup type to Automatic and Start it.
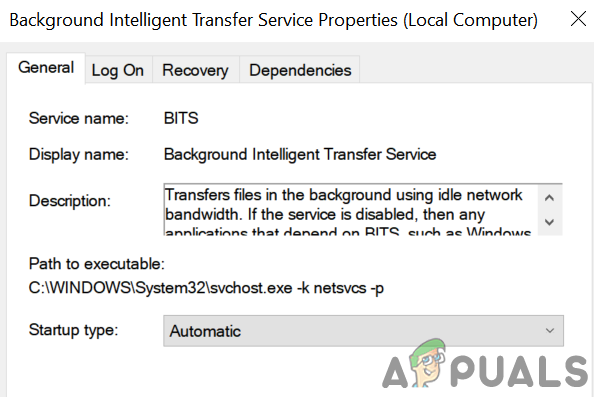
Change Startup Type of BITS to Automatic - Now reboot your PC and check if the update service issue is resolved.
- If not, hit the Windows key and open Settings.
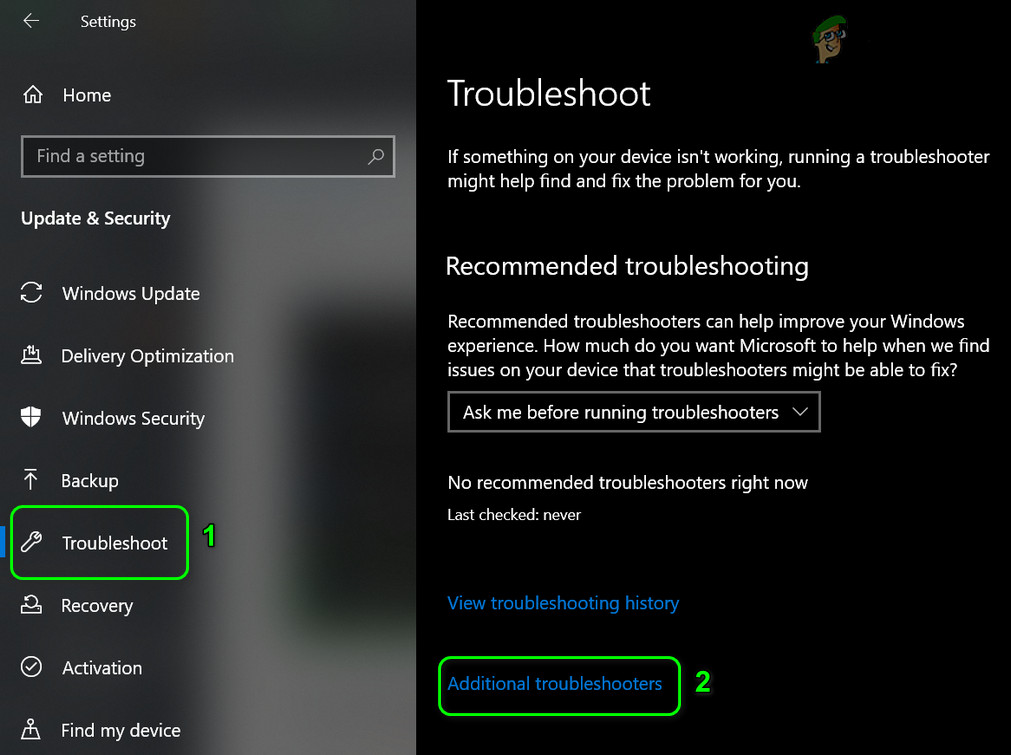
- Now select Update and Security and in the left pane, head to the Troubleshoot tab.
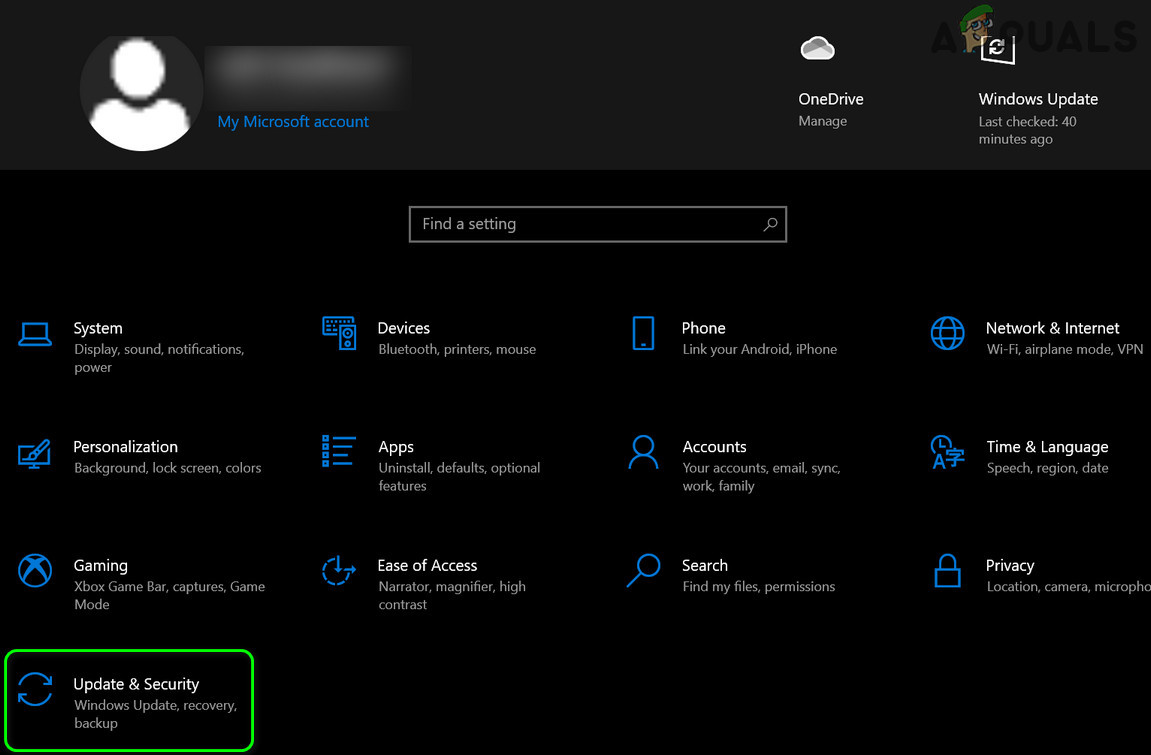
Open Update & Security - Then, in the right pane of the Update & Security window, open Additional Troubleshooters.
Open Additional Troubleshooters - Now, in the section of Get Up and Running, expand the option of Windows Update.
- Then click on Run the Troubleshooter and let the process complete.
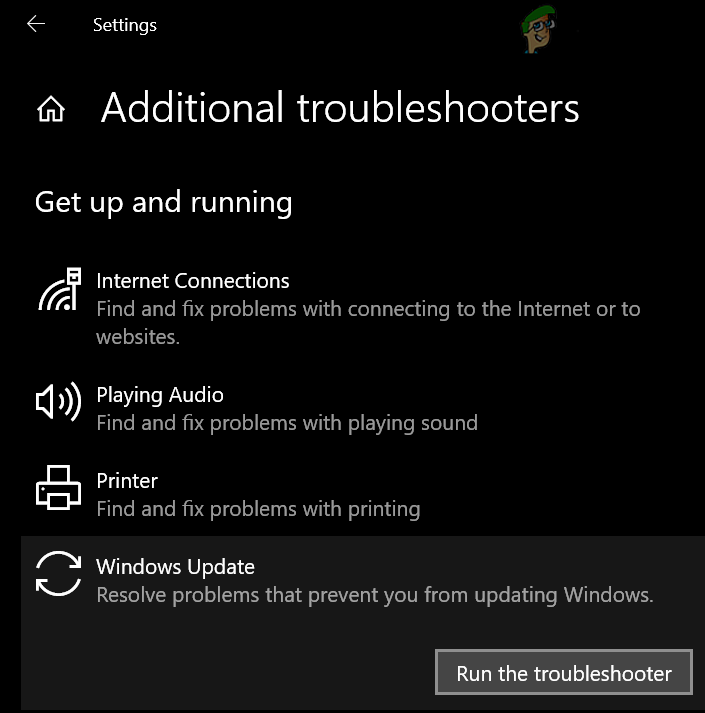
Run the Windows Update Troubleshooter - Upon completion, apply the recommended troubleshooting steps and check if the Windows update is working fine.
Solution 2: Uninstall the Conflicting Applications
You may encounter the issue at hand if an application on your system is hindering the operation of the update services (especially, the applications that are used to disable automatic Windows updates of a PC). In this case, removing the conflicting applications (StopUpdates10Guard is reported to cause the current issue) may solve the problem.
- Perform a clean boot of your system (you can also use Autoruns to find out the problematic application) and check if you can update the Windows of your system. You may have to enable the Windows Update service as discussed in solution 1.
- If so, then enable the applications/processes/services one by one (that were disabled during the clean boot process) till you find the application/process/service that was causing the issue.
- Once found, either disable the problematic application at the system’s startup or completely uninstall it.
The StopUpdates10Guard application was reported by some users to create the issue.
- Launch the Power User menu (by simultaneously pressing the Windows + X keys) and choose Apps & Features.
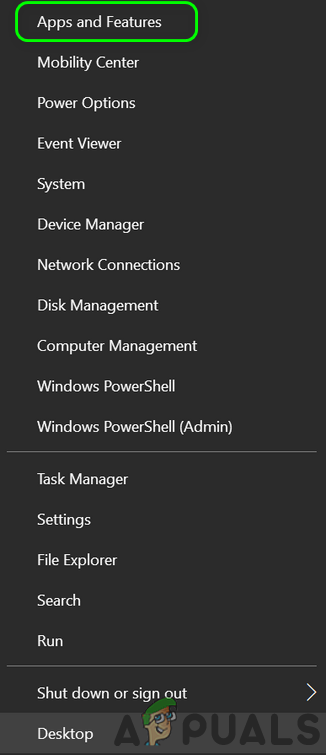
Open Apps & Features - Now expand the StopUpdates10Guard application and click on the Uninstall button.
- Then confirm to uninstall the StopUpdates10Guard utility and let the process complete.
- Now reboot your PC and check if the update services issue is resolved.
- If you do not want to uninstall StopUpdates10Guard, then you may disable it at the system’s startup.
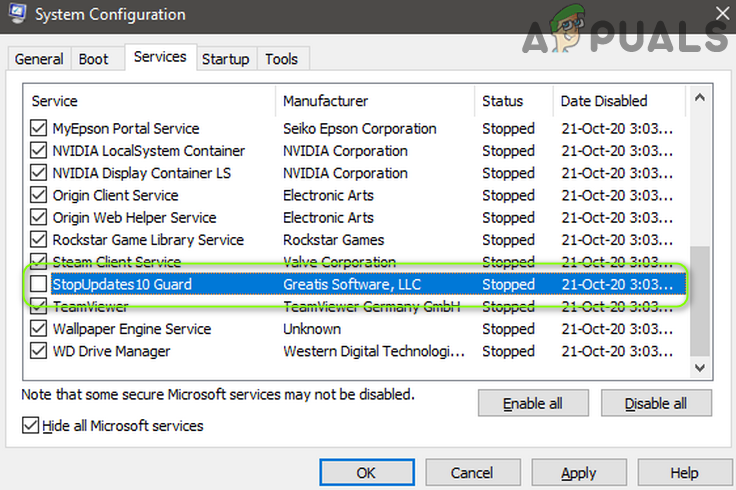
Disable StopUpdates10Guard in the Services tab of the System Configuration
If StopUpdates10Guard is shown in the Startup tab of the Task Manager but not shown in the Apps list, then you may download and install the StopUpdates10Guard application. Then remove the application through the Apps & Features.
Solution 3: Update the BIOS and Drivers of Your System to the Latest Builds
The update services issue may emerge if the BIOS and drivers of your system are outdated or incompatible with the OS modules. In this context, manually updating the BIOS and Drivers of your system may solve the problem.
- Manually update the drivers of your PC and BIOS. You may download the latest BIOS/drivers from the OEM website and install them. Also, if your OEM has an update utility (like Dell Support Assist), use that utility to update the drivers/BIOs.
- After updating the BIOS/drivers, check if the system is clear of the update services issue.
Solution 4: Delete the Software Distribution Folder and Manually Update the System
The update services issue may arise if the Software Distribution folder is corrupt. In this context, deleting the Software Distribution folder and manually updating the system may solve the problem.
Delete the Software Distribution Folder
- Launch the Services manager (as discussed in solution 1) and right-click on the Windows Update service.
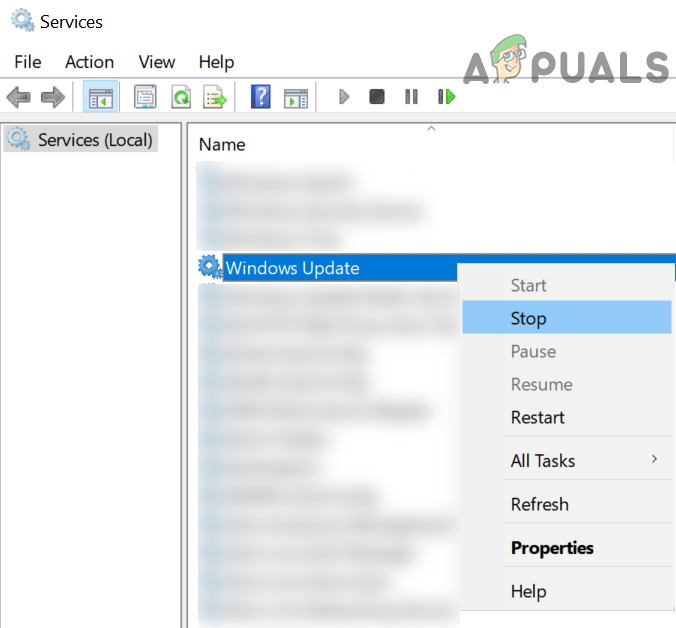
Stop the Windows Update Service - Now, in the menu shown, select Stop and minimize the Services window (do not close).
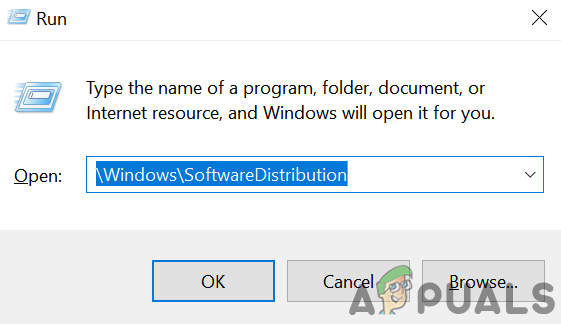
- Then right-click on the Windows button and choose Run.

Open the Run Command From the Quick Access Menu - Now navigate to the following (copy-paste the address):
\Windows\SoftwareDistribution
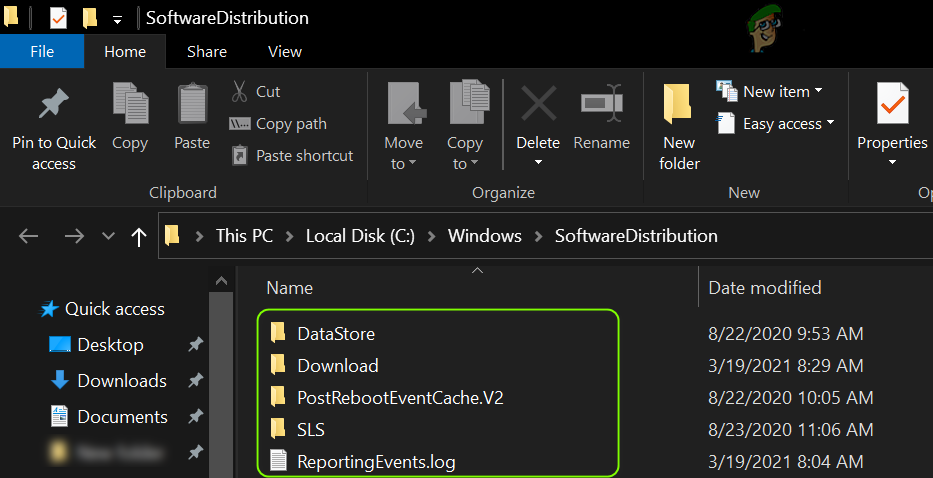
Open Software Distribution Folder - Then delete all the contents of the SoftwareDistribution folder (if you want to play safe, rename the SoftwareDistribution folder) and steer to the Services window.
Delete the contents of the Software Distribution Folder - Now right-click on the Windows Update service and choose Start.
Start the Windows Update Service - Then check if the system is clear of the update services issue.
Manually update the System
- Launch a web browser and steer to the Windows Catalogue page.
- Now, download the latest Windows 10 cumulative update and install it as administrator.
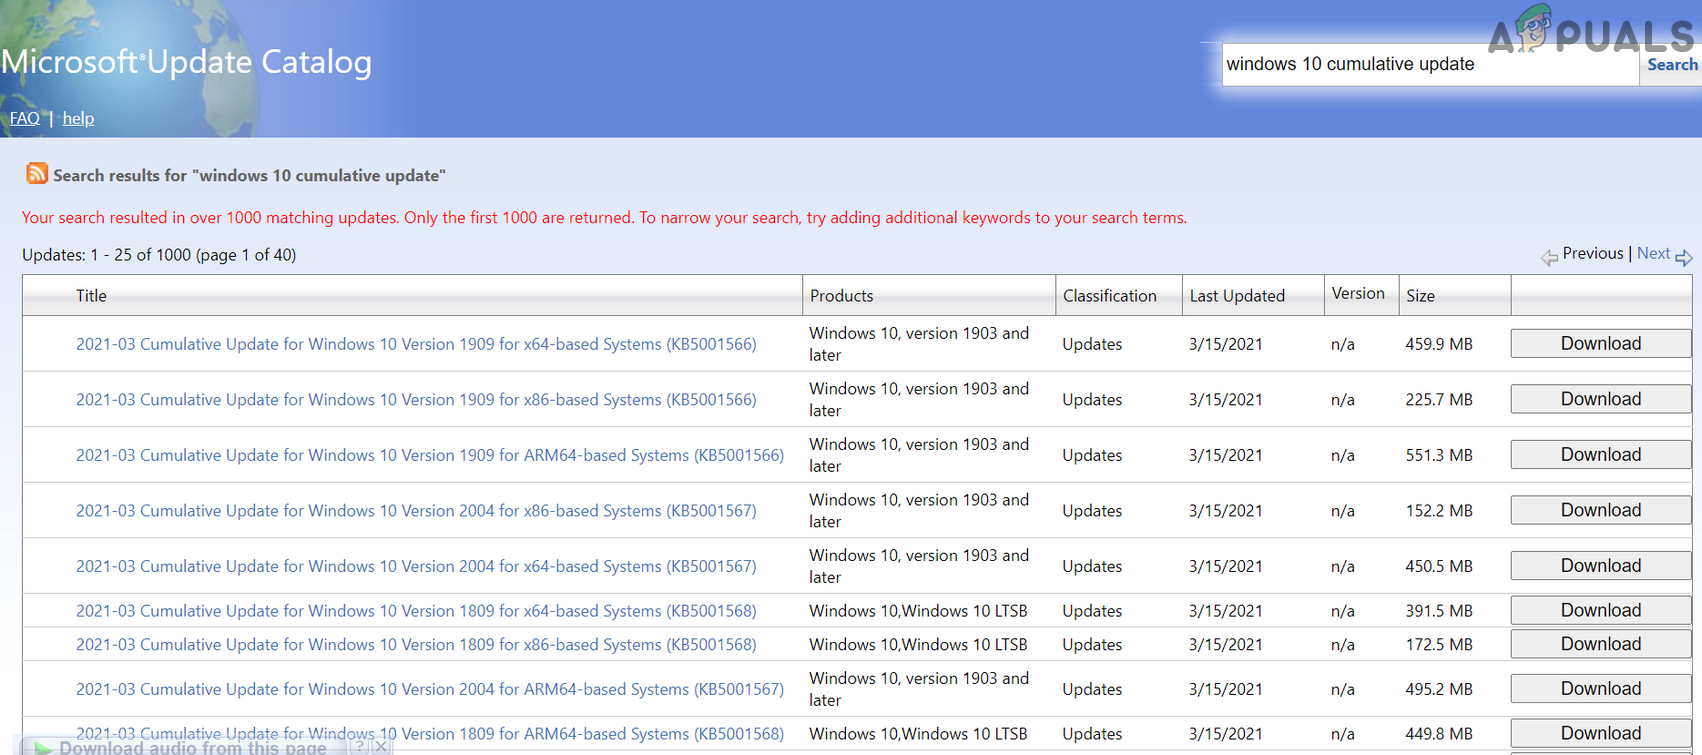
Download the Latest Windows Update from the Catalog Website - Then reboot your PC and hopefully, the Windows update is working fine.
If the issue persists, then performing an in-place upgrade (download the Windows 10 ISO and then launch its setup as administrator) of the Windows of your system may solve the update issue.


thanks. It helped me to fix this issue. Now I am able to update.
I was trying to solve this issue for 4 hours and finally I solved it here.
just delete all the files in the WindowsSoftwareDistribution then start the window update service