Fix: Windows couldn’t start Background Intelligent Transfer Service
Background Intelligent Transfer Service (BITS) is one of the crucial Windows services, especially for processes such as Windows Update which depends on it. Also, your Internet or Bluetooth connection will depend on this important service as well. That is one of the main reasons why it’s crucial to fix this error as soon as possible as other problems are bound to follow.
This error can be solved by a variety of different methods and we will try to present the most acknowledged and confirmed ones by users from all over the Internet. Follow the methods carefully and good luck!
Solution 1: Scan Your Computer for Malware
As BITS is one of the most important Windows services as it provides proper communication between your computer and other networks based on it, viruses often target it and prevent it from starting properly. Also, you may never know if your computer is indeed infected until you run at least a couple of scans with the best tools available.
Here, we will show you how to scan your PC with Malwarebytes as it often shows the best results considering the fact that it really has a vast database. Good luck!
- Malwarebytes Anti-Malware which is a great anti-malware tool with a free trial version. Fortunately, you won’t need the program after you solve this issue (unless you want to buy it and have it ready for further problems) so make sure you download the free trial version from here.
- Locate the executable file you just downloaded and double-click on it in order to open it.
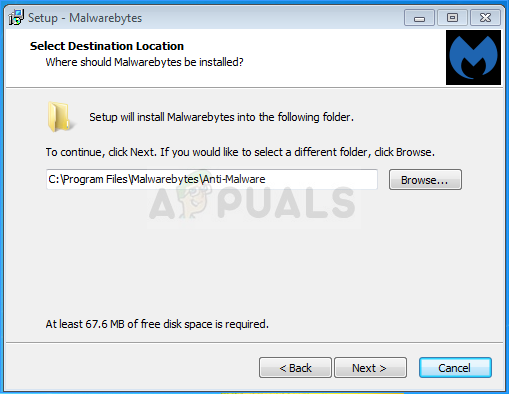
- Select where you want to install Malwarebytes and follow the instructions which will appear on the screenin order to complete the installation process.
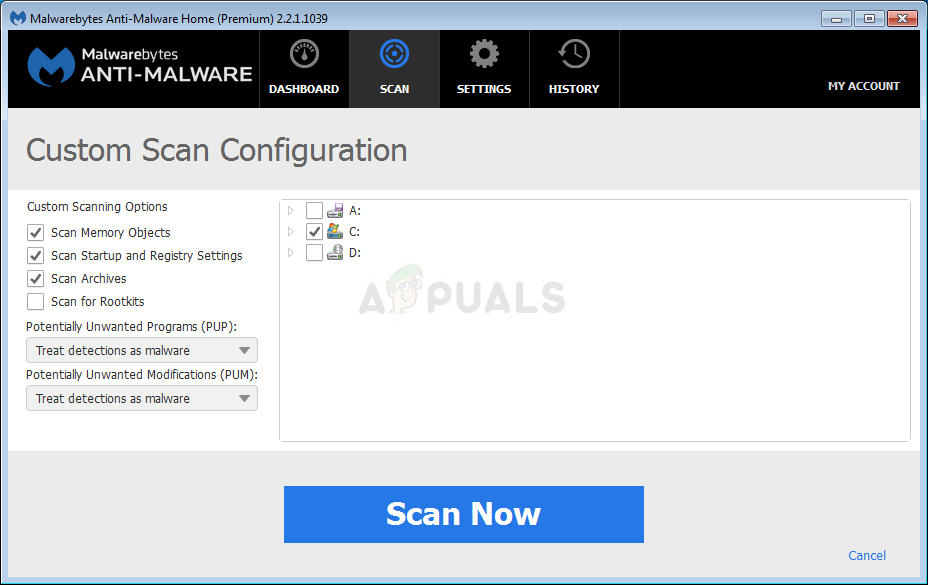
- Open Malwarebytes and select the Scan option available at the home screen of the application.
- The tool will probably launch its update service in order to update its virus database and then it will proceed with the scan. Please be patient until the process finishes which might definitely take a while.
- Restart your computer after the scanning process is over and check to see if you still experience issues with BITS not starting up.
Note: You should also use other security tools if you can surely tell the type of malware you have on your computer (ransomware, junkware, etc.) as one tool won’t register all types of malicious apps.
Solution 2: Registry Editor Tweak
This is one of the most popular solutions on the Internet and plenty of users have benefitted from it since the error first started to appear. If you are certain that there is no malware located on your computer, you should definitely check out the solution below which involves certain registry changes
Since you are going to edit the registry, we recommend you check out this article we have prepared in order to safely backup your registry to prevent further problems. Still, nothing wrong will occur if you follow the instructions carefully.
- Open the Registry Editor interface by typing “regedit” in either the search bar or the Run dialog box. Navigate to the following key in Registry Editor by navigating in the left pane:
HKEY_LOCAL_MACHINE\SYSTEM\CurrentControlSet\Control\BackupRestore\FilesNotToBackup
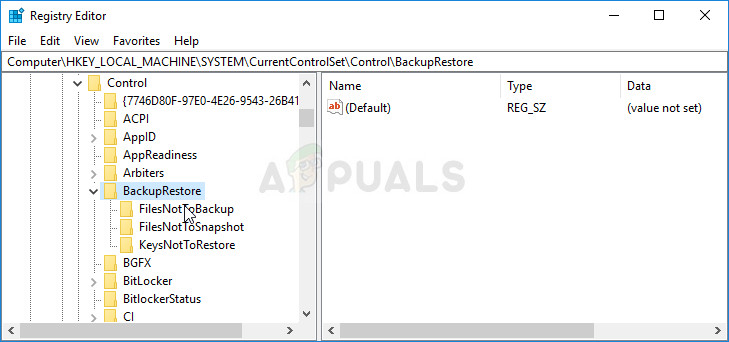
- If the FilesNotToBackup entry does not exist in the BackupRestore key, you will need to create one. Stay in the BackupRestore key and click on the Edit button at the top right menu and choose New >> Key.
- Rename this value to “FilesNotToBackup” without the quotation marks and press Enter to confirm. The key should remain empty. Pay extra attention to make its name exactly as instructed in order for the solution to work properly.
Let’s head to Services:
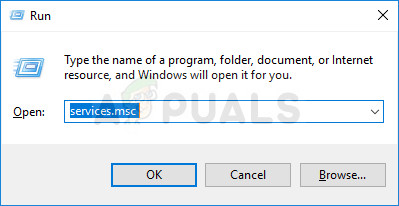
- Exit Registry Editor and restart your computer in order to save the changes you have made. Open the Run dialog box by using the Windows Key + R key combo on your keyboard. Type “services.msc” in the box without the quotation marks and click OK in order to open Services.
- Locate Background Intelligence Transfer Service, right-click on it and select Properties from the context menu which appears.
- If the service is started (you can check that just next to the Service status message), you should leave it as it is (but it’s probably stopped). If it is stopped, click the Start button in the middle of the window.
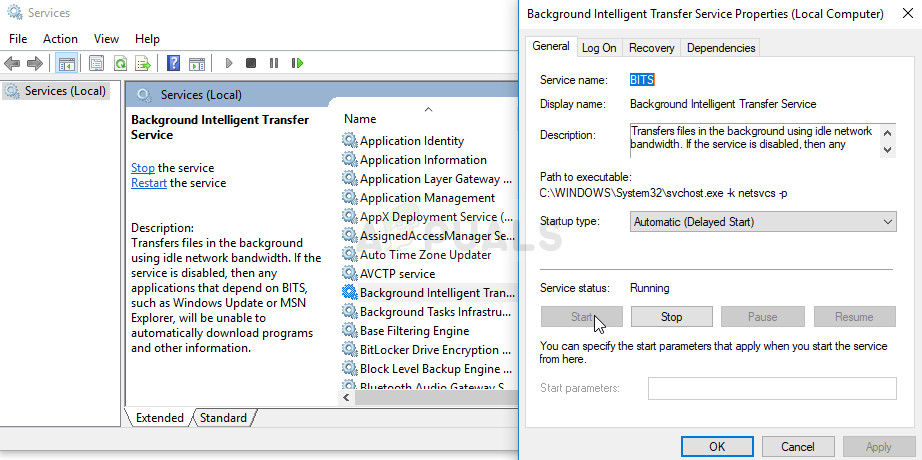
- Make sure that the option under the Startup type section in Background Intelligence Transfer Service’s properties is set to Automatic before you exit confirming changes. Confirm any dialogue boxes which may appear when you set the startup type.
You may receive the following error message when you click on Stop:
“Windows could not start the Background Intelligence Transfer Service on Local Computer. Error 1079: The account specified for this service differs from the account specified for other services running in the same process.”
If this occurs, follow the instructions below to fix it.
- Follow the steps 1-3 from the instructions above in order to open IP Helper properties. Navigate to the Log On tab and click on the Browse… button.
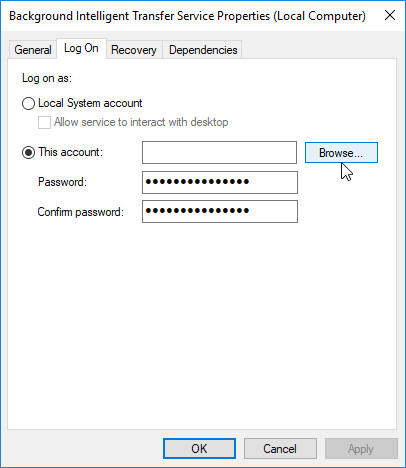
- Under the “Enter the object name to select” box, type in your account’s name, click on Check Names and wait for the name to become recognized.
- Click OK when you are finished and type in the password in the Password box when you are prompted with it, if you have setup a password. It should now start without issues!
Solution 3: Enable Two Important Services
Windows services are usually dependent on other services which can be seen from within the Services window when you click on various services located inside. However, the following two services are not listed when you click on BITS yet the BITS service starts properly only when these services are running properly.
- Open the Run dialog box by using the Windows Key + R key combo on your keyboard. Type “services.msc” in the box without the quotation marks and click OK in order to open Services.
- Locate the two services called Network Location Awareness and Network List. Right-click on each one and make sure you start them the same way you did in the solution above for the Background Intelligence Transfer service.
- If the service is started (you can check that just next to the Service status message), you should leave it as it is (but it’s probably stopped). If it is stopped, click the Start button in the middle of the window.
At the end, make sure you also run the BITS service in the same manner. All services startup settings should be set to Automatic.
Solution 4: Use ‘msconfig’ to Change Startup
Even though this fix may appear weird to some users, it can actually solve the problem and it was confirmed as working by a user. The default setting should be either Normal startup or Selective startup on other computers. You should open ‘msconfig’ and change the Statup selection setting to Normal startup in order to solve the problem.
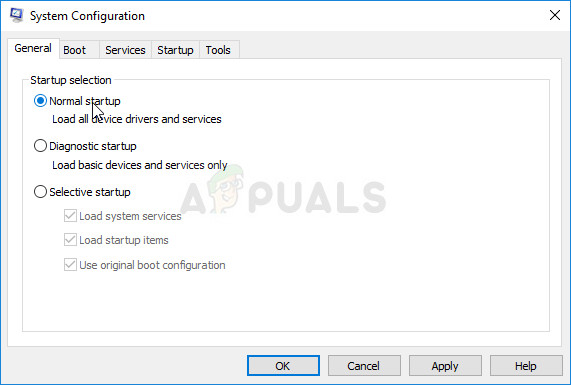
- Use the Windows + R key combination on your keyboard in order to open the Run dialog box and type in “msconfig” before clicking OK. If you are using Windows 10, you can also search for “msconfig” in the Start menu or the search bar next to it. The first result should be System configuration so make sure you click on it.
- Stay in the General tab and change the radio button under Startup selection from the previous setting to Normal startup and Apply the changes before exiting. Restart your computer and check to see if the problem is gone.
- Under the General tab, click to select the option Selective startup, and then click to clear the option Load startup items check box.
Solution 5: Reset Your PC
If you are running Windows 10, resetting your PC is a piece of cake process which will definitely solve most problems. Those who may argue that this method is somewhat overused and not suitable have to agree that Windows 10 enables you to keep all of your files and apps letting you simply reset settings. Also, it’s the last solution on our list, meaning you should definitely try all other methods before this one.
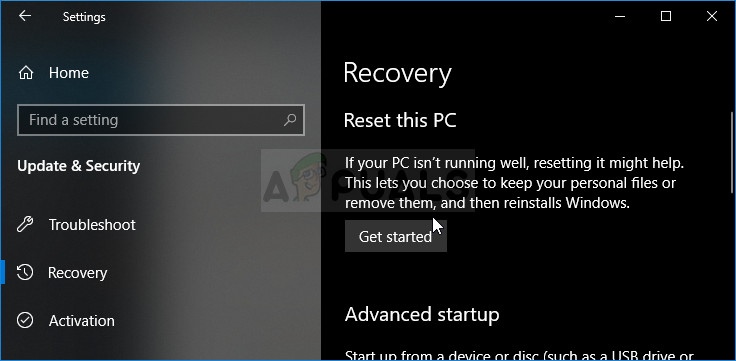
- Navigate to Settings on Windows 10. You can get there by clicking the gear icon on the Start menu. Select the “Update & security” section and click on Recovery in the left pane.
- Windows will show you three major options: Reset this PC, Go back to an earlier build and Advanced startup. Reset this PC is the best option for starting again with minimal losses to your files if you choose the correct option. Click Get started under Reset this PC.
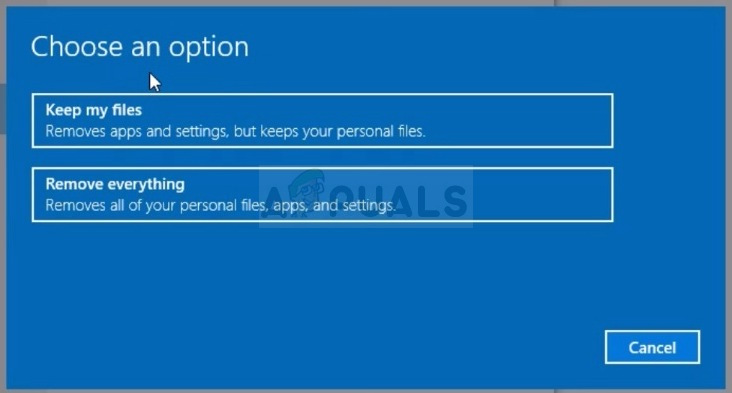
- Click either “Keep my files” or “Remove everything,” depending on whether you want to keep your data files intact. Either way, all of your settings will return to their defaults and apps will be uninstalled. We recommend you choose Keep my files.
- Select “Just remove my files” or “Remove files and clean the drive” if you chose to “remove everything” in the prior step. Cleaning the drive option takes a lot longer but it will make sure that, if you are giving the computer away or selling it, the next person will have a hard time recovering your erased files. If you are keeping the computer for yourself, choose “Just remove my files.”
- Click Next if Windows warns you that you won’t be able to roll back to a prior version of the OS. Click Reset when you are asked to do so and wait for Windows to complete the resetting process. Click Continue when prompted and boot your computer. Check to see if BITS start normally now.


Thank you very much, in my case with newly installed Windows 10 1809, the Network List service was disabled. How come? I don’t know but after enabling it, I got updates working again (plus login window background changing, plus MS Store opening, plus network icon came back).