How to Fix Windows 11 Error 0xCA00A009 When Installing Updates?
Some Windows 11 that have just upgraded to the new operating system are reporting that they’re experiencing a weird issue where a cumulative update always fails with the 0xCA00A009 error code. Almost always, this problem is linked with the KB5005188 update.
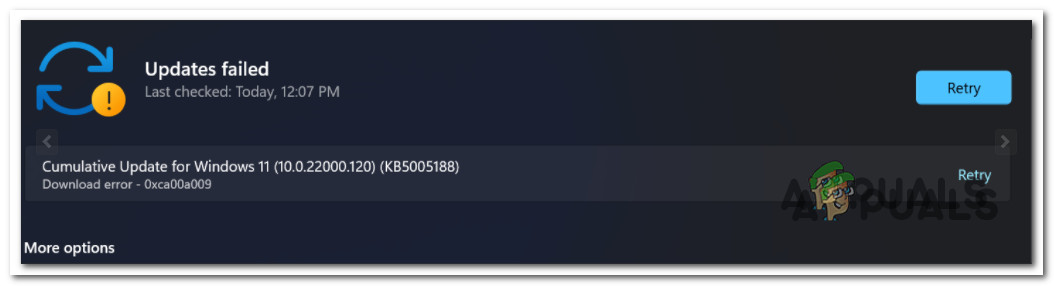
We’ve investigated this issue thoroughly, and we realized that several different underlying causes might be responsible for producing this error code when attempting to install certain updates on Windows 11. Here’s a list of potential causes that might be causing this issue:
- Common Windows Update glitch – There are a lot of scenarios with the potential of glitching your Windows 11 Update component. Fortunately, most of these situations are already covered by a repair strategy that you can enforce automatically via the Windows Update Troubleshooter. So before trying anything else, you should start by running the Windows Update Troubleshooter and deploying the recommended fix.
- Corrupted data inside SoftwareDistribution and Catroot 2 folders – An interrupted update or some system file corruption can also lead to file corruption infiltration inside the two folders responsible for hosting temporary Windows Update files. In this case, you can fix the issue by forcing your OS to create new equivalents for the two folders (since you can’t delete them conventionally).
- Broken WU Component – There are a lot of issues that can potentially plague the Windows Update component. But since most of them cannot be resolved without a clean install/repair install procedure, the best course of action in some cases is to bypass the WU component entirely and install the failing update from the Microsoft Update Catalog.
- Conflicting Group policies – If you’re coming to Windows 11 after upgrading from an older Windows version, another viable culprit that you should investigate is a lousy group policy. Keep in mind that not every procedure available on Windows 10 is a good thing on WIndows 11. The best course of action is to perform a policy update procedure to make sure a lousy group policy is not causing this issue.
- System file corruption – If your Windows Update component is severely damaged and every Windows update ends up failing with the same 0xca00a009, you won’t get very far with any fix other than clean installing or repairing installing your entire fleet of Windows files. If you want to avoid data loss, repair install is recommended.
Now that you are familiar with every potential culprit responsible for the update error 0xca00a009 error on Windows 11, let’s go over a series of fixes that other affected users have successfully used to fix this issue.
Run the Windows Update Troubleshooter
Before you move on to more advanced troubleshooting guides, our recommendation is to start by deploying the Windows Update troubleshooter and see if it’s capable of fixing the issue automatically.
Note: Keep in mind that the troubleshooting utility on Windows 11 is much more capable than it was on previous Windows versions. Microsoft has added dozens of new automated repair strategies that can be applied if a recognizable scenario is identified with a single click.
If you haven’t tried this fix yet, follow the instructions below to run the Windows Update Troubleshooter and apply the recommended fix automatically:
- Press Windows key + R to open up a Run dialog box. Next, type ‘control’ inside the text box and press Enter to open the classic Control Panel interface.
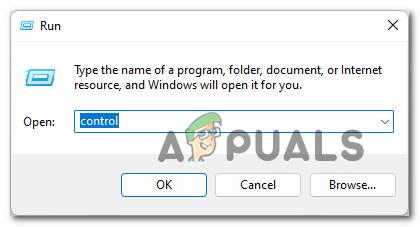
Open the Control Panel interface. Note: If the User Account Control prompts you, click Yes to grant admin access.
- Once you’re inside the classic Control Panel window, use the search function (top-right corner of the screen) to search for ‘troubleshoot.’
- From the list of results, click on Troubleshooting.

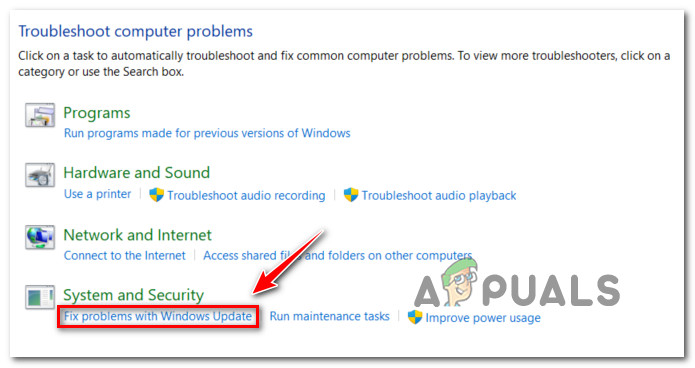
Accessing the Troubleshooting tab - Once you’re inside the Troubleshooting tab, go under System and Security and click on Fix problems with Windows Updates.
Accessing the Windows Update troubleshooter - Once you get to the first Windows Update troubleshooter prompt, click Next and wait for the initial scan to complete.

Applying the recommended fix Note: Keep in mind that with some fixes that get recommended, you might ve required to perform a series of automated steps.
- After the fix is successfully applied, restart your PC, install the failing update once again, and see if the next startup is complete.
If you already ran the Windows Update troubleshooter and applied the recommended fix and you’re still seeing the same 0xca00a009, move down to the next potential fix below.
Clear SoftwareDistribution and Catroot 2 folders
The majority of scenarios that will break the Windows Update component are rooted in one of these two folders: SoftwareDistribution and Catroot 2.
Note: These two folders are responsible for temporary holding files and folders used during the installation of pending Windows Updates and system driver updates. An unexpected interruption when an update is being actively installed can reportedly produce the 0xca00a009 on Windows 11.
However, clearing the SoftwareDistribution and Catroot 2 folders is not as easy as navigating to the folders and emptying their contents. Both of these folders are system-protected, which means you can’t delete them conventionally.
Fortunately, there is one workaround to this constraint; you can rename these two folders with the .old extension – this will force your Windows installation to disregard them and create new, healthy equivalents.
But before you can do this, you will first need to disable every used service WU dependency.
For complete steps on how to disable every used Windows Update dependency and renaming the SoftwareDistribution and Catroot 2 folders, follow the instructions below:
- Press Windows key + R to open up a Run dialog box. Next, type ‘cmd’ inside the text box and press Ctrl + Shift + Enter to open an elevated Command Prompt with admin access.
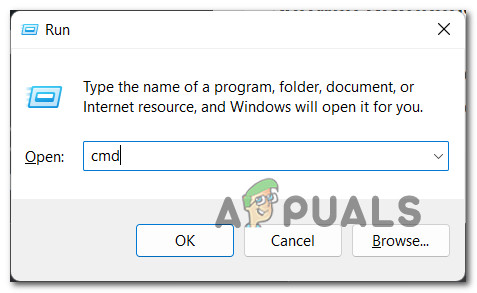
Opening up an elevated CMD prompt Note: If the User Account Control prompts you, click Yes to grant admin access.
- Once you’re finally inside the elevated CMD prompt, type the following commands and press Enter after each one to effectively disable every service dependency of Windows Update:
net stop wuauserv
net stop cryptSvc
net stop bits
net stop msiserver
Note: These commands will effectively stop the Windows Update Service, the Cryptographic Services, the Background Intelligent Transfer Service, and the Microsoft Installer Service – all of these are dependencies that will keep you from running the following command if actively running.
- Once very service dependency is disabled, type (or paste) the following commands and press Enter after each one to effectively rename the SoftwareDistribution and Catroot2 folders:
ren C:\Windows\SoftwareDistribution SoftwareDistribution.old
ren C:\Windows\System32\catroot2 catroot2.old
- Once both of the commands above have been processed successfully, run the following commands to restart the services that you previously stopped (at step 2):
net start wuauserv
net start cryptSvc
net start bits
net start msiserver
- Next, you can safely close the elevated CMD prompt and install the same Windows Update that was previously failing with the 0xca00a009.
If the problem is still not fixed and you’re trying to avoid a clean install or repair install procedure, move down to the next potential fix below.
Install the Failing Update via the Microsoft Update Catalog
If your Windows Update component is broken and cannot be fixed automatically via WU Troubleshooter and you’re trying to avoid doing something drastic like clean installing or repair installing, one way that should allow you to bypass the 0xca00a009 is to install the failing update manually by using the Microsoft Update Catalog.
You can use this directory to download the compatible update version that’s failing on your PC, then install it manually by using the .ini file that comes with it.
In case you’re looking for specific instructions on how to do this, follow the steps below:
- Open your default browser and visit the home page of the Microsoft Update Catalog (MUC) directory.
- Once you’re inside the root directory of MUC, use the search function (top-right corner of the screen) to search for the update that’s failing (most likely KB5005188).

Searching for updates on MUC - Once the results are generated, cycle through the results and decide the appropriate update versions you need to install while keeping in mind your current OS architecture and the Windows versions you’re using.
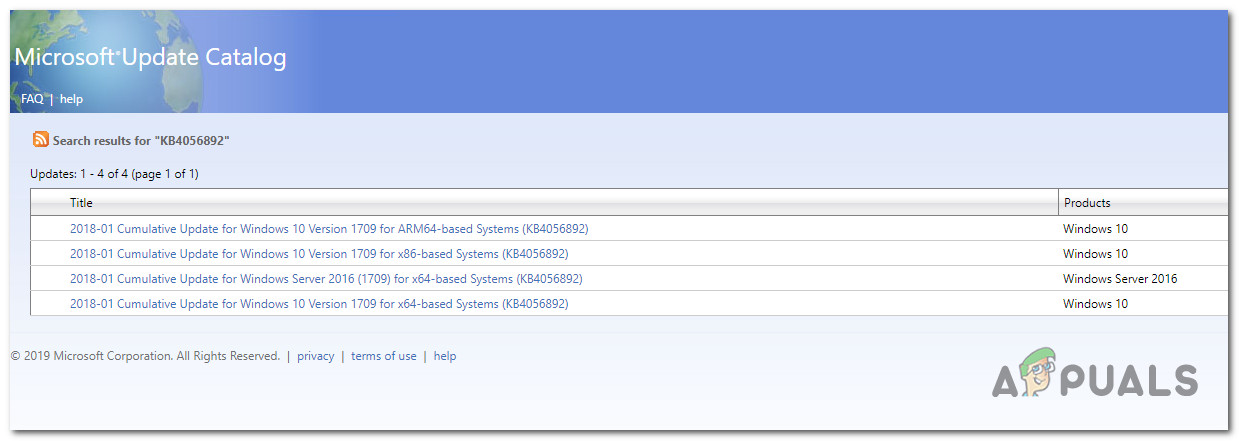
Downloading the correct Windows update from MUC - Once you decide which update is fully compatible with your machine, click on the Download button associated with the correct driver.
- Next, open File Explorer and navigate manually to the folder where the update folder was downloaded (most likely in the Download folder).
- Once you locate the correct folder, look for the .ini file and right-click on it before clicking on Install from the context menu.
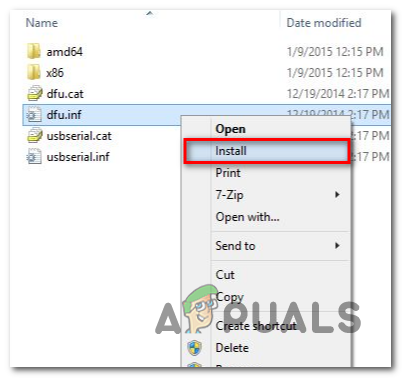
Installing updates from the .INI file - Follow the on-screen instructions to complete the Windows update installation, then reboot your PC.
If this method doesn’t allow you to circumvent the error, or you’re looking for a permanent fix that will permanently fix the WU component, move down to the next fix below.
Update Group policies
Suppose you’re starting to experience this issue after upgrading to Windows 11 from an older Windows version. In that case, this issue might occur due to a local group policy glitch – this is much more common than you’d expect.
In case this scenario seems applicable and you’re experiencing the 0xca00a009 error with every Windows Update that you attempt to install, you might be able to fix the problem by forcing your OS to update all your group policies.
But to ensure that the issue will not resurface later, you will need to create a recurring CMD task via Task Manager. Follow the instructions below for steps on updating the group policies via a regular task:
- Press Ctrl + Shift + Esc to open up Task Manager. If you see the simple interface opening up, click on the More details icon.
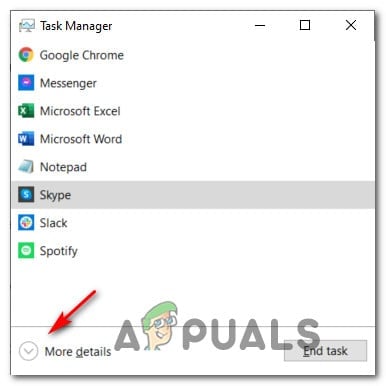
More details for Task Manager - Next, click on File (from the ribbon menu at the top), then click on Run new task from selecting options.
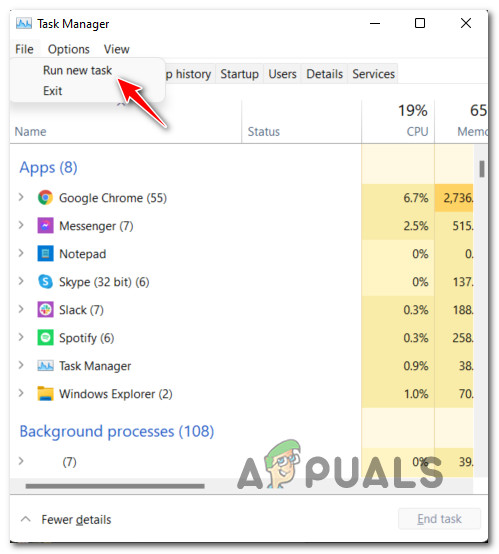
Running a new task - Once you’re inside the Create new task window, start by checking the box associated with Create this task with administrative privileges.
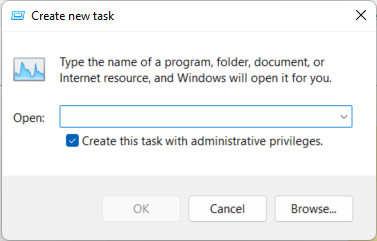
Running the new task with admin privileges. - Next, click on the Browse button and navigate C:\Windows\System32, select CMD from the list of options and click on Open.
- After adding the directory, hit the space key once, add ‘–update’ and press the Ok button.
- Once you’re inside the elevated CMD prompt, type the following command and press Enter to process it:
gpupdate /force
- After the command is processed, type exit and press Enter to exit the utility.
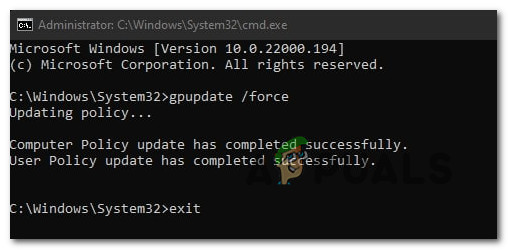
Exiting the CMD prompt - Repeat your attempt at installing the pending update and see if the problem is now fixed.
If the same issue is still occurring even after updating all your local policies, move down to the final potential fix below.
Repair install or clean Install
If you come this far without a result, chances are you’re dealing with some kind of inconsistency that you won’t be able to fix conventionally.
Since tens of thousands of potential culprits might be responsible for this issue, the best course of action would be to make sure that you refresh every Windows file – this will ensure that every potentially corrupted Windows Update dependency is replaced with a healthy equivalent.
When it comes to doing this, there are two available options:
- Repair install (in-place repair) – This procedure will only touch your system files while leaving everything else intact. This should be your first approach if you have essential personal data that you can’t afford to lose. But keep in mind that you’ll need compatible installation media.
- Clean Install – This is the most uncomplicated procedure out of the bunch. You can deploy this operation without compatible installation media, but keep in mind that you’ll lose any personal files, documents, and media present on the operating system partition.


