How to Fix Security Definition Update Error 8024402F on Windows 11
Some Windows 11 that have recently upgraded to the new operating system are reporting that their every attempt at installing new security signatures updates for the Windows 11 security end up failing with the same 8024402F error code.
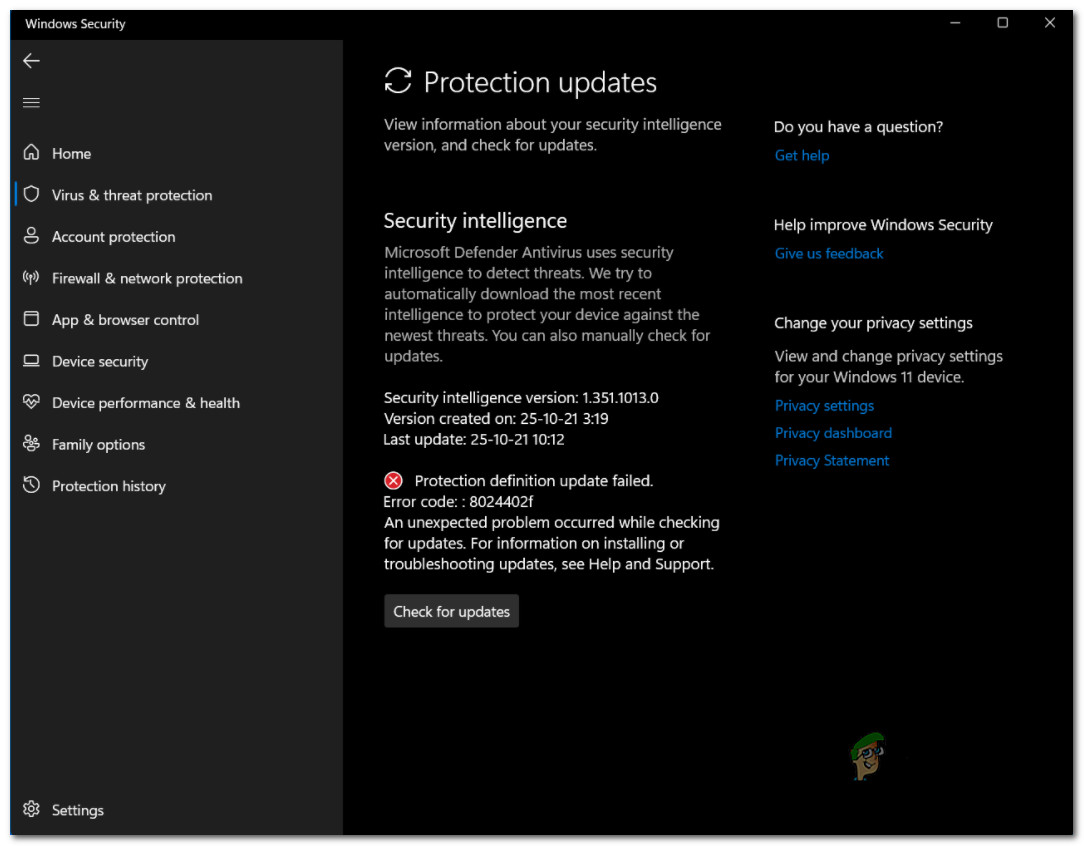
Note: This is a new issue that seems to be exclusive for Windows 11. Don’t confuse this with the generic Windows Update Error 8024402F error that is only affecting Windows 7, Windows 8.1, and Windows 10.
After we’ve investigated this issue thoroughly, we’ve figured out that there are several different underlying scenarios that might be responsible for this error code. Here’s a list of potential culprits that you should be on the lookout for:
- Not enough space on the system partition – Keep in mind that every update (security or not) will fail to install if the partition where Windows 11 is installed has less than 16 GB of free space. Before doing anything else, inspect the partition of your OS drive and free up some space if it’s necessary.
- Incorrect time & date – Keep in mind that one popular reason why new security signatures for Windows Security might fail to install is an incorrect date and time. Apparently, the download server might decide to disallow the connection to your PC if the date & time is severely outdated.
- Windows Update Service glitch – Keep in mind that Windows Security uses a different channel when it has to download new virus signatures for Windows Defender and Windows Firewall. Several affected users have discovered that the pending definition updates install just fine while the main Windows Update service is disabled.
- Certain dependencies are disabled – Keep in mind that Windows Security relies on several different dependencies when it has to download & install new virus signatures. To ensure that every required dependency is accessible, you’ll need to use the Services screen to enable every service that will be in use during the upgrading process.
- Windows Security is disabled – As it turns out, one additional reason why you can expect to see this issue when Windows Security has to download a new virus signature is that this functionality is disabled by a Group Policy. In this case, you can fix the issue by disabling this policy via the Local Group Policy Editor.
- System file corruption – There are also circumstances where some type of system file corruption ends up causing this error code. If you find yourself in this scenario, the only viable fix at this point is to go for a repair install or clean install procedure.
Now that you are aware of every potential cause that might be causing this issue on Windows 11, let’s go over every troubleshooting method that has been confirmed by other Windows users that have been dealing with the 8024402F error:
1. Make sure you have enough space
Keep in mind that Windows Security needs at least 16 GB of space in order to be allowed to install any type of pending definition update for Windows Defender or Windows Firewall – it doesn’t matter how small the actual update is.
So before you go ahead and try any of the other fixes featured below, you should start by making sure that you have enough space on the OS drive. Only after you use File Explorer to confirm that the C drive (or whatever your OS partition letter is) has enough space, you can safely confirm that the issue is not space-related.
Here’s a quick guide that will show you how to make sure that you have enough space to install the pending signature updates for Windows Security:
- Open File Explorer and look for the drive that has the Windows icon from the right-hand section of the screen.
Note: Unless you modified the default lettering, your Windows drive will likely be Local Disk (C:). - Next, right-click on the C drive and choose Properties from the context menu that just appeared.
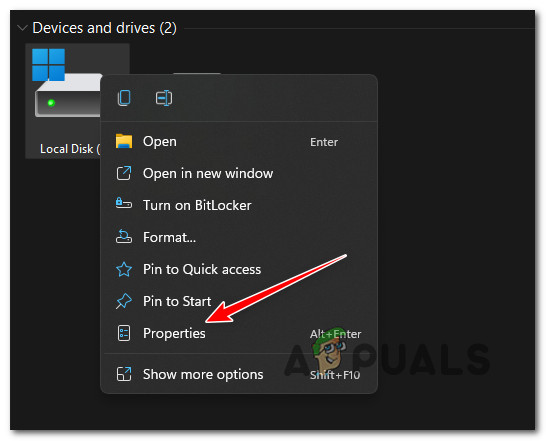
Accessing the Properties screen of your OS drive - Inside the Properties screen, look under General at the amount of Free Space. If it’s under 16 GB, click on Storage usage below.

Checking for Free space - Next, once you are transported to the Storage used on other drives tab, click on your OS drive (Windows icon).

Accessing the OS drive - Next, click on Temporary Files, then choose the type of files that you’re willing to let go of before finally clicking on Remove files to free up some space.
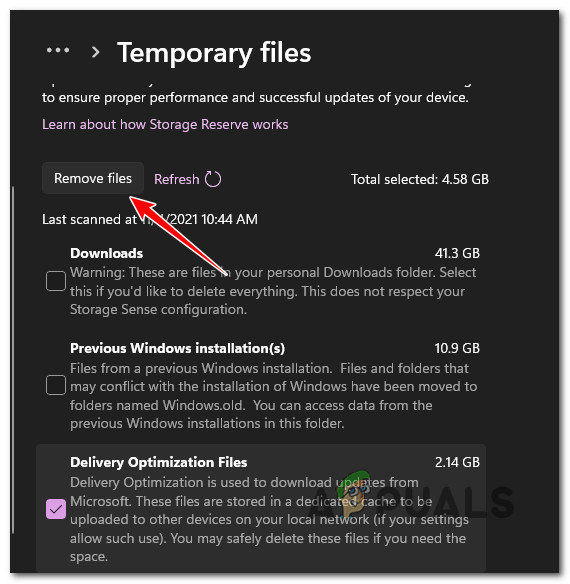
Removing unnecessary files from the OS drive Note: If that’s not enough to clear 16 GB of free space, you can also opt for uninstalling unused Apps & Features, Documents, and Other files.
- After you manage to free up enough space, reboot your PC and see if you are now able to install the pending security signatures for Windows Security.
2. Update the time & date to correct values (if applicable)
Another fairly common reason why you can expect to deal with this particular issue is a scenario in which the MS download server that’s being used to download the new definition updates for Windows Security rejects the connection with your PC due to the fact that it founds an inconsistency with the time and date.
If you notice that your date & time is off, there’s a big chance that this is the cause of the issue. In this case, you can resolve the issue by accessing the Date & Time window on your Windows 11 computer and update the time & date values to the correct values.
Follow the guide below for step-by-step instructions on how to do this:
- Press Windows key + R to open up a Run dialog box. Inside the newly appeared Run box, type ‘ms-settings:dateandtime’ and press Enter to open up the Date & Time window.
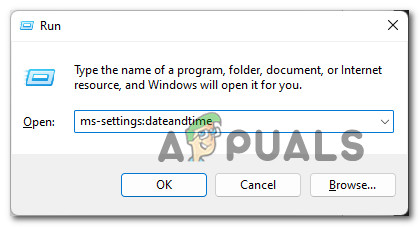
Open up the Date & Time window - Once you’re inside the Date & Time window, move over to the right-hand side menu and ensure that the checkbox associated with Set time automatically is enabled.
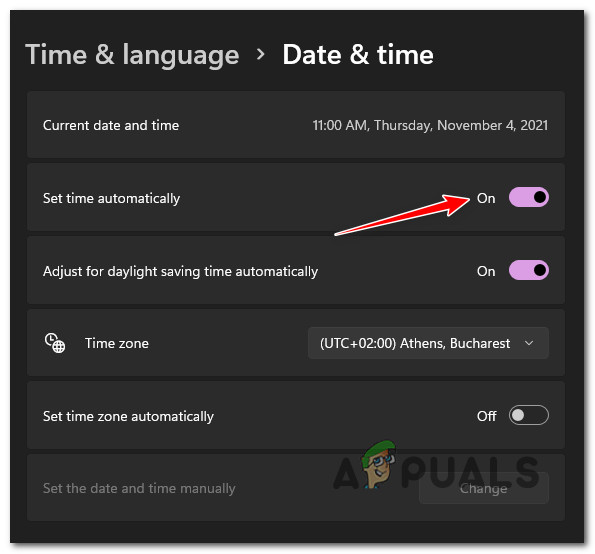
Configuring Automatic time & date setting Note: Enabling this option means that the time and date will automatically be synced over the internet.
- Next, do the same thing below by checking the box associated with Set Time zone automatically.
- Once both options have been enabled, ensure that your PC is connected to the internet before rebooting your PC in order to force the date & time to sync.
- After your PC boots back up, you should notice that the time & date has now officially been adjusted.
- Attempt to install the pending Windows Security update and check if you are dealing with the same kind of issue
I the same problem I still occurring, move down to the next potential fix below.
3. Disable the Windows Update Service
If you’ve previously ensured that you have plenty of space and that your date & times values are correct, the next thing that you should troubleshoot against is a potential glitch that affects the Windows Update service.
Keep in mind that your OS won’t use the main Windows Update service when it has to download a definition update – it will use a sub-service instead. Instead, some users have discovered that if they temporarily disable the main Windows Update service, the Windows Security update definitions are downloaded and installed properly.
This is by no means a permanent fix, but it serves as a quick workaround if you want to fix the issue temporarily.
If you haven’t tried this already, follow the instructions below for a quick guide on temporarily disabling the main Windows Update service in order to be able to install the pending protection definition updates for Windows Security:
- Press Windows key + R to open u up a Run dialog box. Next, type ‘services.msc’ inside the text box, then press Ctrl + Shift + Enter to open up the Services screen with admin access.
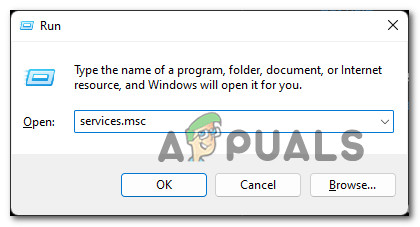
Open up the Services screen - When you’re prompted by the User Account Control, click Yes to grant admin access.
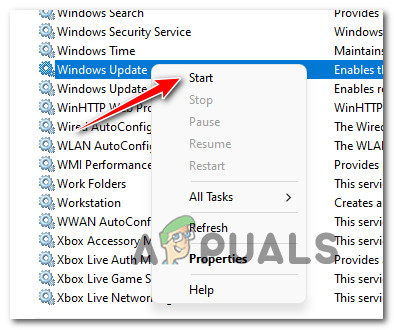
- Once you’re inside the Services screen, move over to the right-hand section and scroll down through the list of services until you locate the main Windows Update service.
- When you manage to locate the correct service, simply right-click on it and choose Stop from the context menu that just appeared.
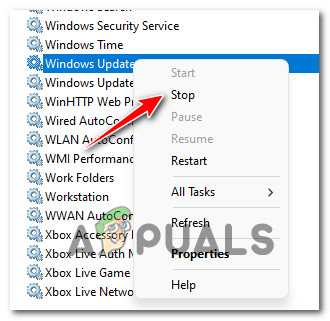
Stopping the Windows Update service - Once the Windows Update service is disabled, minimize the Service window.
- Next, press Windows key + R to open up a Run dialog box. Next, type ‘ms-settings:windowsdefender’ inside the text box and press Enter to open up the Windows Security page inside the Settings screen.
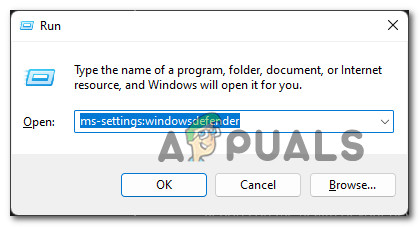
Open up Windows Security - Once you’re inside the Windows Security tab, click on Open Windows Security.
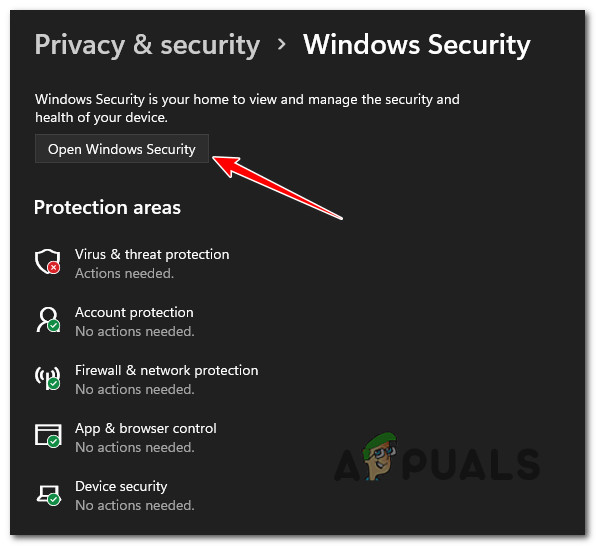
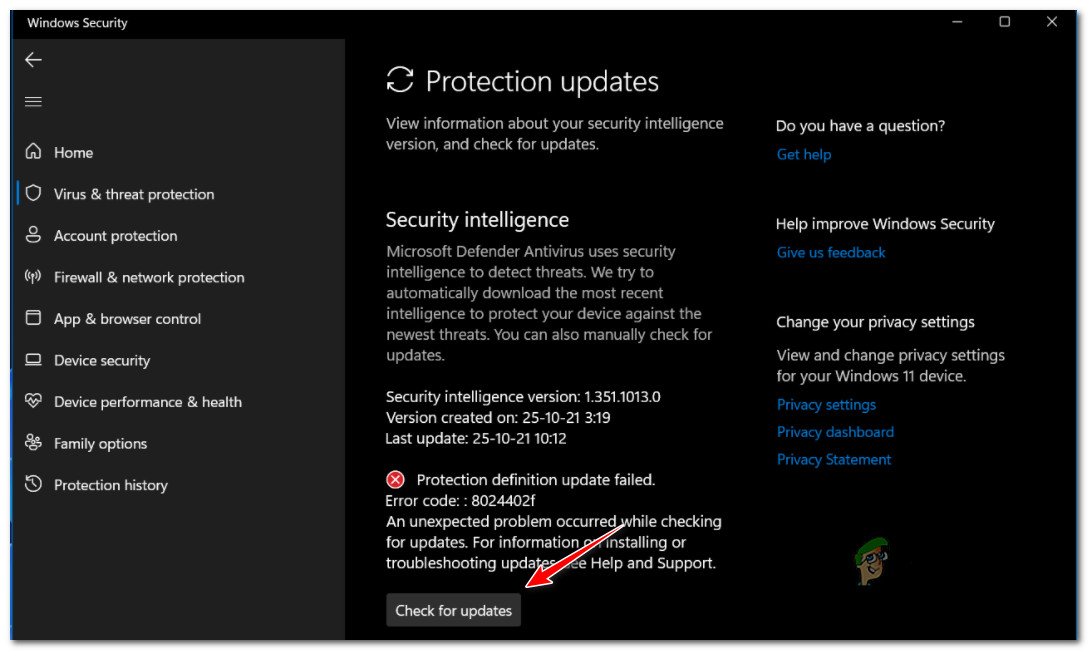
Opening up the Windows Security tab - Once you’re finally inside the main menu of Windows Security, click on Virus & threat protection from the vertical menu on the left.
- Next, move over to the right-hand section and click on Check for Updates once again and see if the installation can now complete with no issues.
Checking for Updates inside Windows Security - Regardless of the outcome (if the update is successful or not), maximize the Services menu once again, right-click on Windows Update once again (from the right-hand pane) and choose Start from the context menu that just appeared.
Start Windows Updates once again from the Services screen
In case this method was not effective in your case or it was not applicable, move down to the next potential fix below.
4. Ensure that Windows Security is Enabled (if applicable)
If new update signatures belonging to Windows Security have always failed with the same 8024402F error code, you should also check if Windows Security is not disabled at a system level by a local group policy.
This scenario is even more likely if you recently upgraded to Windows 11 from an older version where Windows Defender was disabled by a local group policy.
Several affected users have confirmed that they finally managed to fix this issue after they opened up the Local Group Policy Editor and realized that Windows Security was disabled by a local group policy.
Note: This method is only applicable in case you’re using a PRO, Enterprize, or Education version of Windows 11. The home version of Windows 11 won’t have the Local Group Policy Editor installed. You can, however, install it on a Home version too with this workaround.
If you suspect that this scenario is applicable, follow the instructions below to use the Local Group Policy Editor to investigate whether the Microsoft Defender Antivirus policy is enabled or not:
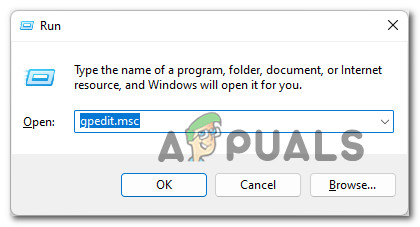
- Press Windows key + R to pen up a Run dialog box. Next, type ‘gpedit.msc’ inside the text box and press Ctrl + Shift + Enter to open up the Local Group Policy Editor with admin access.
Opening up the Local Group Policy Editor on Windows 11 - Once you’re prompted by the User Account Control, click Yes to grant admin access.
- Once you’re inside the Local Group Policy Editor, use the menu on the left to navigate to the following location:
Computer Configuration > Administrative templates > Windows Components > Windows Defender Antivirus
- Once you are inside the correct location, move over to the right-hand section and double-click on Turn off Microsoft Defender Antivirus.
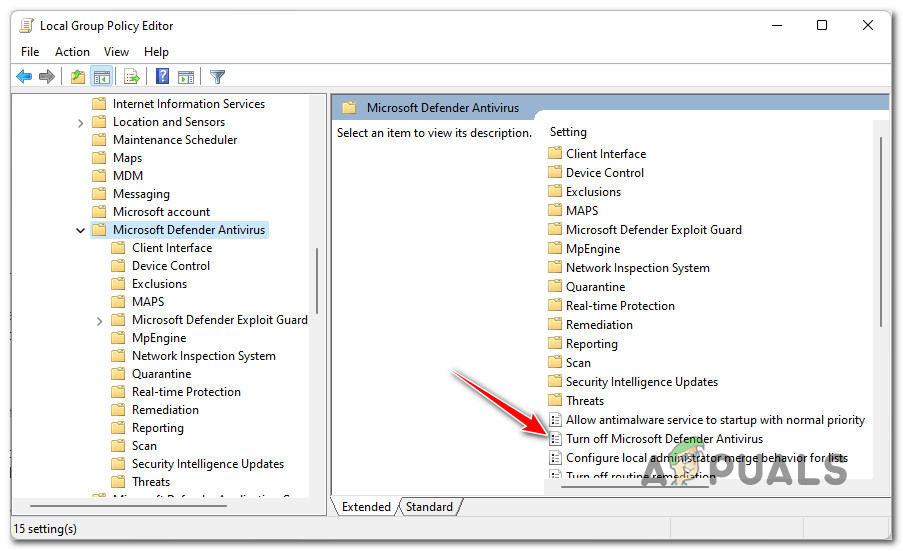
Disable the Microsoft Defender Antivirus - Next, once you’re inside the Turn Off Microsoft Defender Antivirus policy, set the policy to Disabled or Not Configured, then click on Apply to save the changes.
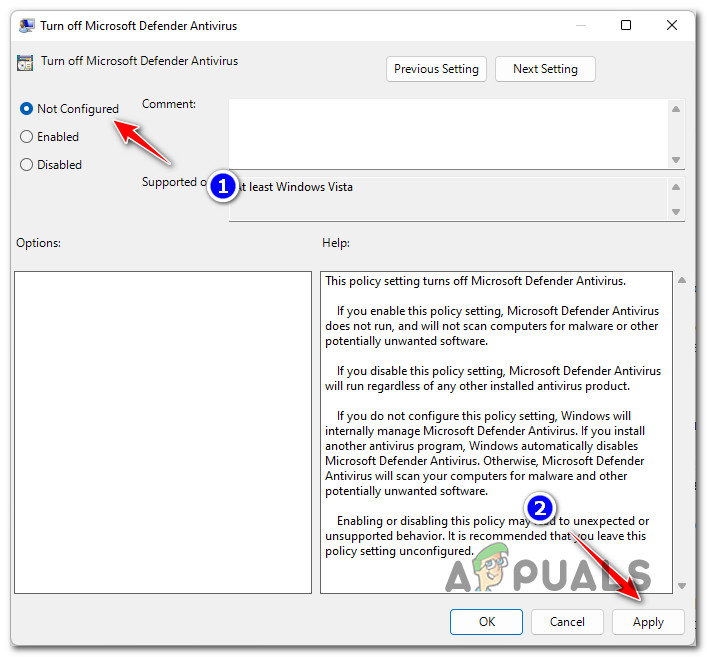
Disabling the Defender Antivirus policy - Once the policy has been disabled, reboot your PC in order to allow the changes to take effect.
- After your PC boots back up, return to the Windows Security screen and attempt to install the pending signature updates once again, and see if the problem is now fixed.
In case you’re still seeing the same 8024402F error code, move down to the next potential fix below.
4. Ensure that every dependency is enabled
Keep in mind that even though the updating function on Windows Security is different than the main Windows Update component, it still uses a couple of dependencies that are shared with the main updating component.
In order to ensure that the 8024402F error code is not occurring because some dependencies are disabled, you should also take the time to ensure that the following services are also enabled from the Services screen:
- Background Intelligent Transfer Service
- COM+ Event System
- DCOM Server Process Launcher
- Windows Update
- Remote Procedure Call (RPC)
Follow the instructions below for step-by-step guidance of using the Services screen to ensure that the following services are enabled:
- Press Windows key + R to open up a Run dialog box. Next, type ‘services.msc’ inside the text box and press Enter to open up the Services screen.

Accessing the Services screen - Once you’re inside the Services screen, scroll down through the list of services and make sure that every service below is enabled:
Background Intelligent Transfer Service
COM+ Event System
DCOM Server Process Launcher
Remote Procedure Call (RPC)
Note: You can check if a service is enabled or not by right-clicking on it. If you have the option to click on Start, it means the service is disabled – in this case you need to enable it.
- Once you ensure that every service dependency is enabled, attempt to install the Windows Security virus signatures once again and see if the problem is now fixed.
Note: If this indeed fixes the issue, double-click on every service mentioned above and change the Startup type of each to Automatic from the General tab.

Changing the behavior of every service
In case the issue is still not fixed, move down to the final potential fix below.
5. Clean install or Repair install
If you found that none of the potential fixes featured above have proven to be effective in your case, you should start to consider the fact that you might be dealing with some kind of system file corruption that ends up affecting the updating component of Windows Security.
If you find yourself in this scenario, you have two ways forward:
- Repair install – If you have the means to do it, we recommend that you start with this. Using this method, you can refresh your entire fleet of system files without any effect on your personal files and installations.
- Clean install – If you’re looking for a fresh start, a clean install procedure is probably the best course of action. But keep in mind that if you go this route, expect to lose any personal data present on the OS drive (including media, games, documents and applications)


