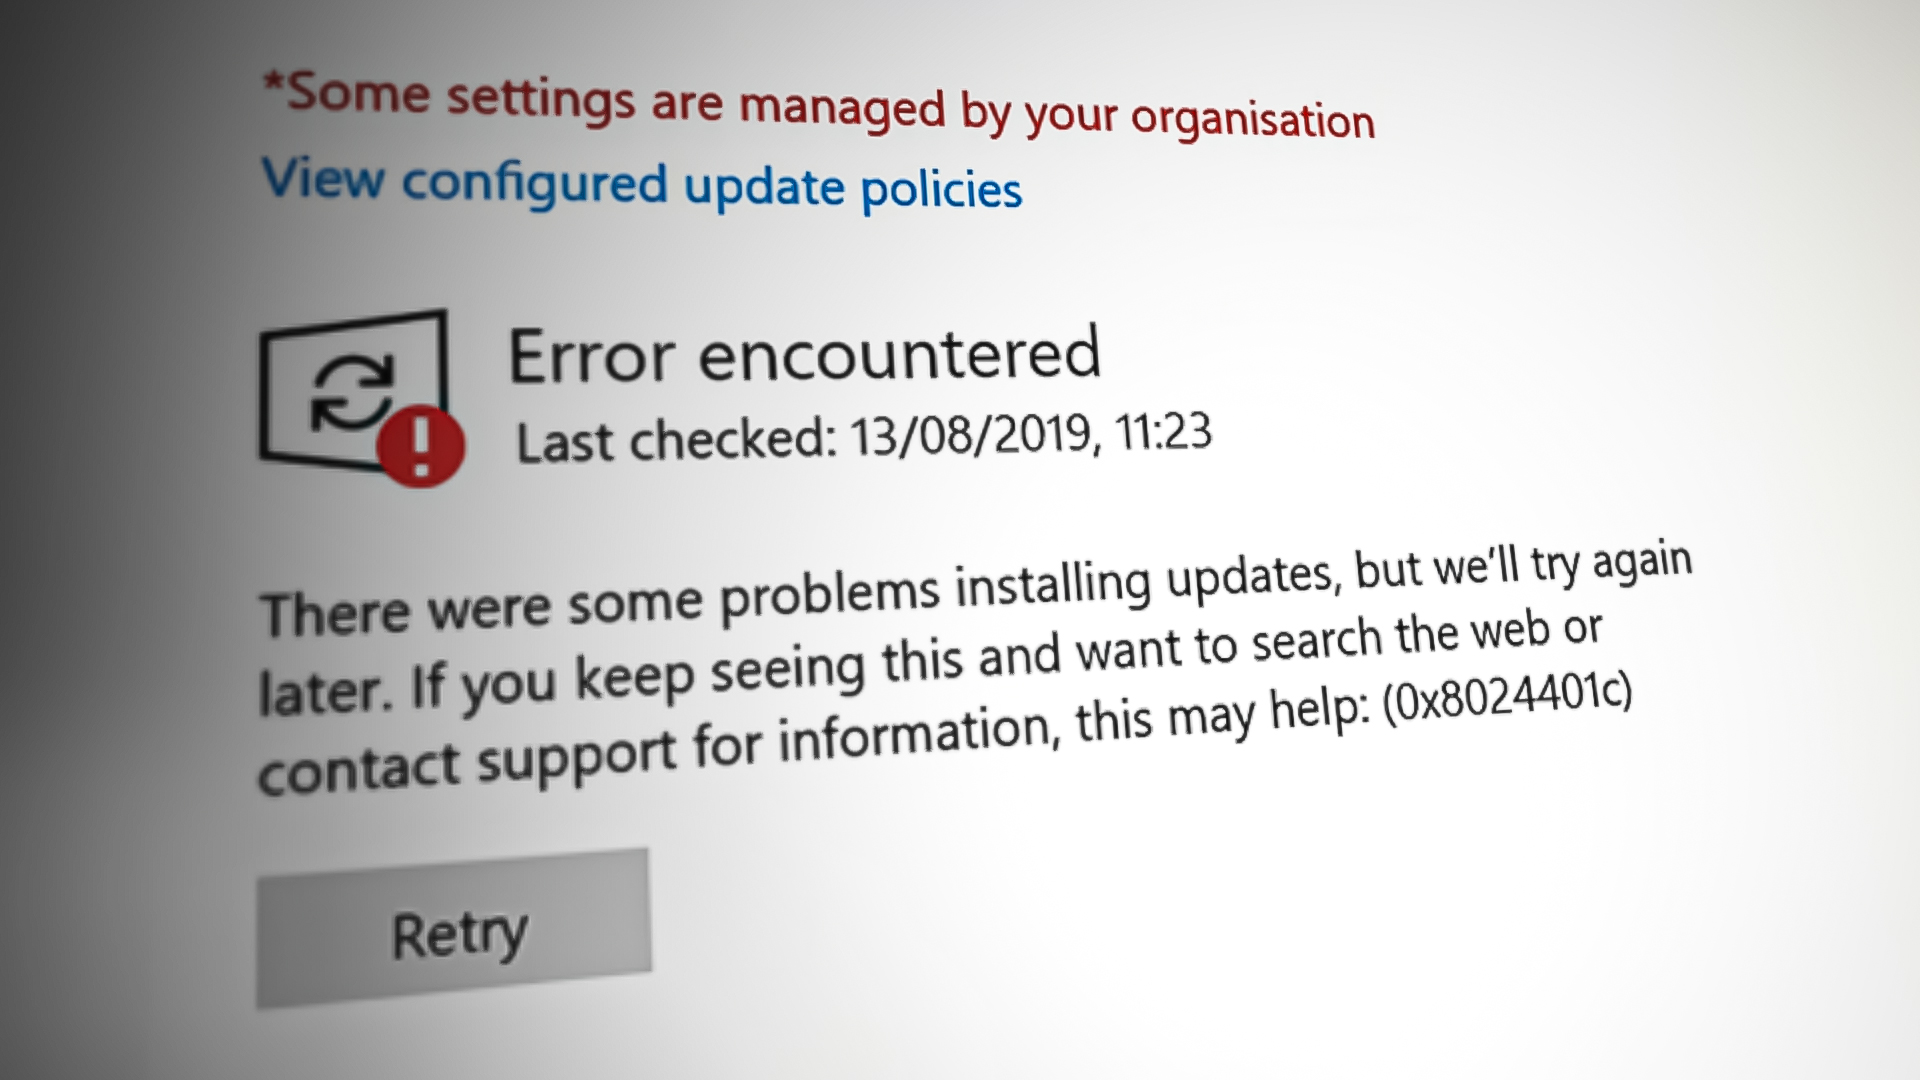
Fix: Windows Update Error Code: 0x8024401c on Windows 11
Many users reported that they face window updates error 0x8024401c. It usually occurs when windows do not install any updates as it cannot connect to Microsoft Windows update servers.
Here are the main reasons why window Update error 0x8024401c occurs are;
- Internet connection issues: During window updates, an internet connection is required to download the new updates and to activate the Microsoft account during Windows Setup. The update process can be performed without the internet when you have downloaded the updates and just need to install them in your system.
- Outdated Drivers: The drivers are responsible for performing every single task on your computer. They control display and other external devices as well. Driver manufacturers update the drivers from time to time so they can support the windows updates. It will tweak the performance of the system. Updating the drivers can fix these issues.
- Corrupt system files: These files can slow down the internet connection. The corrupt or missing files cease the updates downloading in your system. So, there are two ways to eliminate these files issue. Either you can run an SFC scan or repair/ replace these files.
- Misconfigured Window Registry: The window registry will help in enabling the automatic updates. Window Registry is a sensitive area of your system. An experienced person should deal with it. Because just a small mistake can result in data loss or you might require reinstallation of operating software.
1. Run Window Updates Troubleshooter
Running the window update troubleshooter will disable the automatic running of Disk Cleanup devices. Troubleshooter helps in detecting the real issue in updates and can fix it by itself. It will install the new updates. So, here are some steps that will help you in fixing these issues;
- Right-click on the Start Menu and open the Settings.
- Select the system from the left side of the screen and scroll down to the Troubleshooter.
- Click on the other troubleshooters. Now click on the Run option of the window updates. Wait for a few minutes. It will detect the problem and resolve the issue.
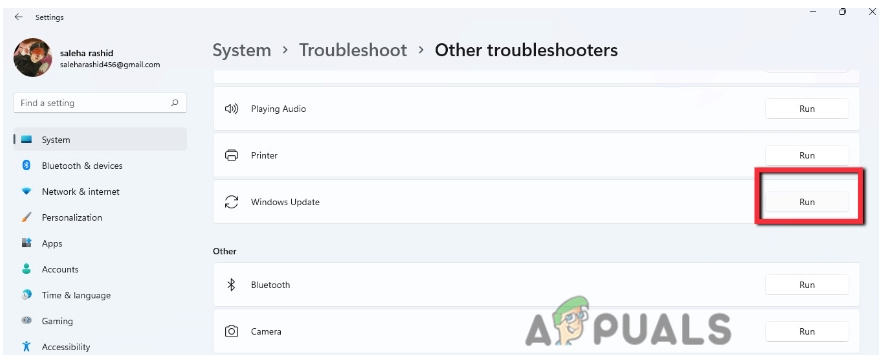
Window Updates Troubleshooting
2. Disable Internet Protocol version 6 (IPv6)
The Internet protocol version (IPv6) provides better security, and efficient connection, and adds support for devices. Disabling IPv6 is not preferable but if you are facing any issue in the activation of a Microsoft account, you can disable it. Once you resolve the issue, enable this feature. So, the following steps will help you in disabling the IPv6;
- Open the start menu from the Taskbar and search for Network Connection.
- So, open the View Network Connection. Right-click on the Ethernet and select Properties.
- Now scroll down and search for internet protocol version 6.
- Uncheck its box and press ok. Then Restart your system and try to install the updates again.
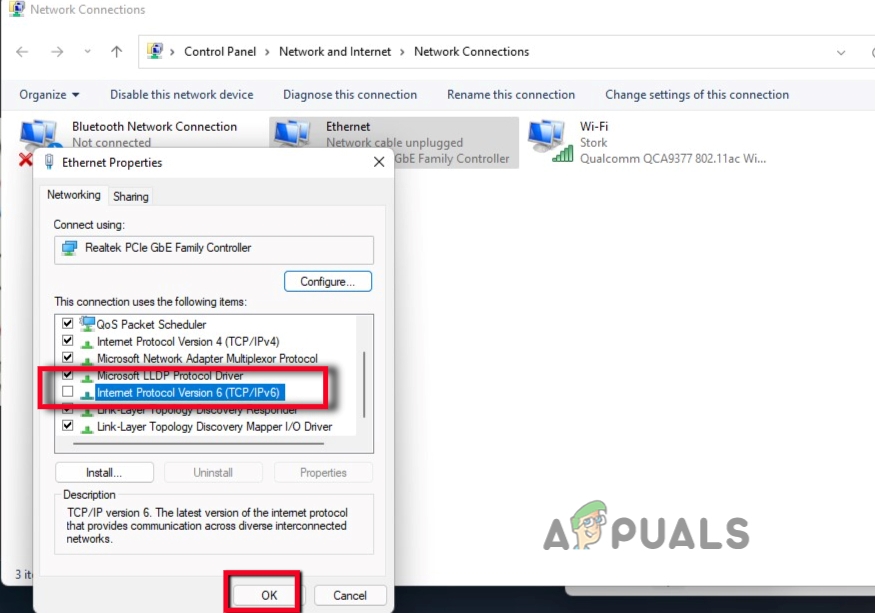
Disable Internet Protocol version 6 (IPv6)R
3. Clean the Window Update Temporary Cache Folder
If the above methods do not work properly, you can clean the temporary cache folders of window updates. The Update Cache stores Update related installation files. Cleaning this folder will free space in the hard drive. So, here are some steps to clean the update Cache to fix the Window Update error 0x8024401c;
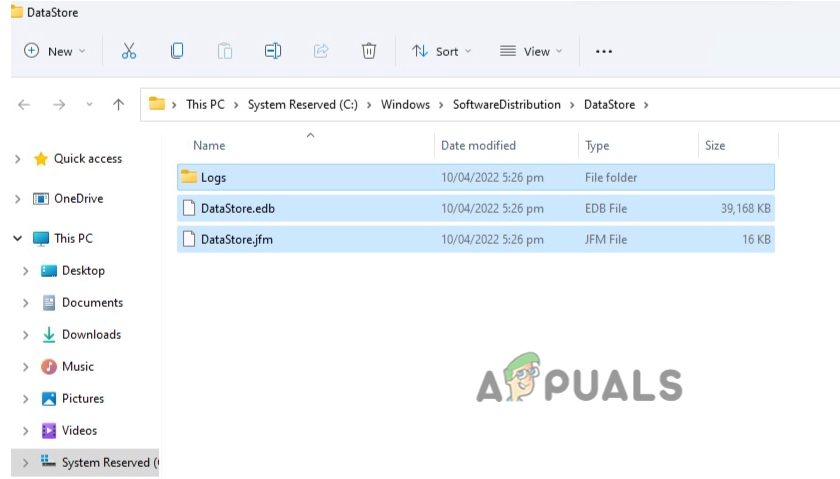
- Open the Run window by clicking Window Key + R from the keyboard.
- Type %windir%\SoftwareDistribution\DataStore on the search tab and click Ok.
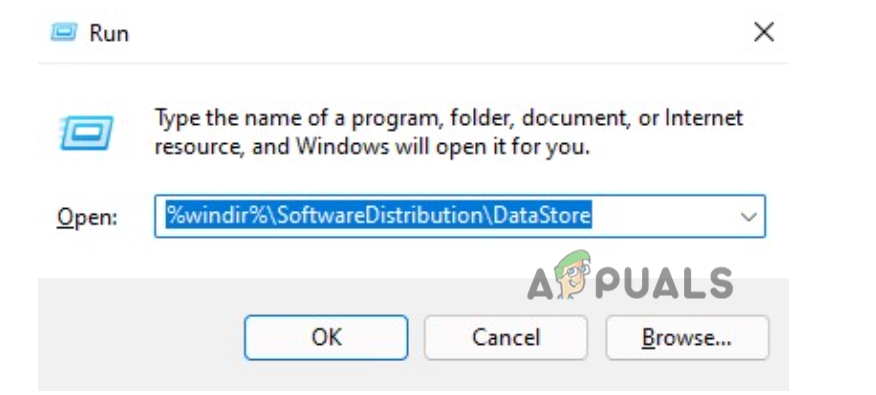
Clean the Window Update Temporary Cache Folder - New window will open. Press Ctrl + A, and delete all the files.
Delete the Cache Files - Close all the programs and reinstall the windows updates again.
4. Update the Device Drivers
If the above methods do not fix the window updates error 0x8024401c, you should update your device drivers. It will tweak the performance level of your PC and also support the new window updates. So, follow these steps to update the drivers;
- Right-click on the Device Manager
- Now Expand the Display Adapter Right-click on the driver and click on the Update driver option.
- So, from here select the first option of Search automatically for Drivers. Then click on search for update drivers on window updates.
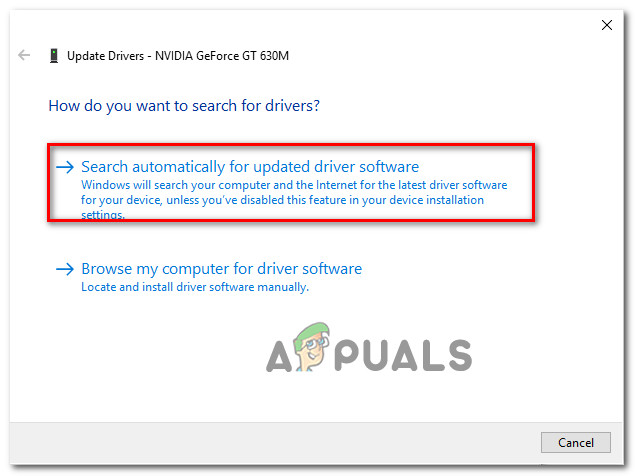
Searching Automatically for Updated Driver Versions - Thus, check the windows update. Install the update if any. Restart your system.
5. Run Built-in File checker tool
Missing or corrupt files affect the window updates. They slow down the internet connection. The SFC scanning tool is used to scan and repair these corrupt files. It is a built-in scanning tool in the new version of windows. It runs with administrator privilege in Windows. So, the following steps will help you in running the SFC scan;
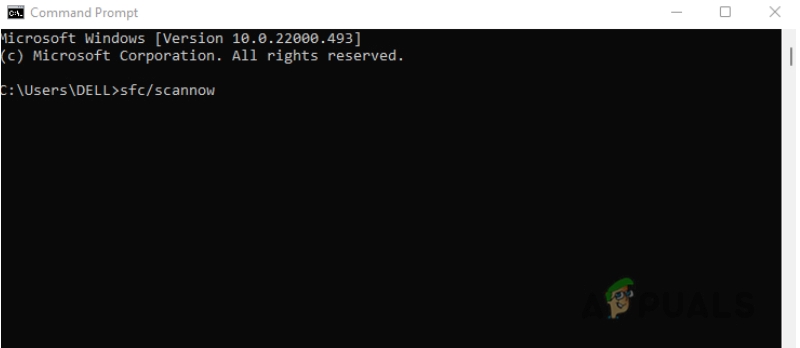
- Right-click on the start menu and type Command Prompt.
- So, Right-click on the command prompt and select the Run as an Administration
- Now type the following command on it and press Enter
sfc /scannow
- Wait for the process to complete and then restart your system.
Use Command Prompt to fix Window updates error 0x8024401c
6. Modify Windows Registry
If you still face the window updates error 0x8024401c, you can modify the window Registry. Window Registry is a database of settings for all apps, windows preferences, users, and all attached devices for your system. Modifying the registry improves the performance of windows. But only an expert should change the registry because you can lose the important data. So, to fix the update error you can follow these steps;
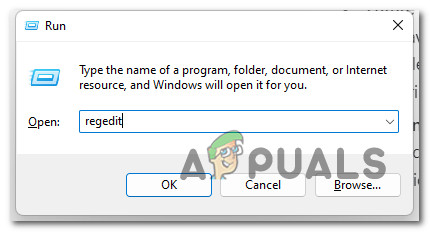
- Press the Window key + R from the keyboard and type Regedit on the search tab.
- Press Ok. Registry Editor Window will open.
Opening up the Registry Editor - Now expand the HKEY-LOCAL-MACHINE. Now double-tap on
- Then click on policies and then go to Microsoft.
- Select Windows and then click Window updates.
- So, from here select the AU folder.
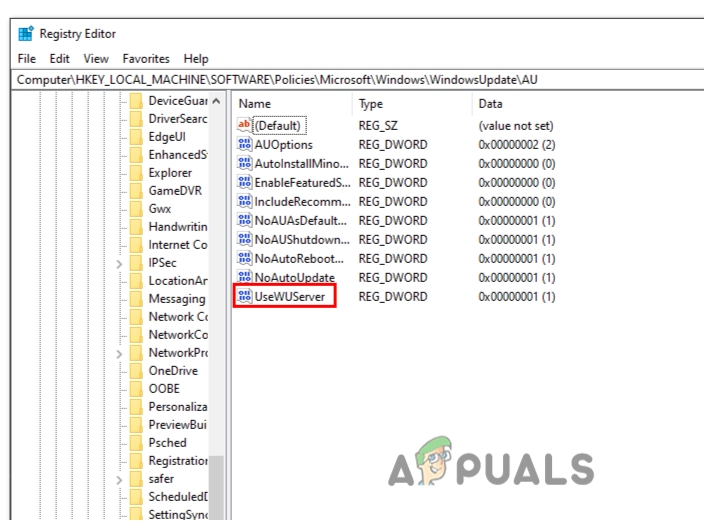
Editing the Specific Registry key - You can simply navigate to the following address;
HKEY_LOCAL_MACHINE\SOFTWARE\Policies\Microsoft\Windows\WindowsUpdate\AU
- Now come to the right side of the screen and double click on UseWUServer
- Change its data value to 0 and press Now restart your computer and try to install the windows updates again.
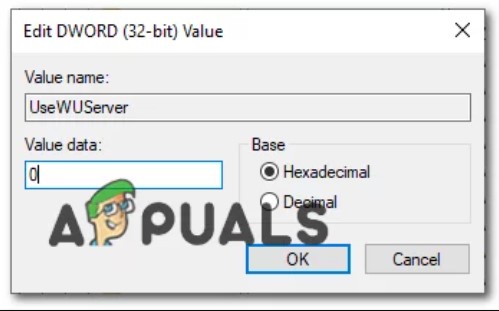
Changing the key’s value
7. Perform Clean Boot Process
The clean Boot process helps in starting the window with minimum drivers and startup programs. It detects the programs that are interfering in the background with your update. This process works in the same way as starting a window in safe mode. It also gives more control to the user over which program he wants to run first and can identify the problem-causing program. So, the following steps will help you in performing a clean boot process.
- Open the Run program by pressing the Window key + R simultaneously from the keyboard.
- Type the msconfig command on the search bar and press Ok.
- New window will open. So, from here navigate to the Services option and check the box, Hide all Microsoft Services.
- Press Disable all. Now click on Apply and then press OK.
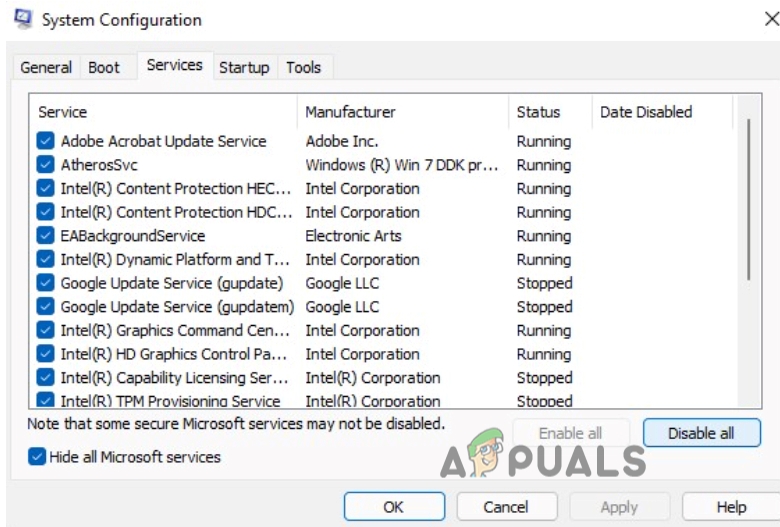
Perform Clean Boot Process - Restart your system and try to install the updates again.


