How to Disable Access to the Windows Registry for Standard Account?
The Windows Registry is a database that stores low-level settings of your operating system and applications. It has keys and values that are similar to the folder and files. However, doing a wrong configuration in the Registry Editor can cause issues in the system. Therefore, an administrator can disable the Registry Editor from standard users that have less knowledge about the registry. In this article, we will show you methods through which you can disable the Registry tools on your system.
Disabling Access of Registry through the Local Group Policy Editor
The Local Group Policy Editor allows users to configure and manage the setting for the operating system. The setting for disabling the Registry tools can be found in the user configuration category of the Local Group Policy Editor. You can configure this setting in the standard account’s Group Policy.
However, GPO isn’t available in the Windows Home versions. If you are using the Home version of Windows, then skip this method.
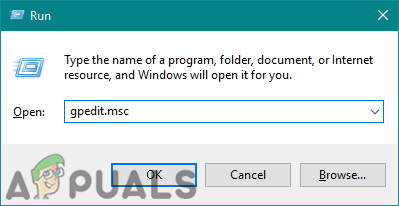
- Press the Windows + R key combination to open a Run dialog and then type “gpedit.msc” in it. Press the Enter key to open the Local Group Policy Editor and choose the Yes option when prompted by UAC (User Account Control).
Opening Local Group Policy Editor - In the User Configuration category, navigate to this path:
User Configuration\ Administrative Templates\ System\
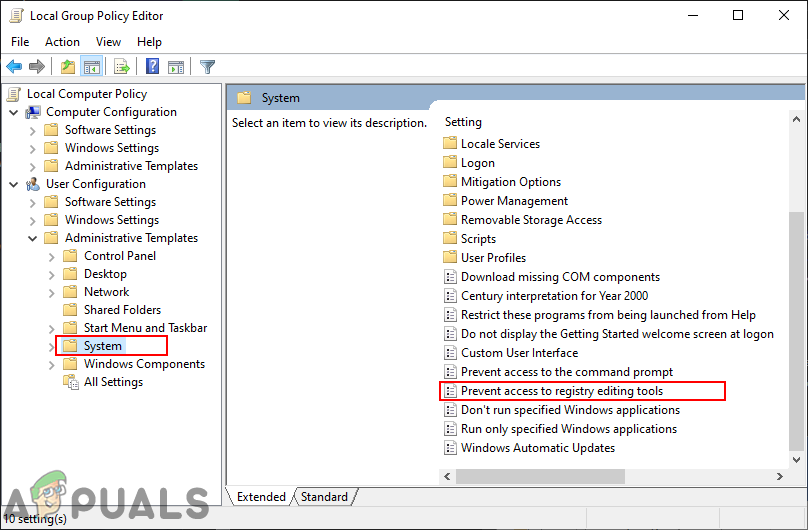
Navigating to the setting - Double-click on the setting named “Prevent access to registry editing tools” and it will open in another window. Now change the toggle option from Not Configured to Enabled and choose the Yes option for running silently option.
Note: Choosing No from the list will allow users to apply registry keys via a preconfigured .REG file.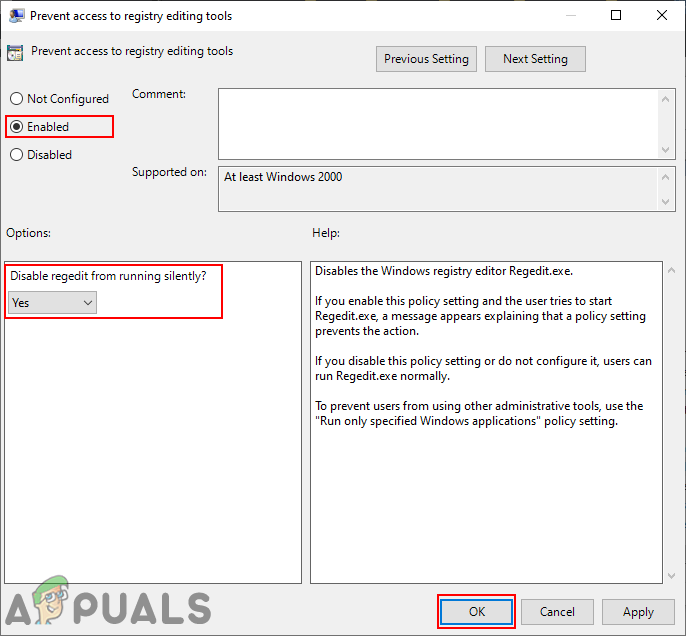
Enabling the setting - Click the Apply/Ok button to save the changes. This will disable the Registry for that user account.
- To enable it back, you will need to change the toggle option back to Not Configured or Disabled in step 3.
Disabling Access of Registry through the Registry Editor
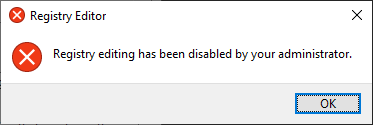
The Registry Editor can also be disabled in the Registry Editor itself. The user will be required to create the missing key and value for this specific setting. However, make sure you are using this method for a standard account. That is because, you will need an administrator account to enable it back, otherwise you will just lock yourself up.
Important: Make sure you are applying the below steps for a standard account and not an administrator account.
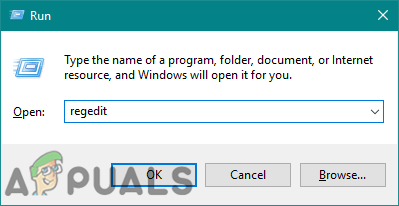
- Press the Windows + R key combination to open a Run dialog and then type “regedit” in it. Press the Enter key to open the Registry Editor and choose the Yes option when prompted by UAC (User Account Control).
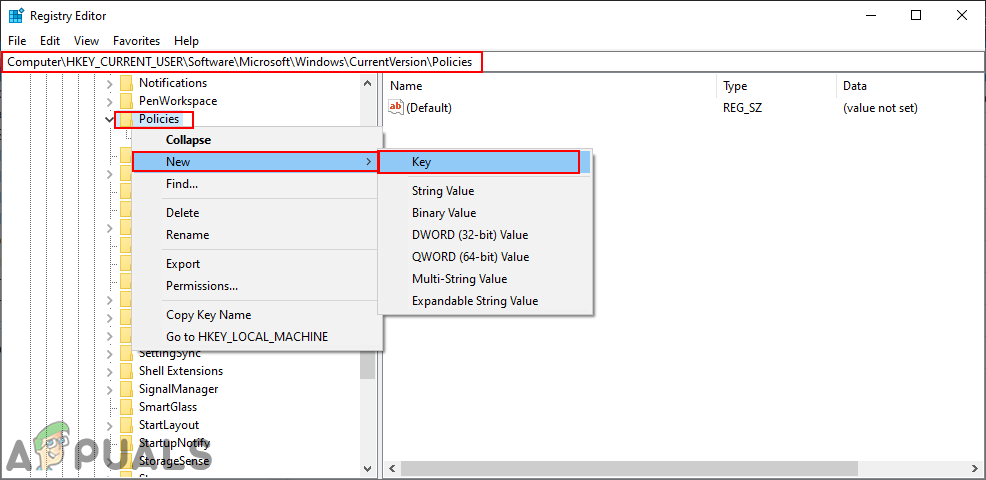
Opening the Registry Editor - In the Current User Hive, navigate to the following key:
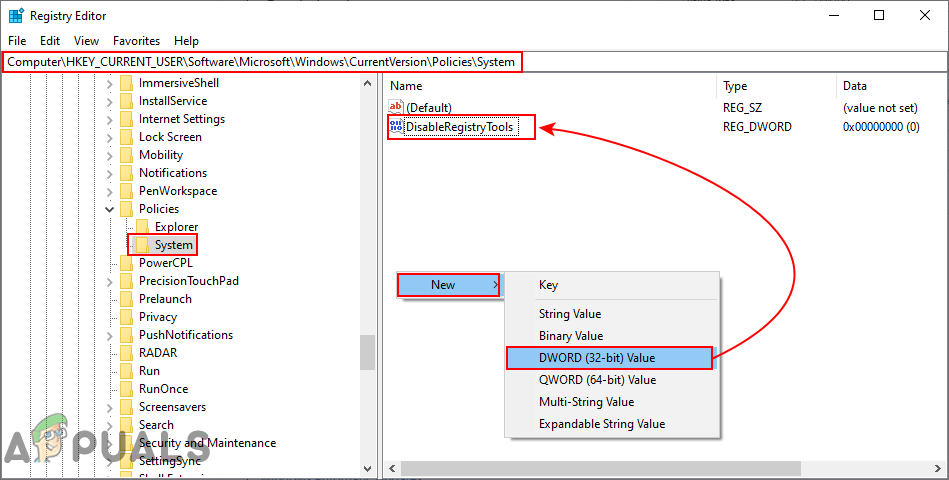
HKEY_CURRENT_USER\Software\Microsoft\Windows\CurrentVersion\Policies\System
- If the System key is missing under Policies, then create it by right-clicking on the Policies key and choosing the New > Key option. Then name that key as “System“.
Creating the missing key - In the System key, right-click on the right pane and choose the New > DWORD (32-bit) Value option. Now name this value as “DisableRegistryTools“.
Creating a new value for the setting - Double-click on the newly created value, change the value data to 2, and Base to Decimal. This will enable the value and choose the Yes option for running silently.
Note: If you want to choose No option for running silently, then change the value data to 1 (Decimal).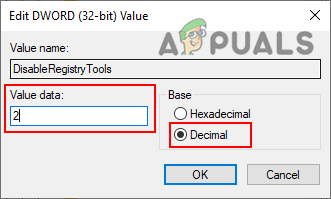
Enabling the value - Finally, make sure to restart your system to apply the changes that you just made.
- To enable the Registry Editor for that standard account, you will need to log on to another administrator account. Then open the same value, change the value data to 0 or simply delete the value.
Disabling Access of Registry through Third-Party Application
There are also some third-party applications that allow users to restrict folders and files on their system. There are several different applications with different features and reliability for this purpose. You can use the one that you are familiar with. In this method, we will be using the Protect My Folder application to demonstrate the idea of disabling access to the Registry on your system. Follow the below steps to see how it works:
- Open your browser and download the Protect My Folders application. Install it by following the instructions provided.

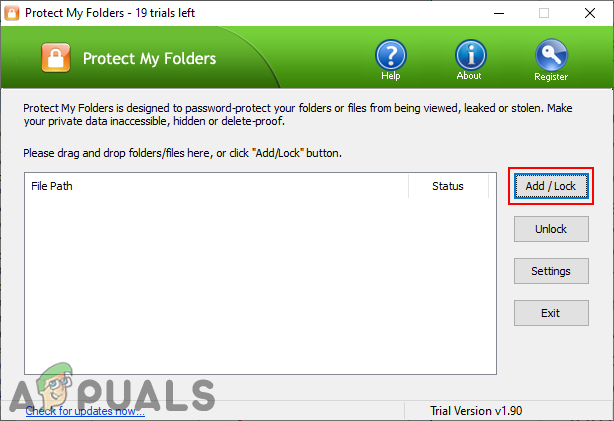
Downloading the application - Open it up and click on the Add/Lock button.
Adding a new program to lock - Now navigate to the path of the regedit.exe, select it, and click on the Add button. Once added, click on the Ok button.
C:\Windows\regedit.exe
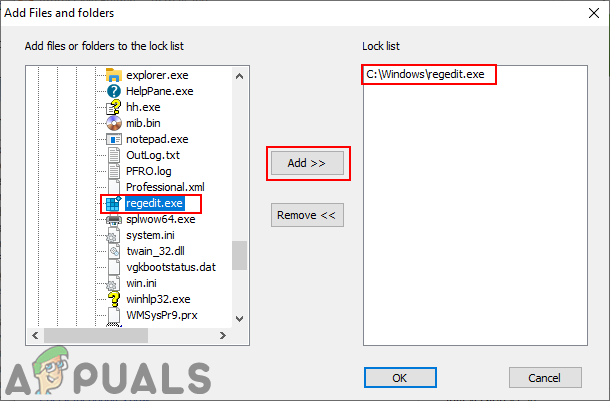
Selecting regedit.exe and locking it - This will lock the regedit.exe from running on the system. The users will be unable to run it anymore.
- You can enable Registry back by opening the application, selecting the regedit.exe, and clicking on the Unlock button.