How to Switch from LastPass to Bitwarden Easily?
 Reviewed by Huzaifa Haroon
Switching from LastPass to Bitwarden doesn’t have to be overwhelming. If you’re ready to make the move but aren’t sure where to start, this guide will walk you through transferring your passwords, notes, and other data step-by-step—no technical expertise required!
Bitwarden has become a favorite among password managers for good reason. It’s secure, open-source, and offers free syncing across all your devices. While it may feel slightly less polished than LastPass at first, its transparency (you can even review its code!) and strong security track record make it a smart choice.
Note: Use a computer or laptop for this process. Mobile devices might not handle the export/import correctly.
Step 1: Export Your LastPass Data
Start by downloading a backup of your LastPass vault. This creates a .CSV file (a spreadsheet format) containing your passwords, notes, and credit card details.
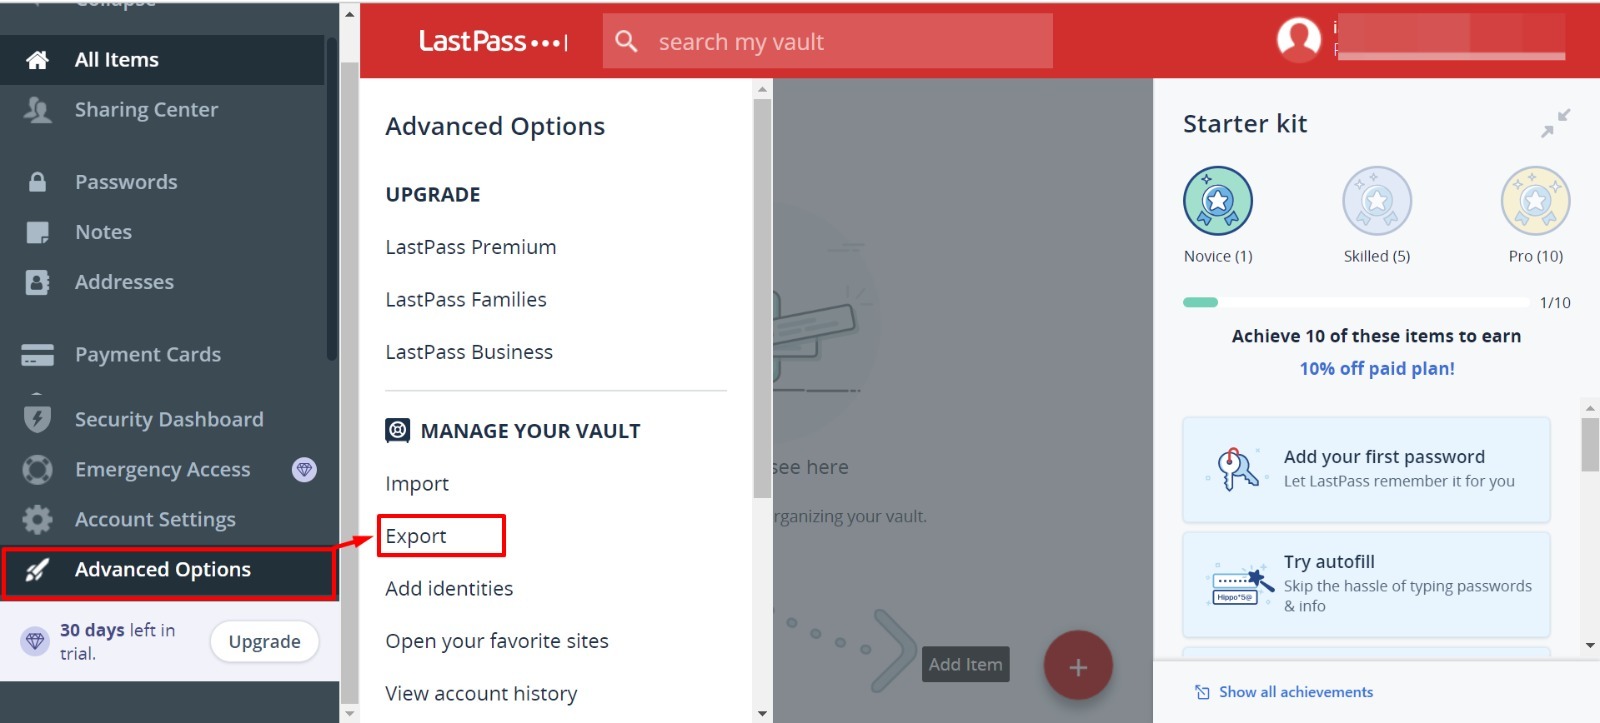
- Log into your LastPass account. You’ll land in your password vault.
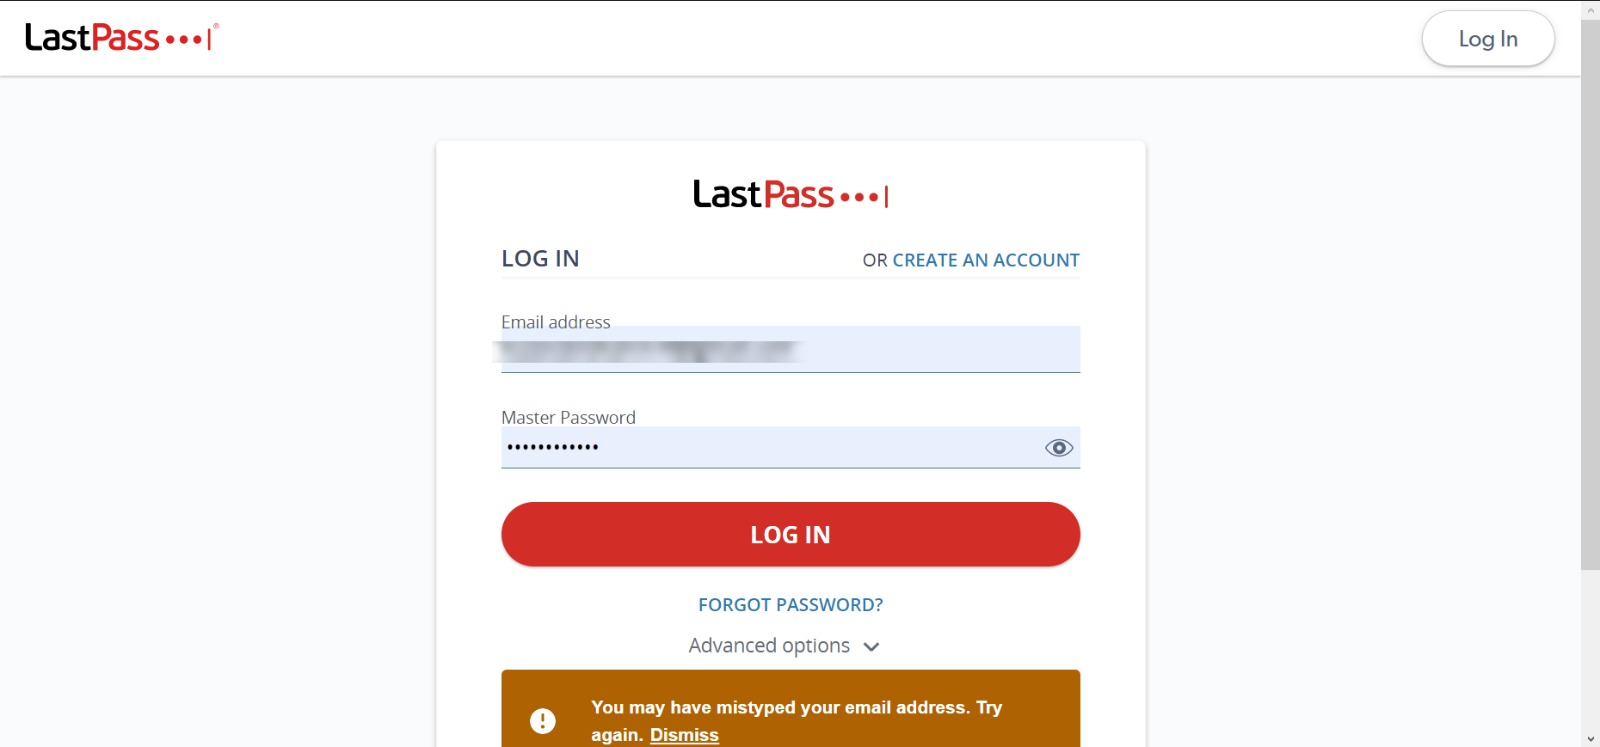
Login to your LastPass account - Click Advanced Options in the left-hand menu.
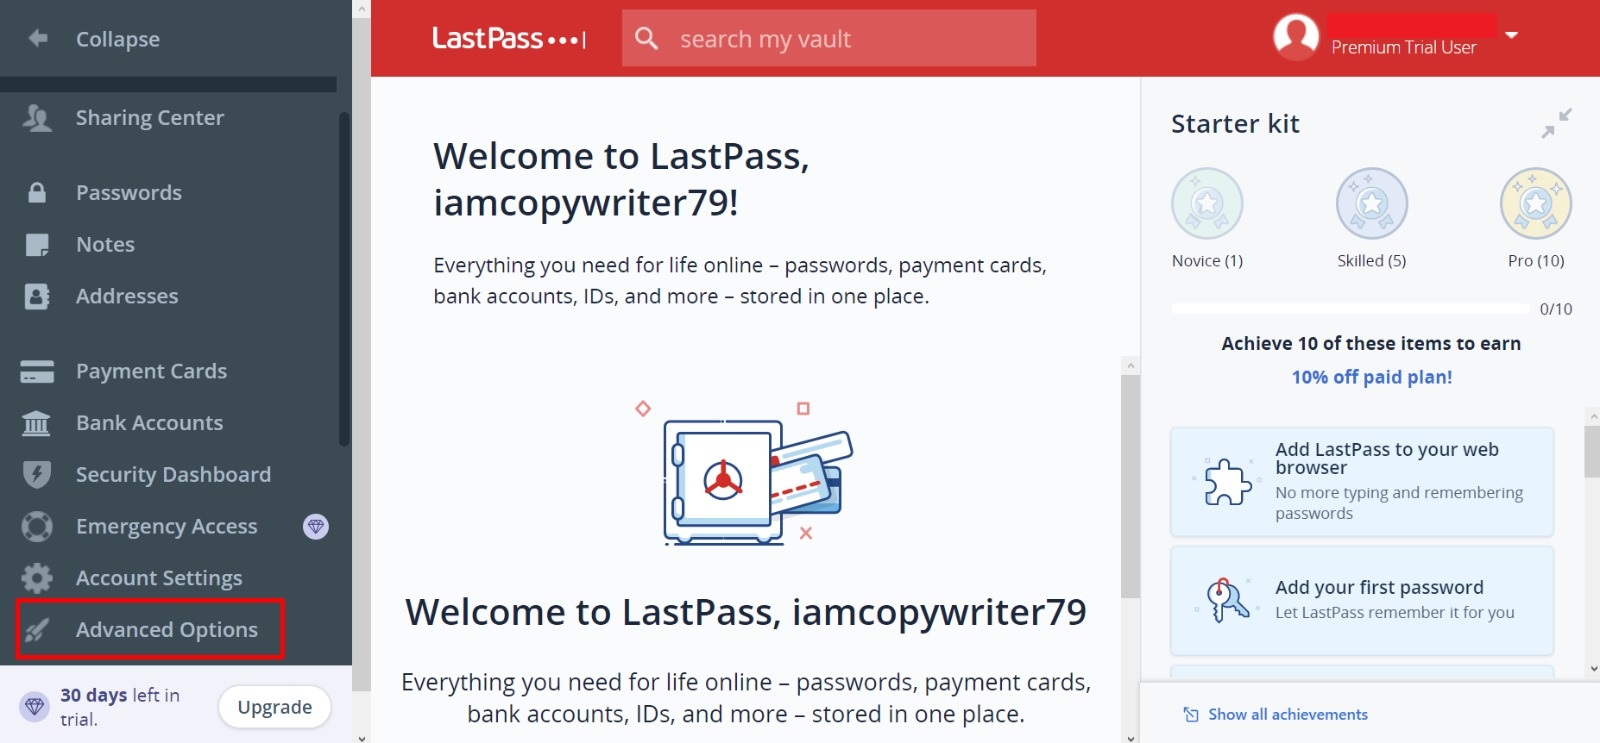
Click on Advanced Options - Select Export.
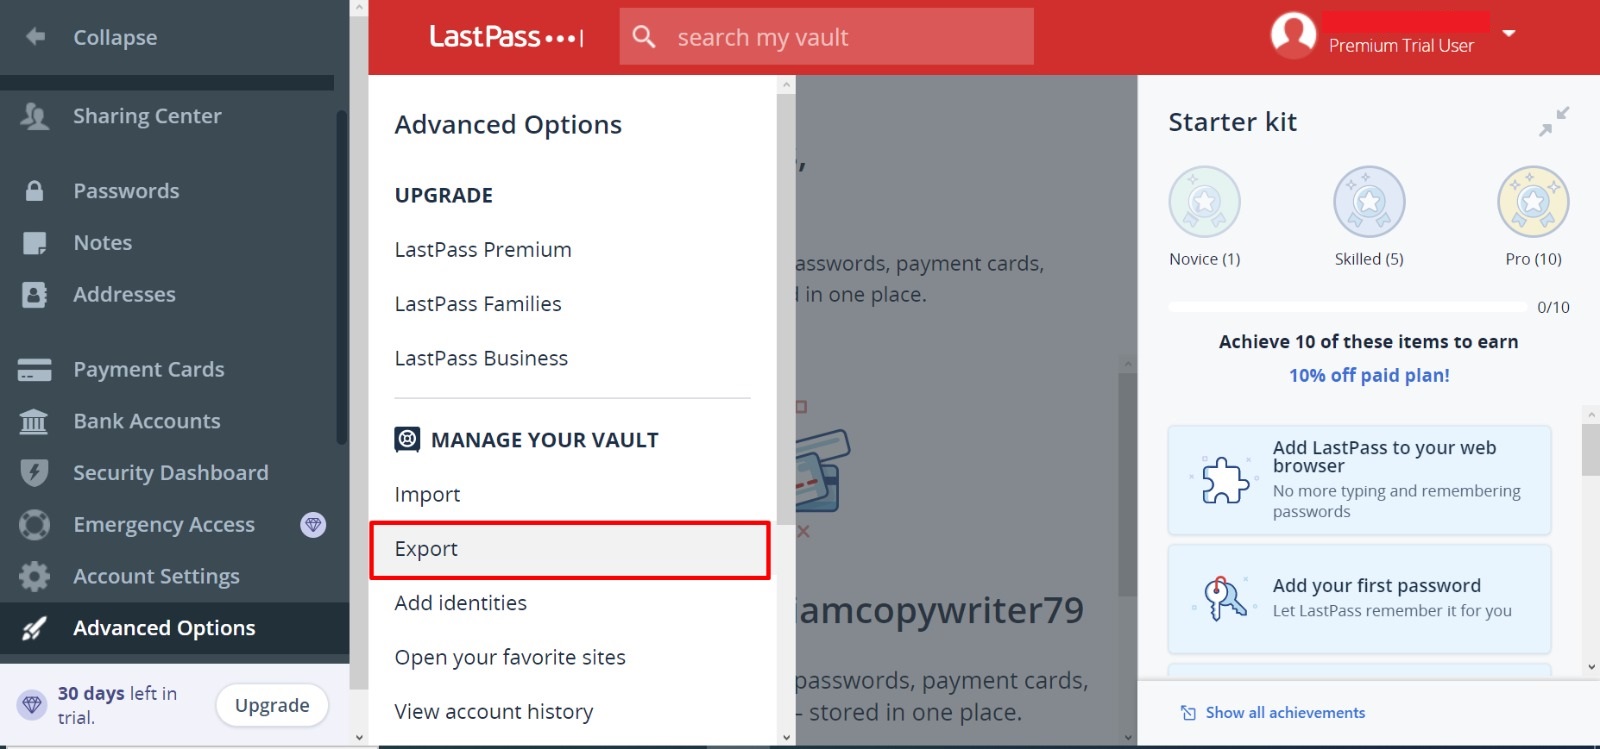
Click Export - Check your email for a confirmation link. Click Continue export to download the .CSV file.
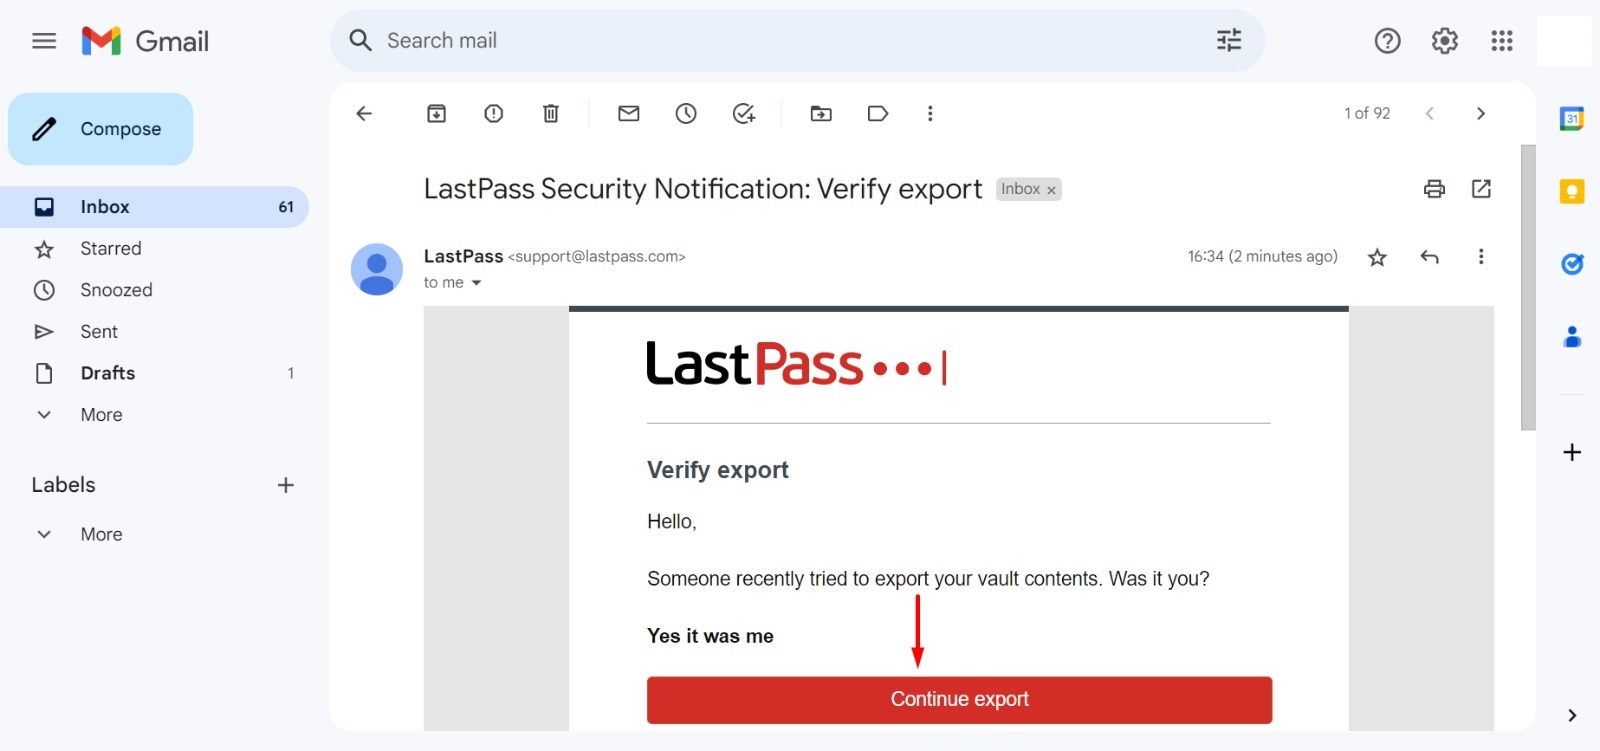
Click Continue export in the Email
Note: Open the .CSV file to confirm your data looks correct. You’ll see passwords, cards, and notes in columns.
Step 2: Create a Bitwarden Account
- Go to Bitwarden’s website and click Get Started.
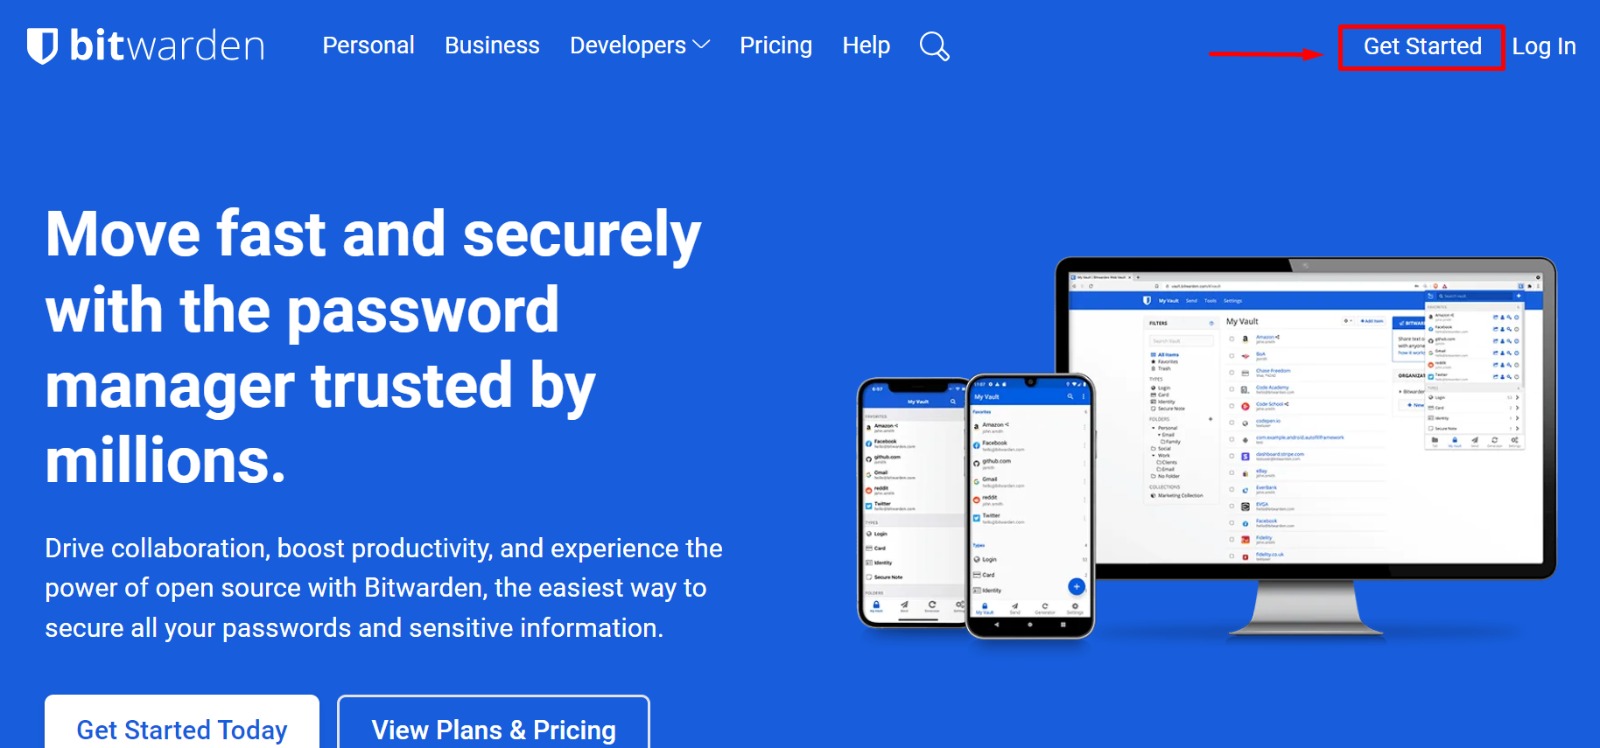
Click on Get Started - Enter your email and create a Master Password. Agree to the terms and click Create Account.
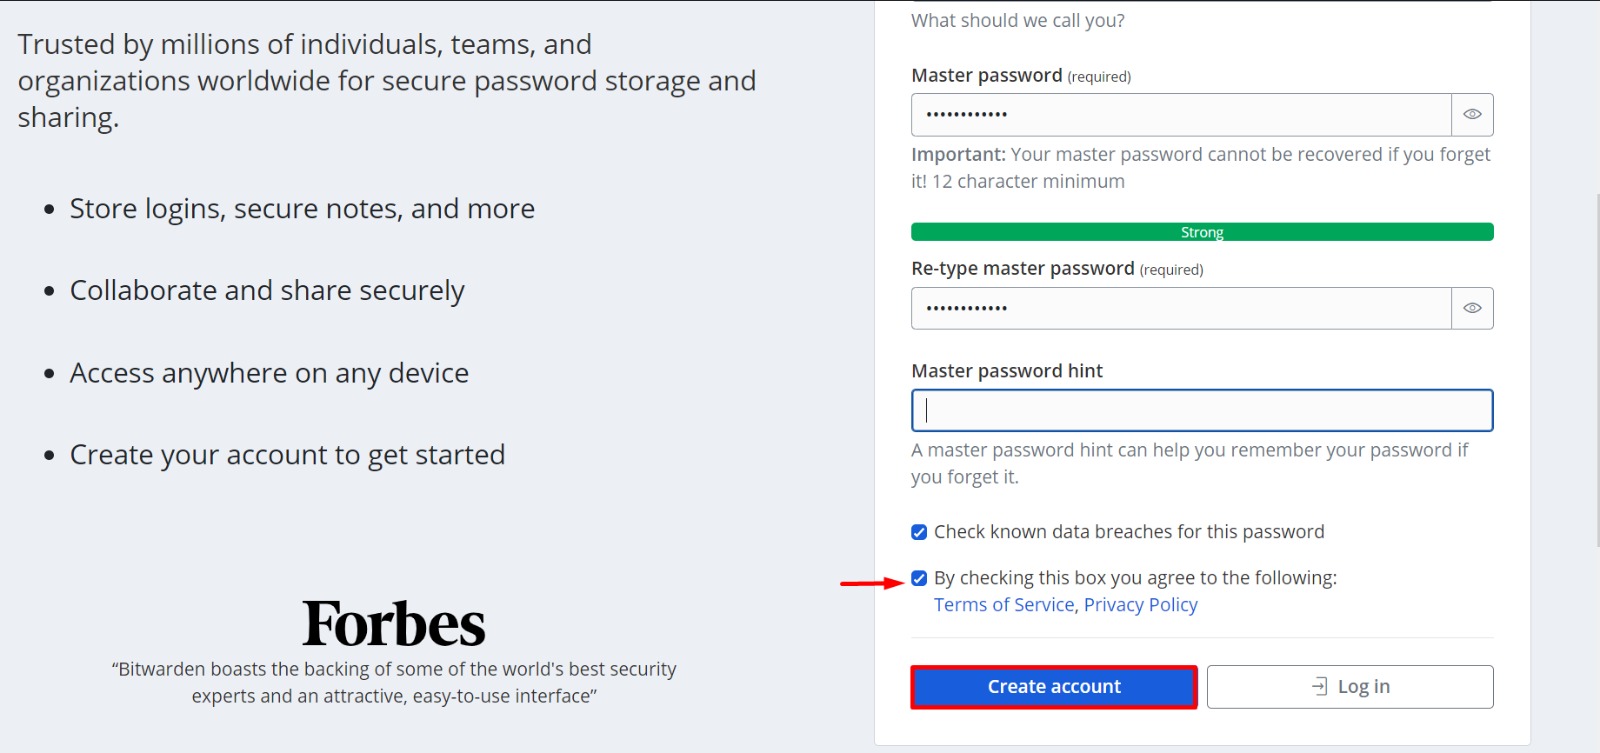
Fill up the details and Click on Create Account - Set a password hint! Unlike LastPass, Bitwarden can’t recover your Master Password if you forget it. Use a hint that only makes sense to you.
Example hint: “Favorite vacation spot + year we got Luna (the dog).” - Verify your email by clicking the link Bitwarden sends you.
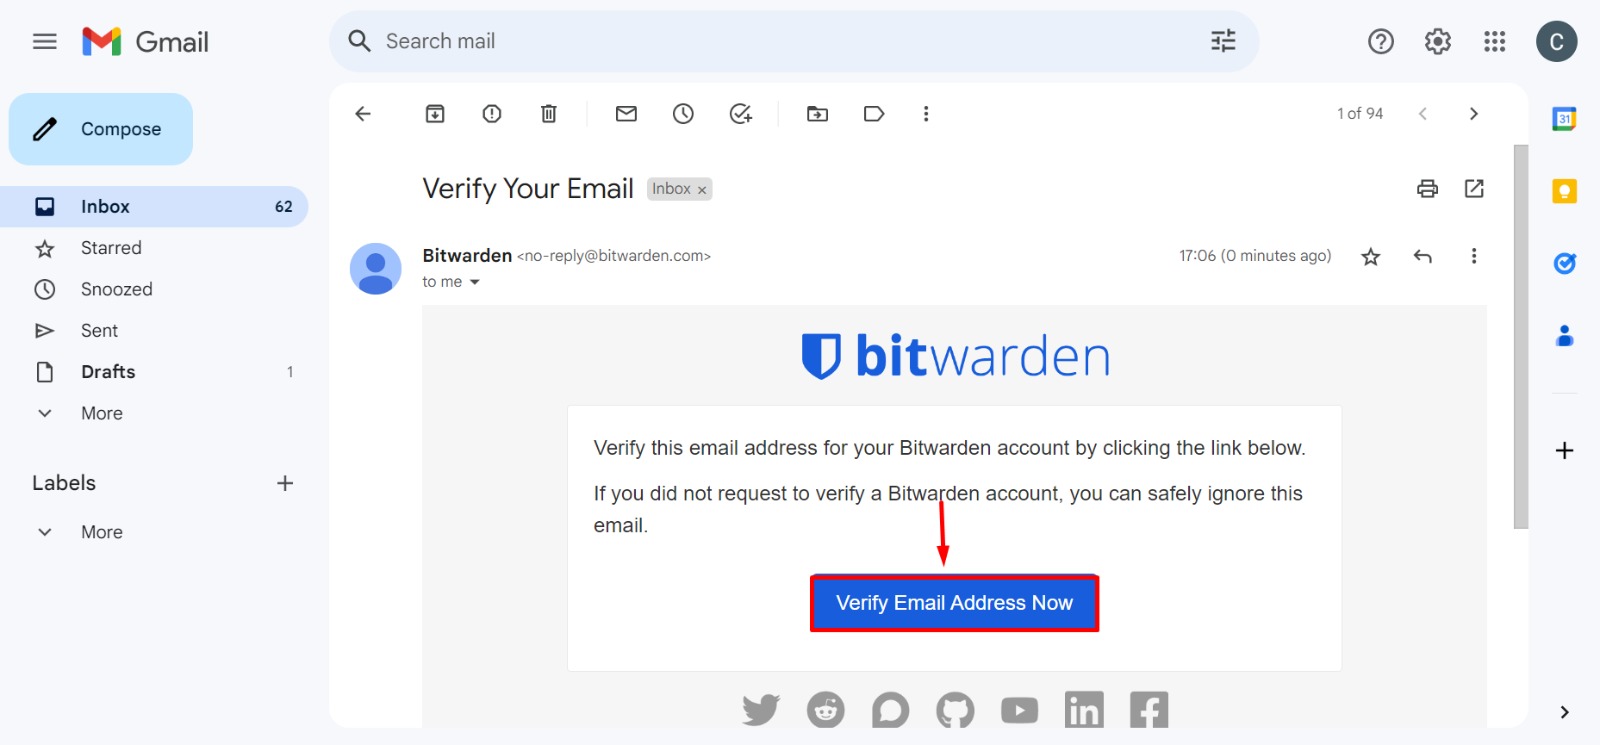
Confirm your email
Step 3: Import Data into Bitwarden
Bitwarden encrypts your data locally before uploading it. Here’s how to import your LastPass .CSV file:
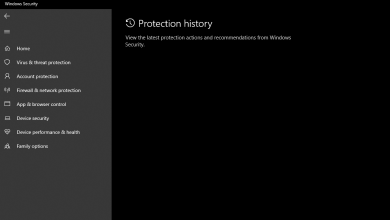
- Log into Bitwarden’s Web Vault.
- Go to Tools → Import Data.
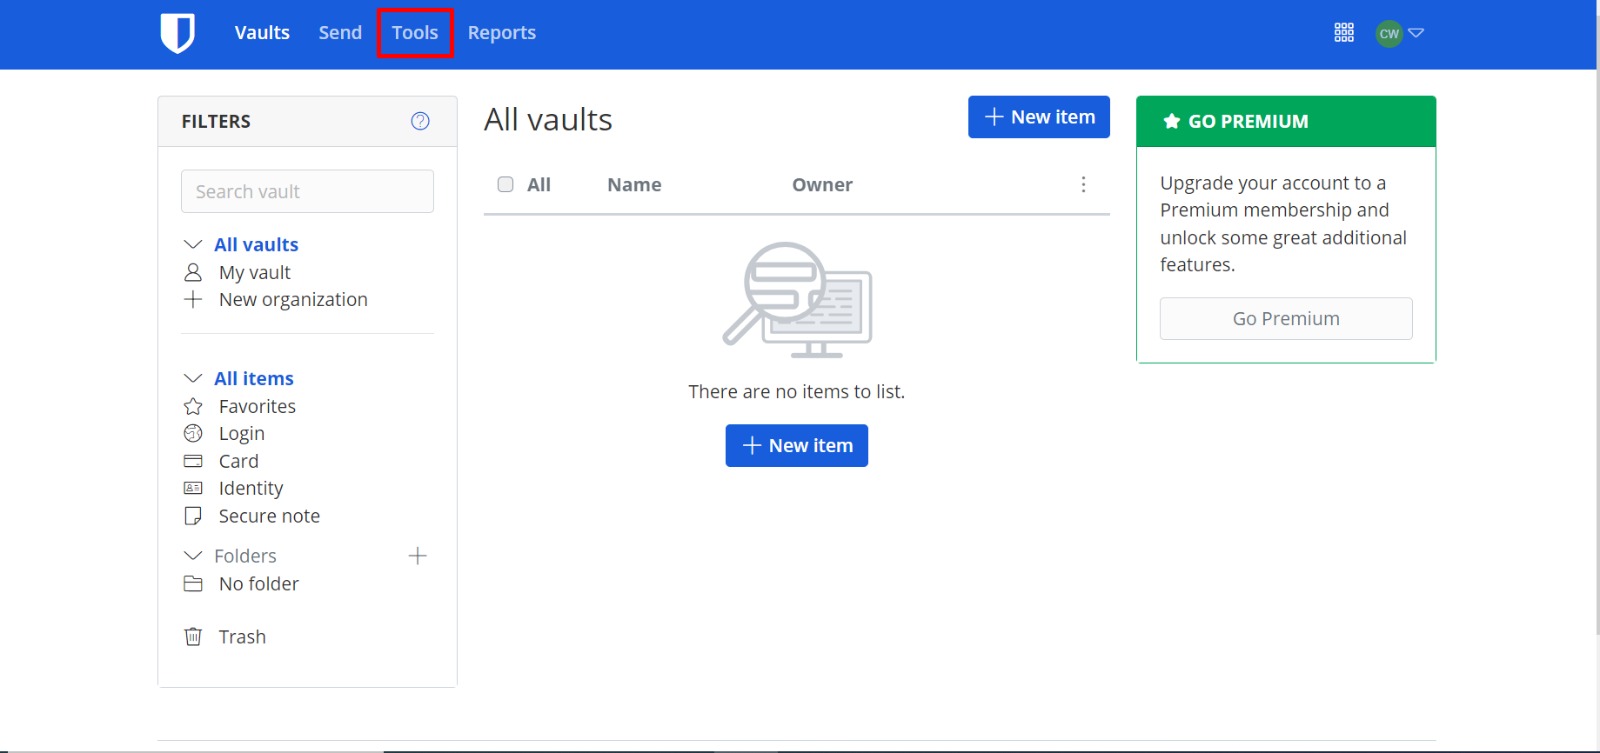
Click on Tools 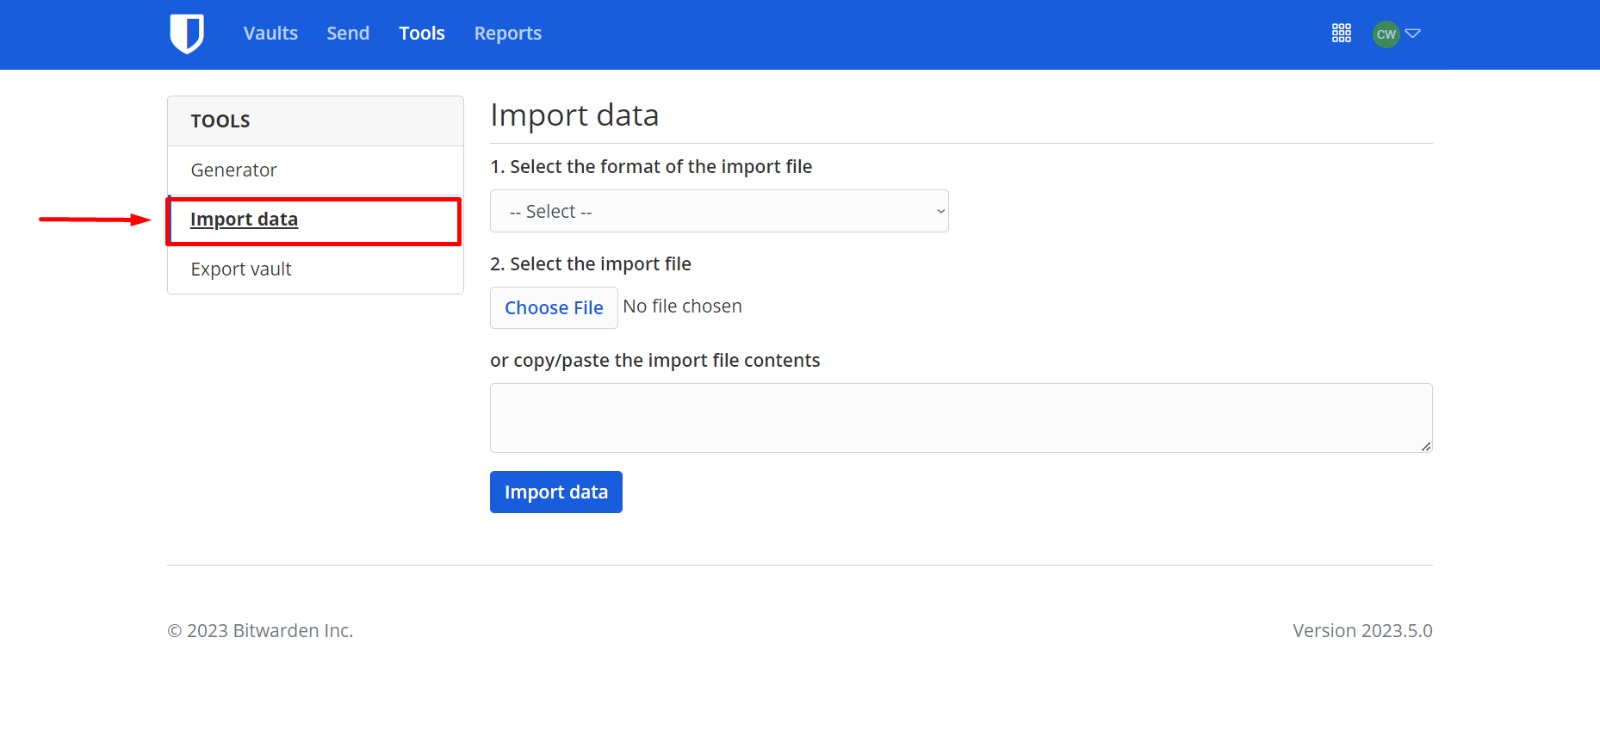
Click on Import Data - Select LastPass (CSV) from the dropdown.

Select the file format from the list - Upload your .CSV file and click Import Data.
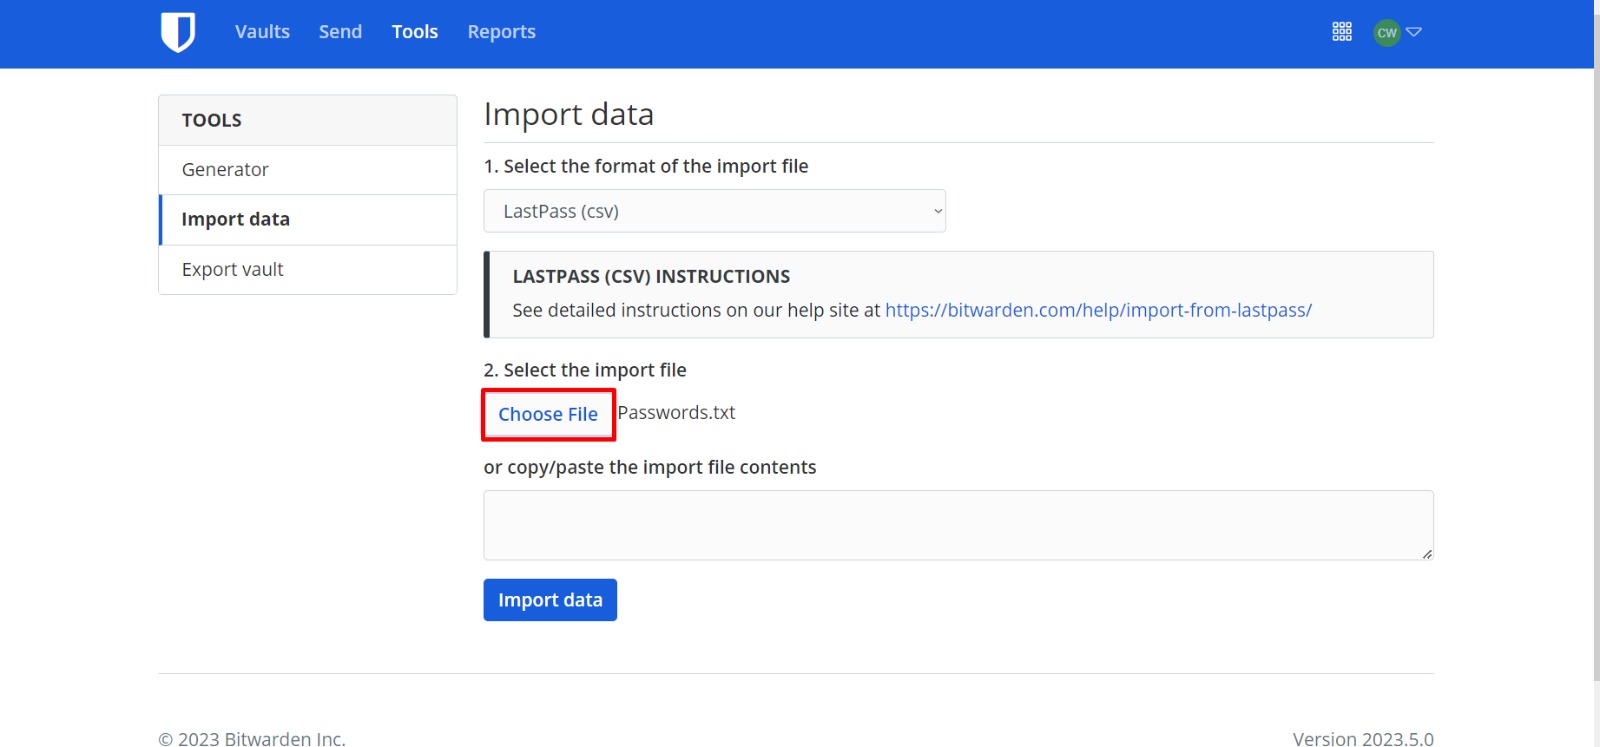
Click on Choose file 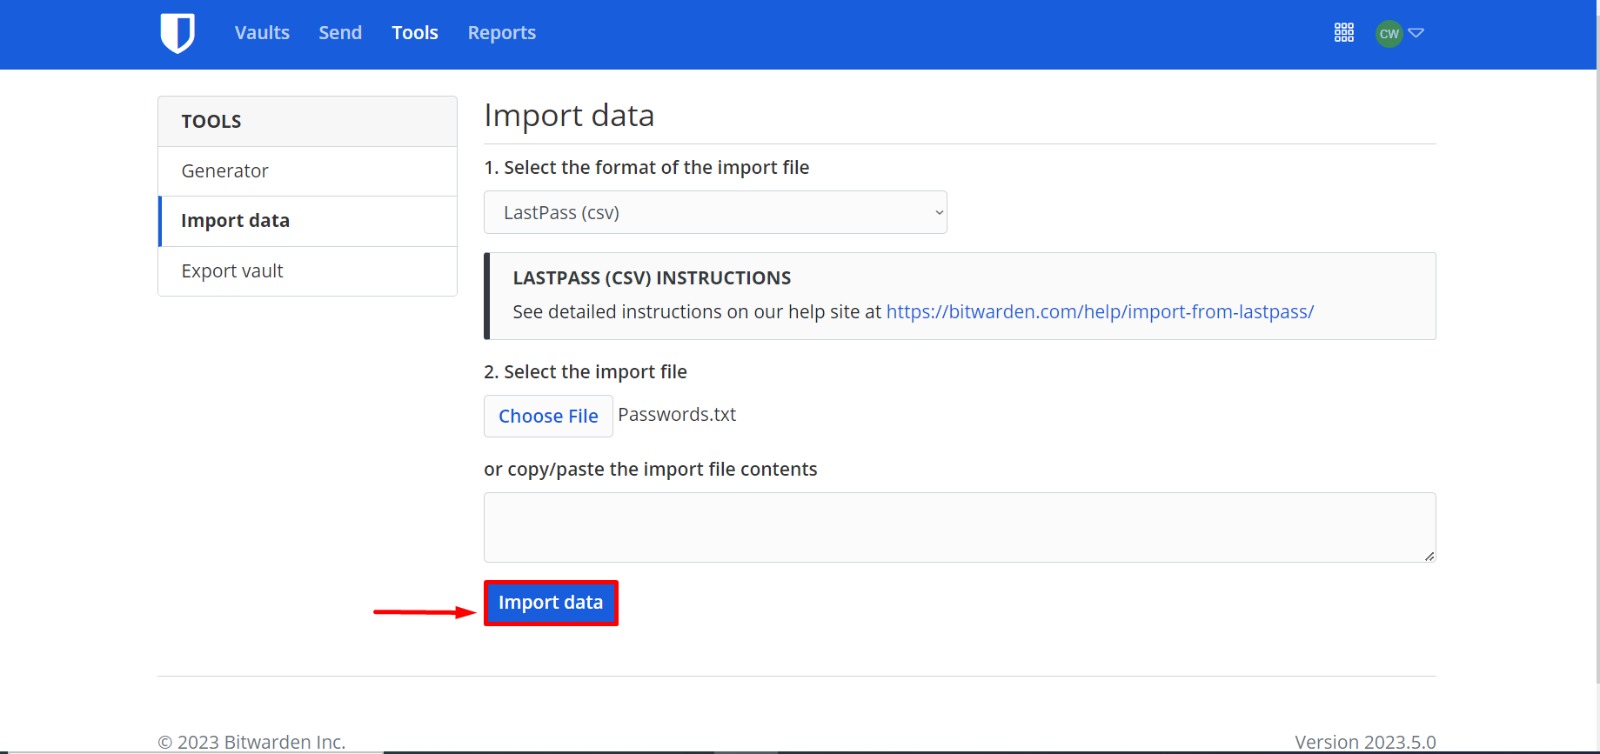
Click Import data to initiate process
Important: Delete the .CSV file from your computer after importing to keep your data safe.
Import Limits to Keep in Mind
- Max 6,000 items (logins, cards, notes).
- Max 1,000 folders or collections.
- If you hit these limits, split your .CSV into smaller files and import them one by one.
Step 4: Install Bitwarden Apps & Extensions
Bitwarden works on all major platforms. Install the apps/extensions below to autofill passwords:
Browser extensions are available for Chrome, Firefox, Edge, Safari, and more.
Step 5: Delete Your LastPass Account (Optional)
Once you’ve confirmed Bitwarden works for you, consider deleting your LastPass account. Double-check that all data is imported first! Follow our guide to permanently delete your LastPass account.
Bonus: Import Form-Fill Data (Addresses, Credit Cards)
LastPass doesn’t include form-fill details in standard exports. To migrate these:
- Open the LastPass browser extension.
- Go to Advanced → Export.
Click on Export from Advanced options - Enter your LastPass password to decrypt the data.
- Import the new .CSV into Bitwarden using Step 3 above.
Reviewed by Huzaifa Haroon