How to Fix Windows 11 Update Error 0x80040154?
Users have been reporting an issue while trying to update the new Windows 11 on their PCs. As it turns out, upon initiating the update process, the error code 0x80040154 is put forth by Windows which prevents the updates from being installed. This can, in some cases, happen when the update components on your system are not working properly or when a third party app is preventing the updates to complete due to some interference. Regardless of the scenario, in this article, we are going to show you how you can resolve the error code in question so just follow through.
As it turns out, Windows updates are an essential part of the operating system. This is because Windows updates often contain security patches that are really important along with stability and bug fixes that make the overall experience better. In addition to that, new features are often added via the updates so updating your operating system is important especially when you upgrade to Windows 11. Like we have mentioned, the problem in question can usually be caused by third party software that is running in the background on your system. With that said, let us get started and show you the different methods that you can use to get the error code sorted.
Run Windows Update Troubleshooter
The first thing that you should do when you come across the error code in question is to run the Windows update troubleshooter. As it turns out, Windows comes with a bunch of built-in tools for the purpose of troubleshooting different problems should you come across any. One of these troubleshooters is dedicated for looking for any problems in Windows updates.
Therefore, you can try running the update troubleshooter to see if it can detect and resolve the issue. To do this, follow the instructions given down below:
- First of all, open up the Windows Settings app by pressing Windows key + I on your keyboard.
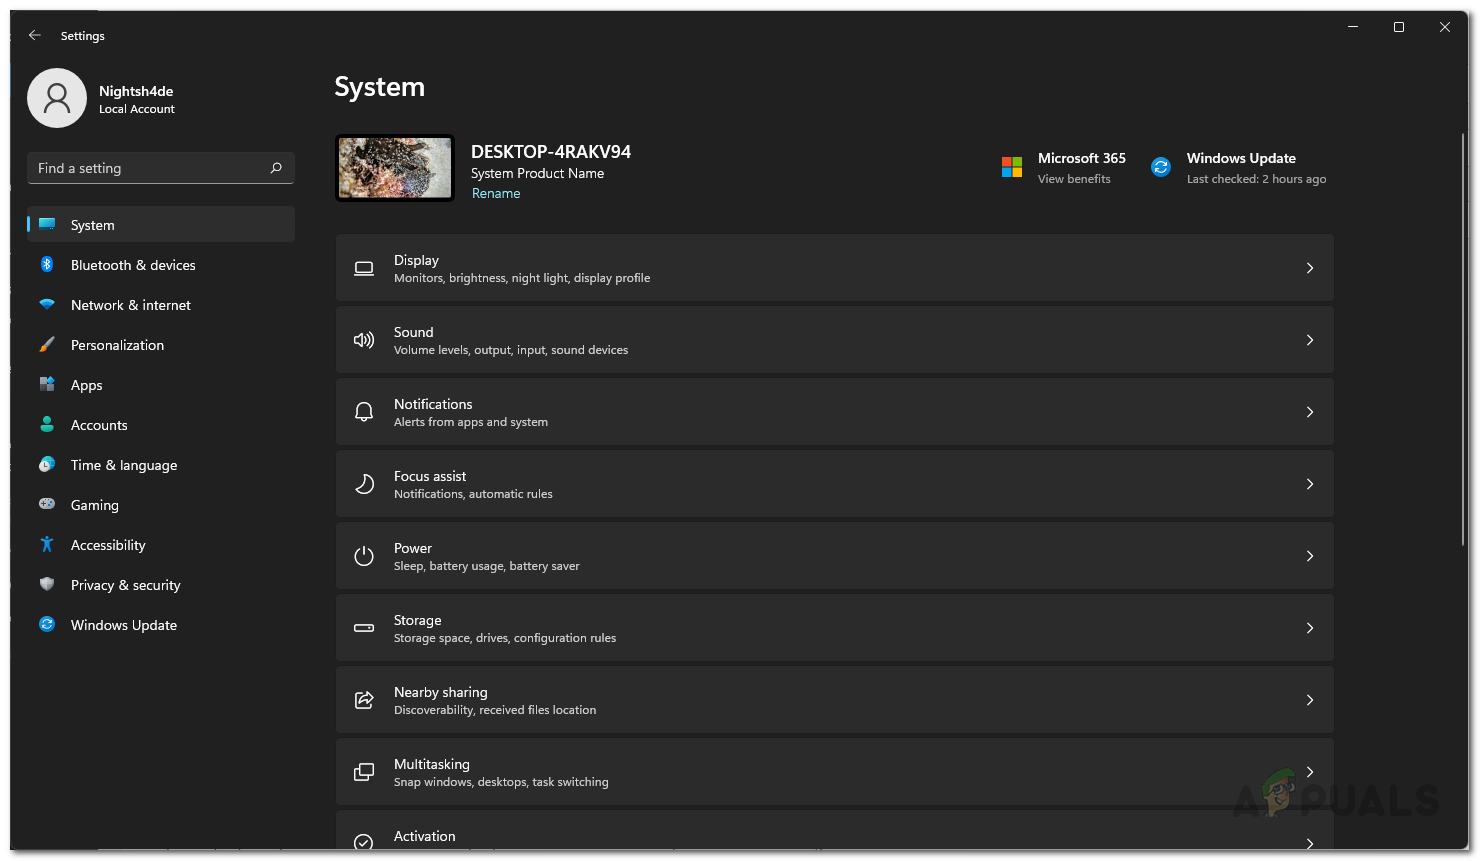
Windows Settings - On the System tab, scroll down and click on the Troubleshoot option provided.
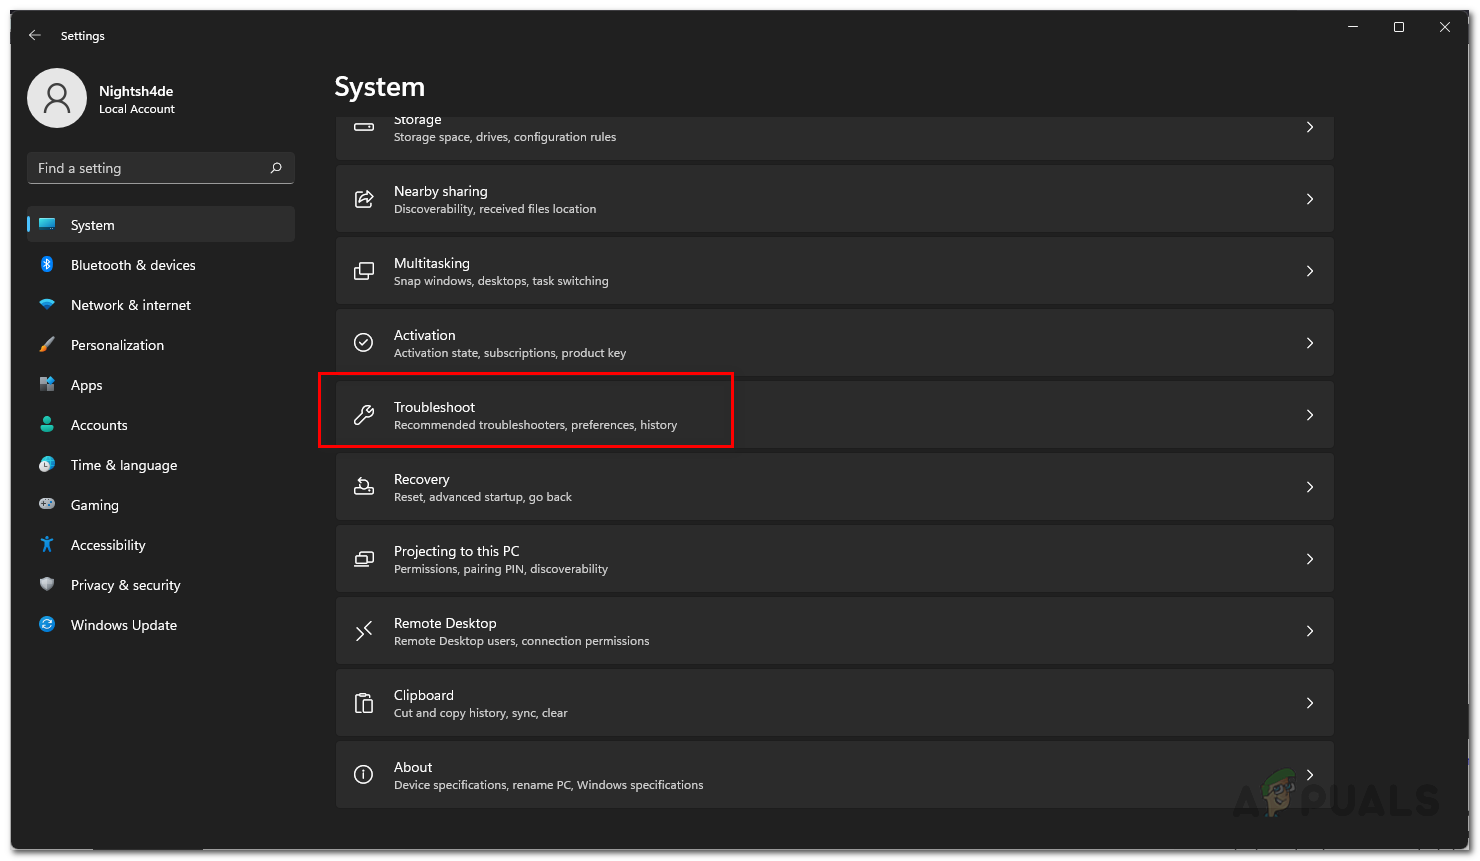
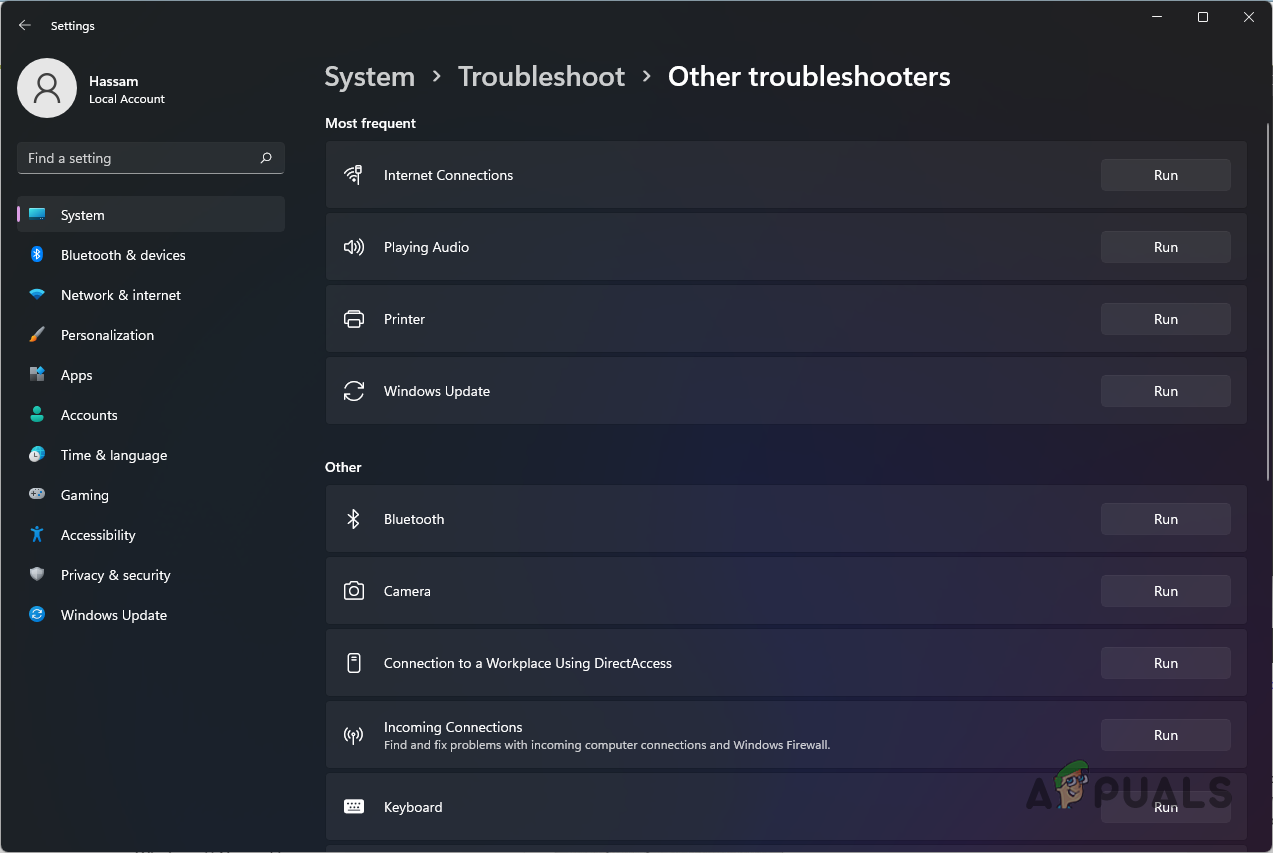
Navigating to Troubleshoot - Then, on the Troubleshoot screen, click on the Other troubleshooters option.
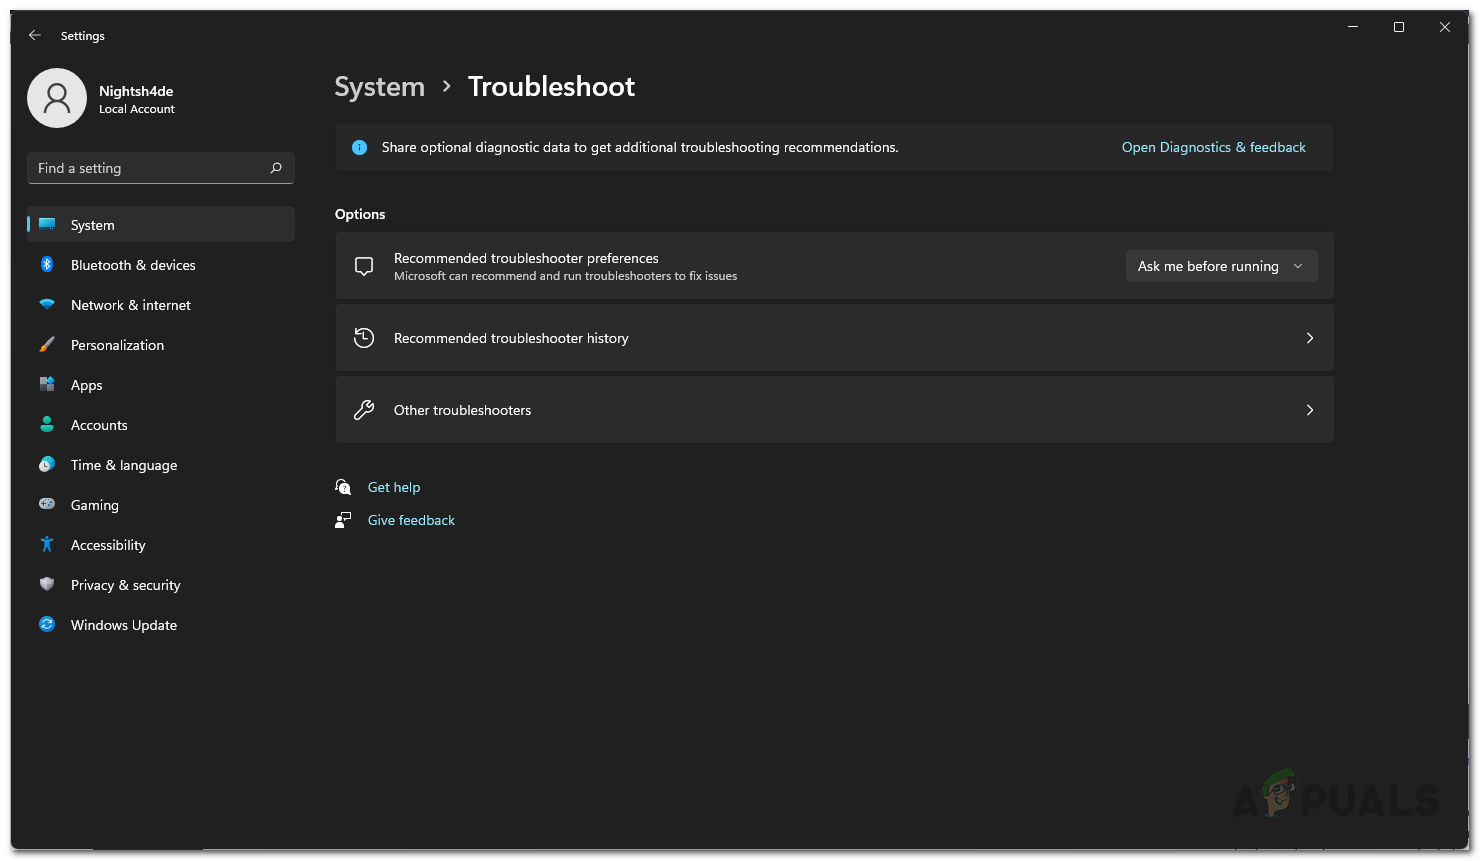
Troubleshoot Settings - There, you will see a list of the different troubleshooters that are available to you.
- Look for Windows Update and click the Run button.
Running Windows Update Troubleshooter - Wait for the troubleshooter to finish up and then see if the problem has been resolved.
Reset Windows Update Components
As it turns out, there are multiple services that are used by Windows in order to download and install Windows updates on your computer. Therefore, in case even one of these components responsible for updating your system are not operating properly, the updates won’t be installed and as a result an error code will be thrown.
In such a scenario, what you will have to do is to reset the update components on your system. This will essentially restart the services and so if any service was not working properly, it should be able to just fine now. To reset the update components, follow the instructions that are given down below:
- To start off, open up the Start Menu and search for cmd. Right click on the result shown and from the drop down menu, choose the Run as administrator option.
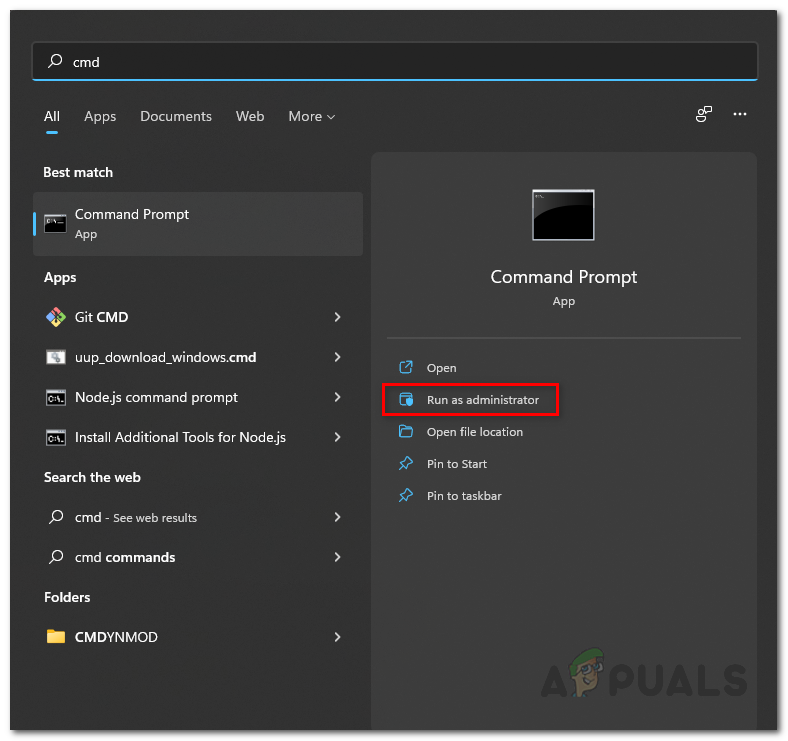
Opening up Command Prompt as an Admin - This will start the Command Prompt as an administrator.
- Once you have done that, enter the following commands one by one:
net stop bits
net stop wuauserv
net stop appidsvc
net stop cryptsvc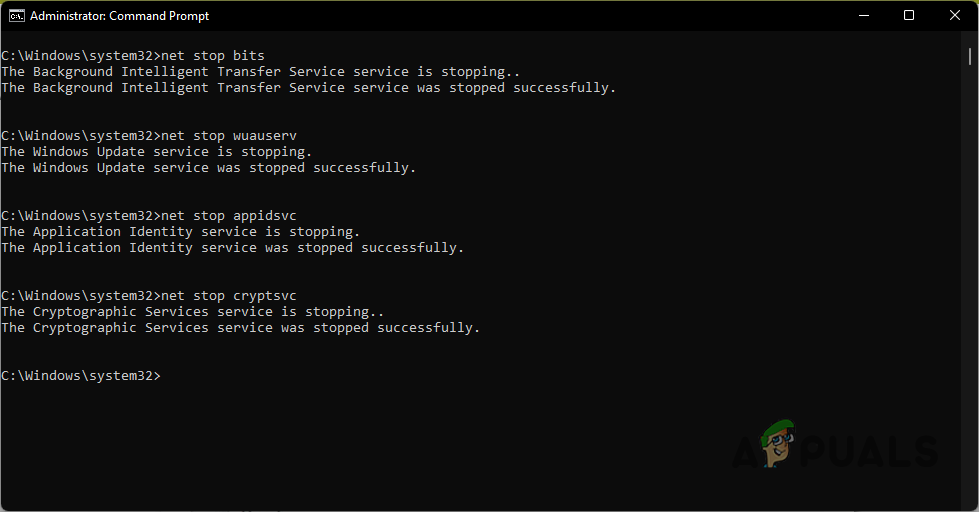
Stopping Windows Update Components - This will stop all the Windows update services.
- After that, you will have to delete all the qmgr*.dat files that are created by the BITS service. Enter the following command in the command prompt window:
Del "%ALLUSERSPROFILE%\Application Data\Microsoft\Network\Downloader\*.*" - Type in Y and then hit Enter on the next prompt.
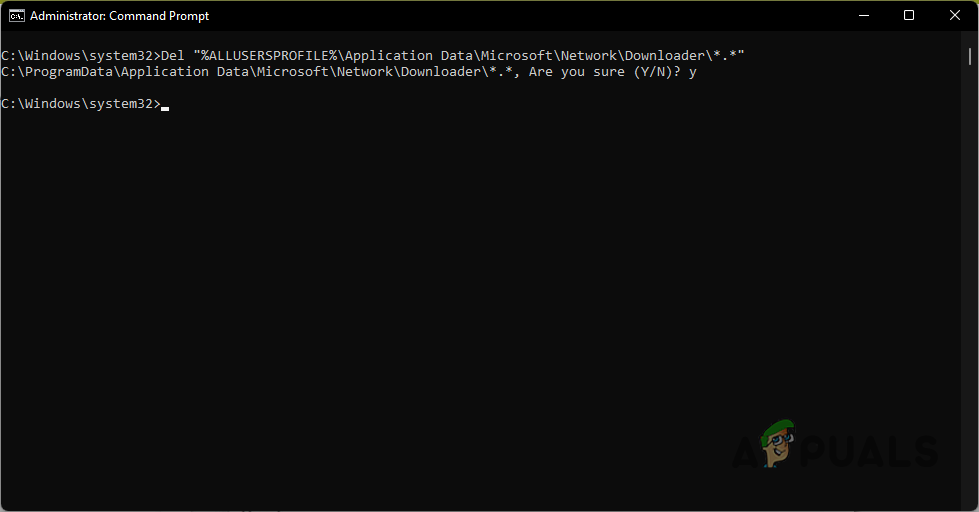
Deleting BITS Files - Once you have done that, we will be renaming some folders where the downloaded updates are stored. Do this by entering the following commands one by one:
Ren C:\Windows\SoftwareDistribution SoftwareDistribution.old Ren C:\Windows\System32\catroot2 Catroot2.old - Finally, after doing all of that, it is time to start all the services again. To do that, enter the following commands one by one:
net start wuauserv
net start cryptSvc
net start bits
net start msiserver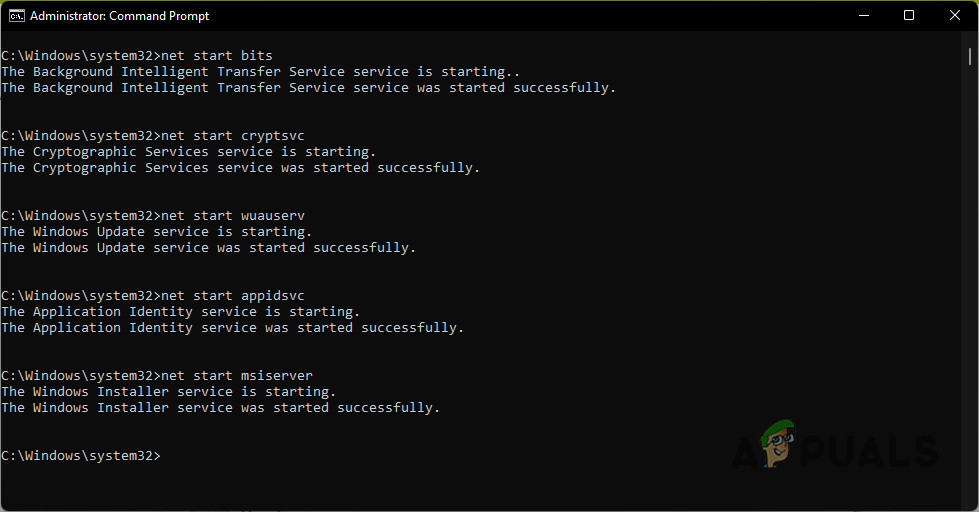
Starting Windows Update Components - Once the services are back up, try to update your system again to see if the problem is still there.
Install the Update Manually
Another way that you can get around the problem in question is by installing the update that is causing the issue manually. This is not really a method to resolve the error code in question but rather just a workaround. As it turns out, Microsoft has a website from where you can download all of the updates that have been released. Using the update catalog, you can download any update that is giving you any problems and then install them manually. To do this, follow the instructions that are given down below:
- First of all, head to the Microsoft Update Catalog website by clicking here.
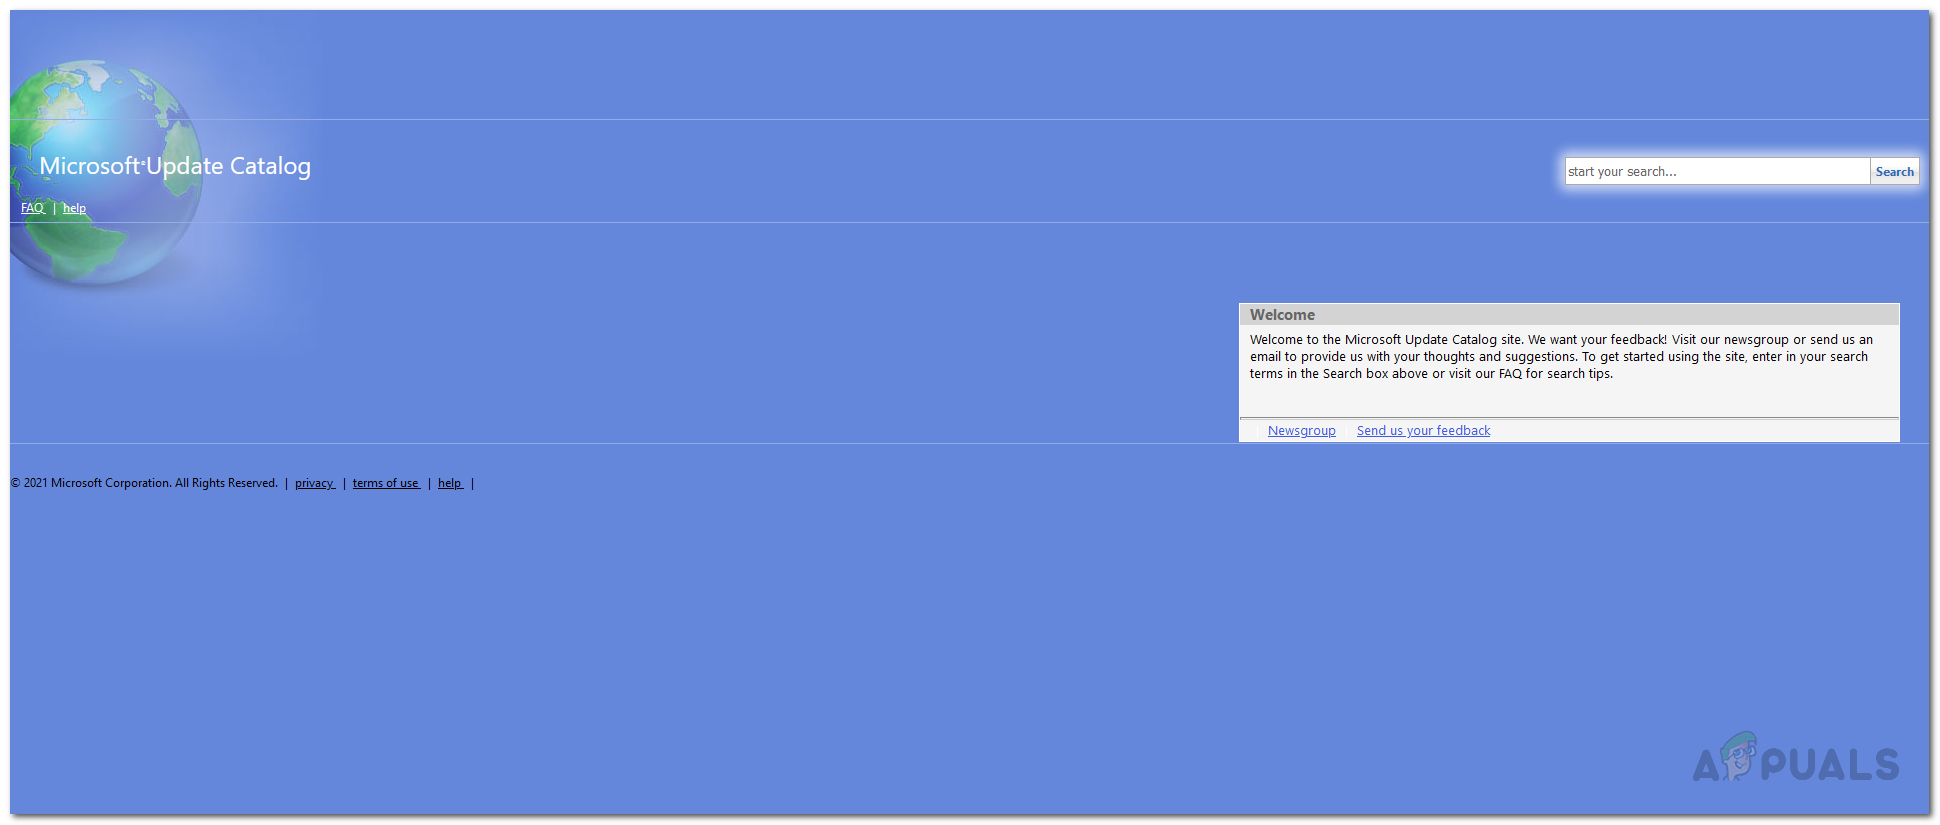
Microsoft Update Catalog - There, search for the update via the search bar provided. You can search for the update by providing the KB value.
- After that, download the update for your respective system by clicking the Download button provided.
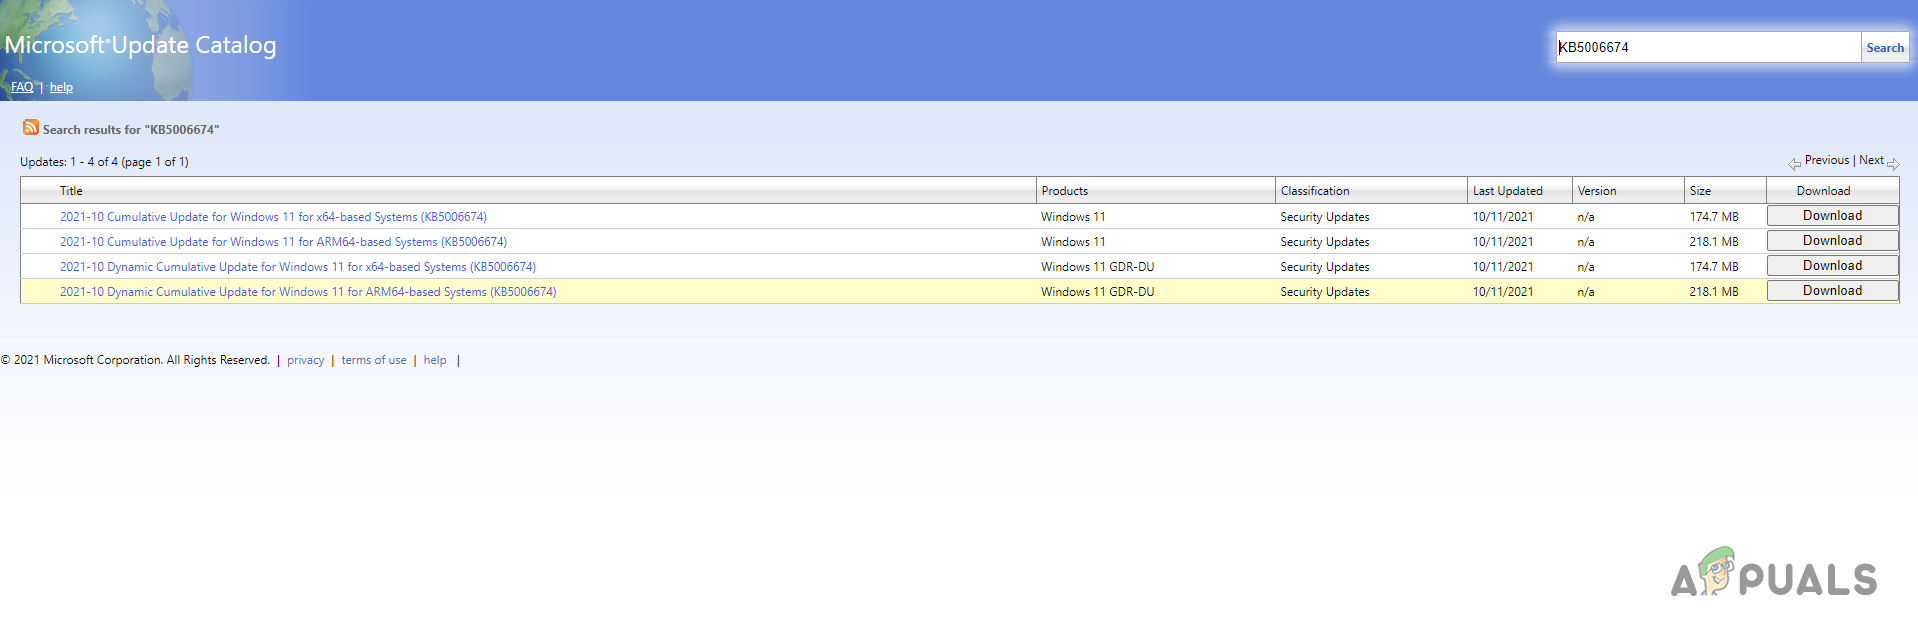
Update Search Results - Once the update has been downloaded, run the file to install the update on your system.
Perform a Clean Boot
Finally, like we have mentioned already, one of the reasons that the error code may be triggered is due to the interference of a third party application that is running in the background. This can include the third party security program that you have installed on your system or anything in general. The hard part about this is finding the app that is actually causing the issue.
Therefore, in order to ensure that the problem is actually being caused by a third party app, you can perform a clean boot. A clean boot basically starts Windows with only the required services running in the background which means that all of the third party apps are disabled. You can try updating your system in clean boot to see if that works. Follow the instructions given down below to do this:
- First of all, open up the Run dialog box by pressing Windows key + R on your keyboard.
- In the Run dialog box, type in msconfig and then hit the Enter key.

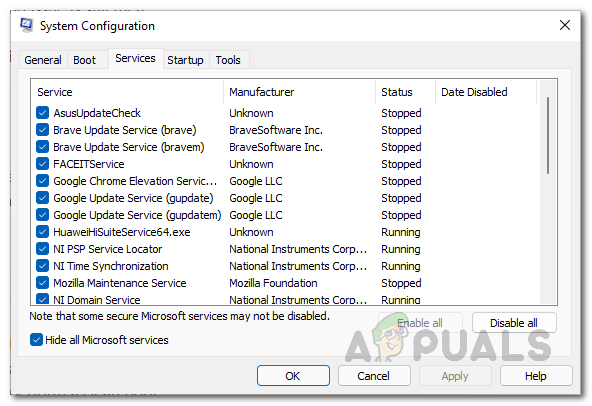
Opening up System Configuration - This will open up the System Configuration window. There, switch to the Services tab.
- On the Services tab, tick the Hide all Microsoft services checkbox provided.
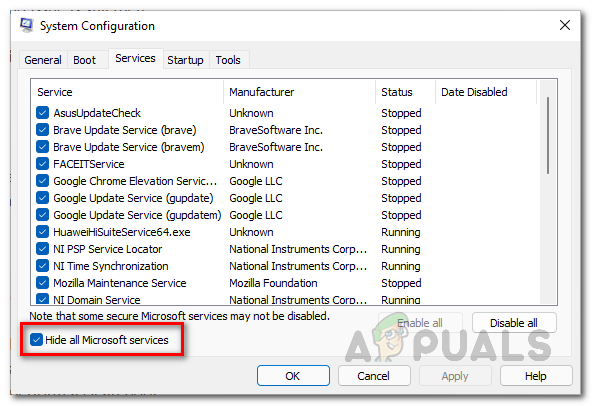
Hiding Microsoft Services - Follow that up by clicking the Disable all option and then hit the Apply button.
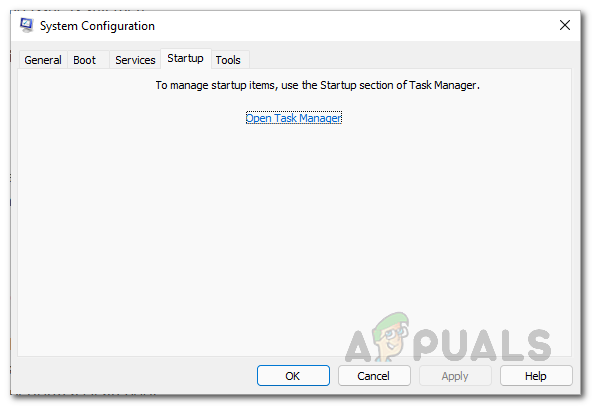
Disabling Third-Party Services - After doing that, switch to the Startup tab and click the Open Task Manager option.
System Configuration Startup Tab - On the Task Manager option, select the apps one by one and then click the Disable button provided.
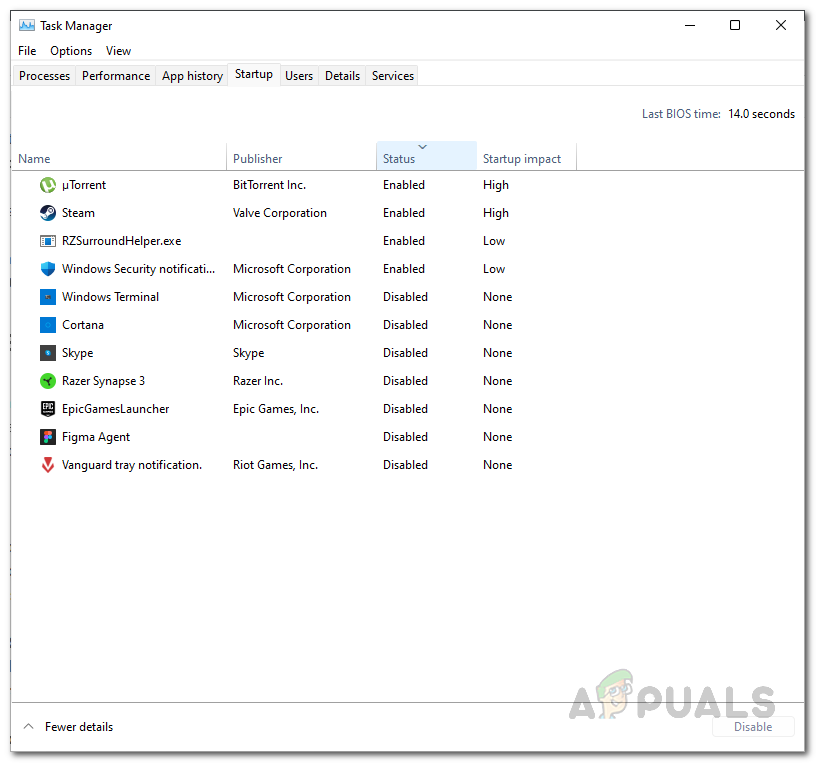
Disabling Third Party Apps on Startup - Once you have done that, go ahead and restart your system.
- After your PC boots up, try running the updates again to see if the problem still arises.


