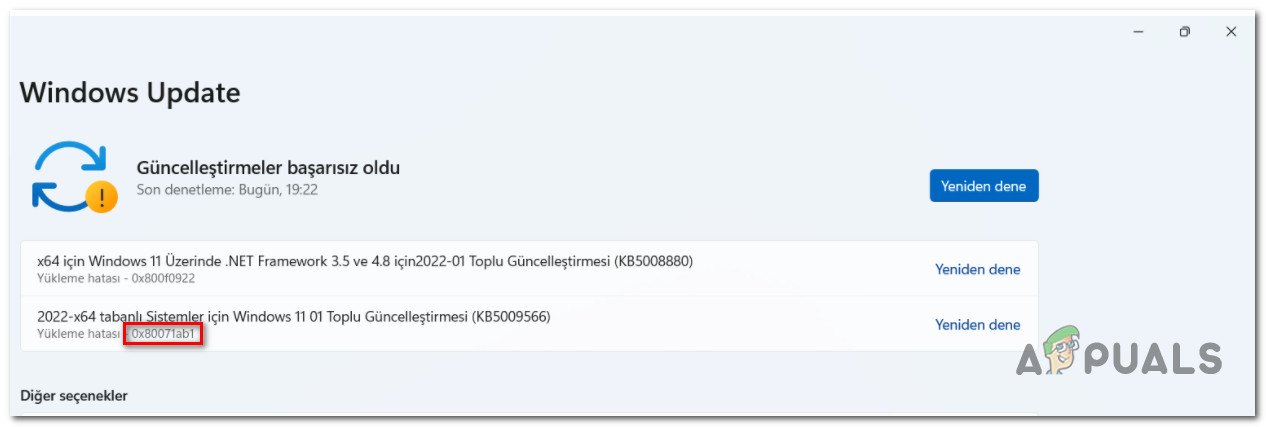
How to Fix Error 0x80071AB1 (ERROR_LOG_GROWTH_FAILED) on Windows 11?
A lot of Windows 11 users are experiencing the 0x80071AB1 (ERROR_LOG_GROWTH_FAILED) when they attempt to install a .NET framework version or a pending Windows update.
What does the 0x80071AB1 error mean?
The 0x80071AB1 can be translated into ERROR_LOG_GROWTH_FAILED. This error is meant to signal that an attempt to create space in the transactional resource manager’s log has just failed and that the failure has been recorded in the event log.
After looking into this issue thoroughly, we managed to identify several different underlying causes that might be responsible for the 0x80071AB1. Here’s a list of potential culprits that you might be dealing with:
- Common WU glitch – If you’re experiencing this issue while attempting to install a new .NET framework update or a different WU update using the conventional method, the fix might be as simple as running the Windows Update troubleshooter and applying the recommended fix.
- Pending infrastructure Windows update – You can expect to face this issue in a situation where you’re trying to install a .NET framework update on a PC that’s missing a key infrastructure. In this case, you should start by ensuring that you install every pending Windows Update that’s currently on queue.
- The corrupted local component of WU – As it turns out, another reason why you can expect to deal with this issue (if you see this error when attempting to install a pending update) is a scenario in which the Windows Update component is somehow affected by system file corruption. In this case, you can circumvent the problem entirely by installing the missing update via the Microsoft Update Catalog.
- Windows Update dependency glitch – If your problem seems to be related to an issue affecting the installation of new pending Windows updates, chances are you’re dealing with a glitch affecting a required WU dependency. In this case, you should take the time to refresh every relevant Windows Update component and clear any temporary files that are currently in use.
- Missing Windows update – Keep in mind that the latest .NET framework update is in some way conditioned to having the latest Windows 11 build. However, if you’re dealing with a problem with WU, the only way to bypass this error is to upgrade your operating system using the Media Creation tool.
- Corruption inside the SoftwareDistribution folder – The SoftwareDistribution folder is the place where Windows Update stores all the temporary files associated with a pending Windows Update. If this folder is tainted by corruption, you can expect to face the 0x80071AB1. To fix it, you’ll need to clear this folder along with a few other supporting folders.
- WU AutoUpdate executable is inhibited – One other reason that might ultimately cause the 0x80071AB1 is a scenario in which the main executable automates the download and installation of new software updates for your OS (WU AutoUpdate) is not accessible. In this case, you can call the executable forcibly via an elevated Powershell window.
- System file corruption – As it turns out, system file corruption can also be the root cause of the 0x80071AB1 error. Superficial corruption circumstances can typically be fixed by procedures SFC or DISM scans, but in more serious scenarios, you might need to go for a repair install or clean install.
- Recent software change – If you recently installed a program or did a different software change that ended up producing this error, you might be able to revert it back by using the System Restore utility. Just make sure to pick the right restore point.
Now that we went over every potential cause of the 0x80071AB1 error, let’s go over some of the actual fixes that other affected users have successfully used to get to the bottom of this issue.
Run the Windows Update Troubleshooter (if applicable)
Before you move on to other repair strategies that are capable of fixing the 0x80071AB1 error code, you should start by checking if your Windows 11 installation is not actually capable of resolving this issue automatically.
Windows 11 is equipped with the most advanced version of the Windows Update Troubleshooter. This tool will automatically scan various Windows components for inconsistencies and automatically apply the correct repair strategy.
If the problem that’s causing the 0x80071AB1 is actually covered by a repair strategy, the instructions below should allow you to fix the problem automatically.
Here’s a quick guide on running the Windows Update troubleshooter on Windows 11:
- Press Windows key + R to open up a Run dialog box.
- Next, type ”control.exe /name Microsoft.Troubleshooting” and press Enter to open up the Troubleshooting tab of the Settings menu on Windows 11.
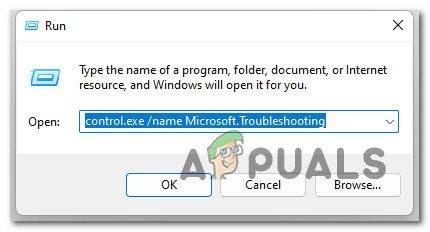
Access the Troubleshooting tab Note: If you’re prompted by the UAC (User Account Control) click Yes to grant administrative privileges.
- Once you’re inside the Troubleshooting screen, move over to the right-hand side section of the screen and click on Other troubleshooters.
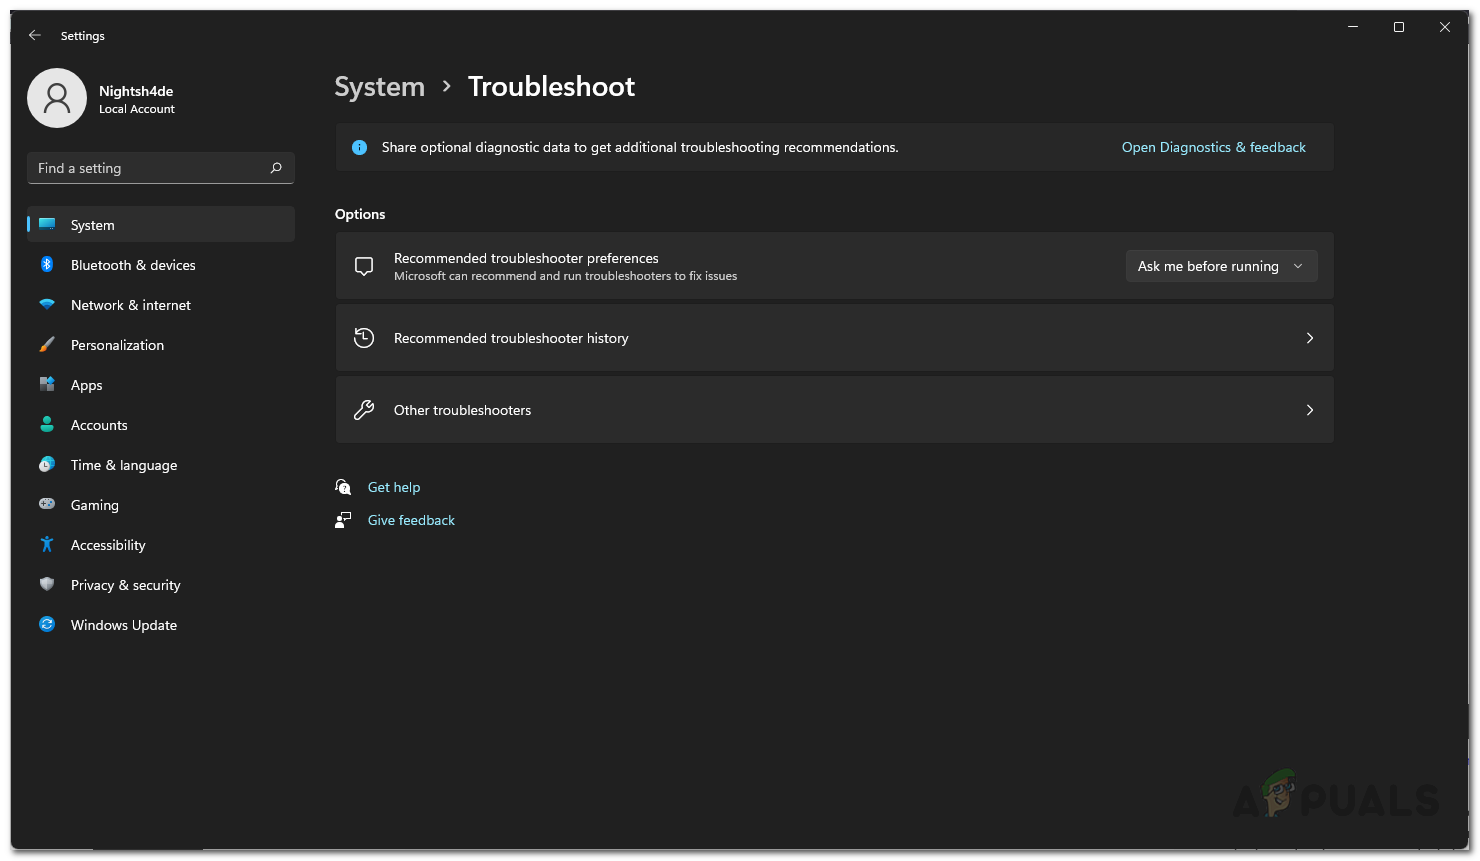
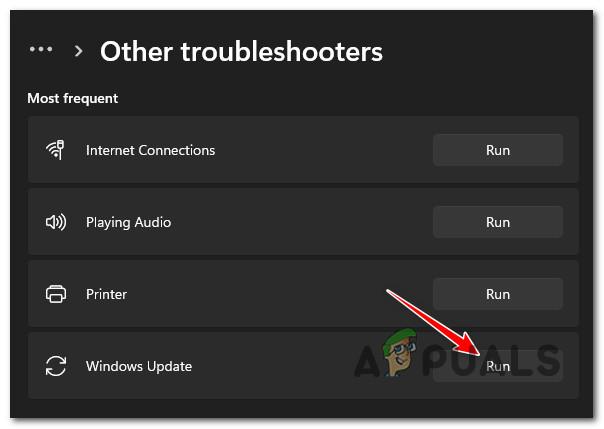
Access the Other Troubleshooting tabs - Next, from the Other Troubleshooters tab, go under the Most Frequent troubleshooters and click the Run button associated with Windows Update.
Access the Windows Update troubleshooter - Inside the Windows Update troubleshooter screen, click on Advanced, then ensure that the box associated with Apply repair automatically before clicking Next.
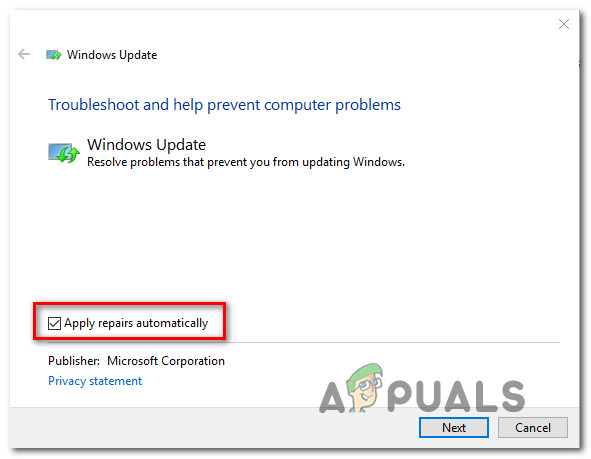
Applying repairs automatically Note: This will ensure that the repair will automatically be applied if a viable fix is found.
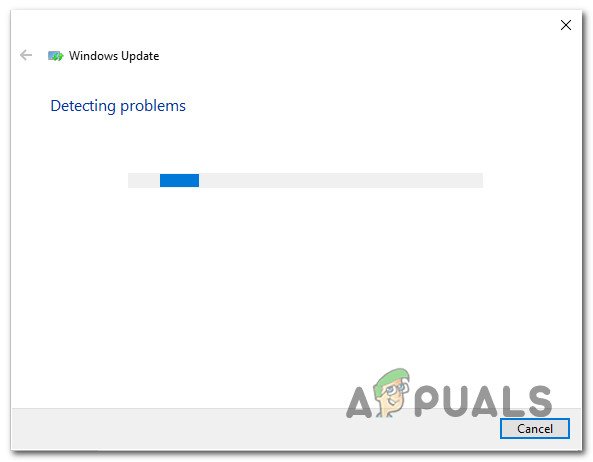
- Wait for the investigation to complete and see if any of the repair strategies included inside the Windows Update troubleshooter are applicable to your particular scenario.
Scan for a Windows Update service - If a covered problem is identified, you will be presented with a different window in which you’ll be able to click on Apply this fix.
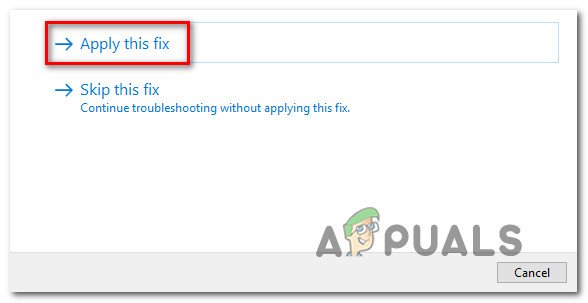
Apply the recommended fix - Once you get to this point, click on the hyperlink, then follow the on-screen instructions to enforce the fix. Depending on the repair strategy that gets recommended, you might need to follow a series of additional steps.
- Finally, restart your computer and see if the issue is resolved at the next system startup.
If the problem is still not fixed, move down to the next potential fix below.
Install every pending Windows update
According to a lot of users affected by the 0x80071AB1, this problem can often be fixed completely by installing every pending Windows update that is currently pending.
Note: This method assumes that you’re experiencing this issue while attempting to install a .NET Framework infrastructure update.
This is the potential fix that you should start with since Microsoft has released a couple of updates aimed at limiting this type of problem.
To tackle this problem, you should access the Windows Update component and ensure that you’re running on the latest build available for your Windows 11 version.
Here’s how to install the latest available Windows 11 build via Windows Update to fix the 0x80071AB1:
- Press Windows key + R key to open up a Run dialog box.
- Next, type ‘ms-settings:windowsupdate’ inside the text box and press Enter to open up the Windows Update tab of the Settings app.
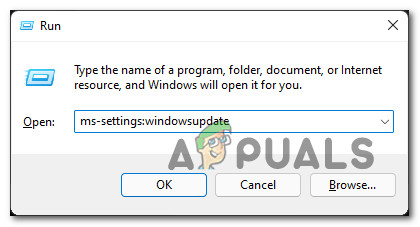
Opening the Windows Update screen Note: Unless you tempered with the default UAC settings, you might get an account control prompt at this point. In this case, click Yes to grant admin access.
- Next, move over to the right-hand section and click on Check for Updates.
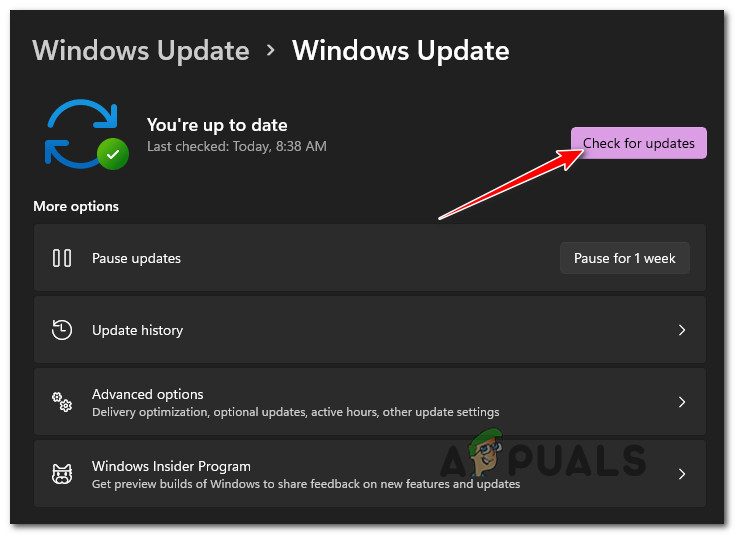
Check for Updates - Wait until the update is downloaded locally, then click on Install Now to install it locally.
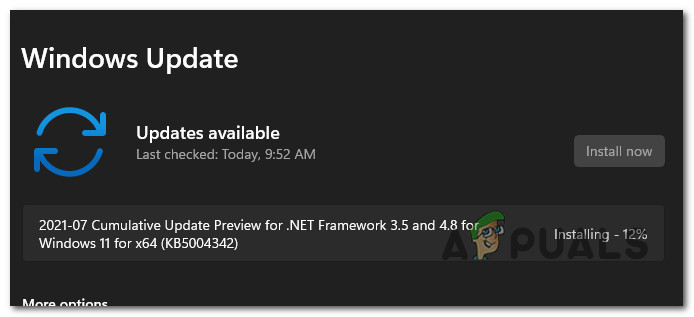
Install Windows Updates - Finally, reboot your PC and see if the problem is now fixed.
If you still see the same kind of issue when attempting to install a.NET framework, move down to the next potential fix below.
Install the Windows Update Manually
If you’re experiencing the 0x80071AB1 only when installing pending updates using Windows Update, chances are you will be able to circumvent this error code completely by installing the pending updates manually.
If the Windows Update component throws this error due to a server issue or due to some corrupted dependencies, utilizing the Microsoft Update Catalog should do the trick.
Several affected users that we’re encountering the 0x80071AB1 error have reported that they were finally able to fix the issue by using the Microsoft Update Catalog to find and install the missing update.
- Open your favorite browser and access the root directory of the Microsoft Update Catalog.
- Next, use the search function in the top-right corner of the screen to search for the update that is failing. In our example, we’re trying to install the KB3212646.
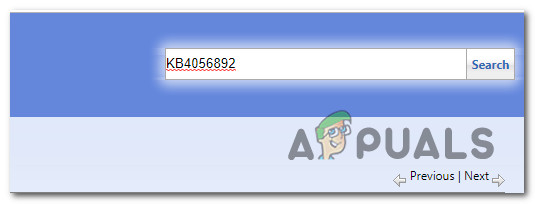
Searching for Updates - When the list of results is populated, look for the appropriate download while keeping in mind your CPU architecture and the Windows version that you’re using.
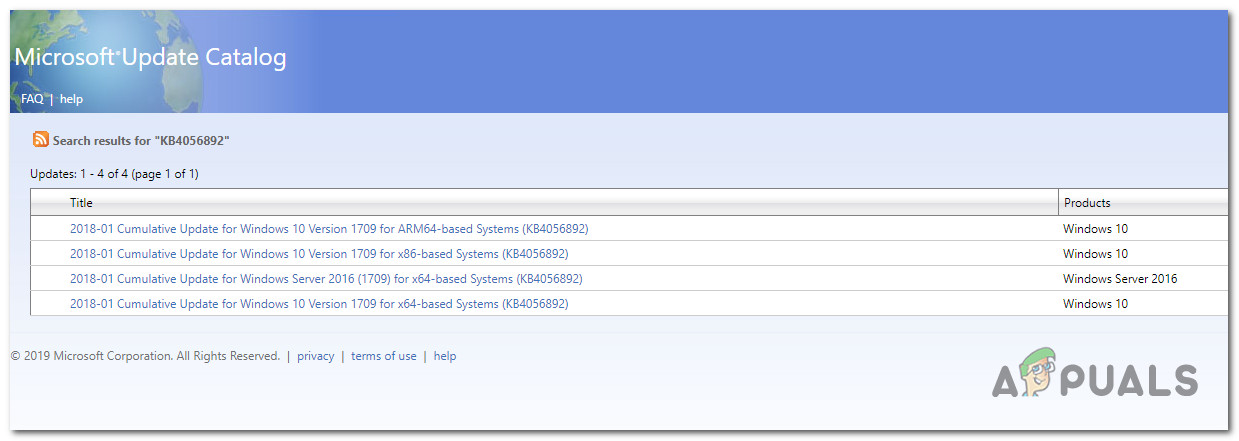
Using the Microsoft Update Catalog - After you locate the correct item, click on the Download button associated with it and wait for the process to complete.
- Next, navigate to the location where you downloaded it, right-click on the .inf file and choose Install from the newly appeared context menu.
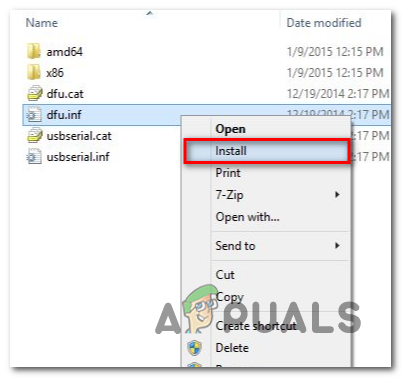
Install the INF driver - Finally, the on-screen instructions to complete the installation, then restart your computer and see if the problem is resolved at the next system startup.
If you’re still dealing with the 0x80071AB1 error, try the next potential fix below.
Upgrade OS version via Media Creation Tool (if applicable)
In case you’re experiencing this issue while attempting to use the Windows Update component to get Windows 11 updated to the latest available build, chances are you can bypass the 0x80071AB1 error entirely by upgrading using the Media Creation tool instead.
Now be advised that the procedure is a little bit tedious. But on the plus side, it will allow you to get the job done in case the Windows Upgrade Assistant couldn’t.
If you have no choice but to go this manual route, follow the instructions here to upgrade to Windows 11 via the Media Creation Tool.
In case this scenario was not applicable to you, move down to the next method below.
Run the WU AutoUpdate Client
As it turns out, the 0x80071AB1 can also occur due to a scenario in which a key Windows Update dependency (WU Auto Update) is behind inhibited by a 3rd party process or by some type of system file corruption.
Several affected users that we’re dealing with the same kind of issue have confirmed that they finally managed to fix the problem by using an elevated Powershell command to call the wuaclt.exe process into action and force it to perform a system-wide update in order to ensure that Windows Update has every dependency required at its disposal.
Follow the instructions below to enforce this method from an elevated Powershell window:
- Press Windows key + R to open up a Run dialog box.
- Next, type ‘powershell’ inside the text box, then type Ctrl + Shift + Enter to open up an elevated Powershell command window.

Open up an elevated PowerShell menu - At the User Account Control window, click Yes to grant admin access.
- Inside the elevated Powershell window, type the following command and press Enter:
wuaclt.exe / updatenow
- Once the first command is processed successfully, type exit and press Enter once again.
- Reboot your PC, then restart your computer and see if the problem is fixed once the next startup is complete.
In case the same kind of 0x80071AB1 error is still popping up when you attempt to install a .NET infrastructure update, move down to the next method below.
Deploy SFC and DISM scans
If none of the methods above worked for you, you should look at one of the most common instances that will trigger the 0x80071AB1 error on Windows 11. System file corruption can very well cause this issue, especially if you’re encountering this error code with any Windows Update that you attempt to install.
In this case, you should start by running a couple of scans with two built-in utilities that you’ll find on your PC regardless of your Windows version: System File Checker (SFC) and Deployment Image Servicing and Management(DISM).
These two tools have a lot of similarities, but our recommendation is to run both scans in quick succession in order to improve your chance of fixing the corrupted system files.
If you plan on going this route, you should start with a simple SFC scan.
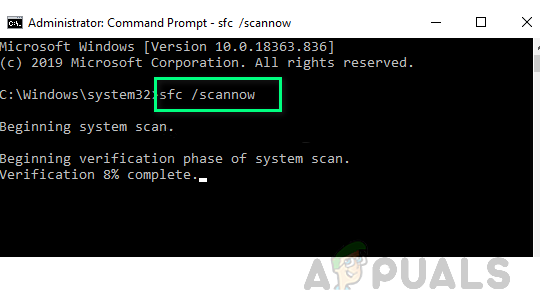
Note: This tool will not require you to be actively connected to the internet. However, it’s important that after you initiate this procedure to avoid closing the CMD window even if the utility looks like it froze.
Wait until the process is complete to avoid causing further logical errors on your HDD or SSD.
After the SFC scan is completed successfully, reboot your computer and see if the issue is fixed once the next computer startup is complete.
If the same 0x80071AB1 error is still occurring, go ahead and proceed with a DISM scan.
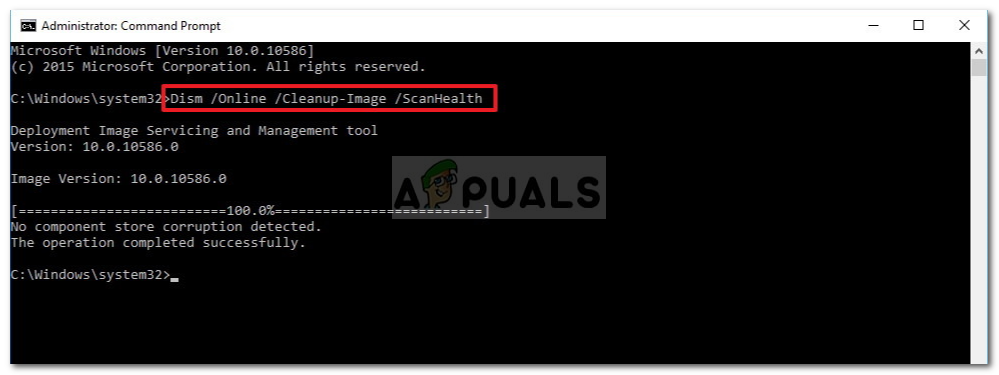
Note: A key differentiator between System File Checker and DISM is that DISM uses a sub-component of Windows Update to download healthy file equivalents. Because of this, you need to make sure that you have reliable Internet before initiating this operation.
Once the second scan has been completed, reboot your computer once again and see if the error is now fixed.
In case you’re still unable to install the pending update or install a pending ending .NET Framework update, try the next potential fix below.
Run the automated Windows Update Agent
If you’re only experiencing this issue while attempting to install pending Windows updates, chances are you’re seeing the 0x80071AB1 error due to some type of WU dependency glitch.
If other methods like running the appropriate troubleshooter or deploying DISM and SFC scans have failed, the next best thing you can do is to use an automated utility that will refresh every Windows Update component and dependency that might be causing the error code at hand.
When it comes to doing this, the easier way (by far) is to run the automated WU Agent. This is a tool that will run a refresh script on your PC that will clear temp files and reconfigure every Windows Update component and subcomponent back to their default behavior.
Here’s how to download and run the Windows Update, automated agent:
- Open your favorite browser and visit the Microsoft Technet download page.
- Once inside, download the Reset Windows Update Agent script.
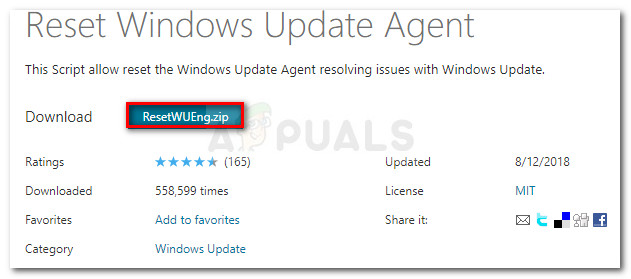
Download the Windows Update - Next, once the download is finally complete, extract the zip archive with a utility like WinRar, WinZip, or 7Zip, then paste it into an easy-to-access location.
- After you manage to extract the archive, double-click on the ResetWUENG.exe file and click Yes at the User Account Control to grant admin access.
- Next, follow the instructions to run the script on your computer. At the end of this procedure, it will reset all your WU components.
- Finally, restart your computer and see if you’re able to install the failing update once the next startup sequence is complete.
If you’re still experiencing the 0x80071AB1 error even after following the instructions above, try the next potential fix below.
Use System Restore
Keep in mind that a recent machine change such as a driver installation, installed an update or an AV scan has might end up indirectly causing the 0x80071AB1 error.
The thing with these problems is, oftentimes, you’ll have no way of pinpointing the issue.
In this case, the easiest way to resolve the problem is by using the System Restore utility to revert your computer back to a state when this problem was not occurring.
Important: Every recent Windows version (including Windows 11) is configured to create and store new restore snapshots regularly (during important system events). Unless you have explicitly modified the default behavior (or a 3rd party did it for you), you should have plenty of System Restore points to choose from and apply this method on your PC.
Note: Here’s how to configure System Restore settings on Windows 10.
However, before you get started it’s important to understand that at the end of this process every change that you made to your system since that restore snapshot was created will be lost. This will affect any installed applications, games, and any other system updates that might have got installed during that period.
If you are prepared to use System Restore, here’s a quick guide on using it to restore your computer back to a healthy state when this problem was not occurring:
- Press Windows key + R to open up a Run dialog box.
- Next, type ‘rstrui’ and press Enter to open up the System Restore menu.
Open System Restore - Once you get past the initial System Restore screen, click on Next to advance forward to the next menu.
Deploying a System Restore - Next, start by checking the box associated with Show more restore points.
- From the next screen, start by comparing the dates of each saved restore point and select one that is dated before the apparition of the 0x80071AB1 error.
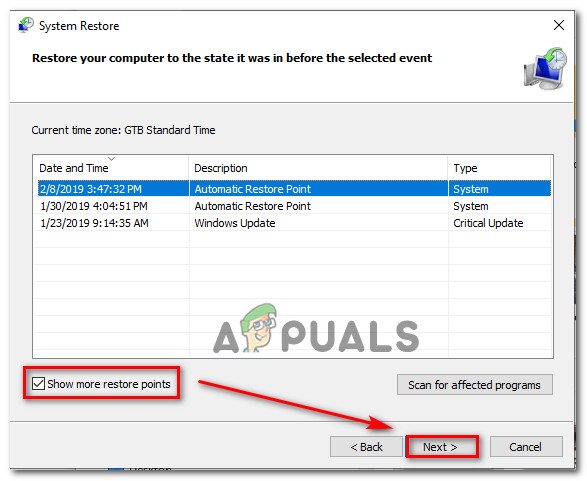
Show more restore points Note: Avoid selecting restore points older than 1 month to avoid a lot of data loss.
- After you pick the correct restore point is selected, click Next to advance to the final menu.
- At this point, the utility is ready to go. Click on Finish and wait for the process to start.
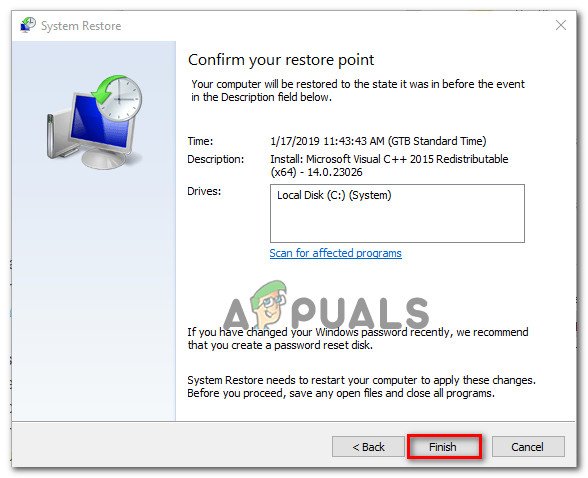
Finish the System Restore point Note: Shortly after, you will be prompted to restart. Do as instructed and wait for the next startup to complete.
- Once you’re PC boots back up, repeat the action that was causing 0x80071AB1 error and see if the problem is now fixed.
If the same problem is still occurring, move down to the next potential fix below.
Clear the Software Distribution & Catroot2 Folders
Another frequently mentioned reason that will ultimately spawn the 0x80071AB1 error is a scenario in which one of the main folders used to store temporary data related to pending WU installations has become corrupted.
If this scenario is applicable, keep in mind that you won’t be able to delete it conventionally. Your operating system simply won’t allow it. The solution, in this case, is to rename the problematic folders with the ‘old’ extension in order to force it to disregard the folder completely and create new equivalents for both.
However, before you’ll be able to rename the Software Distribution & Catroot2 folders, you’ll first need to prevent any service that’s currently using them from running.
Follow the instructions below for specific instructions on how to clear and rename the SoftwareDistribution & Catroot2 folders to fix the 0x80071AB1 error:
- Press Windows key + R to open up a Run dialog box.
- Next, type “cmd” inside the text box and press Ctrl + Shift + Enter to open up an elevated Command Prompt.
Open up an elevated CMD prompt - At the UAC (User Account Control) prompt, click Yes to grant administrative privileges.
- Inside the elevated Command Prompt, type the following commands in order and press Enter after each one to stop all WU related services:
net stop wuauserv
net stop cryptSvc
net stop bits
net stop msiserver
Note: These commands will stop the Windows Update Services, MSI Installer, Cryptographic services, and BITS services.
- Once you successfully manage to stop every relevant service, run the following commands to clear and rename SoftwareDistribution and Catroot2 folders:
ren C:\Windows\SoftwareDistribution SoftwareDistribution.old
ren C:\Windows\System32\catroot2 Catroot2.old
Note: These folders are responsible for holding updated files use by the WU component. Renaming these folders will force your OS to create new healthy equivalents that will not be affected by corruption.
- Once the folders have been successfully renamed, run the following commands to re-enable the services that we’re previously disabled:
net start wuauserv
net start cryptSvc
net start bits
net start msiserver
- Reboot your computer once again and see if the issue has been resolved at the next computer startup.
Once the next startup is complete, check if the 0x80071AB1 error is still occurring.
In case the same kind of issue is still ongoing, move down to the next potential fix below.
Perform a repair install or clean install
If you’re still unable to install a pending WU update or .NET Framework update by the 0x80071AB1 error, the last thing you should troubleshoot against is an underlying system corruption issue that can’t be fixed conventionally (with DISM and SFC scans).
Other users dealing with the same kind of problem have reportedly fixed it via an in-place repair (repair install) or by a clean install.
Doing a clean install procedure is a more direct solution, but the main disadvantage is that it won’t allow you to keep your personal files like applications, games, and personal media (unless you back them out first).
If you’re looking for a solution that will save you from data loss, consider a repair install procedure. The main advantage is that you get to keep all your personal files including applications, games, personal media, and even certain user preferences.


I had this problem and finaly found an easy solution to fix it:
When the update asked to reboot the PC to continu the installation of the update, i booted with a USB then, I rename the ReportingEvents.log to ReportingEvents.log.old (in the pc C:windowsSoftwareDistribution) and the CBS.log to CBS.log.old then i reboot the pc to continu and finalized the upgrade.