Fix: This app can’t be Activated when UAC is Disabled
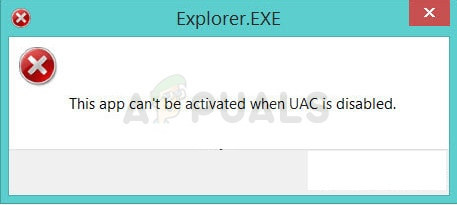
This error message appears quite serious and it pops up when you are trying to open a file or run an application with a pop-up indicating the address of the file you are trying to run as well as the “This app can’t be activated when UAC is disabled” text.
There have been several known causes for the problem throughout the years and several solutions used to resolve the problem can be separated and we decided to put it all together in an article. Make sure you check out the methods!
What Causes the “This app can’t be Activated when UAC is Disabled” Error?
The list of things which cause this error is not very long and it has to do something with a bug on Windows 10 or 8 where you couldn’t use any of the native Windows apps with UAC disabled. This was fixed for some users via an update. Here is the full list:
- You need to re-enable UAC even though you might consider it annoying. Still, you won’t be able to use the native metro apps on Windows if you don’t re-enable it.
- The EnableLUA option is disabled in the registry and you should consider enabling it by changing its value.
- An update for your operating system is available and you should install it as soon as possible if you want to enjoy your computer without this annoying error.
Solution 1: Re-enable UAC
User Account Control (UAC) is used to manage anything you run, download, and open on your computer and it’s a sort of a security measure to double-check if the things you are doing are okay.
Its pop-ups can become annoying over time but this method consists of re-enabling UAC. This will definitely get rid of the pop-ups and it’s the easiest method to try out immediately!
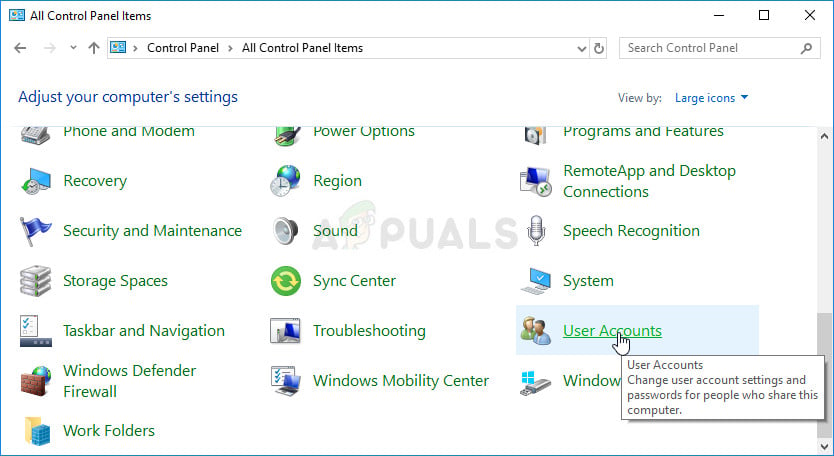
- Open Control Panel by searching for it in the Start menu. You can also use the Windows Key + R key combination, type in “control.exe” in the Run dialog box and click OK.
- Switch the View by setting in Control Panel to Large Icons and locate the User Accounts option.
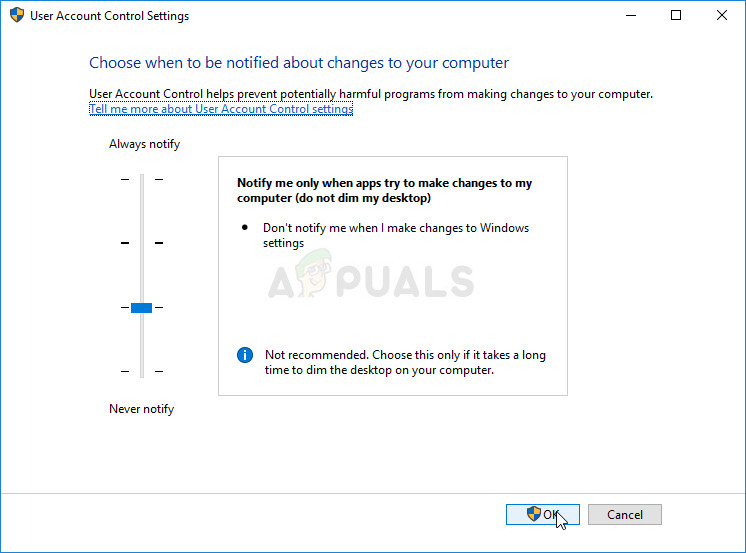
- Open it and click on “Change User Account Control Settings”.
- You will notice that there are several different options you can choose on the slider. If your slider is set at the bottom level, that means that UAC is disabled and that caused the errors to start appearing. Also, there are more errors which are usually caused by User Account Control.
- Try increasing this value by one if it’s at the top slider and check to see if it helped. Repeat the process if the error still appears until you set UAC to the highest level.
- We recommend you leave it turned on for now. You may also be able to resolve the problem in other ways, but you should definitely leave it on as it serves to protect your PC. This is especially valid if you are having problems with one program or one file.
Solution 2: Change a Registry Entry
Modifying this entry manages whether Windows notifies users when programs are about to be launched or installed. This is one of the things which UAC manages and it can be handled using this method on its own. However, make sure you edit the registry carefully as results can be catastrophic.
Since you are going to edit a registry key, we recommend you check out this article we have published for you to safely backup your registry to prevent other problems.
- Open the Registry Editor window by typing “regedit” in either the search bar, the Start menu, or the Run dialog box which can be accessed with the Windows Key + R key combination. Navigate to the following key in your registry by navigating at the left pane:
HKEY_LOCAL_MACHINE\Software\Microsoft\Windows\CurrentVersion\Policies\System
- Click on this key and try to locate a REG_DWORD entry called EnableLUA at the right side of the window. If such option exists, right-click on it, and choose the Modify option from the context menu.

- In the Edit window, under the Value data section change the value to 1, and apply the changes you have made. Confirm any security dialogs which may appear during this process.
- You can now manually restart your computer by clicking Start menu >> Power button >> Restart and check to see if the problem is gone.
Solution 3: Change Some Group Policy Settings
There are some ways to tweak UAC options which should enable you to keep UAC disabled but also to avoid errors such as the one bothering you with users not being able to open metro apps when UAC is disabled. Follow the instructions below!
- Use the Windows Key + R key combination (tap the keys simultaneously) to open the Run dialog box. Enter “gpedit.msc” in the Run dialog box, and press the OK button in order to open the Local Group Policy Editor tool. On Windows 10, you can try simply type Group Policy Editor in the Start menu and click the top result.

- On the left navigation pane of Local Group Policy Editor, under Computer Configuration, double-click on Policies, and navigate to the Windows Settings >> Security Settings >> Local Policies >> Security Options.
- Select the Security Options folder by left-clicking on it and check out its right side section.
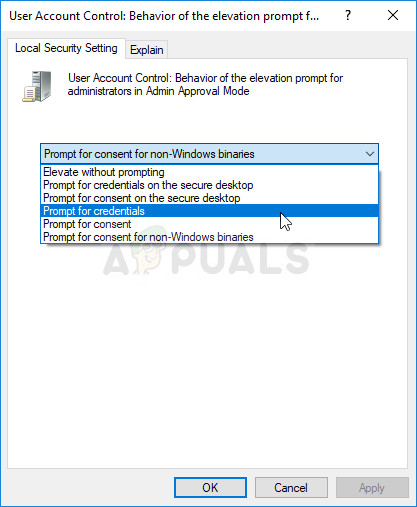
- Double click on the “User Account Control: Admin Approval Mode for the Built-in Administrator account” policy option, check the radio button next to the “Enabled”. Also, double-click the “User Account Control: Behavior of the elevation prompt for administrators in Admin Approval Mode” option, and change it to “Prompt for Credentials.”
- Apply the changes you have made before exiting. The changes won’t be applied until you restart.
- Finally, reboot the computer to save the changes and check to see if you are still being targeted with the error.
Solution 4: Install the Latest Updates
Installing the latest updates for the Windows operating system is a sure way of solving many problems on your computer and users have reported that installing the latest updates managed to resolve the problem for many people. Try it out!
- Open the PowerShell utility by right-clicking the Start menu button and clicking on the Windows PowerShell (Admin) option at the context menu.
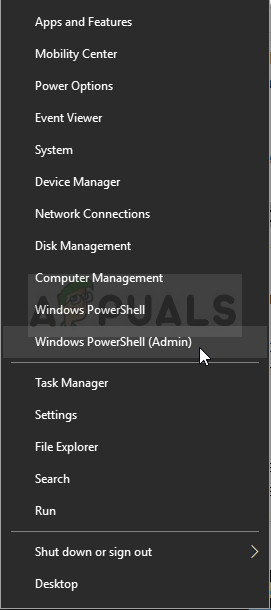
- If you see Command Prompt instead of PowerShell at that spot, you can also search for it in the Start menu or the search bar next to it. This time, make sure you right-click on the first result and choose Run as administrator.
- In the Powershell console, type in “cmd” and stay patient for Powershell to switch to the cmd-like window which might appear more natural to Command Prompt users.
- In the “cmd”-like console, type in the command shown below and make sure you click Enter afterwards:
wuauclt.exe /updatenow
- Let this command do its thing for at least an hour and check back to see if any updates were found and installed without issues. This method can be applied to all Windows operating systems, including Windows 10.


