Not Getting Windows 11 22H2 Update? Here is the Fix!
Microsoft released Windows 11 version 22H2 in September 2022. Some users, however, are yet to see the update on their computers. Listed below are the steps you can take if the Windows Update service doesn’t show you the 22H2 update.
1. Check the System Requirements
Each device must fulfill certain system requirements for Windows 11 to be installed from scratch and for major Windows 11 upgrades to install on the system.
If you downloaded Windows 11 without TPM initially, you would likely face the issue under consideration. If this scenario is applicable, you will need to install the update manually using an ISO file or with the installation assistant.
We have listed the steps for performing both actions in detail below. Proceed with one according to your preferences.
2. Run the Windows Update Troubleshooter
In some cases, the issue can also be caused if a corruption error prevents the system from displaying the update and installing it. The best way to rule out this issue is by running the Windows update troubleshooter.
This utility will notify you if an issue is identified, as well as suggest relevant fixes.
Here is how you can proceed:
- Open Windows Settings by pressing Win + I keys simultaneously.
- Choose System > Troubleshoot > Other troubleshooters in the following window.
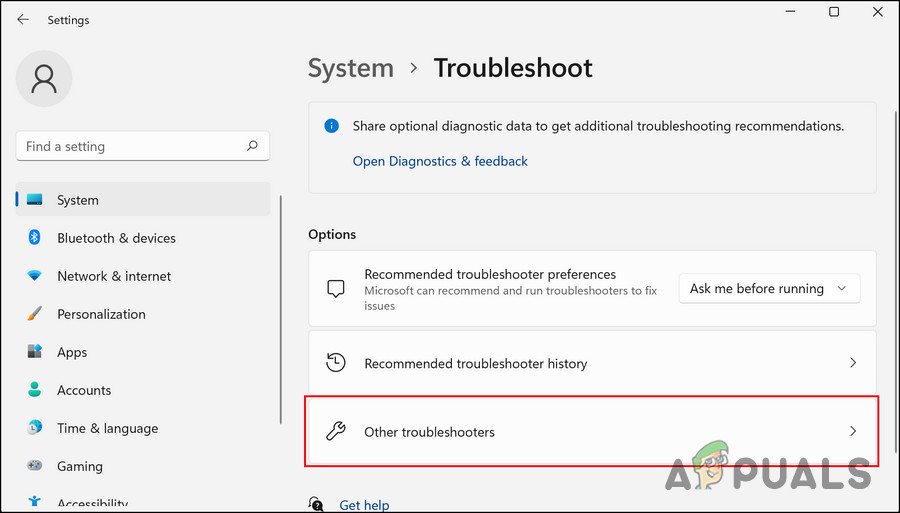
Click on the Other troubleshooters option - Now, locate the Windows Update troubleshooter and click its Run button. This should allow the troubleshooter to scan the system for errors.
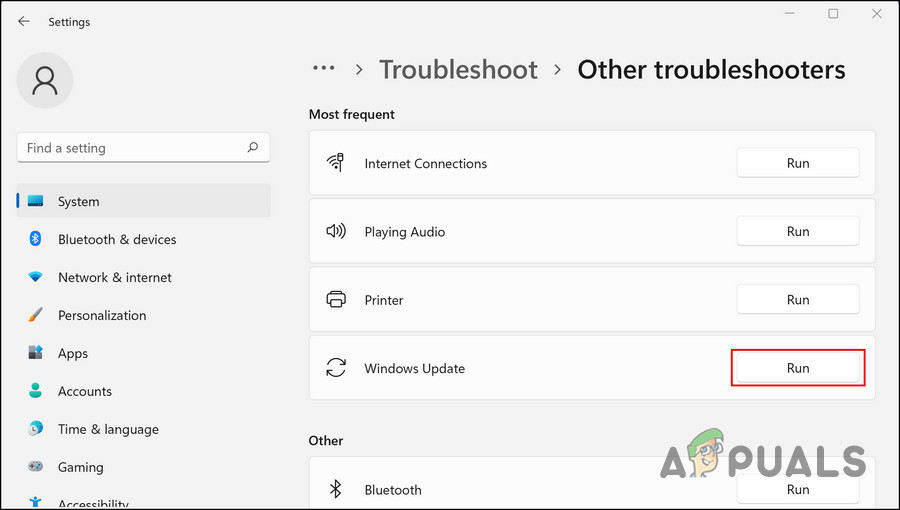
Run the Windows Update troubleshooter - Once the troubleshooter has finished its process, check if any problems are identified.
- Click on either Apply this fix to Close the troubleshooter, according to the results displayed.
3. Enable the Dependency Services
In order for Windows Update to function, certain dependencies must be enabled and running. If the prerequisite services for Windows 11 22H2 have been disabled, then issues are likely to arise during the update process.
In order to enable the Windows Module Installer, BITS, and CryptSvc services, follow these instructions:
- Open Run by pressing Win + R keys simultaneously.
- Type services.msc in the text field of Run and click Enter.
- Now, locate the Windows Modules Installer service and right-click on it.
- Choose Properties from the context menu.
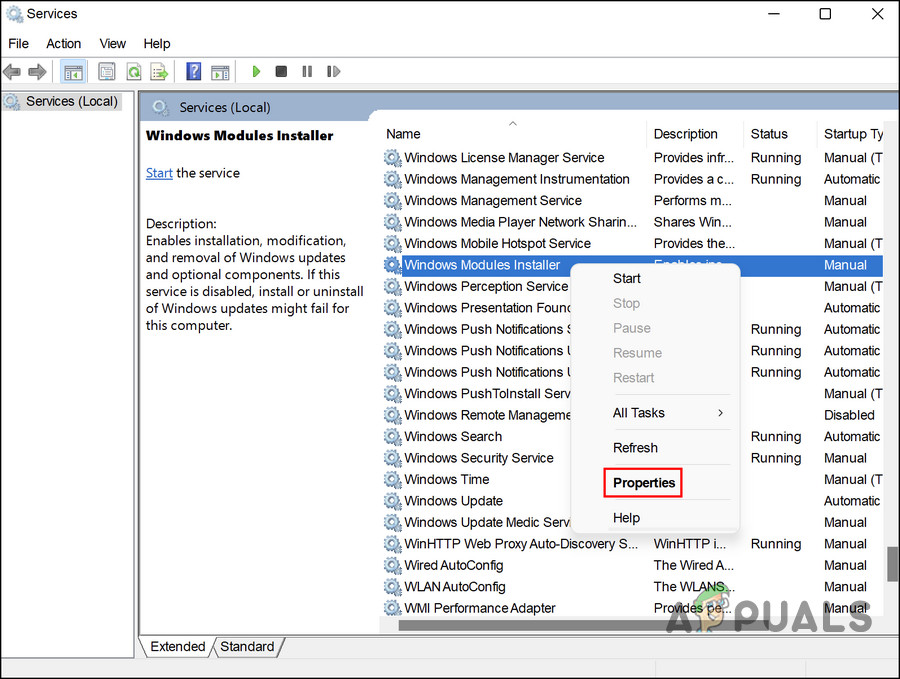
Access the properties of the service - In the Properties, click on the Start button if the service is not already running.
- Expand the dropdown for Startup type and choose Automatic.
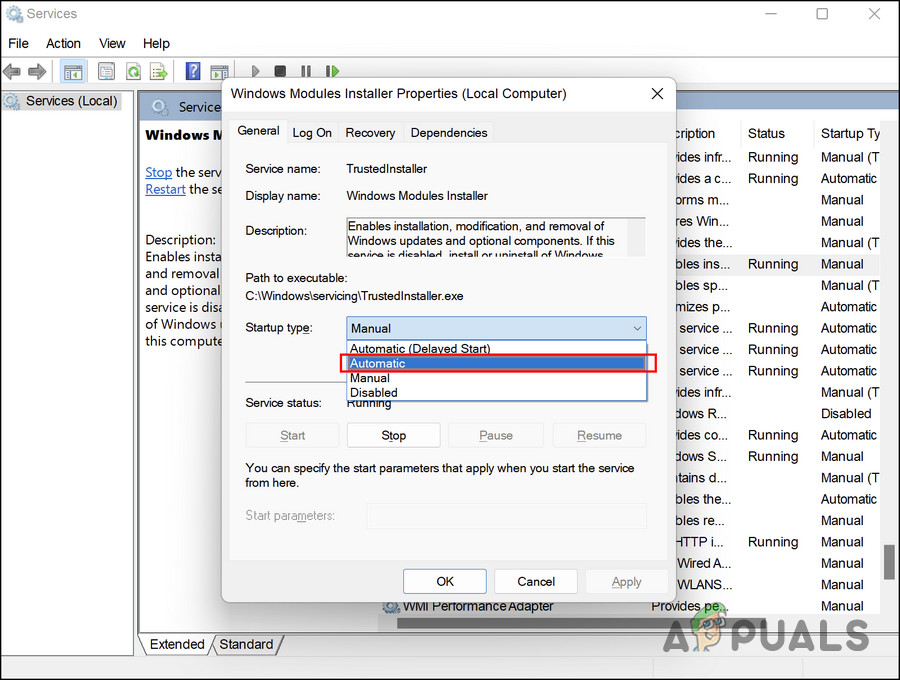
Set the Startup type to Automatic - Click Apply > OK to save the changes.
- Perform the same steps for Background Intelligent Transfer Service, Cryptographic Service, and Windows Update services and then check if the issue is resolved.
4. Update Drivers
Several PCs are blocked from downloading the update because of incompatible software or outdated drivers.
To make sure that is not the case in your scenario, we recommend you check the Device Manager for any outdated drivers. If an outdated driver is identified, you can update it by following the steps listed later in this method.
Here is how you can proceed:
- Type Device Manager in Windows search and click Open.
- Now, look for any drivers with a yellow warning sign. If a driver has it, it means it is either outdated or corrupt.
- Right-click on the problematic driver and choose Update driver from the context menu.
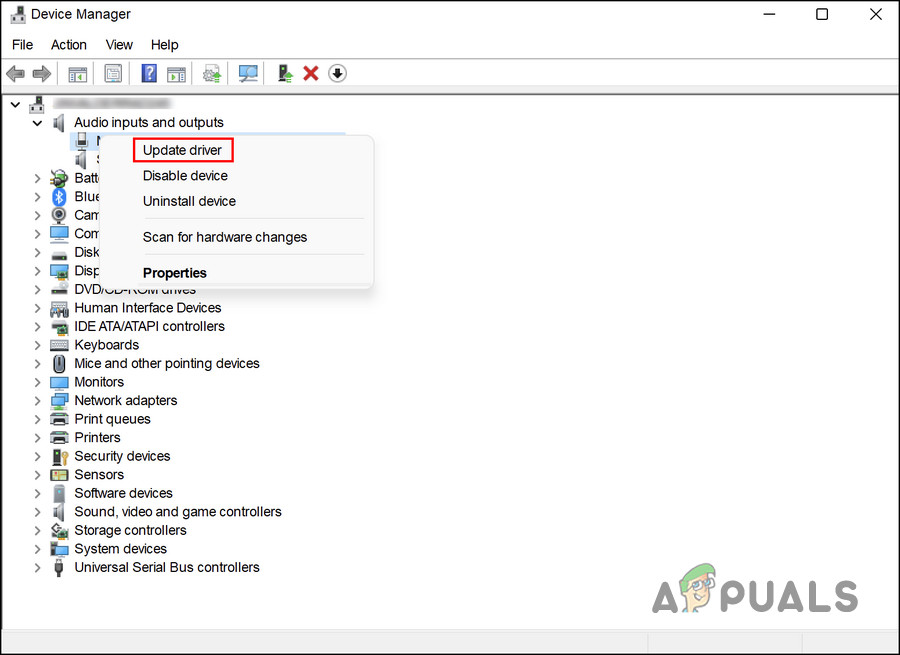
Click on the Update driver option - Next, click on Search automatically for drivers and let the system bring up an updated version of the driver.
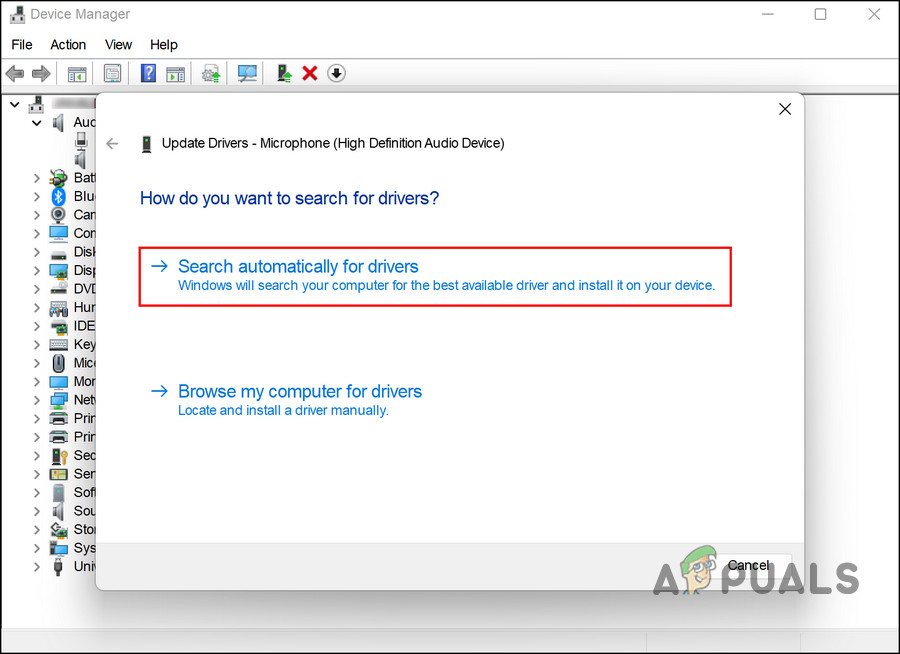
Click on Search automatically for drivers - Follow the on-screen steps to proceed.
Alternatively, you can also head over to the official manufacturer’s website and install the latest drivers from there. Once all the drivers are updated, check if the issue is resolved.
5. Use Installation Assistant
You can install Windows 11 on a compatible PC quickly with Microsoft’s Windows 11 Installation Assistant. It’s the fastest way to upgrade to Windows 11 on your computer.
Here is how to use this tool to upgrade to the 22H2 version of Windows 11:
- Head over to the official Microsoft website and click on the Download button for Windows 11 installation assistant.
- Once the file is downloaded, launch the Windows11InstallationAssistant.exe to install the program.
- Your PC will now pass some hardware checks, and once that is done, click on the Accept and install button.

Click on the Accept & install button - When the required files have been downloaded, the Installation Assistant will automatically begin installing them. This process may take several hours to complete, so please ensure your computer can stay on during this time and that any unsaved work is not left on your computer.
- You will be prompted to restart and complete your upgrade when the Windows 11 Installation Assistant finishes. Restart to begin using the latest Windows 11 version.
6. Upgrade to Windows 11 22H2 From ISO File
It is also possible to manually install the 22H2 update using the ISO file if you have problems doing so. ISO files contain all the installation files for a single program, also known as an ISO image. In particular, ISO files are used for large programs and operating systems like Microsoft Office.
Here is how you can upgrade to Windows 11 version 22H2 using an ISO file:
- Launch the official Microsoft website.
- Choose Windows 11 from the list of Download Windows 11 Disk Image (ISO).
- Click on the Download button to proceed.
- Choose a language for installation and click Confirm.
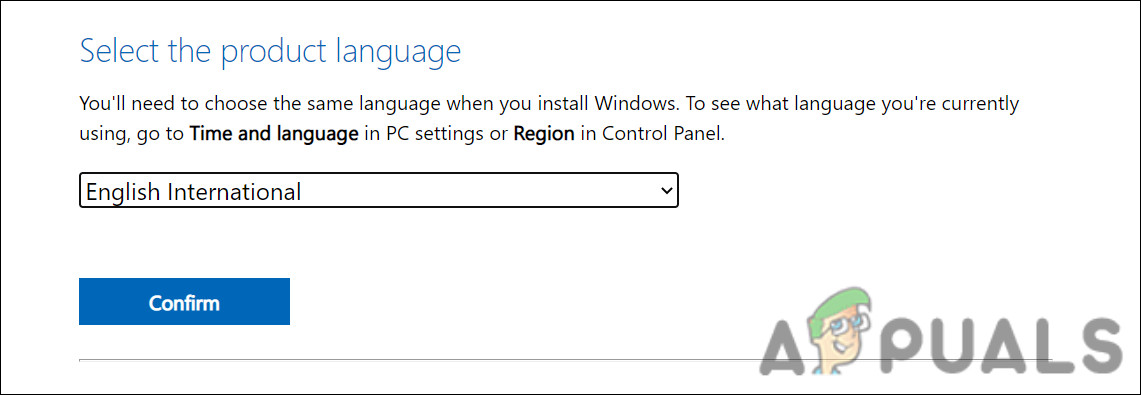
Choose a product language - Once again, click Download.
- Follow the on-screen instructions to proceed.
- Right-click the downloaded file and select Mount from the context menu.
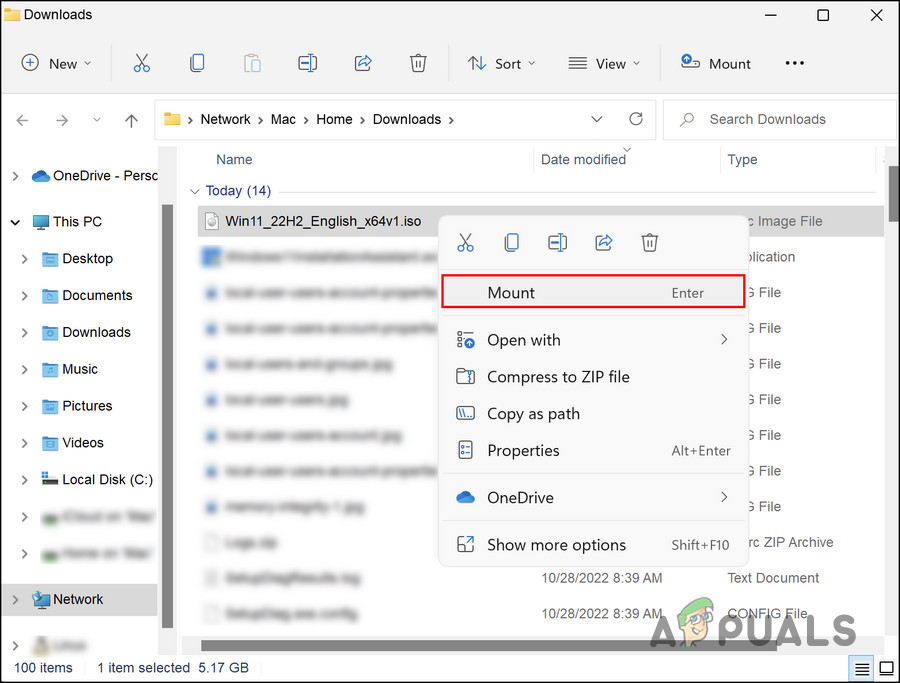
Choose Mount from the context menu - To begin the installation, select the mounted drive and double-click the Setup file.
- Click Not right now in the following window.
- Select Next > Accept.
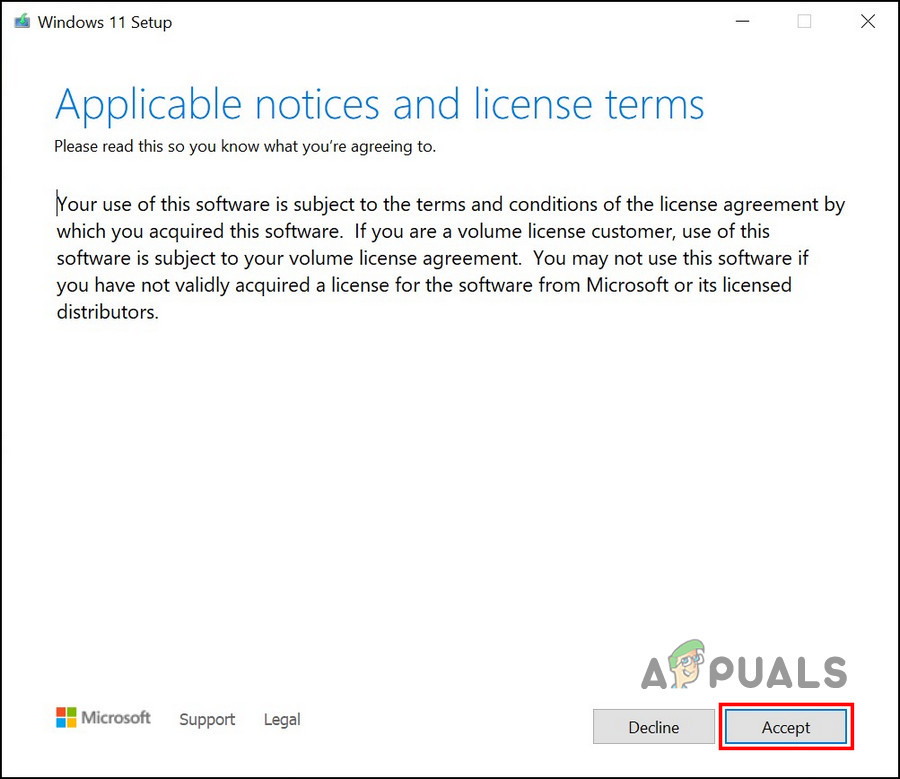
Click on the Accept button - Make sure all the items you want to keep are selected during the process.
- Lastly, click on the Install button. Once the process is finished, you will be upgraded to the Windows 11 22H2 version automatically.


what are the implications of using the 22h2 ISO installation over an existing 21h2 installation that is otherwise working well. I.e. what’s the probability that I’m going to tank my system by doing the ISO install in place?