How to Fix Update Error 0x80070026 in Windows?
The update error 0x80070026 occurs when the users try to download Windows cumulative updates on their computer. The error says that the system failed to download the update and that the user can try again. However, upon trying again, users face the same issues.
This problem can be caused by a number of reasons, such as a corruption error within the system or corrupt update services. Below, we take a look at the solutions that helped users fix the problem in no time. Proceed with the method that fits your situation the best.
1. Run the Windows Update Troubleshooter
The best way to start the troubleshooting process for an update error is by running the Windows Store troubleshooter. This utility is designed by Microsoft and works by scanning the system for potential issues that may be preventing the system from installing the updates.
You can run it via the Settings app.
Here is how you can run it:
- Press the Win + I keys together to open Windows Settings. Alternatively, you can type Settings in the search area of the taskbar and click Open.
- In the Settings window, navigate to System > Troubleshoot.
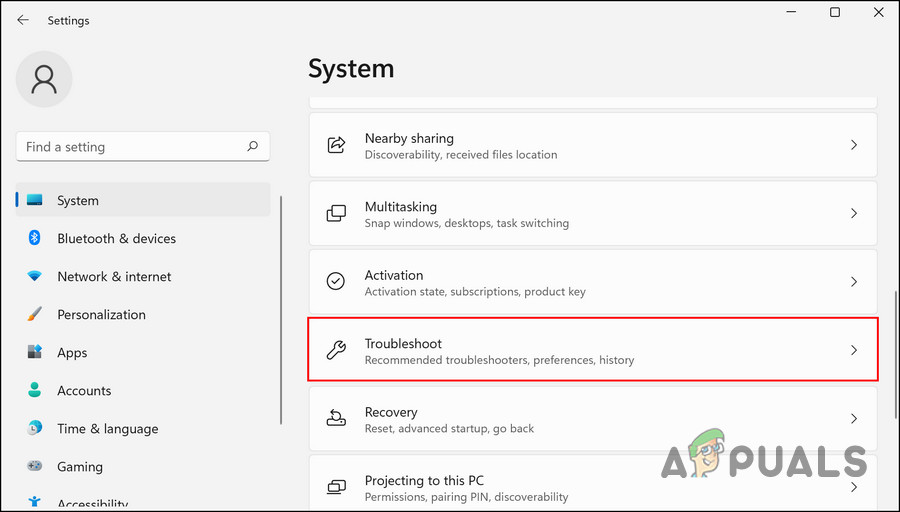
Access the troubleshoot settings - Now, choose Other troubleshooter.
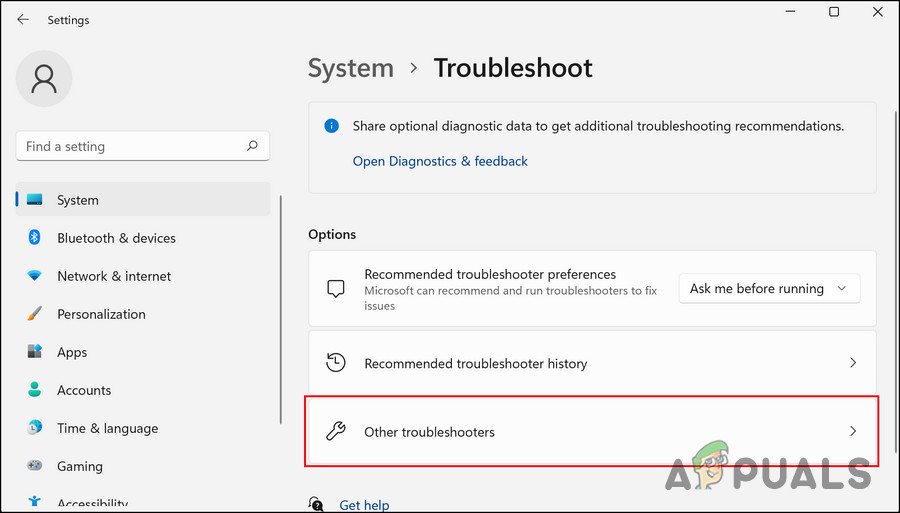
Click on Other troubleshooters - Next, click on the Run button for Windows Update troubleshooter. This should start the troubleshooter scanning.
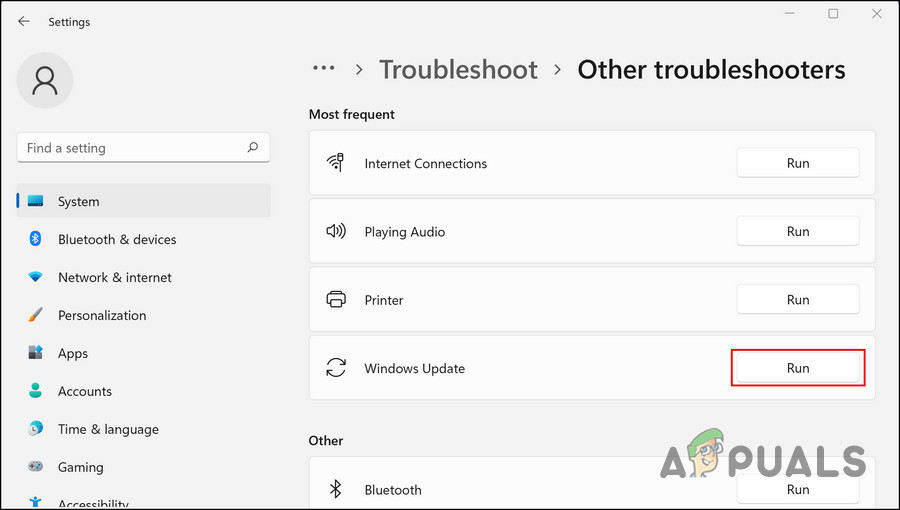
Run the Windows Update troubleshooter - Wait for the process to complete, and then check if the tool has identified any issues.
- If it did, then click on Apply this fix to proceed with the solutions. Otherwise, click on the Close the troubleshooter option.
While you are at it, it may be a good idea to also run two other powerful troubleshooting utilities within the system, which are SFC and DISM. They can be used via Command Prompt, and they work by scanning the system files for issues.
If any issues are identified, both tools will fix them without requiring any significant input from your side.
2. Disable Antivirus
You may be experiencing a problem due to your antivirus program. While such programs are known to protect against malware and viruses, they also block some of the system’s features, such as update installations.
You can resolve this issue by temporarily disabling your antivirus program. Using Avast antivirus as an example, we have shown how to do this. There may be a slight variation in the steps depending on the antivirus program you are using.
Here is how you can proceed:
- Right-click on the antivirus icon in the taskbar.
- Navigate to Avast shields control > Disable until the computer is restarted in the context menu.
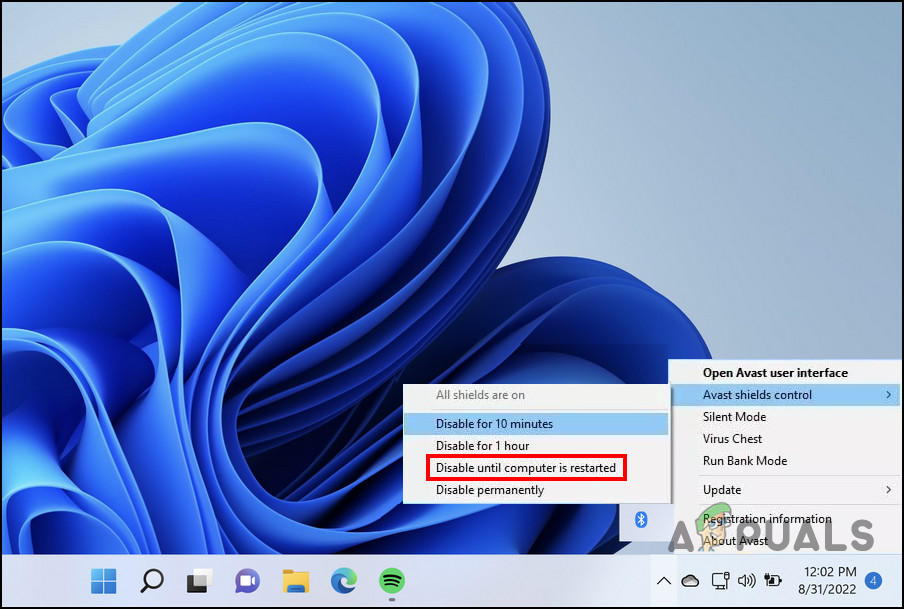
Disable your antivirus program
Once the antivirus has been disabled, reinstall the update. The security program will be enabled again when you restart the computer.
3. Reset the Windows Update Services and Cache
For the system to install updates, the relevant services must be enabled and functioning properly. If one or more of these services is acting up, you will face problems when installing the update.
The best way to counter this issue is by resetting the required services and components to their default state to eliminate the issues. We have created a batch file that can automate this process for you. The file will use the Command Prompt to reset all the services and cache files.
Here is all that you need to do:
- Click here to download the file.
- Once the file is downloaded, right-click on it and choose Run as administrator.
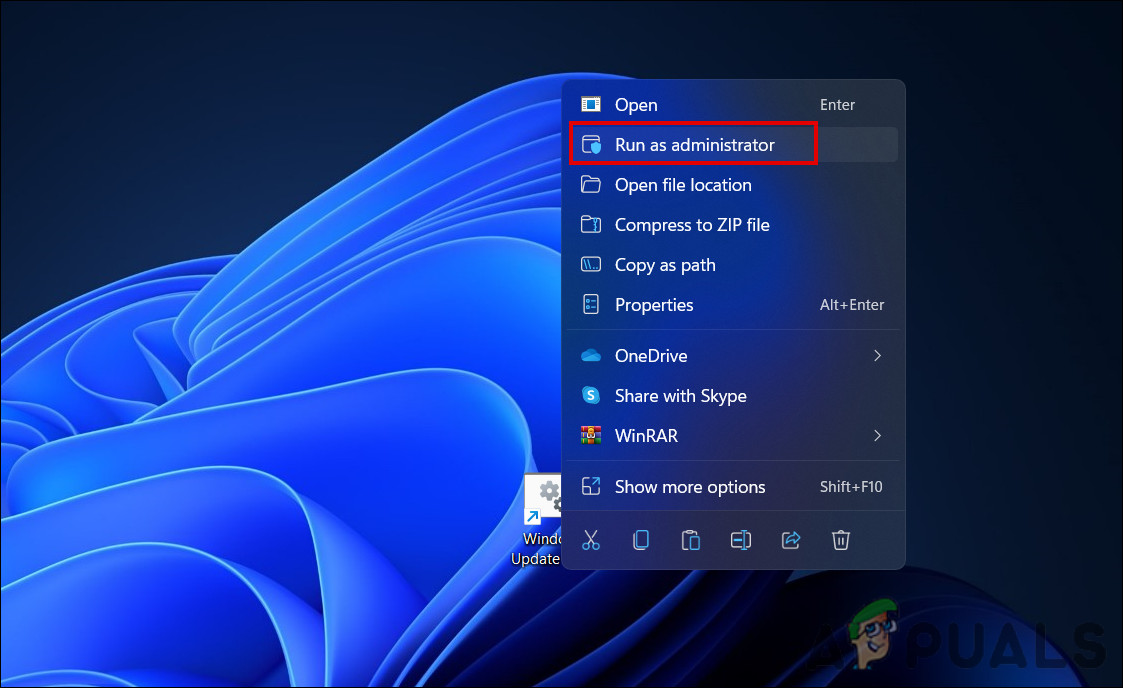
Run the bat file as administrator - Now, wait for the process to complete. It may take a short while, depending on the state of your system.
- In the Security prompt, navigate to More info > Run anyway.

Run the bat file - Then, click on Yes in the User Account Control prompt.
- Once done, restart your computer and check if the issue is resolved upon reboot.
4. Install the Updates Manually
There are times when the system fails to install the updates automatically because of a corruption error or glitch within the system. If the troubleshooting methods are not working for you or if you just do not have the time to proceed with them, then you can attempt to install the targeted updates manually using the Microsoft Update Catalog.
This directory lists all the updates that are released by Microsoft, and you can install the required ones according to your system requirements.
Follow these steps to proceed:
- Launch your browser and navigate to the Microsoft Update Catalog.
- Type the KB number of the update that you want to install in the search bar at the top and click Enter.
- You should now be presented with a list of all the available updates. Find the most appropriate one according to your device specification and click on the Download button for it.
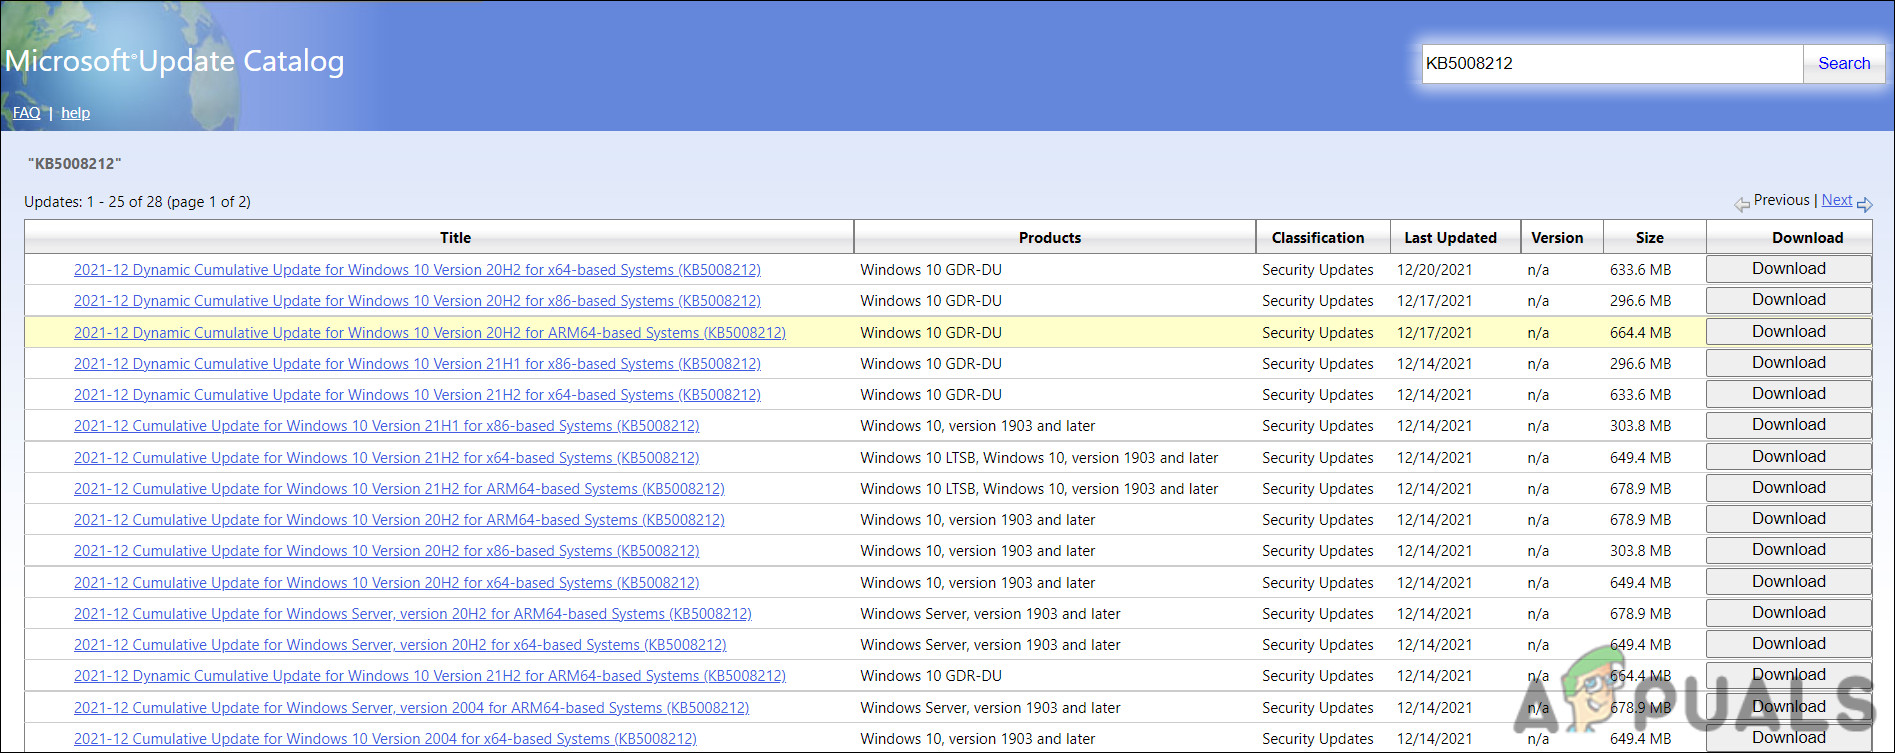
Click on the Download button - Once the update file is downloaded, click on it to install the update and follow the on-screen instructions to proceed.
- Hopefully, you will be able to install the update without any problems.
5. Perform a Clean Install
In case none of the methods work for you, you can perform a clean Windows installation.
Installing Windows 10 and 11 from scratch helps eliminate performance problems, free up space, and declutter your computer. Furthermore, it removes viruses, Trojans, malware, and bloatware from the system, as well as fixes problems like the one discussed here.
It is possible that performing a clean install will help you resolve the problem permanently if the conventional troubleshooting methods have not been successful. For those who are unsure whether to clean install or not, you can contact the official Microsoft support team. In this way, they can pinpoint the exact cause of the problem and suggest suitable solutions.


