How to Fix the Update Error 0x800F024B on Windows?
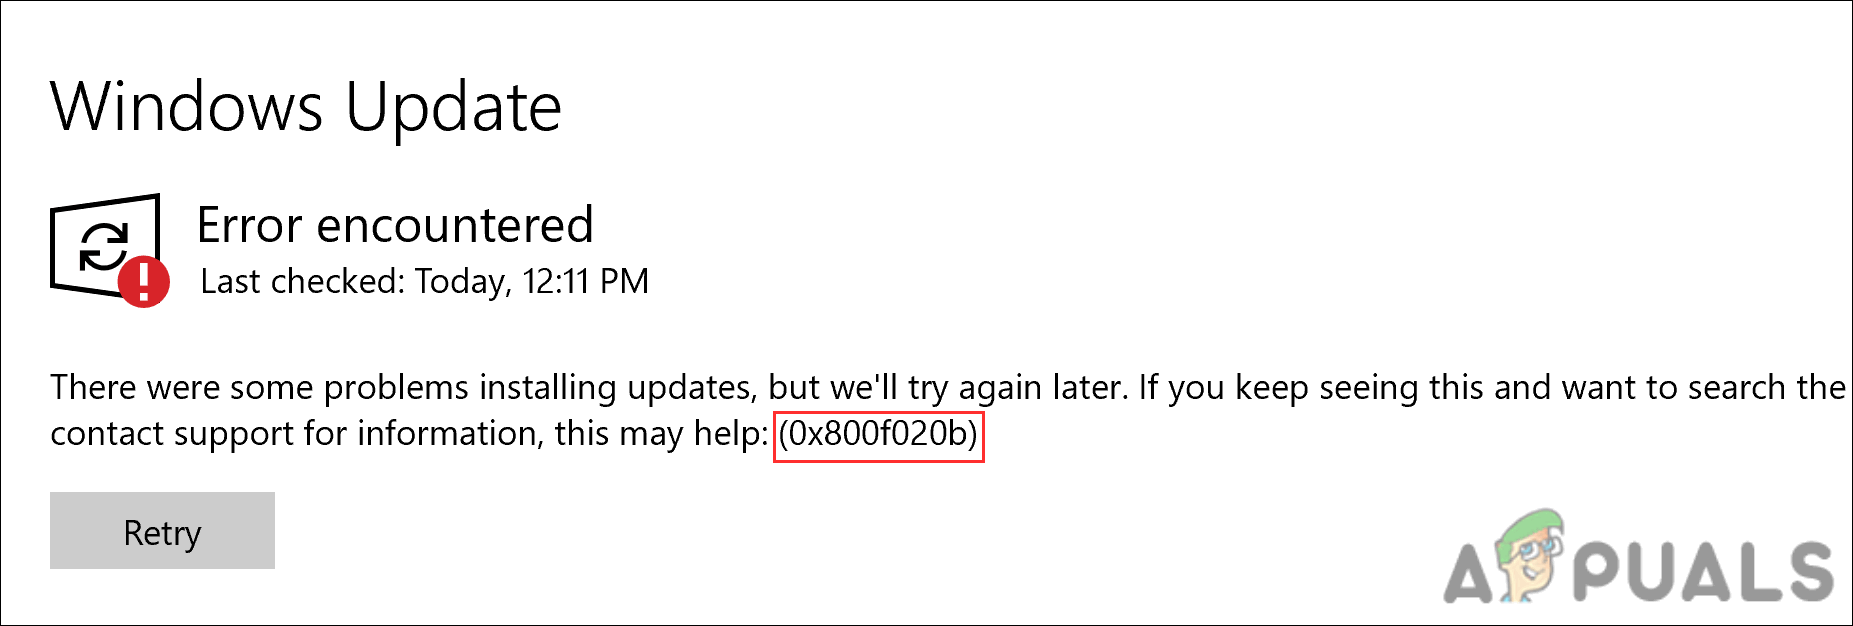
The update error 0x800f024b occurs when the users try to install driver updates for a printer, keyboard, or display adapter on their Windows. The error message states, ‘There were problems installing some updates, but we’ll try again later. The error keeps repeating even when users try to install the update.
1. Run the Windows Update Troubleshooter
The first thing we recommend doing is running the Windows Update troubleshooter, a built-in utility designed by Microsoft. It scans the system for potential errors that might be causing the update error and then suggests relevant fixes to resolve the problem.
Here is how you can run the troubleshooting utility.
- Press Win + I together to open Windows Settings.
- Navigate to System > Troubleshoot.
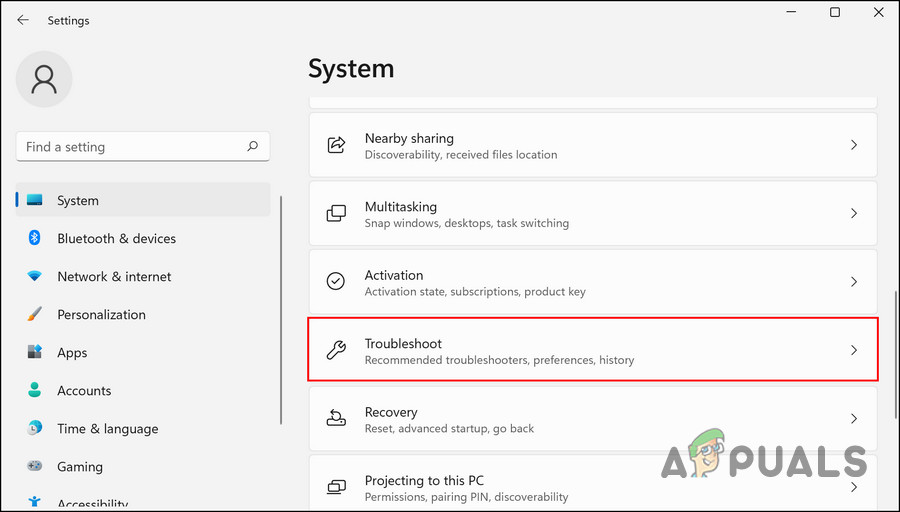
Choose Troubleshoot from the options - In the following window, click on Other troubleshooter.
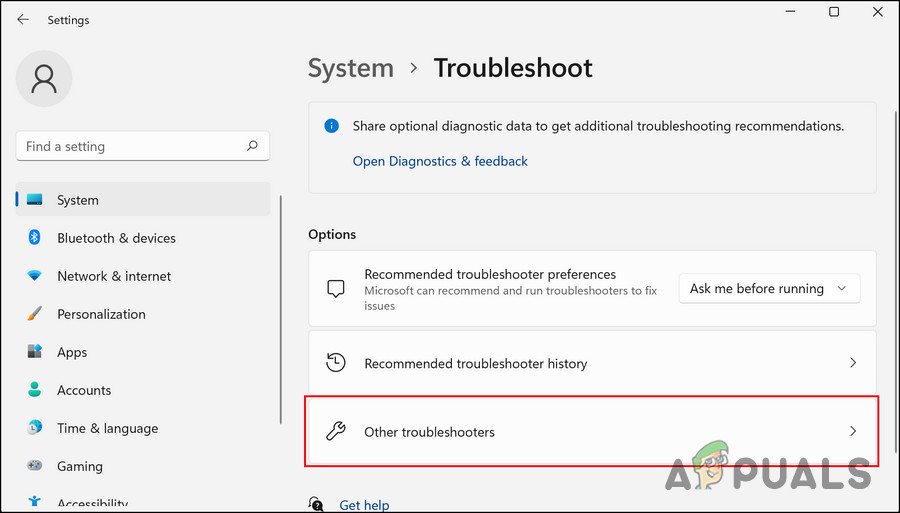
Click on Other troubleshooters - Find the Windows Update troubleshooter and click on Run associated with it.
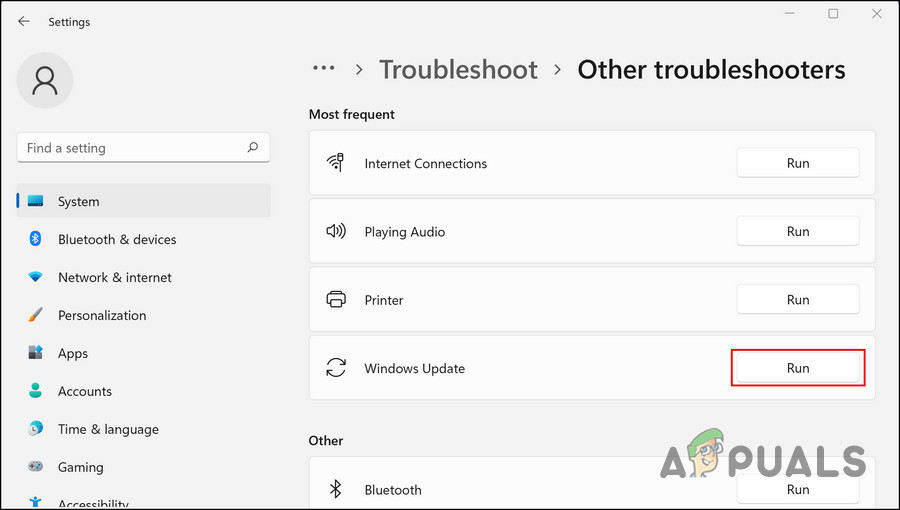
Run the Windows update troubleshooter - Wait for the troubleshooter to complete its scan. As soon as the troubleshooter finishes, you’ll be notified.
- If the troubleshooter has identified any fixes, click on Apply this fix. This will implement the fix suggested by the troubleshooter.
- If the utility fails to find the problem, click on Close the troubleshooter.
While you are at it, it may also be helpful to run two other similar troubleshooting utilities; SFC and DISM. These utilities scan the system and its protected files for any potential problems and then fix the ones identified without requiring significant input from the user’s side.
2. Install the Update Manually
Installing the updates manually rather than using the Settings app can fix this issue.
Here is all that you need to do:
- Type Device Manager in Windows Search and click Open.
- In the following window, expand the driver section with which you are experiencing the problem. For instance, expand the Display adapters section if you are experiencing an issue while downloading an update from your graphics driver.
- Right-click on your driver and choose Update driver from the context menu.

Choose the update driver option - Now, click on Browse my computer for drivers.
- Navigate to the following location in the File Manager to pick a driver:
C:\Windows\SoftwareDistribution\Download
- Pick a driver file and follow the on-screen instructions to install it.
- Once done, launch Windows Settings by pressing Win + I together.
- Choose Windows Update from the left pane.
- Click on the Pause updates button and choose Pause for 1 week from the context menu.
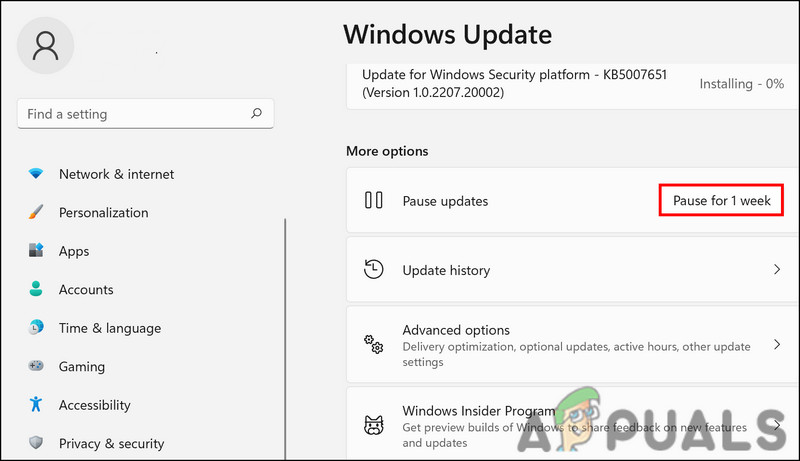
Pause the updates for one week - Then, wait for a few seconds and click on the Resume button. You now will no longer see the error at hand.
3. Install the Driver in Compatibility Mode
If updating the driver manually does not work, you might face the problem because of an incompatibility error. The best way to fix any compatibility issues on Windows is by using a built-in feature called compatibility mode.
Here is how you can do that:
- Right-click on the downloaded driver setup file in File Explorer and choose Properties.
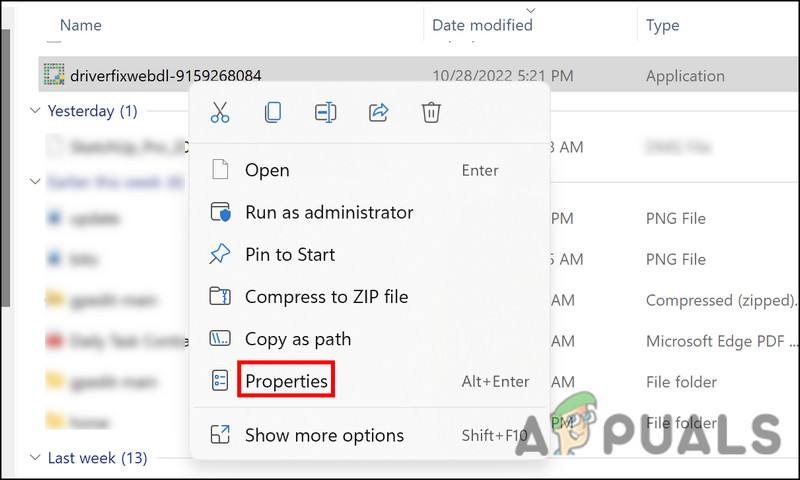
Choose the properties option from the context menu - In the following dialog, head over to the Compatibility tab and checkmark the box for Run this program in compatibility mode.
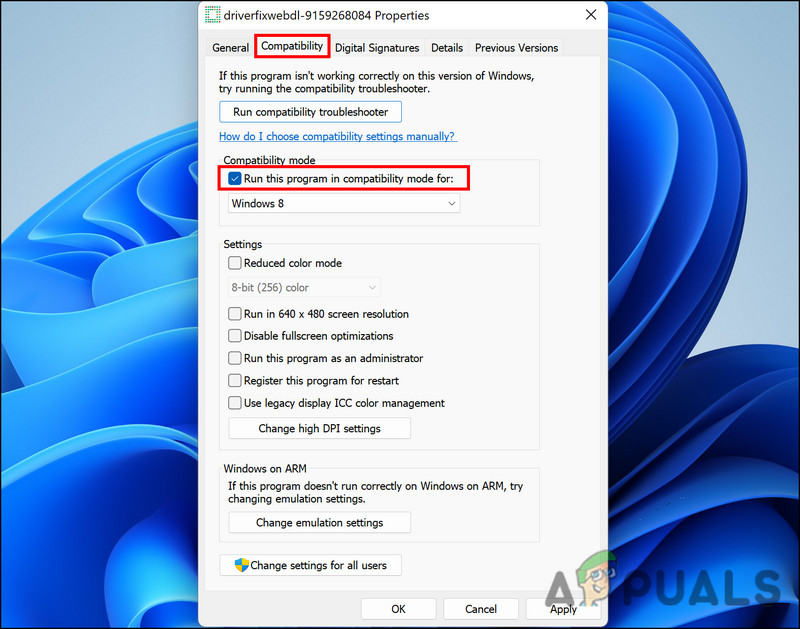
Run the program in the compatibility mode - In the same dialog, expand the dropdown and pick a Windows version suitable for the driver.
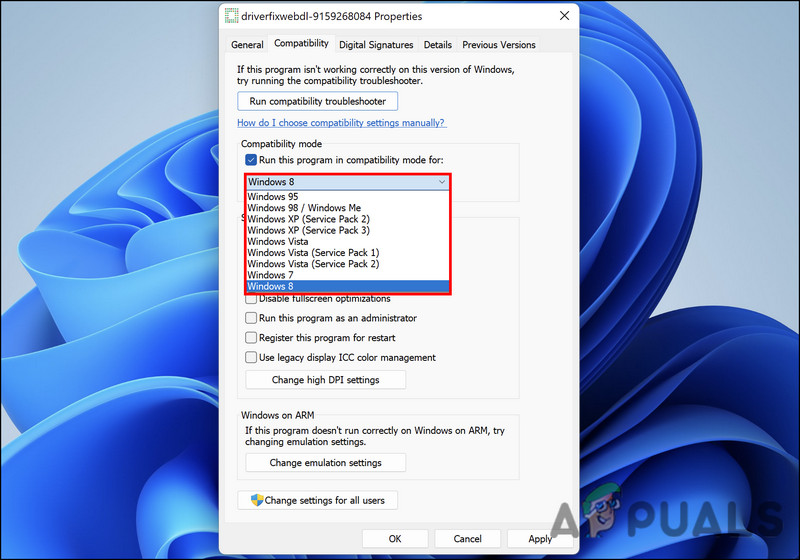
Choose compatible windows - Click Apply > OK and then reinstall the driver.
- Finally, restart your computer and check if the issue is resolved.
4. Hide the Update
This is more of a workaround than a solution. If the troubleshooting methods are not working for you and you want to wait for Windows to launch an official fix, then you can try hiding the update using the Windows Show hide updates tool. This way, the error code will not bother you when using the Windows operating system.
Here is how you can do that:
- Download the Show or Hide Updates Troubleshooter from the Microsoft website. You can use this link to download it directly as well.
- Once the wushowhide.diagcab file is downloaded, click on it to begin the installation.
- In the following dialog, expand the Advanced section.
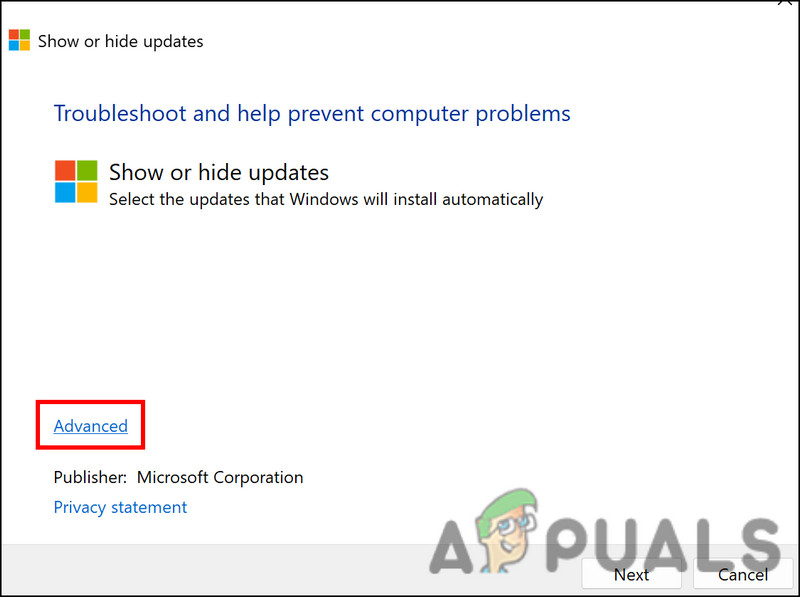
Click advanced located at the lower left - Click on Apply repairs automatically and hit Next.
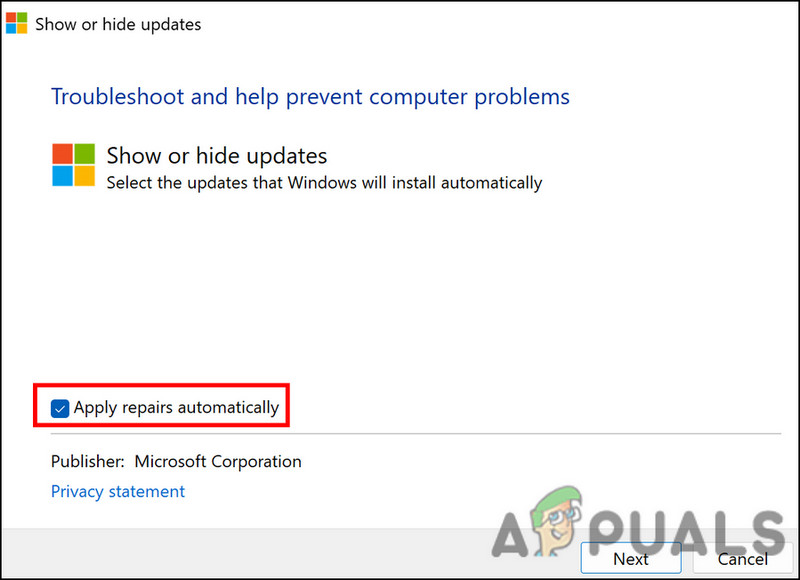
Select apply repairs - Now, choose Hide updates and pick the update you want to hide.
- Click Next and then choose Close.
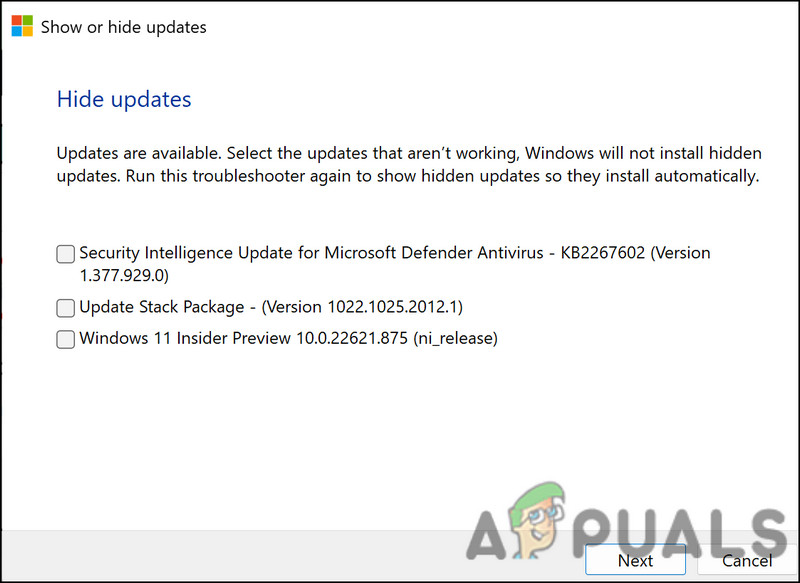
Select what you want to hide
That’s it. You will no longer be bothered by the update error.


