Problem Updating Windows 10 Error 0x80240016 (Fix)
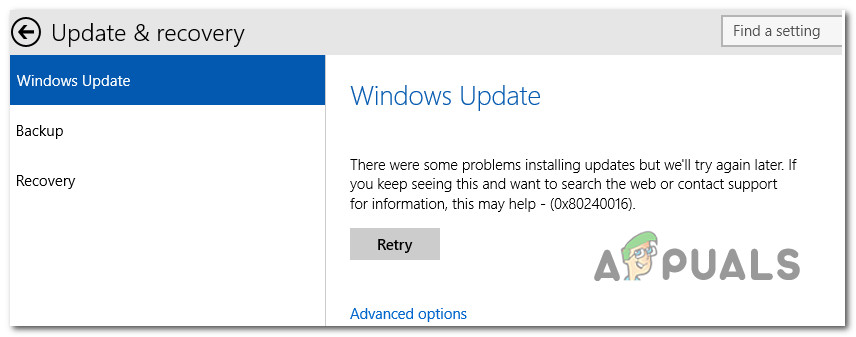
End of update progress without any error message usually means Windows Update failed quietly in the background, leaving the system partially updated. Error 0x80240016 means the update was blocked because another installation was already running or the system needs to restart.
The most common reason is a pending restart from an earlier update, but it can also happen if two updates run at the same time or security software gets in the way. Sometimes, broken update files or stuck Windows Defender updates can also cause this error.
Now that you understand the common reasons for the 0x80240016 error, here are several methods that other users have successfully used to fix the issue:
1. Run the Windows Update Troubleshooter
Before trying advanced repair steps, start by letting Windows 10 try to fix the update problem automatically.
Windows 10 has several built-in tools designed to fix most issues with pending updates. It’s not guaranteed to work in all cases, but it’s an easy and safe first step.
Some users have resolved this error and installed the update simply by running the Windows Update Troubleshooter and applying any recommended fixes.
Note: This troubleshooter checks for dozens of common issues. If it finds one, it will suggest a fix that you can apply with a single click.
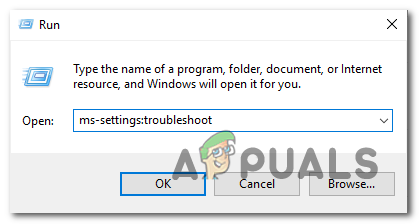
- Press Windows key + R to open a Run dialog box. Type “ms-settings-troubleshoot” and press Enter to open the Troubleshooting section of the Settings app.
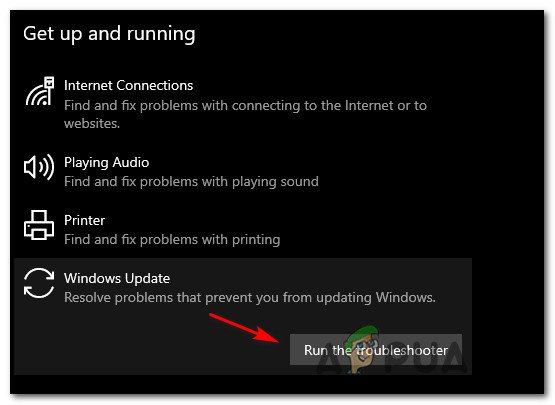
Opening up the Windows Update Troubleshooter - In the Troubleshooting section, go to the right side of the screen and scroll down to the Get up and running section. Click on Windows Update.
- Click on Run the troubleshooter from the new context menu.
Opening the Windows Update Troubleshooter - The tool will start scanning your system for any issues. Please wait until the scan is finished.
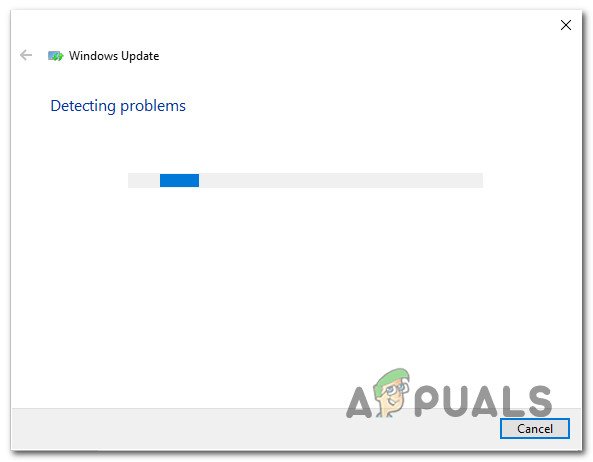
Running the Windows Update Troubleshooter Note: The troubleshooter will look for problems and match them to possible solutions.
- If a solution is found, you’ll see a window where you can click Apply this fix.

Applying the recommended fix Note: Depending on the recommended fix, you might need to follow a few extra steps.
- Once the fix is applied, restart your computer and check if the update issue is resolved.
2. Reset all Windows Update Components
If the troubleshooter didn’t solve your problem, the error might be caused by an issue within the update components themselves—especially if this error shows up with every update you try to install.
Most of the time, the 0x80240016 error shows up because the update process is stuck between tasks and can’t proceed. Resetting the Windows Update system usually fixes this.
- Press Windows key + R to open a Run dialog. Type ‘cmd’ and press Ctrl + Shift + Enter to launch Command Prompt as an administrator.
Opening an elevated CMD prompt Note: If you see a User Account Control prompt, click Yes to allow admin access.
- In the Command Prompt window, type these commands one by one, pressing Enter after each:
net stop wuauserv
net stop cryptSvc
net stop bits
net stop msiserver
Note: These commands stop all services related to Windows Update (BITS, Cryptographic, MSI Installer, and Windows Update service).
- Next, type the following commands to rename the main update folders:
ren C:\Windows\SoftwareDistribution SoftwareDistribution.old
ren C:\Windows\System32\catroot2 Catroot2.old
Note: These two folders (SoftwareDistribution and Catroot2) store Windows Update files. Renaming them forces Windows to create fresh folders and can fix problems caused by corrupted files.
- After that, restart the services by running these commands:
net start wuauserv
net start cryptSvc
net start bits
net start msiserver
- Once all services have started, try installing the update again to check if the error is fixed.
3. Run SFC and DISM
Corrupted system or Windows update files can cause update failures. Running the System File Checker (SFC) and Deployment Image Servicing and Management (DISM) utilities can help repair and restore corrupted files. SFC scans for and replaces corrupted system files, while DISM can fix system issues and add updates or drivers.
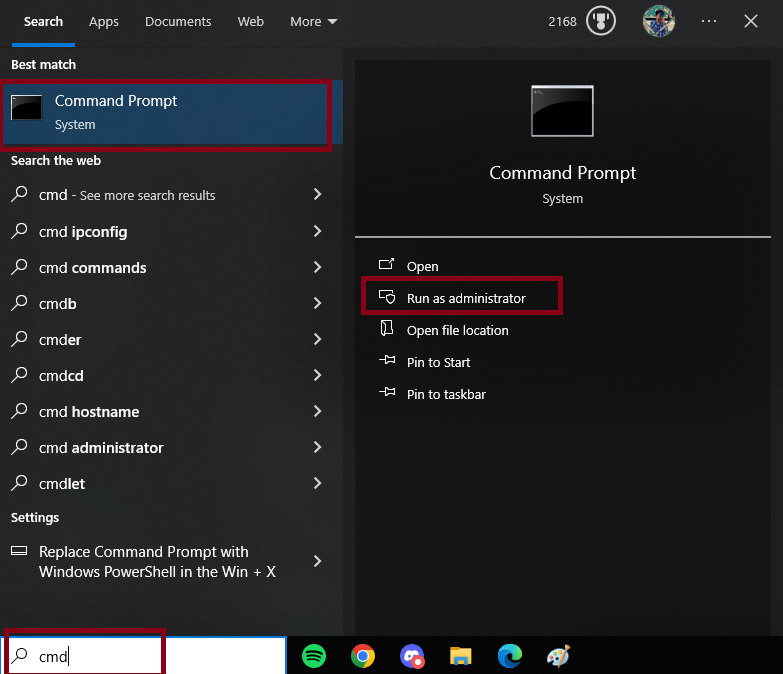
- Open the Search menu, type Command Prompt, right-click it, and select Run as Administrator.
- Enter the following command in Command Prompt:
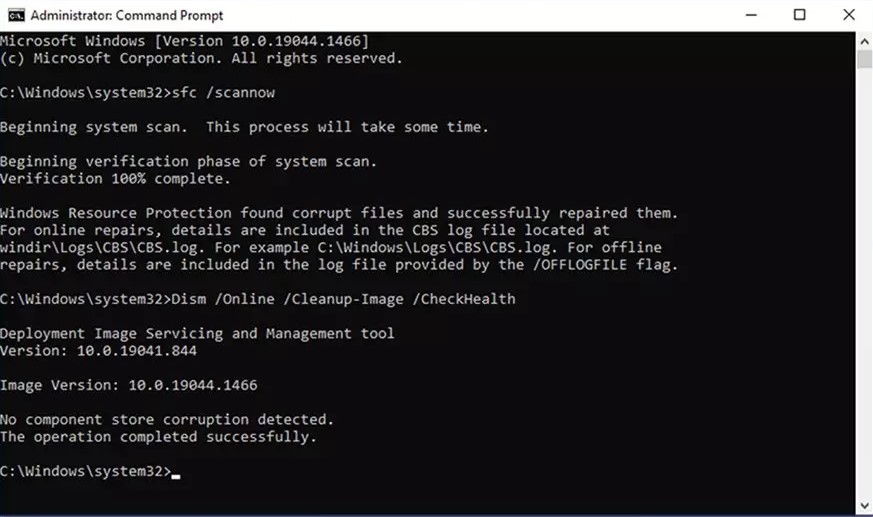
sfc /scannow
- Restart your PC after the scan completes.
If the issue persists, - Run the following commands in Command Prompt as administrator:
Dism /Online /Cleanup-Image /RestoreHealth
- Close Command Prompt and restart your PC.
4. Temporarily Turn Off Windows Firewall
Sometimes, certain security-related Windows updates might not install if Windows Firewall is doing a background scan. Usually, waiting for the scan to finish will resolve the issue, but you can speed things up by temporarily turning off Windows Firewall.
- Press Windows key + R to open the Run dialog. Type ‘windowsdefender’ and press Enter to open the Windows Security menu.
Accessing Windows Defender - Once in the Windows Security menu, click on Virus & threat protection, then click Manage settings under the Virus & threat protection settings section.

Accessing the Virus and Threat Protection screen - On the next screen, turn off the toggle for Firewall & network protection.
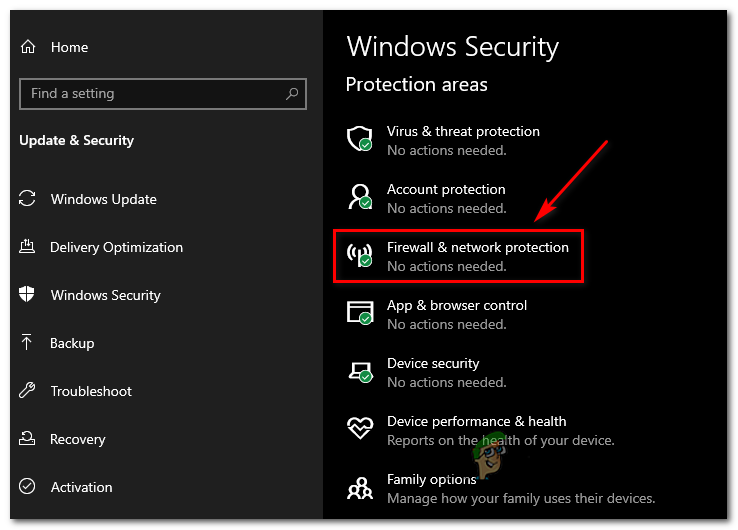
Disabling the Firewall - Go back to the main Windows Security window, then click on Firewall & network protection.
- Click on your active network and turn off the Windows Defender firewall switch.
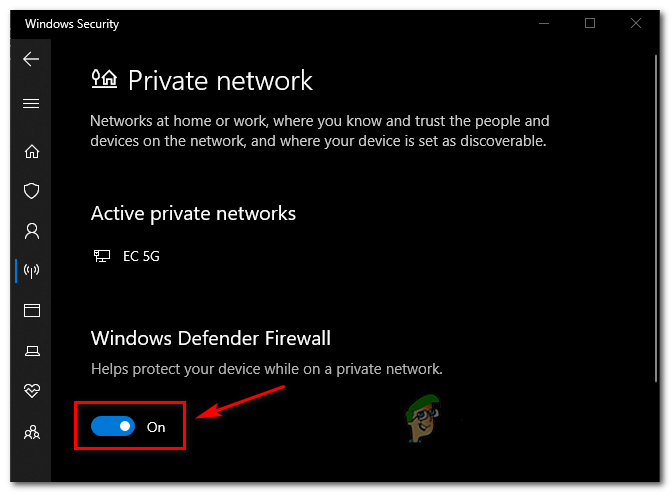
Disabling the Windows Defender Firewall - After turning off the firewall, restart your computer and try to install the update again to see if the issue is fixed.


